Ice cream sheet cake earns its place at a party because it slices cleanly, feeds a crowd, and still feels festive without asking for oven time or delicate timing. The Oreo crust stays firm enough to hold the layers, the ice cream sets into a sliceable middle, and the whipped topping gives you a smooth surface that looks like a decorated birthday cake when you dress it up with sprinkles and frosting. It’s the kind of dessert that disappears fast because every piece has a little crunch, a little creaminess, and that cold fudge ribbon running through the center.
The trick is treating each layer like it needs its own set before the next one goes on. A quick freeze after the crust keeps the cookies from mixing into the ice cream, and softened ice cream spreads without tearing the layer underneath. The fudge needs to go on while the ice cream is cold but not rock-hard, so it settles in instead of just skating across the top. Once the whipped topping is on, the whole cake needs enough freezer time to firm up again before you try to cut it.
Below you’ll find the small details that keep the layers distinct, plus the best way to decorate it so it looks polished even if you’re working with a 12×18 pan and a busy kitchen.
The Oreo crust stayed firm under the ice cream, and the fudge layer set up just enough that every square came out neat. I made this for my daughter’s birthday and it looked like a bakery cake.
Save this Oreo-crusted ice cream sheet cake for birthdays, cookouts, and the kind of party where one pan has to feed everybody.
Why the Layers Need to Chill in Stages, Not All at Once
The biggest mistake with a sheet pan ice cream cake is rushing the stack. If the crust isn’t firm before the ice cream goes on, the crumbs drift up into the filling and the base loses its clean, cookie-like bite. If you add the fudge before the ice cream has settled, it sinks and disappears instead of making that obvious ribbon through the cake.
Each freeze gives the next layer something to sit on. That matters here more than in a round cake because a sheet pan has more surface area, which means faster softening while you’re spreading. Work with softened ice cream, but don’t let it turn soupy or you’ll end up with one blended layer instead of two distinct flavors.
What Each Ingredient Is Doing Under the Frosting
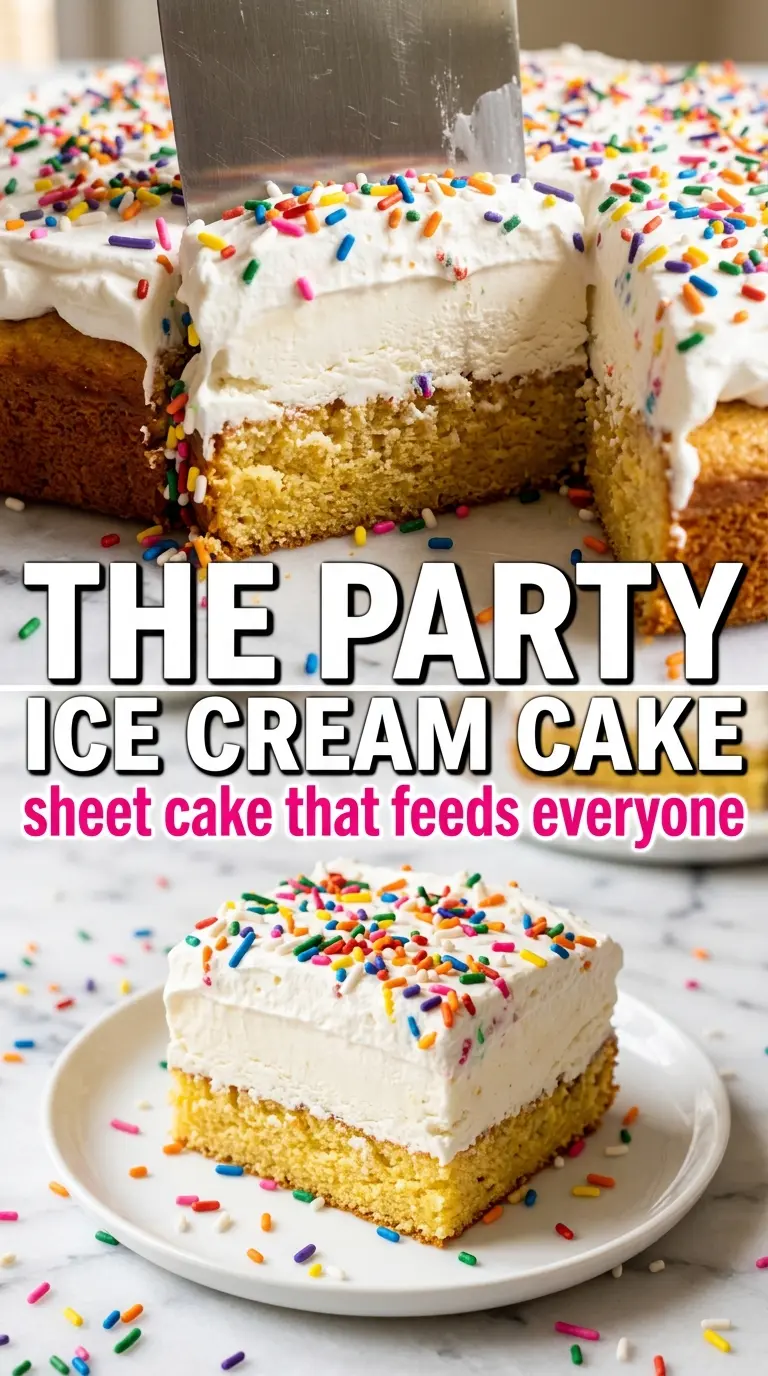
- Oreo cookies — These make the crust without a separate baking step. The filling helps the crumbs pack together, so you get a base that slices instead of flaking apart. Chocolate sandwich cookies from the store work best here because they grind evenly and set up well once frozen.
- Melted butter — This is what turns loose crumbs into a crust you can press firmly into the pan. You can use salted butter in a pinch, but unsalted gives you a little more control since the cookies already bring plenty of sweetness.
- Vanilla ice cream and chocolate ice cream — Softened, scoopable ice cream spreads into a smooth layer without tearing the crust. Higher-quality ice cream holds a cleaner texture after freezing, but any good full-fat carton will work. If one flavor softens much faster than the other, it can smear into the seam, so keep both containers cold until the last minute.
- Hot fudge sauce — Thick fudge gives you a distinct center layer instead of a wet chocolate soak. Warm it just enough to pour, not so much that it melts the ice cream on contact. If it gets too hot, let it cool for a few minutes before using it.
- Whipped topping — This is the frosting layer that makes the whole dessert look finished and keeps the top easy to decorate. Homemade whipped cream works for a softer, less stable finish, but it won’t hold up as long in the freezer or slice as neatly after a day or two.
Building the Cake So It Slices Cleanly
Pressing the Crust Firmly
Mix the crushed Oreos with melted butter until every crumb looks evenly coated, then press the mixture into the sheet pan in an even layer. Use the bottom of a measuring cup or a flat glass to pack it down hard, especially into the corners. A loose crust falls apart when you cut the cake, while a firmly packed one stays together and gives each slice structure. Freeze it for the full 20 minutes so it feels solid before the ice cream hits it.
Spreading the Ice Cream Without Tearing the Base
Let the ice cream soften at room temperature until it spreads easily but still holds shape. Start with one flavor on half the pan and the other on the opposite side, then work them together at the center for a clean split. If the ice cream is too soft, it turns greasy and mixes with the crust; if it’s too hard, it pulls the cookie layer up in clumps. Use an offset spatula and keep the pressure light.
Adding the Fudge Layer at the Right Temperature
Drizzle the hot fudge over the ice cream in ribbons, not in one thick pool. The surface should be cold enough to keep the fudge from melting straight through, but the fudge itself should still pour smoothly. If it thickens too much in the bowl, warm it just until it loosens again. Freeze the cake for 4 hours after this step so the fudge sets into the middle instead of staying soft.
Frosting and Decorating Before the Final Freeze
Cover the top completely with whipped topping, pushing it all the way to the edges so the crust is sealed in. Use sprinkles and gel frosting while the whipped topping is still soft enough to hold them. After decorating, freeze the cake at least 2 more hours. That last freeze is what gives you clean squares instead of sloppy scoops.
Three Ways to Make This Sheet Cake Fit the Party
Dairy-Free Version
Use dairy-free chocolate sandwich cookies, plant-based butter, and your favorite non-dairy ice cream and whipped topping. The texture will still be creamy and sliceable, but the freeze time may need a little extra margin because some nondairy brands soften faster once cut.
Gluten-Free Crust
Swap in gluten-free chocolate sandwich cookies and keep the rest of the recipe the same. The crust will be a touch more delicate, so press it firmly and chill it well before adding the ice cream. Don’t skip the first freeze or the base can crumble when sliced.
Birthday Cake Style
Keep the same structure but swap the chocolate layer for strawberry or another bright flavor if you want a more classic party look. The cake will read sweeter and lighter, and the contrast between the dark crust and colorful top makes the decorations pop even more.
Storage and Reheating
- Refrigerator: Not recommended. This cake belongs in the freezer, and the whipped topping will soften fast in the fridge.
- Freezer: Keeps well for up to 1 week, tightly covered. After that, the crust can start to pick up freezer flavor and the whipped topping loses its clean look.
- Reheating: No reheating needed. For the cleanest slices, let the cake sit at room temperature for 5 to 10 minutes before cutting. If you cut it straight from the freezer, the layers can crack and the crust may split.
Questions I Get Asked About This Recipe
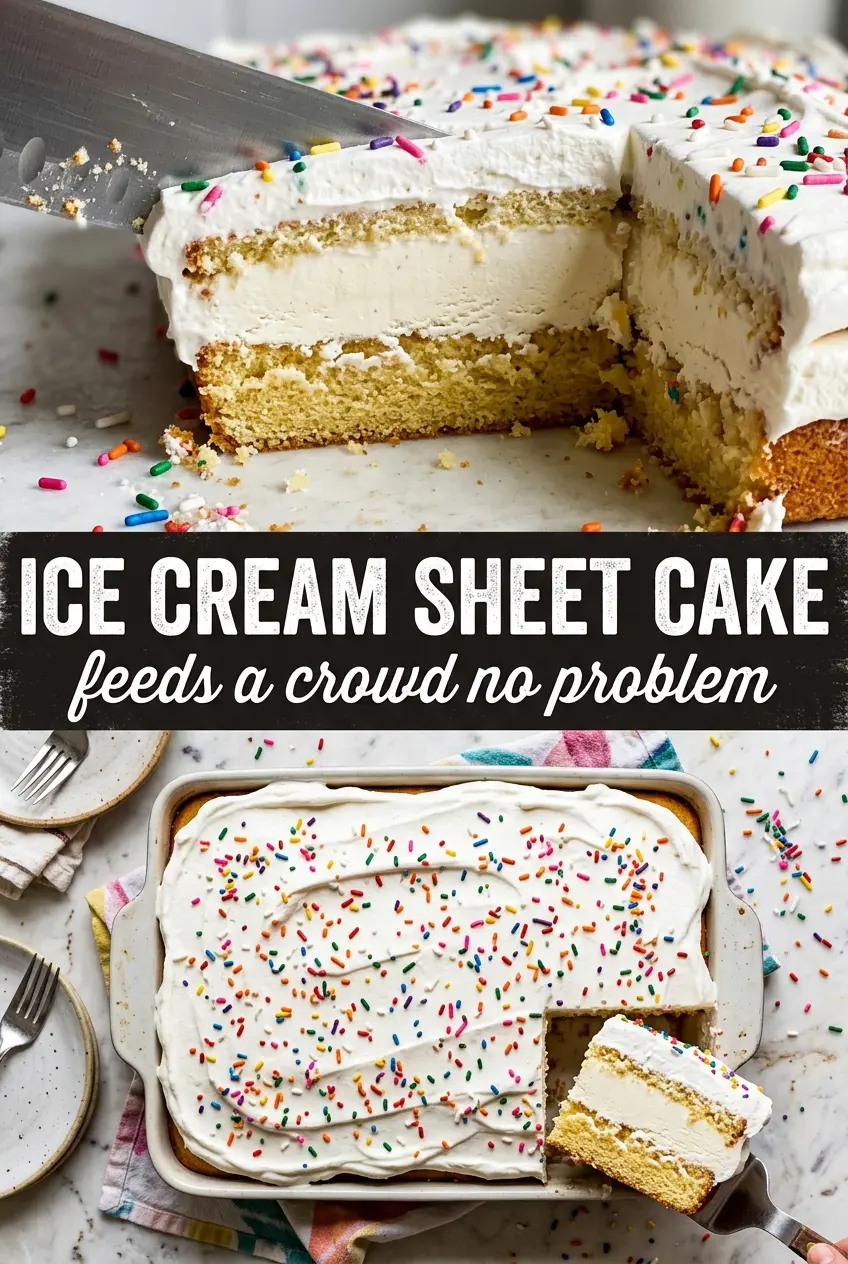
Ice Cream Sheet Cake
Ingredients
Equipment
Method
- Combine crushed Oreos and melted butter, then press the mixture into a 12x18 sheet pan. Press firmly so the crust holds together when sliced.
- Freeze the crust for 20 minutes to firm it up before adding ice cream.
- Spread vanilla ice cream over half the crust, then spread chocolate ice cream over the other half, meeting in the middle for a neapolitan effect. Use an even layer so the slices show clear stripes.
- Drizzle hot fudge sauce over the ice cream, spreading it lightly so it doesn’t just pool in one spot. Freeze for 4 hours so the sauce sets.
- Cover the top completely with whipped topping, smoothing to the edges. Make sure there are no ice cream gaps showing through.
- Decorate with colorful sprinkles and gel frosting piping to mimic a decorated birthday cake. Add piping details while the surface is still firm for clean lines.
- Freeze for at least 2 more hours before slicing into squares. Let slices sit briefly just to clean the cut, if needed, before serving.