Ice cream sundae cake delivers all the fun of a diner-style sundae in a neat, sliceable dessert that actually holds together on the plate. The best versions have contrast in every bite: a firm cookie or brownie base, cold vanilla ice cream, thick ribbons of fudge and caramel, and a whipped top that keeps the whole thing from feeling heavy. It looks like a celebration, but it eats like a dessert that was planned by someone who knows how frozen layers behave.
The trick is giving each layer enough time to firm up before the next one goes on. Softened ice cream spreads without tearing up the base, but it still needs a long freeze so the fudge and caramel stay tucked inside instead of turning muddy. A springform pan helps a lot here because you can release the cake without prying it out and cracking the edges. That clean release is what makes the slices look special instead of slumped.
Below, I’ll walk through the part that matters most: how to layer it so the ribbons stay visible, how to decorate it so it looks bakery-worthy, and what to do if you want to swap the base or change the toppings without losing the structure.
The layers froze up beautifully and the fudge stayed in distinct ribbons instead of mixing into the ice cream. I used brownies for the base, and every slice came out clean after the last freeze.
Like this ice cream sundae cake? Save it to Pinterest for birthdays, backyard parties, and the nights when you want a frozen dessert that slices clean.
The Freeze Times That Keep the Layers Separate
The biggest mistake with a dessert like this is rushing the freezer. If the base isn’t firm before the ice cream goes in, the whole thing starts sliding, and if the ice cream layer isn’t solid before the topping goes on, the whipped cream can sink and smear the drizzle. The structure comes from patience, not extra ingredients.
Frozen desserts also need time to set from the center out. A quick chill only firms the edges, which is why slices can look good on top and collapse as soon as the knife goes in. Give each major layer enough time to lock in before moving to the next one, and the finished cake will cut into tidy wedges instead of chunky scoops.
- Freeze the base first so it acts like a cold floor instead of a loose crumb layer.
- Spread the ice cream while it’s softened, not melted. You want spreadable, not soupy.
- Return the cake to the freezer after the fudge and caramel go in so the ribbons stay defined.
- Do the final freeze after decorating. That last rest is what gives you clean slices.
What Each Layer Is Doing in This Sundae Cake
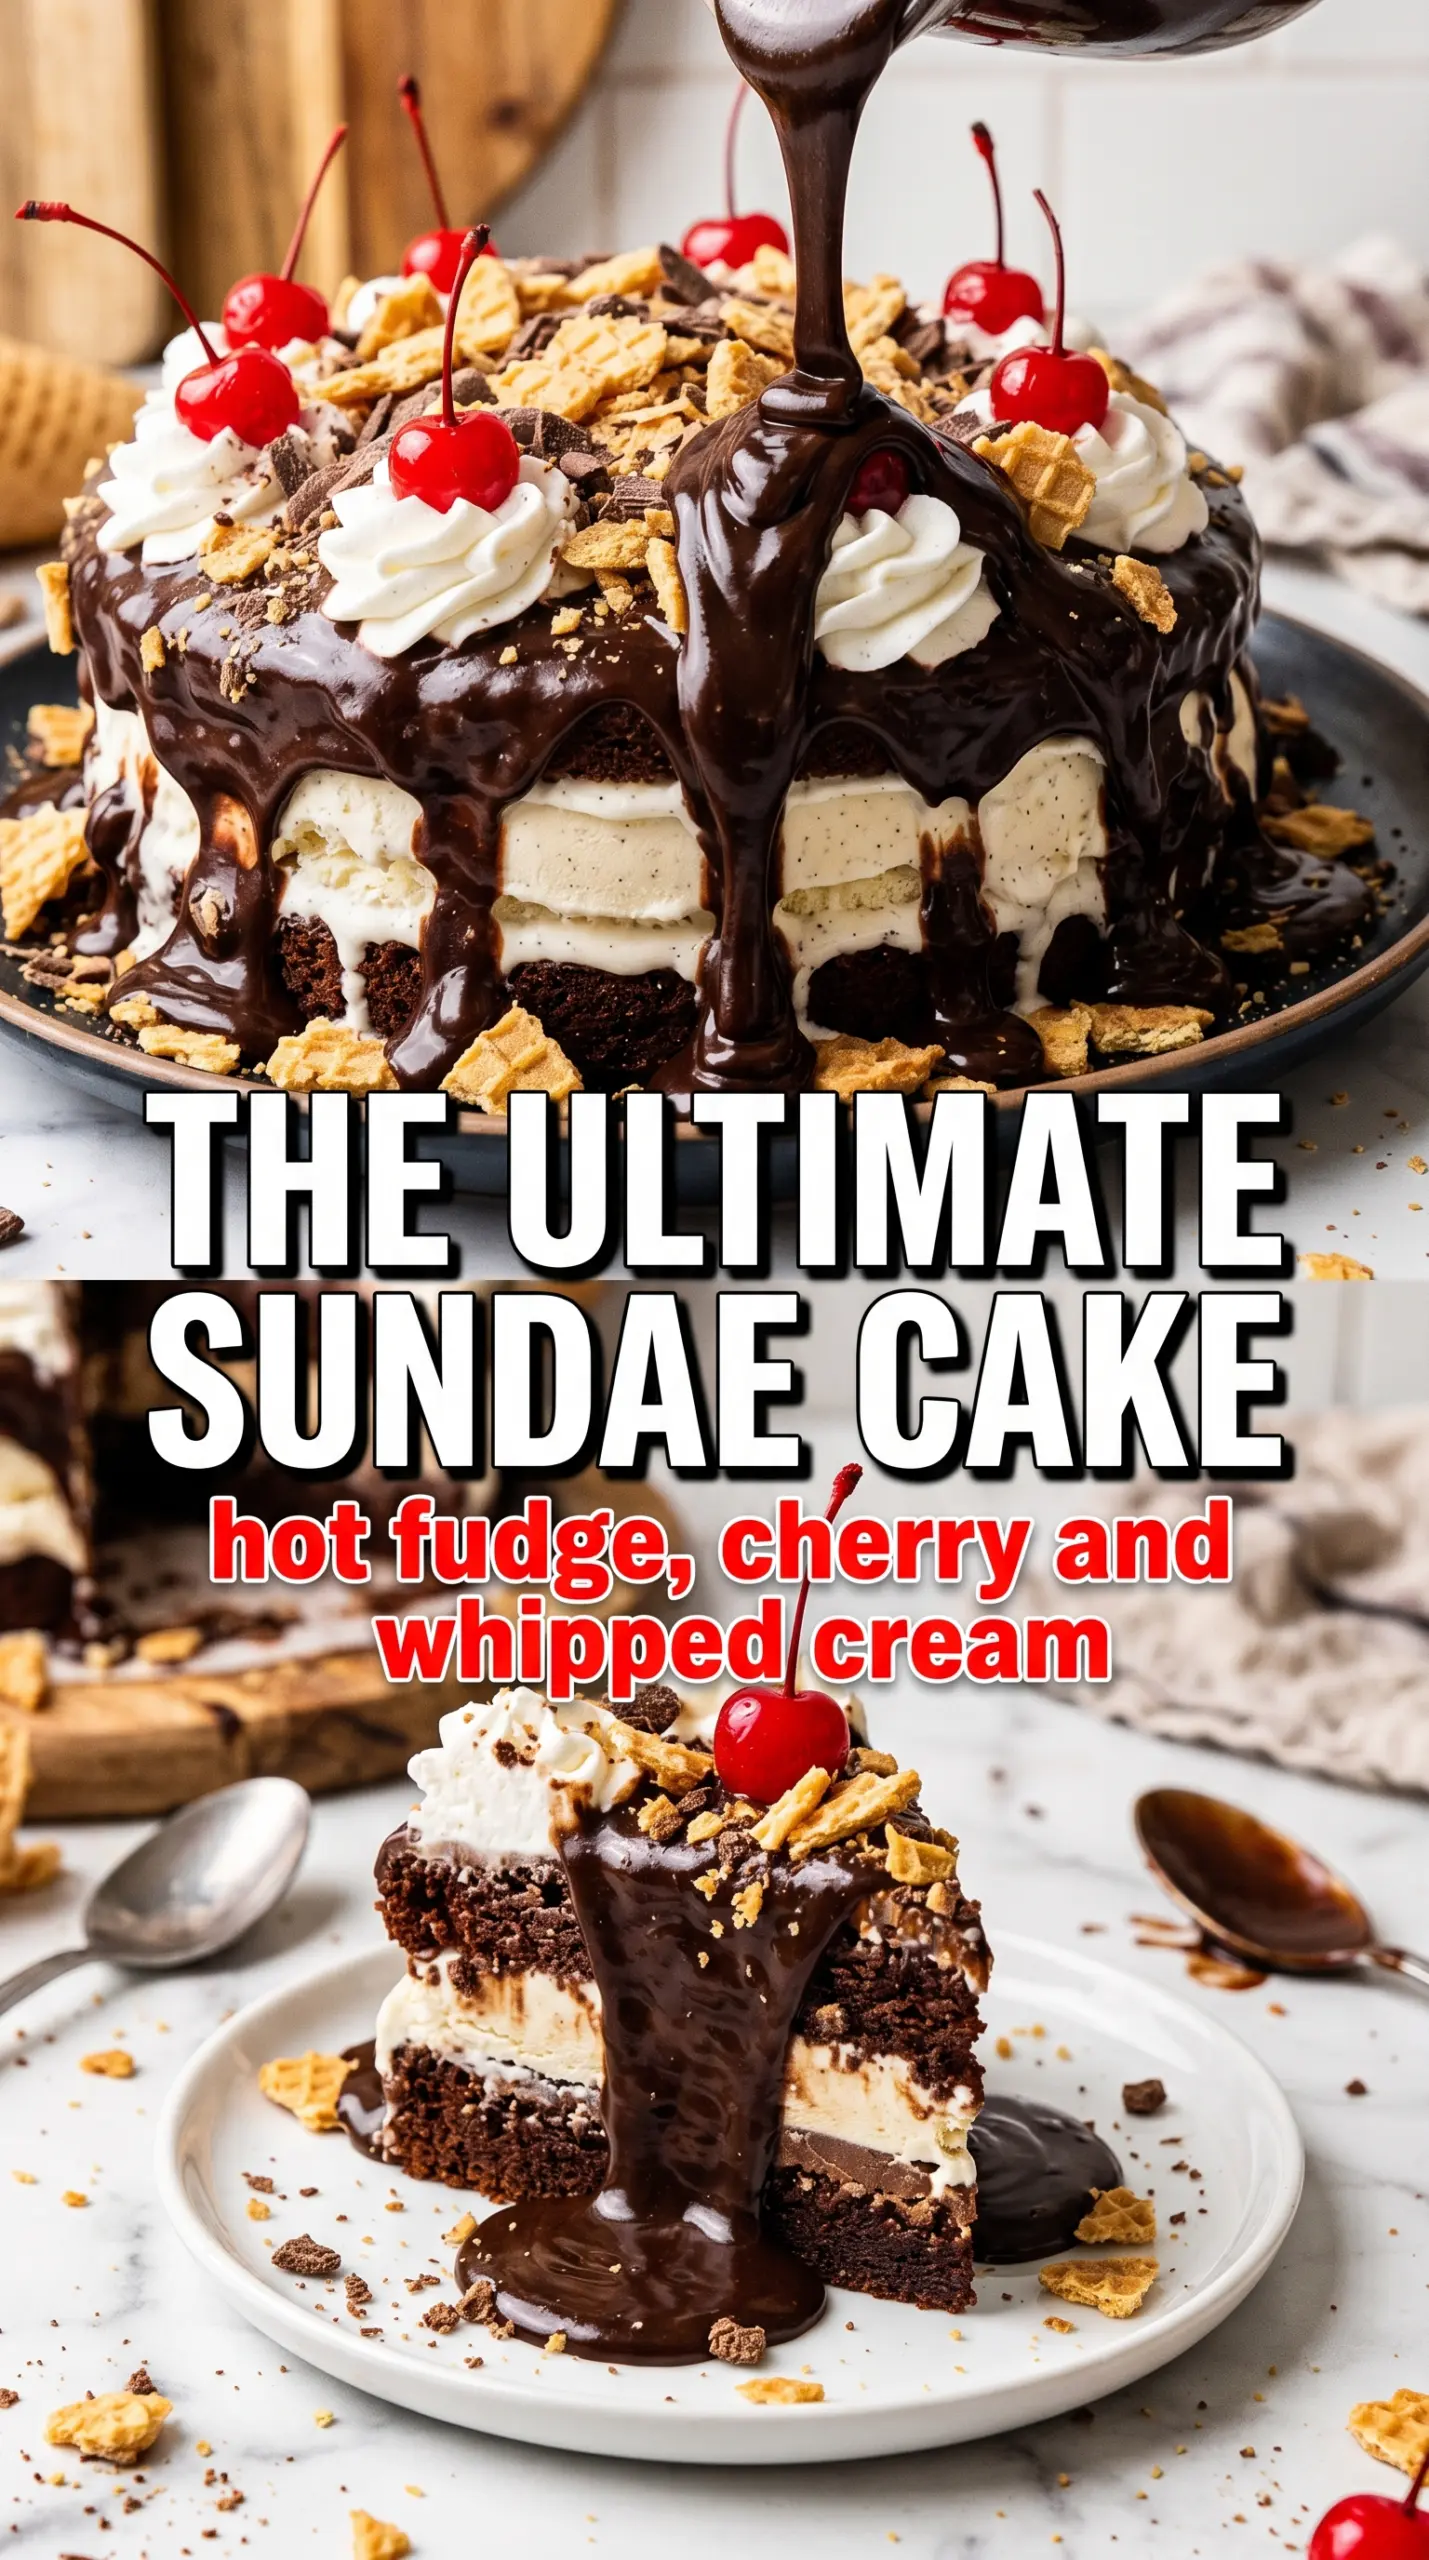
- Oreos or brownies — This is the foundation. Oreos give you a crisp, cookie-crumb crunch, while brownies turn the cake into a richer, fudgier dessert. Brownies need to be fully cooled before they go into the pan, or the ice cream will start melting at the edges.
- Vanilla ice cream — Vanilla is the right choice because it lets the fudge, caramel, and toppings taste loud. Soften it just enough to spread easily. If it gets too soft, it refreezes dense and can turn icy instead of creamy.
- Hot fudge sauce — Use a sauce that stays thick when cold. Thin syrupy fudge disappears into the ice cream and won’t give you those dark ribbons in the slice.
- Caramel sauce — Caramel adds the buttery note that makes this taste like a real sundae instead of plain ice cream cake. Jarred caramel works fine here as long as it’s pourable, not hard candy.
- Whipped topping — This is the frosting layer, and it’s what makes the top clean and light. Stabilized whipped topping holds better than fresh whipped cream if the cake will sit out for a few minutes before serving.
- Sprinkles, cherries, and peanuts — These are for the sundae look and the texture finish. Add the cherries last so they stay bright and don’t bleed into the topping.
Building the Cake So It Slices Cleanly
Setting the Base
Press the Oreo crumbs or brownie layer firmly into the bottom of the springform pan. You want an even layer that feels compact under the back of a spoon, not loose and sandy. Freeze it for 15 minutes so the ice cream doesn’t sink into the base as soon as it’s spread. If the base is soft, the first slice will drag and crack instead of lifting cleanly.
Spreading the Ice Cream Layer
Let the vanilla ice cream sit at room temperature just until it yields when stirred. Spread it over the cold base in an even layer, working quickly so it stays thick and scoopable. Drizzle the hot fudge and caramel over the top, then use a knife or offset spatula to make a few gentle swirls. Stop before the colors blend completely; you want visible streaks in the finished slice.
Freezing the Structure
Freeze the cake until it feels hard all the way through, not just around the edges. Four hours is the minimum here, and longer is safer if your freezer runs warm or the pan is deep. If the center still gives when you press it, the topping will slide when you add it. A fully firm middle is what lets the cake hold its height.
Finishing the Top
Spread the whipped topping smooth over the cake and bring it all the way to the edges. This layer hides the swirls a little, so save your sprinkles, drizzles, and cherries for the end. Add the decorations, then freeze the cake again so the top sets before slicing. That last freeze is the difference between a pretty cake and a puddly one.
How to Adapt This for a Crowd, a Different Base, or a Dairy-Free Version
Brownie base for a richer slice
Swap the Oreo crust for cooled brownies if you want a denser, more chocolate-forward cake. The texture becomes softer and more fork-like, which works especially well with the caramel and fudge. Just cool the brownies completely before pressing or layering them in the pan.
Dairy-free sundae cake
Use a dairy-free vanilla ice cream, a coconut-based whipped topping, and check that your fudge and caramel sauces are dairy-free too. The cake still freezes well, but the flavor will lean a little more toward coconut or oat depending on the brand you pick. Choose a base with a stronger chocolate note if you want the topping flavors to stand out.
Extra toppings for a birthday look
Add chopped peanuts, crushed cookies, or extra sprinkles after the whipped layer goes on. Keep anything heavy or crunchy toward the center so it doesn’t slide off the sides when the cake is sliced. If you want a cleaner look, pipe the whipped topping around the edge first and fill the center with the drizzles.
Storage and Reheating
- Refrigerator: Don’t store this in the fridge. It will soften and lose its structure within minutes.
- Freezer: Wrap the pan well and freeze for up to 1 week for the best texture. After that, the ice cream can start to pick up freezer flavors.
- Reheating: Not applicable. Let the cake sit at room temperature for 5 to 10 minutes before slicing so the knife moves through the layers instead of cracking them.
Answers to the Questions Worth Asking
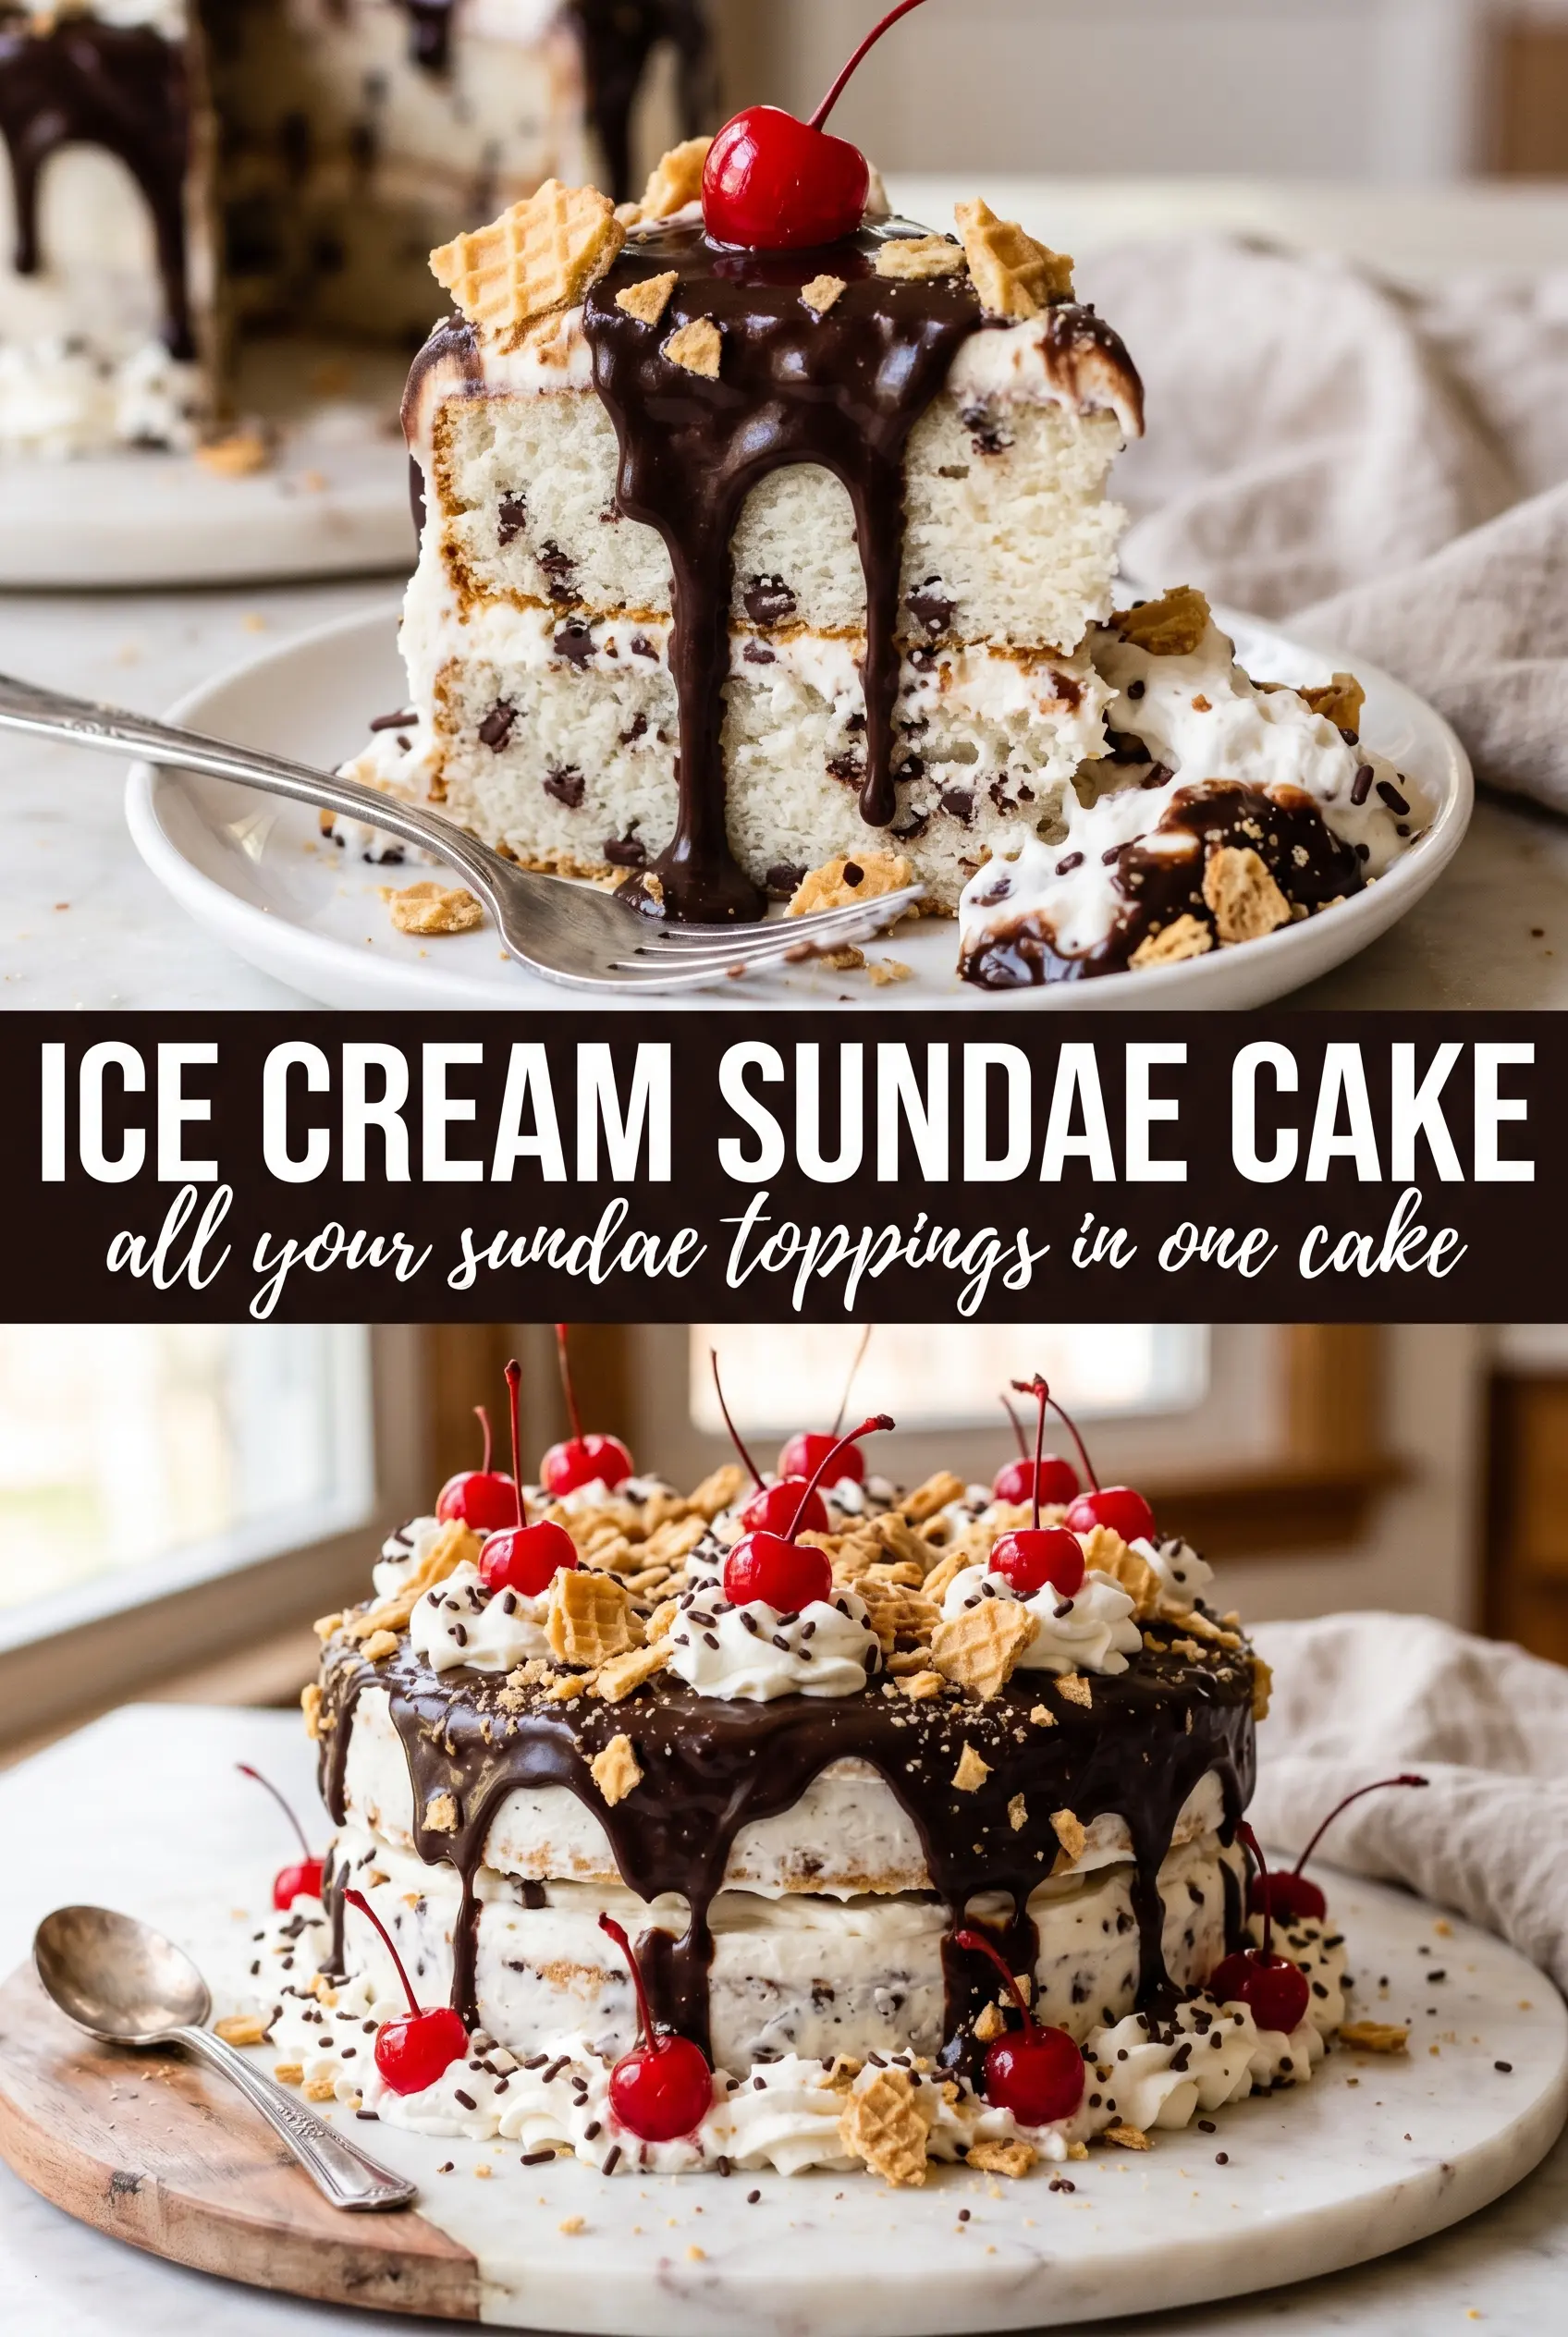
Ice Cream Sundae Cake
Ingredients
Equipment
Method
- Press the crushed Oreos or cooled brownie base firmly into a 9-inch springform pan to form an even crust. Freeze for 15 minutes, until the base looks set and holds its shape.
- Spread the softened vanilla ice cream over the crust in an even layer. Drizzle hot fudge sauce and caramel sauce over the ice cream and swirl gently so streaks remain visible.
- Freeze for 4 hours until completely firm throughout. The surface should feel hard and sliceable rather than soft.
- Top with whipped topping and spread it smooth over the top and sides. Use a flat spatula to seal the edges so the frozen layers stay covered.
- Decorate the cake with rainbow sprinkles, additional drizzled hot fudge and caramel, chopped peanuts if using, and maraschino cherries. Finish with a bright sprinkle layer on top so it matches the sundae look.
- Freeze for 2 more hours before slicing to ensure clean cuts. The cake should be fully frozen and firm enough to slice without cracking the whipped topping.