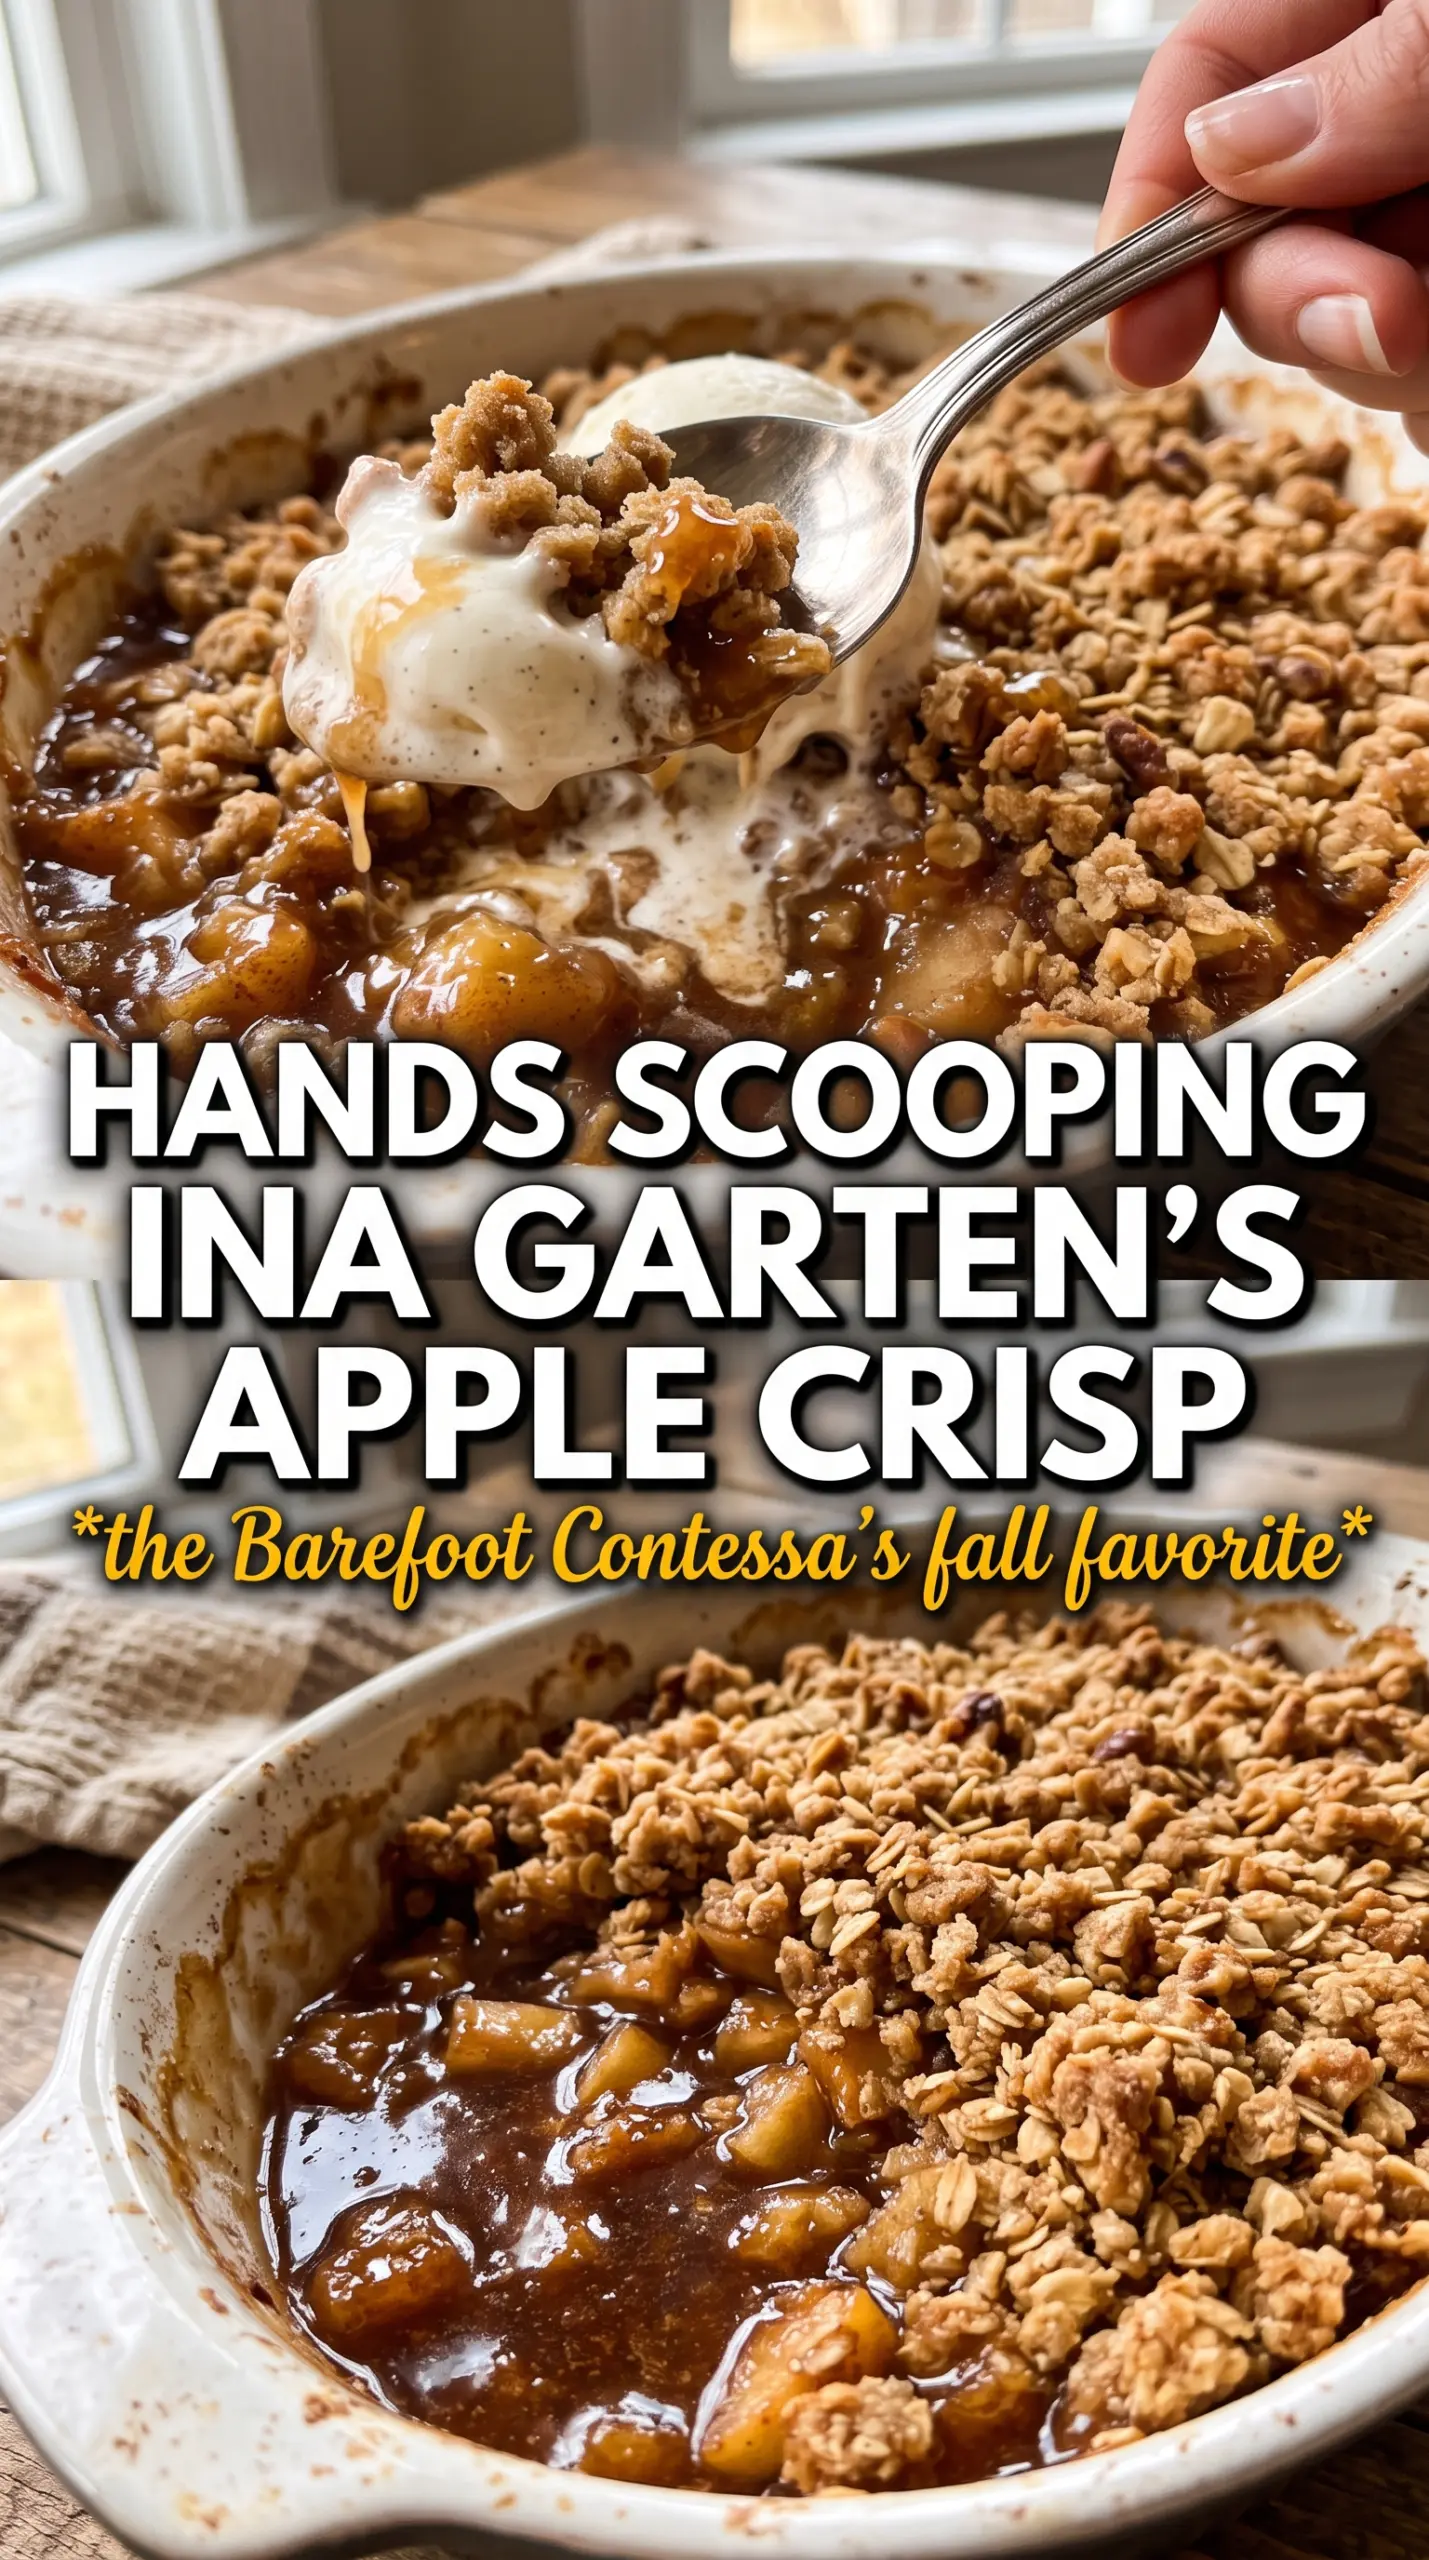
Warm apple crisp hits the table with soft, jammy fruit underneath a thick oat-and-brown-sugar crumble that turns deeply golden at the edges. The best versions don’t go mushy or dry out in the oven; they stay spoonable in the middle and crisp on top, with enough buttery crunch to carry every bite.
This version leans on a mix of Macintosh or Braeburn apples, which gives you both tenderness and a little structure. The citrus zest and juice brighten the filling just enough to keep the dessert from tasting flat, while the topping stays generous and rustic instead of fussy. Cold butter matters here. If it softens before it hits the oven, the crumble turns sandy instead of clumpy.
Below, I’ll walk through the one detail that keeps the topping crisp and the apples tender at the same time, plus a few smart swaps if you’re working with the apples you already have.
The topping came out shatteringly crisp and the apples were tender all the way through without turning to applesauce. I used Braeburns and the orange zest made the filling taste brighter, not sweeter.
Love the cinnamon-kissed apple filling and oat crumble? Save this Ina Garten apple crisp for the next time you want a bubbling dessert with a crisp, buttery top.
The Reason the Crumble Stays Crisp Instead of Turning Sandy
The topping in this apple crisp depends on cold butter and a light hand. You want pea-sized clumps, not a damp paste. Those little butter pockets melt in the oven and leave behind a craggy topping with crunch in every forkful. If you overwork it, the flour absorbs too much butter and the finished topping bakes up dense instead of crisp.
The other place people go wrong is the fruit. Apples release a lot of liquid as they bake, and if the slices are too thin or the dish is overcrowded, you get a soupy bottom. Thick slices hold their shape better, and the big baking dish gives the filling room to bubble and reduce. That bubbling is the signal you want. It means the fruit has softened and the juices have concentrated instead of just steaming.
What Each Ingredient Is Actually Doing in This Apple Crisp
- Macintosh or Braeburn apples — Macintosh softens into a more spoonable filling, while Braeburn holds a little more shape. Either works, but a mix gives you the best of both textures. If you swap in firmer apples like Granny Smith, the crisp will taste sharper and need a few extra minutes in the oven.
- Orange and lemon zest plus juice — The zest wakes up the filling, and the juice keeps the sweetness from turning one-note. The citrus does more than brighten flavor; it also helps the apples taste fresher after baking. Don’t skip the zest if you want the filling to taste layered instead of flat.
- Brown sugar in the topping — This is what gives the crumble its caramel edge and deeper color. White sugar alone will still sweeten the topping, but it won’t give you the same rich, almost toffee-like finish.
- Cold unsalted butter — Cold butter is the difference between clumpy crumbs and a dry sandy layer. Dice it first, then work it into the dry ingredients quickly so it stays cool until it hits the oven.
- Old-fashioned oats — They add structure and a little chew, which keeps the topping from reading like plain streusel. Quick oats will work in a pinch, but the texture comes out finer and less substantial.
Building the Fruit Layer and Crumble So They Bake at the Same Pace
Coating the Apples Thoroughly
Toss the sliced apples with the citrus, sugar, and spices until every piece looks lightly glossy. That coating matters because it pulls out some moisture and seasons the fruit all the way through. If you leave dry pockets behind, those pieces bake up bland and a little tough. Spread the apples evenly in the dish so they cook at the same rate; piled-up fruit steams before it softens.
Making the Crumble by Hand
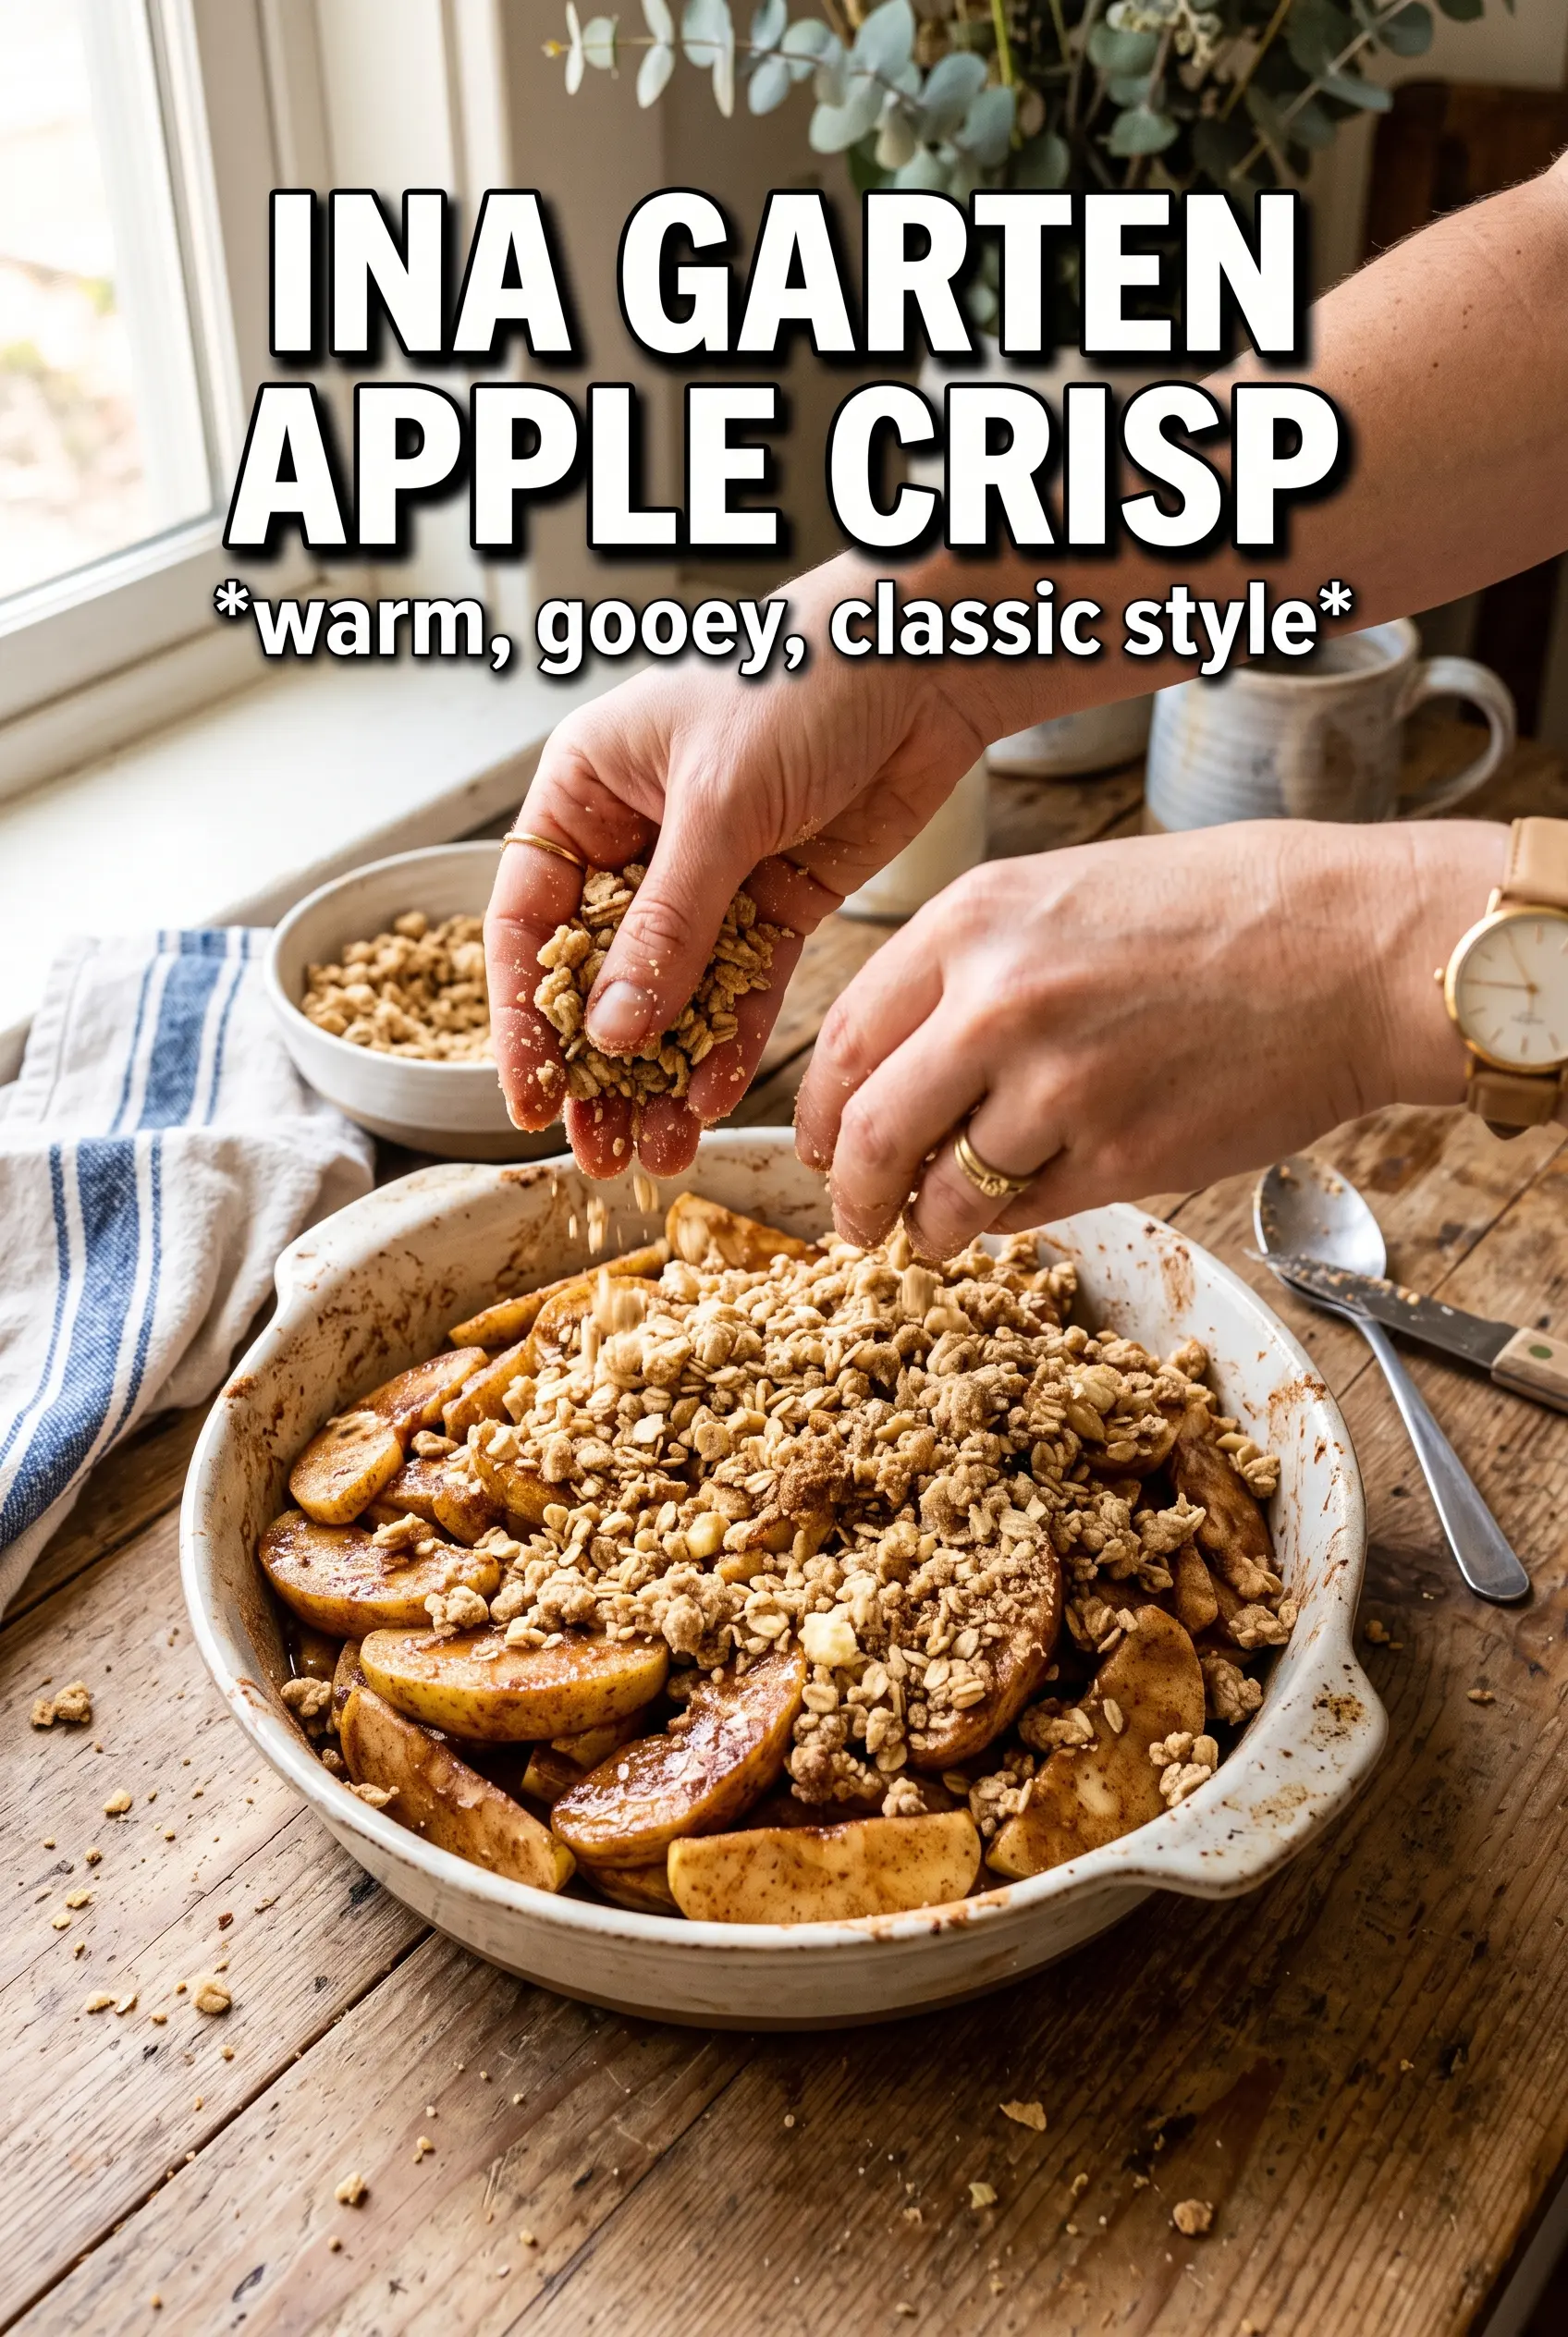
Combine the flour, both sugars, salt, and oats first, then add the cold butter and work it in with your fingertips. Stop when the mixture forms uneven clumps about the size of peas and hazelnuts. If it starts to feel greasy or looks like wet sand, the butter has warmed too much. Chill the bowl for a few minutes before topping the fruit if that happens.
Baking Until the Middle Bubbles
Scatter the crumble over the apples in a thick, even layer, covering every inch. Bake until the top is deeply golden and the filling bubbles around the edges and in the center, not just at the corners. If the top browns before the fruit is tender, lay a sheet of foil loosely over the dish for the last part of baking. The crisp is done when a spoon slides easily through the apples and the juices look thick, not watery.
Use Pears for a Softer, More Floral Filling
You can replace part of the apples with ripe pears, but keep at least half apples so the filling doesn’t collapse into puree. Pears bake faster and taste sweeter, so the crisp comes out softer and a little more fragrant. Bartlett or Bosc are the best choices because they hold shape better than very juicy varieties.
Make It Gluten-Free with a 1:1 Flour Blend
Use a cup-for-cup gluten-free flour blend in place of the all-purpose flour. The crumble will still bake up crisp, though it may feel a touch more delicate when warm. Keep the oats in place if they’re certified gluten-free, because they give the topping its best texture.
Reduce the Sugar Without Losing the Structure
You can cut each sugar by a few tablespoons if your apples are naturally sweet, but don’t remove too much. Sugar helps the fruit juices thicken as they bake and gives the topping its crisp edge. Pulling it back too far leaves the filling thin and the crumble less browned.
Storage and Reheating
- Refrigerator: Store covered for up to 4 days. The topping softens a bit in the fridge, but the flavor stays excellent.
- Freezer: Freeze baked crisp in portions or as a whole dish, tightly wrapped, for up to 2 months. Thaw overnight in the refrigerator before reheating so the center doesn’t stay icy.
- Reheating: Warm in a 325F oven until heated through and the topping crisps back up, usually 15 to 20 minutes. The microwave will soften the crumble and make it soggy, so skip it if you want the best texture.
Questions I Get Asked About This Recipe
Ina Garten Apple Crisp
Ingredients
Equipment
Method
- Preheat the oven to 350F.
- Toss the sliced apples with orange zest, lemon zest, orange juice, lemon juice, granulated sugar, cinnamon, and nutmeg, then spread them in a 14x9x2 inch baking dish.
- Combine all-purpose flour, granulated sugar, light brown sugar, kosher salt, and old-fashioned oats.
- Add the cold diced butter and work with your fingers until the mixture forms pea-sized clumps.
- Scatter the crumble topping over the apples, covering every inch generously.
- Bake for 55-60 minutes, until the top is golden brown and the apples are tender and bubbling.
- Serve warm with vanilla ice cream or whipped cream.