Individual apple crumbles bake up with bubbling cinnamon apples underneath a golden oat topping that stays crisp at the edges and tender in the middle. Serving them in ramekins gives each portion its own deep, caramelized lid, which means more crunchy topping in every spoonful and no scooping battles at the table. They land warm and rustic, with just enough syrupy filling to soak into the crumble without making it soggy.
The trick is cooking the apple filling briefly before it goes into the oven. That step gets the apples started, dissolves the sugar, and activates the cornstarch so the juices thicken instead of running all over the ramekin. Cold butter in the crumble matters too. When it stays in little chunks, those pieces melt during baking and leave behind crisp pockets instead of a sandy topping.
Below, I’ve included the small details that keep the topping crisp, the filling thick, and the apples tender instead of mushy. There’s also a storage note for making these ahead, because these reheat better than most fruit desserts.
The filling thickened right in the skillet and the topping stayed crisp even after we added ice cream. I loved getting my own ramekin — no soggy bottom and every bite had that buttery crunch.
Save these individual apple crumbles for the nights when you want warm cinnamon apples and a crisp oat topping in single-serving ramekins.
The Reason Individual Crumbles Stay Crisp While Big Ones Go Soft
Single-serving crumbles solve one of the biggest fruit dessert problems: steam. In a large baking dish, the filling often has a longer path to bubble up through the topping, which can leave the center a little loose and the edges less crisp. In ramekins, the filling cooks faster and more evenly, so the topping browns before the apples turn to mush.
The other advantage is portion control for the baking time. Each ramekin gives you a deeper layer of topping than you might get in one wide pan, and that extra thickness creates more crunch after the butter melts and the oats toast. The payoff is a dessert that keeps its structure from the first spoonful to the last.
- Ramekins — Use 6- to 8-ounce ramekins with enough depth to hold the filling and a generous topping. Shallow dishes brown too quickly on top before the apples are fully tender.
- Cornstarch — This thickens the apple juices as they heat. Flour can work in a pinch, but it leaves a slightly cloudier, heavier filling.
- Cold butter — For the crumble, cold butter is non-negotiable. Warm butter blends into paste and bakes up sandy instead of forming crisp craggy bits.
What Each Ingredient Is Doing in the Filling and Topping
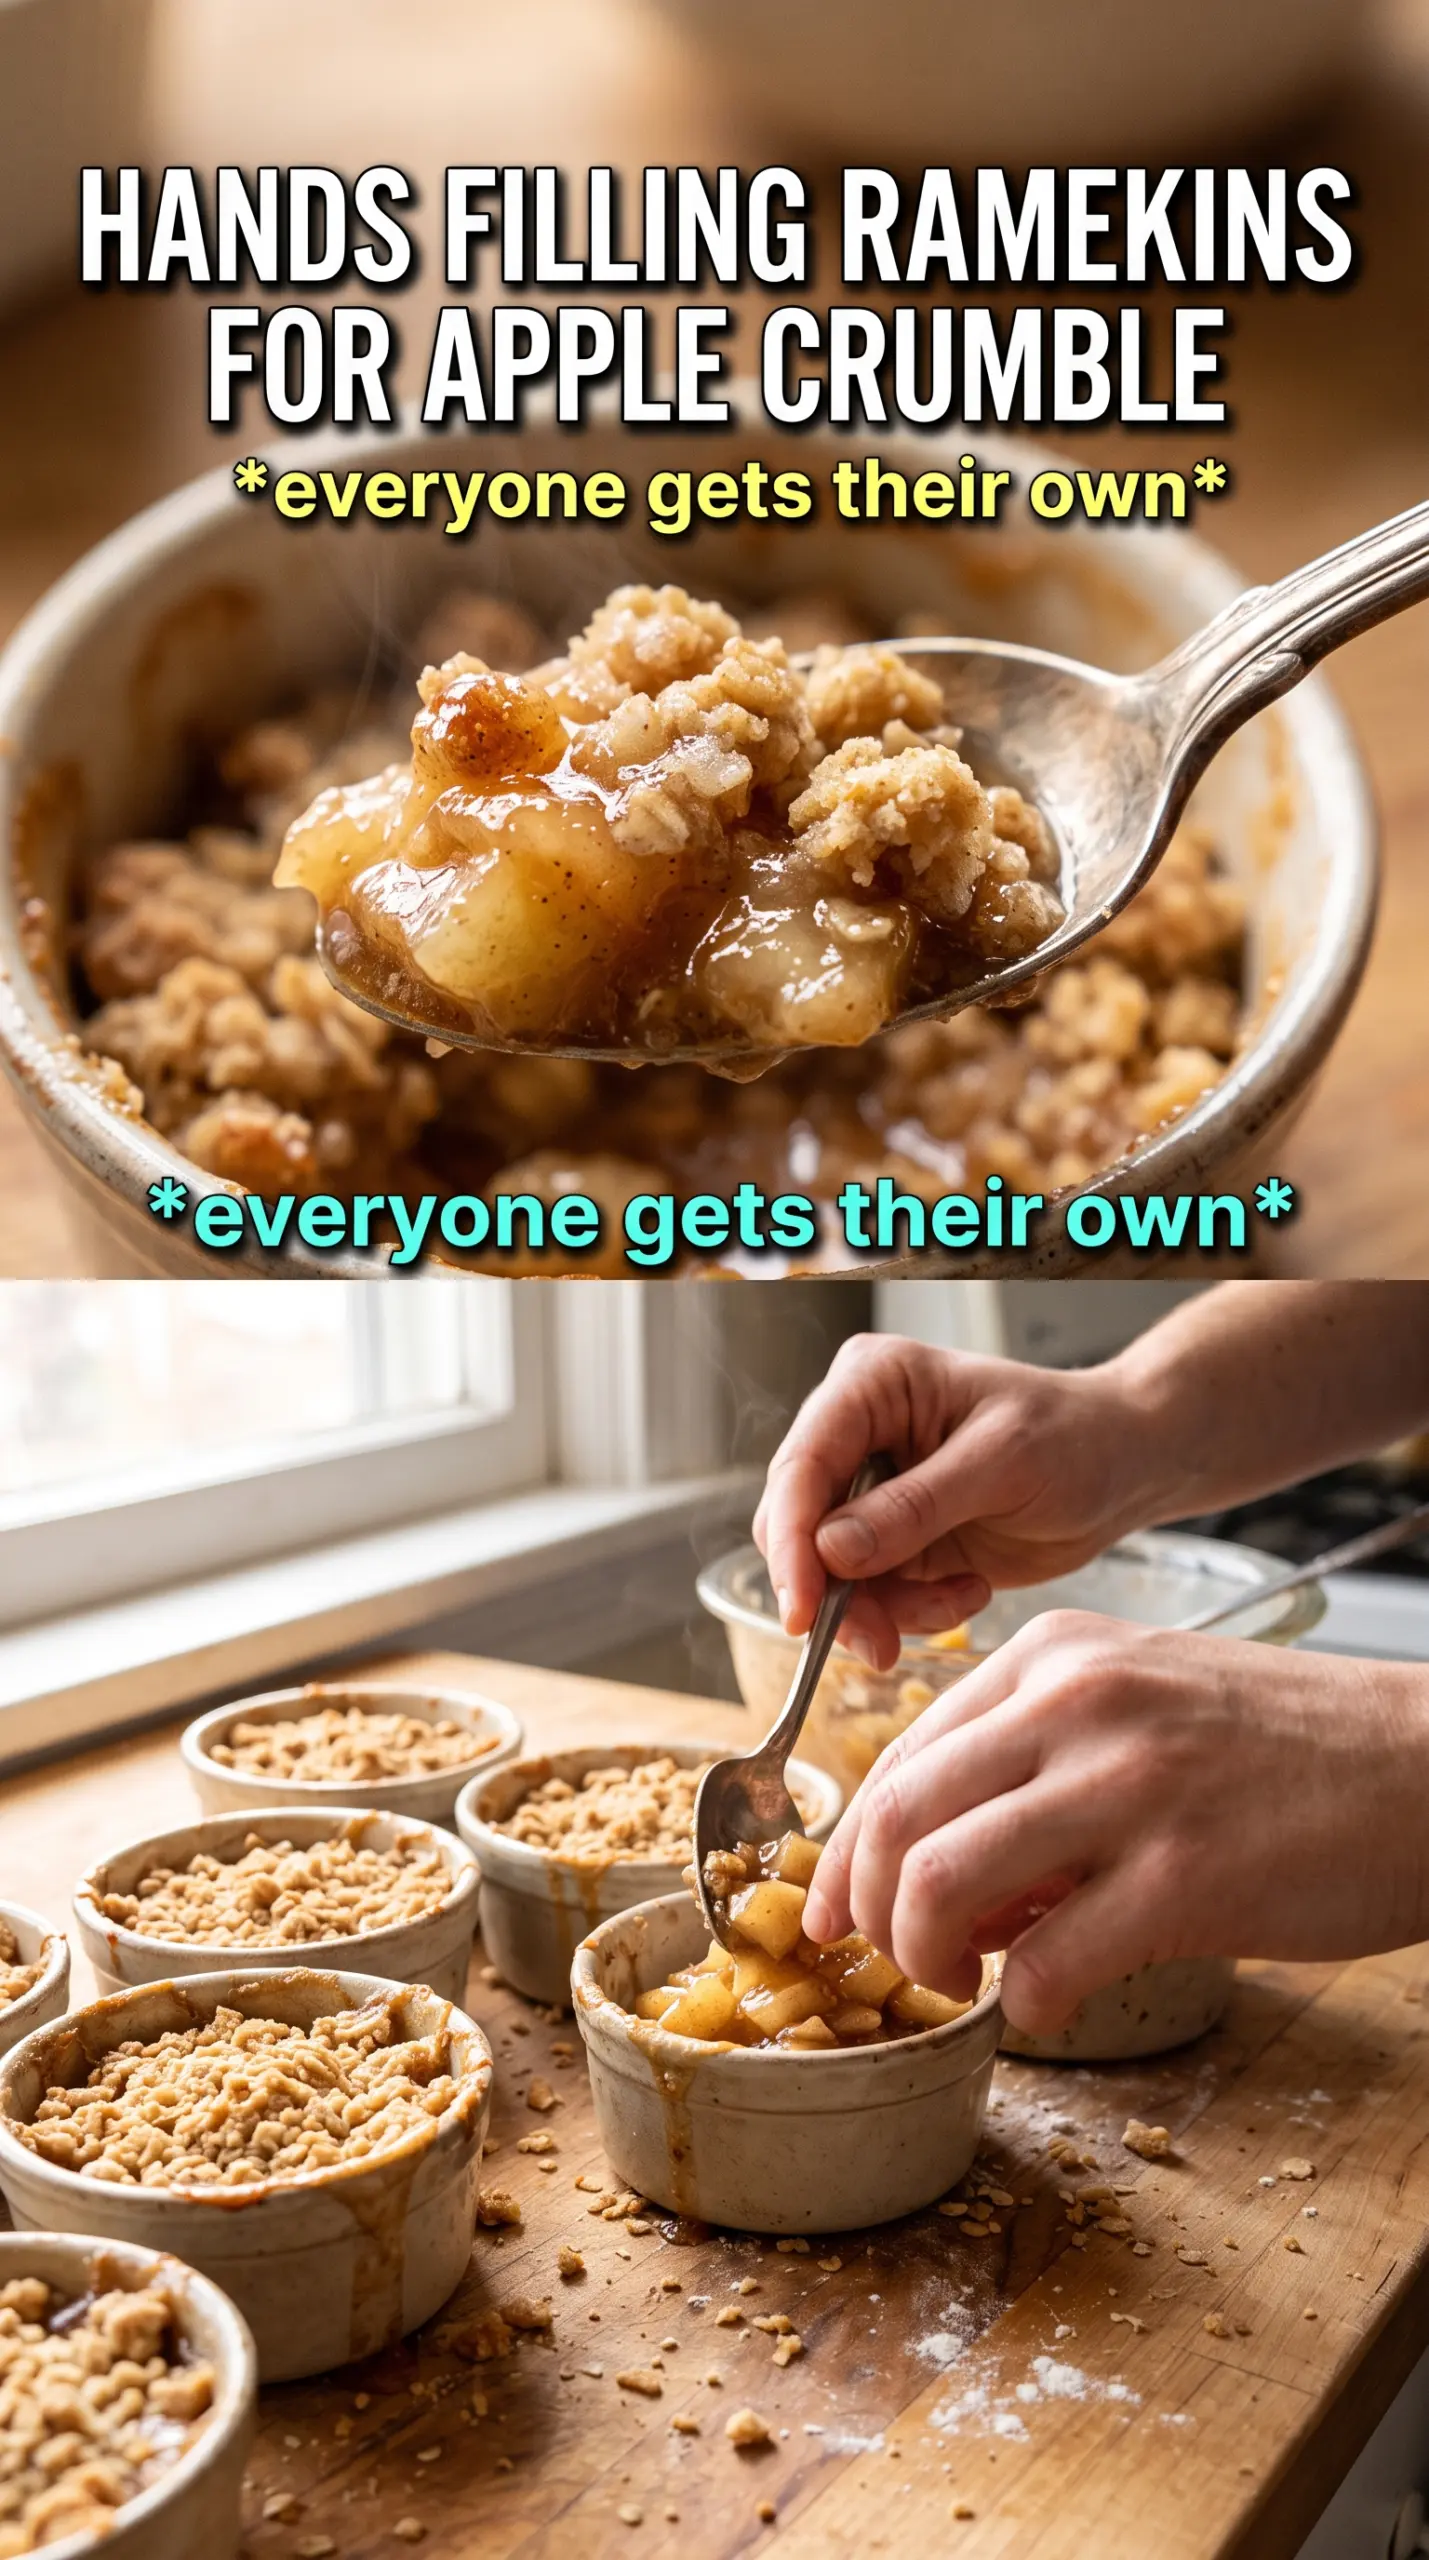
- Apples — Peel and finely dice them so they soften quickly and fit neatly into each ramekin. Granny Smith gives more tartness and structure, while Honeycrisp or Fuji bring a sweeter, juicier crumble.
- Lemon juice — This keeps the apples bright and keeps the sweetness from tasting flat. It also helps the filling taste balanced once the sugar and cinnamon cook down.
- Rolled oats — Old-fashioned oats bring the best texture. Quick oats soften too much and turn the topping dense.
- Brown sugar — This gives the topping its deep caramel note and helps it brown. Light brown sugar is fine here; dark brown sugar will taste a little richer and more molasses-heavy.
- All-purpose flour — It binds the crumble so the topping forms clumps instead of a loose sprinkle. If you need gluten-free, use a 1:1 gluten-free baking blend that includes xanthan gum.
- Butter — Unsalted butter lets you control the seasoning. Cut it into cubes while it is cold, then work it in until you have uneven, pebble-like pieces for the best texture.
Building the Filling Before the Topping Goes On
Softening the Apples in the Skillet
Cook the diced apples with sugar, cinnamon, nutmeg, cornstarch, lemon juice, and butter over medium heat until the mixture turns glossy and the juices thicken slightly, about 5 to 7 minutes. You want the apples just starting to soften, not collapsing into puree. If the pan gets too hot, the juices will reduce before the cornstarch has a chance to activate, and the filling can end up dry instead of syrupy.
Mixing the Crumble Until It Clumps
Stir the oats, flour, brown sugar, cinnamon, and salt together first, then cut in the cold butter until the mixture looks chunky and uneven. Some pieces should be pea-sized and some a little larger; that range is what gives you crisp crags after baking. If you keep mixing until it looks uniform, the topping loses its texture and bakes up more like cookie dough than crumble.
Baking Until the Filling Bubbles at the Edges
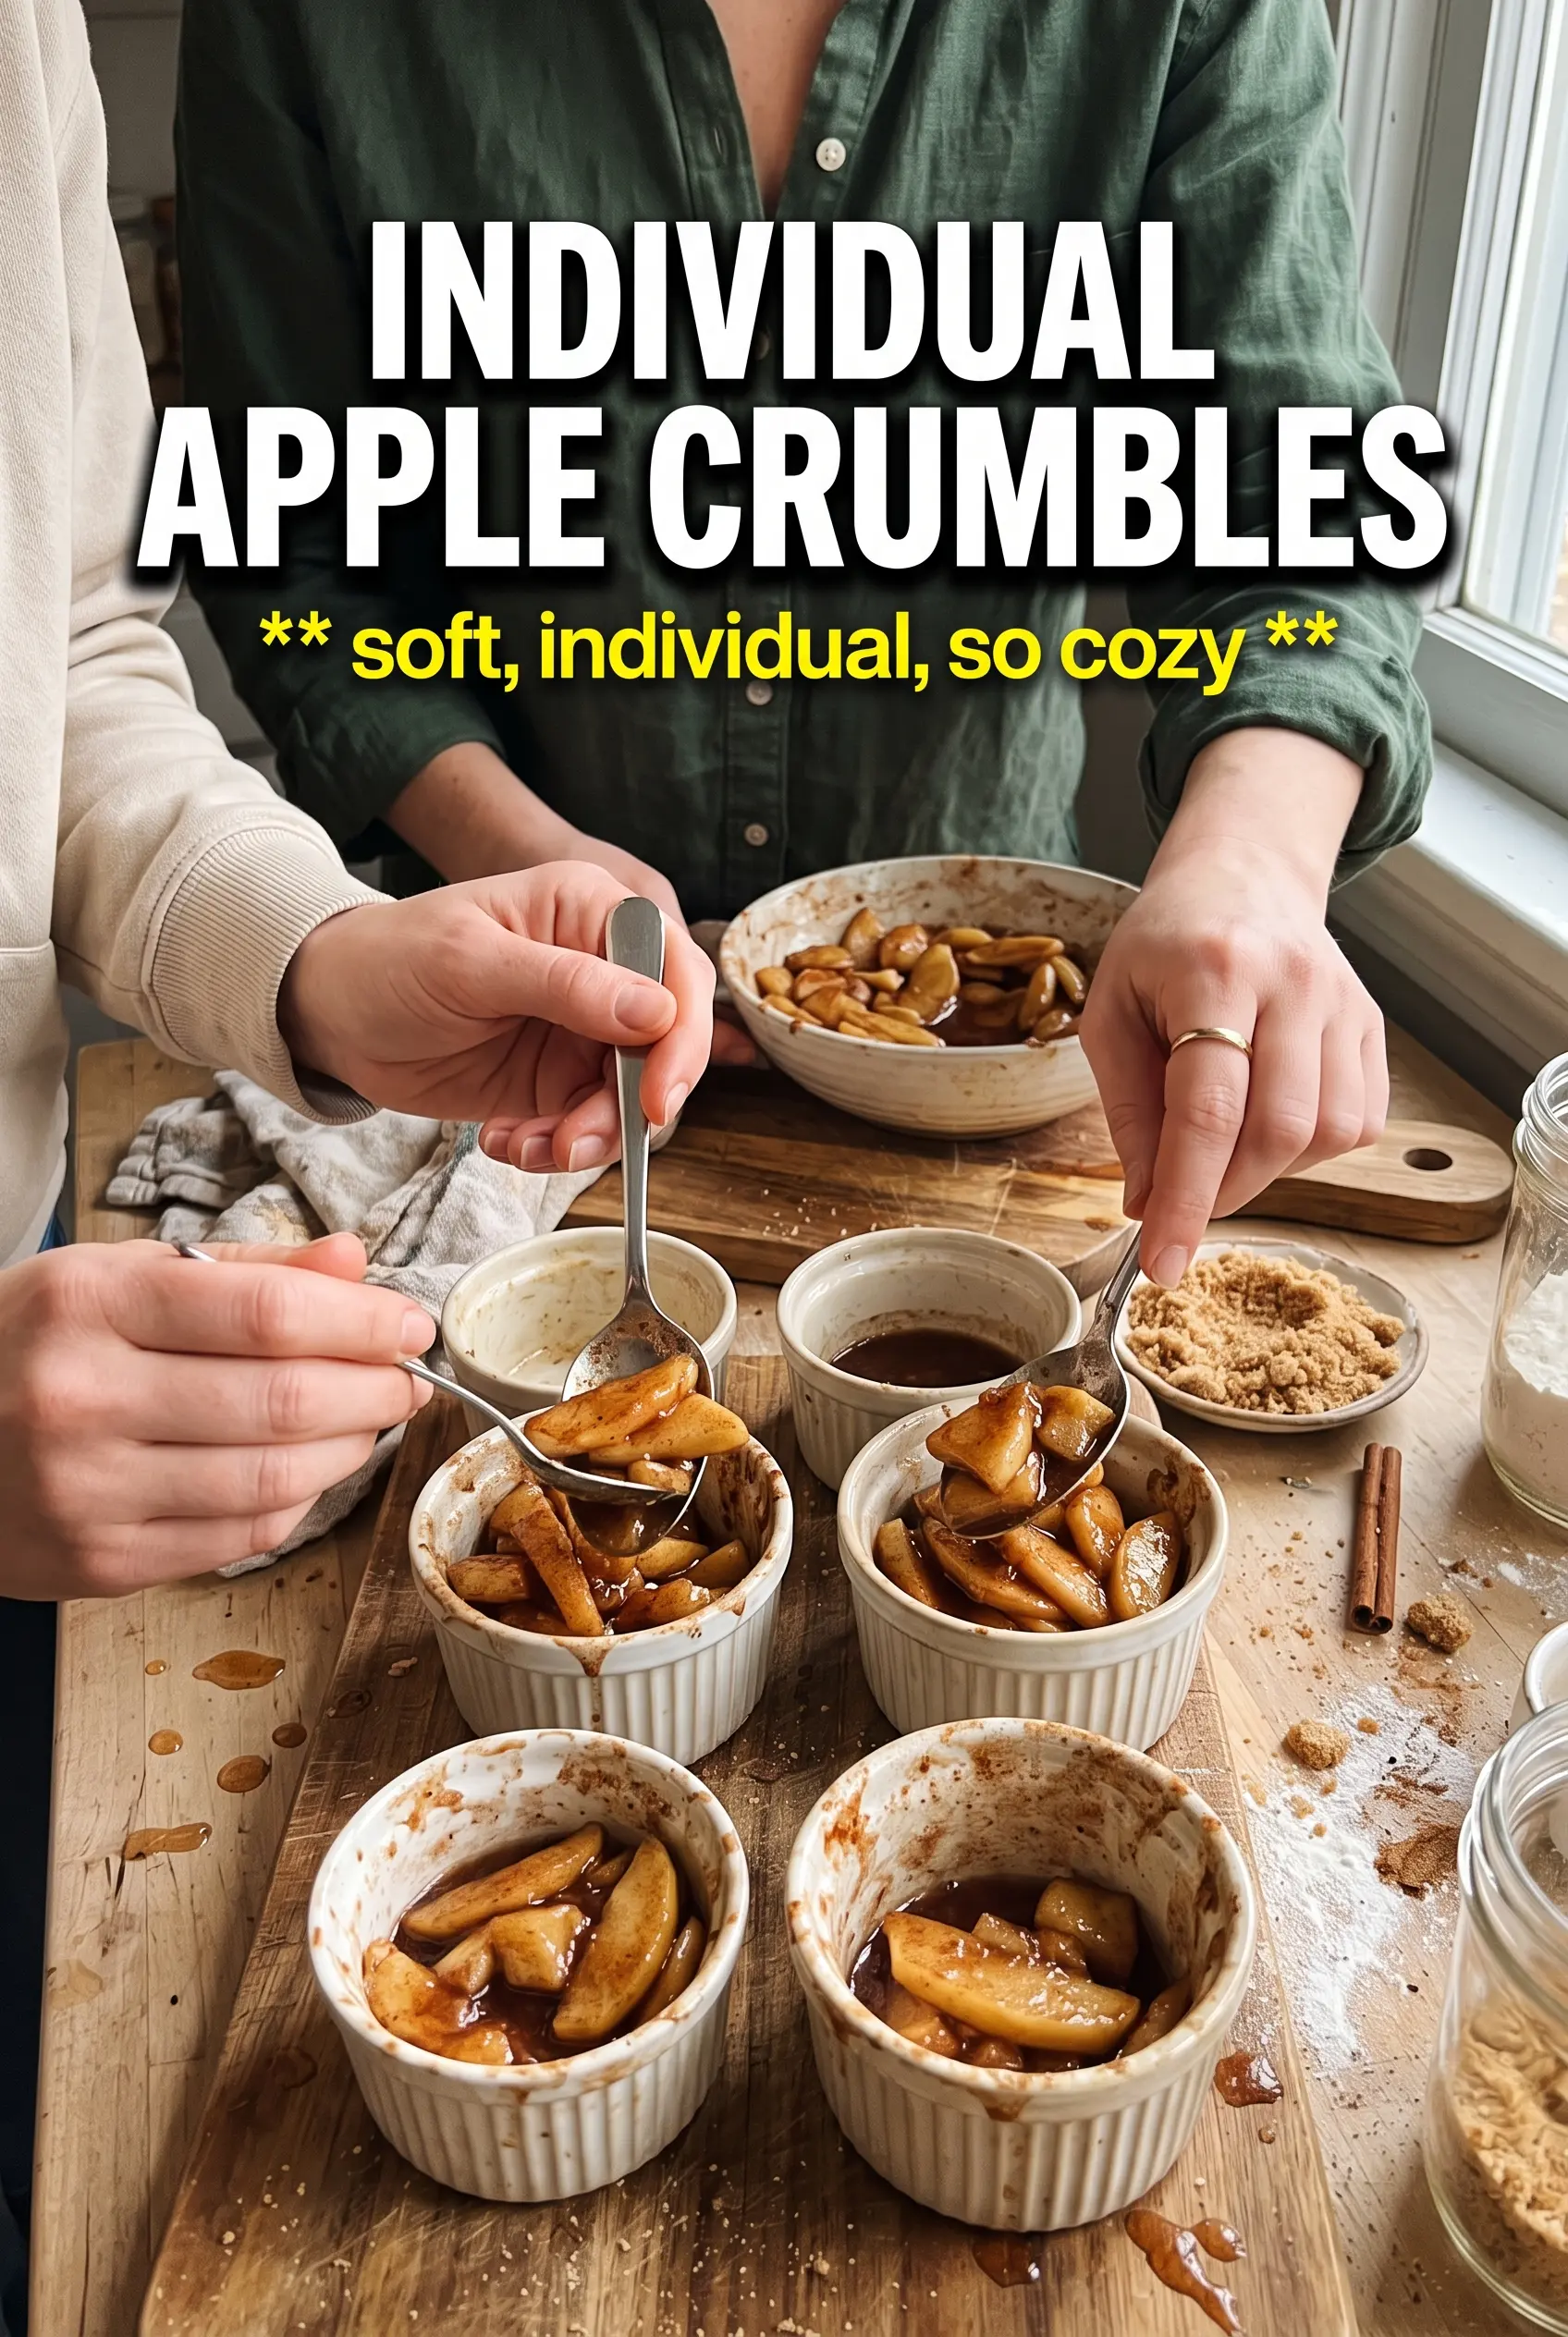
Spoon the filling into the ramekins, heap the topping generously over each one, and set them on a baking sheet so you can catch any drips. Bake until the tops are deeply golden and you can see the filling bubbling around the edges, 25 to 30 minutes. That bubbling is the signal that the cornstarch has fully thickened the fruit juices; pull them too early and the filling will still be thin when it cools.
Serving Them Warm with Ice Cream
Let the ramekins sit for a few minutes before serving so the filling settles slightly and doesn’t run all over the plate. A scoop of vanilla ice cream melts into the topping and turns the whole thing into a hot-cold contrast that works every time. If the crumbles sit too long before serving, the topping can soften from steam, so serve them while the edges are still crisp.
How to Adapt These Ramekins for Different Tastes and Diets
Make Them Gluten-Free
Swap the all-purpose flour for a good 1:1 gluten-free baking blend and check that your oats are certified gluten-free. The topping stays crisp, but the blend may brown a little faster, so watch the last few minutes closely.
Use a Different Apple Mix
A mix of tart and sweet apples gives the best balance. Try half Granny Smith and half Honeycrisp if you want more structure and brightness, or use all sweeter apples for a softer, more dessert-like filling.
Make the Topping Dairy-Free
Replace the butter with a solid plant-based butter that comes in sticks, not a soft tub spread. You’ll still get a crisp topping if the substitute starts cold and is cut in the same way, but the flavor will be a little less rich.
Bake Them Ahead for Easy Dessert
You can assemble the ramekins a few hours ahead and refrigerate them before baking. Hold back a little crumble if you want the top extra crisp, then add the rest right before they go into the oven so the butter stays cold.
Storage and Reheating
- Refrigerator: Store covered for up to 4 days. The topping will soften a little, but the flavor holds up well.
- Freezer: Freeze baked crumbles without the ice cream for up to 2 months. Wrap each ramekin well after cooling, then thaw in the fridge before reheating.
- Reheating: Warm in a 325F oven until the filling is hot and the topping crisps back up, about 15 to 20 minutes. The microwave works in a hurry, but it softens the crumble, so use it only if you don’t mind losing that crisp edge.
Questions I Get Asked About This Recipe
Individual Apple Crumbles
Ingredients
Equipment
Method
- Preheat the oven to 375F and grease 6 individual ramekins (6-8 oz each) so the crumble releases cleanly.
- Cook the diced apples with 1 tablespoon butter, granulated sugar, cinnamon, nutmeg, cornstarch, and lemon juice in a skillet over medium heat for 5-7 minutes until thickened, then divide the filling among the ramekins.
- Make the oat crumble by combining rolled oats, all-purpose flour, brown sugar, cinnamon, and salt, then cut in the cold butter until chunky clumps form.
- Top each ramekin generously with the oat crumble so the surface looks evenly covered.
- Place the ramekins on a baking sheet and bake for 25-30 minutes, until the topping is golden and the filling bubbles at the edges.
- Serve warm with vanilla ice cream so it melts over the hot apple filling.