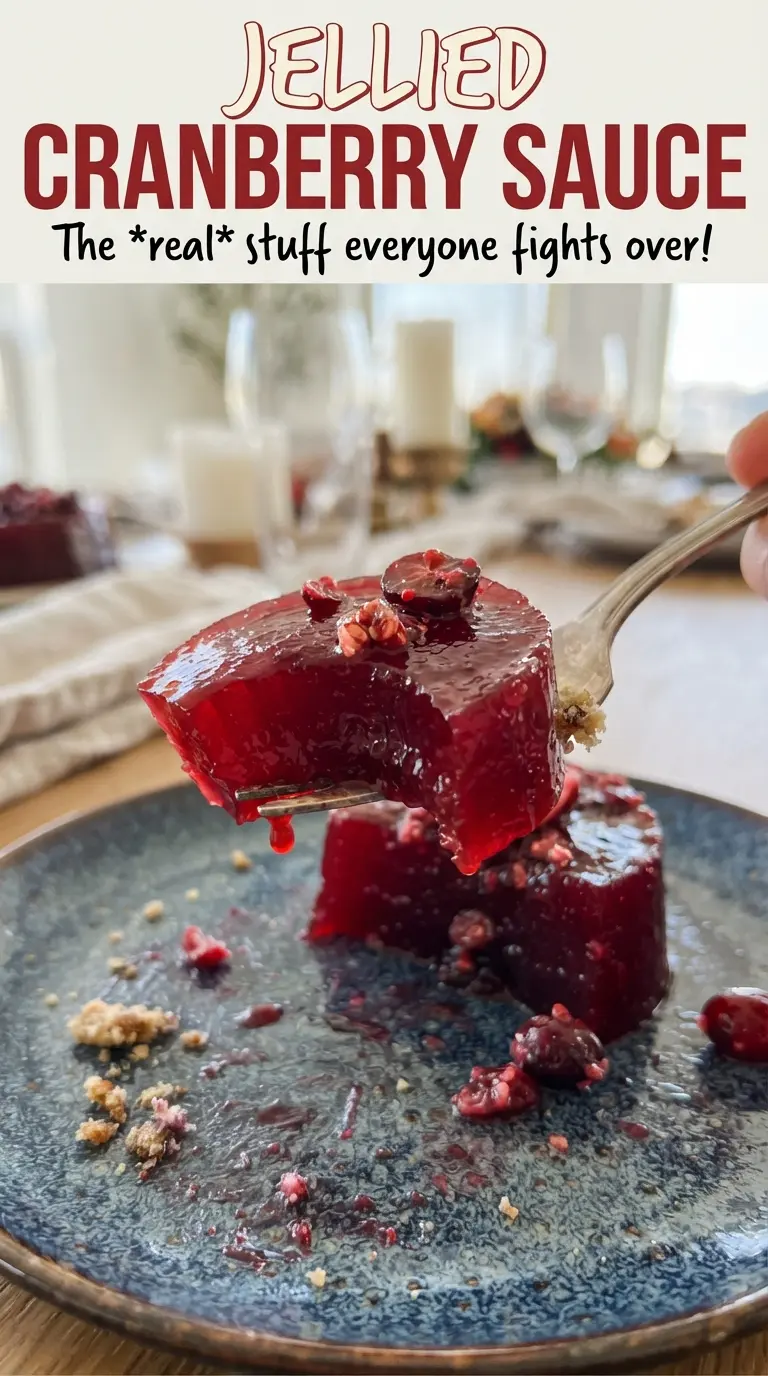
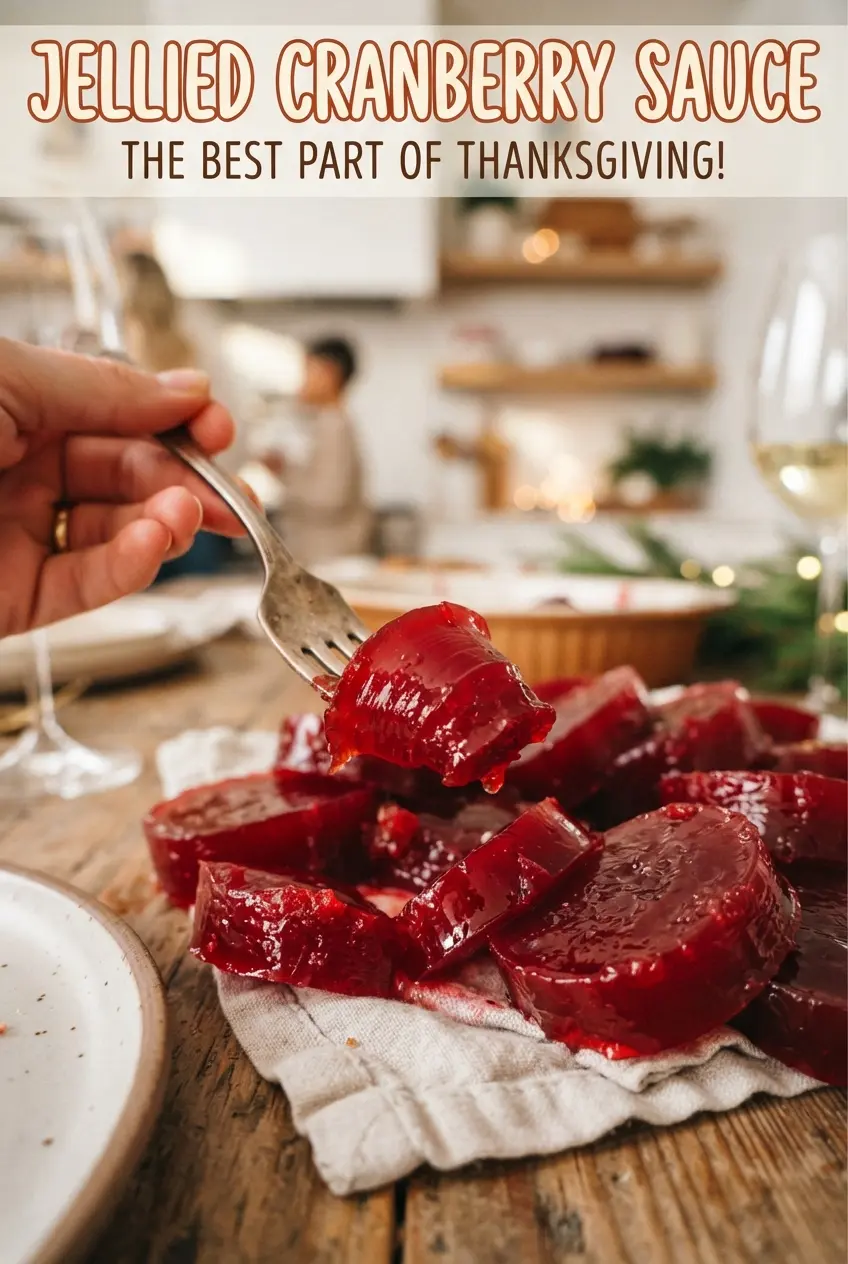
Jellied cranberry sauce sets up into that glossy, ruby-red slice that holds its shape on the plate and still tastes bright enough to cut through rich holiday food. The texture is the whole point here: smooth, clean, and sliceable, with a sharp cranberry tang that feels a little old-school in the best way.
The trick is cooking the berries until every one has burst, then pressing the mixture through a fine-mesh strainer so the sauce turns silky instead of chunky. A short second boil with lemon juice helps the puree tighten up before it goes into the mold. That extra minute or two matters more than people think, because undercooked cranberry sauce can soften into a spoonable jam instead of the neat slice you’re after.
Below, you’ll find the step that keeps the sauce from sticking to the mold, plus a few practical swaps if you want to use a loaf pan, a can, or make it ahead without guessing about the set.
The sauce strained out so smooth and it sliced cleanly after chilling overnight. I used a small loaf pan, and it popped out with those perfect little ridges just like the can.
Jellied Cranberry Sauce with that glossy sliceable texture belongs on the make-ahead list for your holiday table.
The Part That Makes It Slice Instead of Spoon
Cranberry sauce turns jellied when you let the fruit fully break down, then reduce the strained puree long enough for the natural pectin to do its job. The most common mistake is stopping too early because the mixture looks thick in the pot; it loosens as it cools, and if you pull it off the heat before that final boil, it can set softly or slump on the plate.
The other thing that matters is strain time. Pressing the pulp through the sieve gives you the smooth texture you expect from a molded cranberry sauce, but don’t rush it. That last bit of work pushes enough solids through the mesh to help the sauce set without leaving skins behind.
- Cranberries — Fresh cranberries bring the pectin that makes this recipe firm up on its own. Frozen cranberries work too; use them straight from the freezer and add a minute or two to the simmer.
- Sugar — This balances the sharp fruit and also helps the sauce set with a glossy finish. Cutting it back too much makes the flavor harsh and can leave the texture looser.
- Lemon juice — The acidity sharpens the flavor and helps the pectin gel cleanly. Bottled lemon juice will work in a pinch, but fresh tastes brighter here.
- Neutral mold or loaf pan — A lightly oiled loaf pan gives you those neat can-style ridges when the sauce unmolds. If you use a decorative mold, oil every curve or the edges may stick.
What Each Ingredient Is Actually Doing in This Recipe
- Primary ingredient (the star) — Quality matters most. Choose the best you can find.
- Cooking medium (oil, butter, or broth) — This carries flavors and prevents dryness.
- Seasonings (salt, pepper, spices, herbs) — Layer flavors so nothing overpowers. Build depth gradually.
- Aromatics (garlic, onion, herbs) — Cook with fat to bloom flavors. Become the foundation.
- Supporting ingredients — Complement the main ingredient without overpowering it.
- Sauce or liquid (if applicable) — Brings flavors together. Balance richness with acid.
- Acid (lemon, vinegar, wine, or other) — Brightens and prevents flat-tasting results.
- Final finish (garnish, glaze, or sauce) — Prevents one-dimensional taste and adds visual appeal.
Cooking the Berries Down Without Losing the Set
Breaking the Berries Completely
Combine the cranberries, sugar, and water in a pot and bring it to a boil, then keep it at a lively simmer for about 10 minutes. You want every berry to burst and the liquid to thicken slightly, with the color turning deep and uniform. If you still see whole berries floating around, the puree won’t strain evenly and the final texture can come out uneven.
Pressing Through the Strainer
Set a fine-mesh strainer over a bowl and work the mixture through with the back of a spoon, scraping firmly until only dry skins are left. The puree should look smooth and glossy, not watery. If you let too much pulp stay behind, you’ll lose body; if you force the skins through, the sauce can taste fibrous and look muddy instead of clean.
The Final Boil Before the Mold
Return the strained puree to the pot with the lemon juice and salt, then boil it for 3 to 4 minutes while stirring. This is the stage that tightens the sauce enough to hold its shape after chilling. Pour it into the mold while it’s still hot, because as soon as it cools in the pan, it starts setting at the edges first.
How to Adapt This for Different Pans, Sweetness Levels, and Make-Ahead Timing
Loaf Pan Instead of a Mold
A lightly oiled loaf pan gives you a clean, easy unmold and the familiar ridged shape when you slice it. Chill it fully before turning it out, and run a thin knife around the edges first so the surface releases without tearing.
Lower-Sugar Cranberry Sauce
You can reduce the sugar a little, but the sauce will taste sharper and may set a bit less firmly. If you go that route, don’t cut it by more than about 1/2 cup unless you’re fine with a softer, more spoonable finish.
Using Frozen Cranberries
Frozen cranberries work well and don’t need to be thawed first. They may take a minute longer to burst, but the finished sauce sets the same way as long as you still cook until every berry has split open.
Storage and Reheating
- Refrigerator: Keeps well for 5 to 7 days covered. It may weep a little after unmolding, but that doesn’t hurt the texture.
- Freezer: Freezing isn’t ideal once it’s molded, because the set can turn a little grainy after thawing. If you must freeze it, wrap it tightly and thaw in the refrigerator overnight.
- Reheating: This is meant to be served chilled or at cool room temperature, not reheated. If it’s too firm straight from the fridge, let it sit on the counter for 15 to 20 minutes so the slices release cleanly and the flavor opens up.
Questions I Get Asked About This Recipe
Jellied Cranberry Sauce
Ingredients
Equipment
Method
- Bring fresh cranberries, sugar, and water to a boil in a pot over medium-high heat, then reduce to a steady simmer and cook 10 minutes until the berries burst.
- Keep the surface at a gentle simmer and look for thickening as the mixture turns glossy ruby while the berries break down.
- Press the hot mixture through a fine-mesh strainer, scraping to push all the pulp through, then discard the skins.
- Return the strained puree to the pot and discard anything left in the strainer.
- Boil the strained puree with lemon juice and salt for 3-4 minutes, stirring, until it looks slightly thicker and coats the spoon.
- Use a brief, controlled boil so it thickens without scorching.
- Pour the hot cranberry puree into a lightly oiled mold, loaf pan, or clean can, filling evenly.
- Chill at least 6 hours or overnight until firm, without moving the mold while it sets.
- Run a knife around the edge, invert onto a plate, and let it release cleanly.
- Slice into rounds with a sharp knife for smooth, jellied pieces.