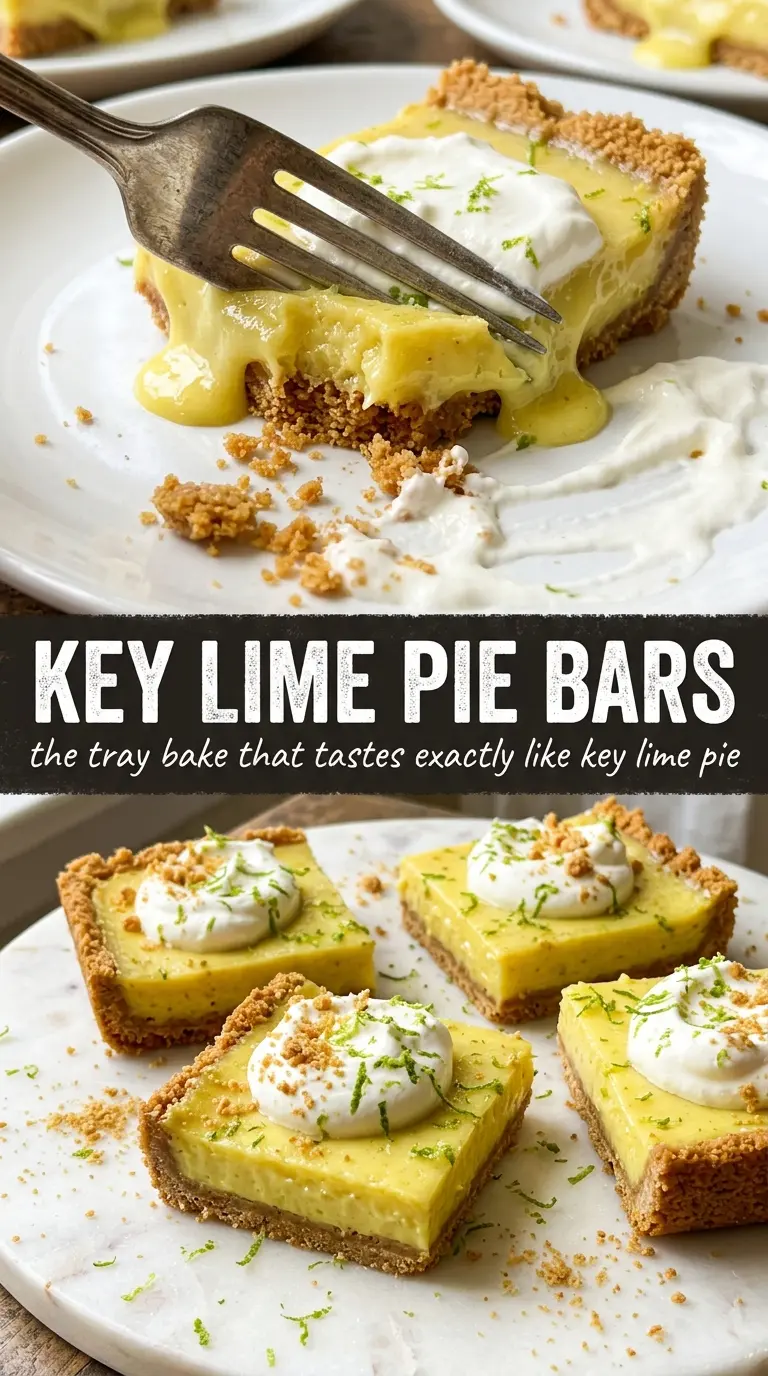
Key lime pie bars bring all the bright, tart payoff of classic pie without the fuss of rolling dough or worrying about a wobbly slice. The crust bakes up firm and buttery, and the filling sets into a smooth, creamy layer that cuts cleanly once it’s chilled. You get that sharp lime flavor up front, then the sweet condensed milk rounds it out just enough to keep each bite balanced.
What makes this version work is the contrast. The graham cracker crust gets pre-baked so it stays crisp under the custard-like filling, and the bars finish in the oven just until the center still has the tiniest jiggle. That gentle bake matters. If you push the filling too far, it loses that soft, silky texture and starts to turn dense.
Below, I’ll show you how to keep the crust from crumbling, how to tell when the filling is set, and what to do if you want a slightly sharper lime flavor or a cleaner bakery-style finish.
The filling set up beautifully and sliced clean after chilling overnight. The lime zest on top made each bar taste fresh, not just sweet, and the crust stayed crisp even on day two.
Like these key lime pie bars? Save them for when you want a tart, creamy dessert with a crisp graham crust and zero pie-crust stress.
The Part That Keeps the Filling Smooth Instead of Grainy
Key lime bars fail in one of two places: the crust turns sandy and loose, or the filling bakes past the point where it stays creamy. The fix for both is control. Press the crust in firmly so the butter binds every crumb, then give it a short bake before the filling goes in. That sets the base so it doesn’t soak up moisture and go soft underneath.
The filling should be whisked just until smooth, then baked only until the center has a slight wobble when you nudge the pan. That jiggle disappears as the bars cool. If you wait for the top to look fully firm in the oven, the eggs overcook and the texture turns more like lemon custard than that dense, silky key lime layer people expect.
- Graham cracker crumbs — These give you the classic buttery base and the sandy-crisp bite that makes the bars taste like pie, not just citrus custard on a pan. Store-bought crumbs work fine here, but grind them finely so the crust packs evenly.
- Sweetened condensed milk — This is what gives the filling its body and sweetness without needing cornstarch or extra sugar. There isn’t a good substitute that behaves the same way, so I’d keep this ingredient as written.
- Fresh key lime juice — Fresh juice brings the clean tartness that makes these bars taste bright instead of flat. Regular lime juice works if that’s what you have, and the bars will still be excellent, just a little less floral.
- Lime zest — Zest is where the strongest lime aroma lives. Don’t skip it. It makes the bars smell like lime before you even take a bite, and that perfume matters in a dessert this simple.
- Egg yolks — Yolks help the filling set and give it that rich, smooth slice. Use the yolks only, and whisk them thoroughly into the condensed milk before adding the juice so the texture stays even.
What Each Ingredient Is Actually Doing in This Recipe
- Primary ingredient (the star) — Quality matters most. Choose the best you can find.
- Cooking medium (oil, butter, or broth) — This carries flavors and prevents dryness.
- Seasonings (salt, pepper, spices, herbs) — Layer flavors so nothing overpowers. Build depth gradually.
- Aromatics (garlic, onion, herbs) — Cook with fat to bloom flavors. Become the foundation.
- Supporting ingredients — Complement the main ingredient without overpowering it.
- Sauce or liquid (if applicable) — Brings flavors together. Balance richness with acid.
- Acid (lemon, vinegar, wine, or other) — Brightens and prevents flat-tasting results.
- Final finish (garnish, glaze, or sauce) — Prevents one-dimensional taste and adds visual appeal.
Building the Crust and Watching the Center Set
Press the Crumbs With Some Force
Mix the graham crumbs, sugar, and melted butter until every crumb looks damp, then press the mixture into a parchment-lined 9×13 pan with the bottom of a measuring cup or your fingers. The layer should feel compact, not loose or dusty. If the crust is barely pressed in, it crumbles when you cut the bars and the filling can slide right off the base. Bake it just long enough to smell toasty at the edges, then let it cool slightly before adding the filling.
Whisk the Filling Until It Looks Completely Even
Combine the egg yolks, condensed milk, lime juice, lime zest, and food coloring if you’re using it. The mixture should turn smooth and glossy with no visible streaks of yolk. Add the juice after the yolks and condensed milk are blended so the acid doesn’t hit the eggs in one spot and create little bits of cooked egg. If your filling looks curdled before baking, it usually means the ingredients weren’t mixed in the right order or the juice went in too fast.
Bake Only Until the Middle Still Moves
Pour the filling over the warm crust and spread it into the corners, then bake until the edges are set and the center gives just a slight jiggle when you tap the pan. That is the moment to pull it. The residual heat finishes the job as the pan cools, and the bars set fully in the fridge. Let them chill for at least 3 hours before slicing, or the filling will smear instead of cutting into clean squares.
Extra Tart Key Lime Bars
Use all key lime juice if you can find it and add an extra teaspoon of zest. The bars will taste sharper and more aromatic, which is what you want if you like a punchier citrus dessert instead of a sweeter, softer one.
Regular Lime Version
Regular lime juice works well and keeps this recipe easy to make with standard grocery-store fruit. The flavor comes out a little less floral than key lime, but the bars still slice cleanly and carry plenty of bright citrus bite.
Gluten-Free Crust
Swap in gluten-free graham-style crumbs. The texture stays close to the original as long as the crumbs are fine and you still press the crust firmly into the pan before baking.
Dairy-Free Version
Use dairy-free sweetened condensed milk and plant-based butter. The bars will set a little softer and the flavor will be slightly less rich, but the lime filling still holds together well after chilling.
Storage and Reheating
- Refrigerator: Store covered for up to 5 days. The crust stays best in the first 2 to 3 days, but the bars hold up well the whole time.
- Freezer: These freeze well. Wrap the cut bars tightly and freeze for up to 2 months, then thaw in the fridge so condensation doesn’t make the tops sticky.
- Reheating: No reheating needed. Serve them cold from the fridge for the cleanest slices and the best texture. If they sit at room temperature too long, the filling softens and the bars lose that neat square edge.
Answers to the Questions Worth Asking
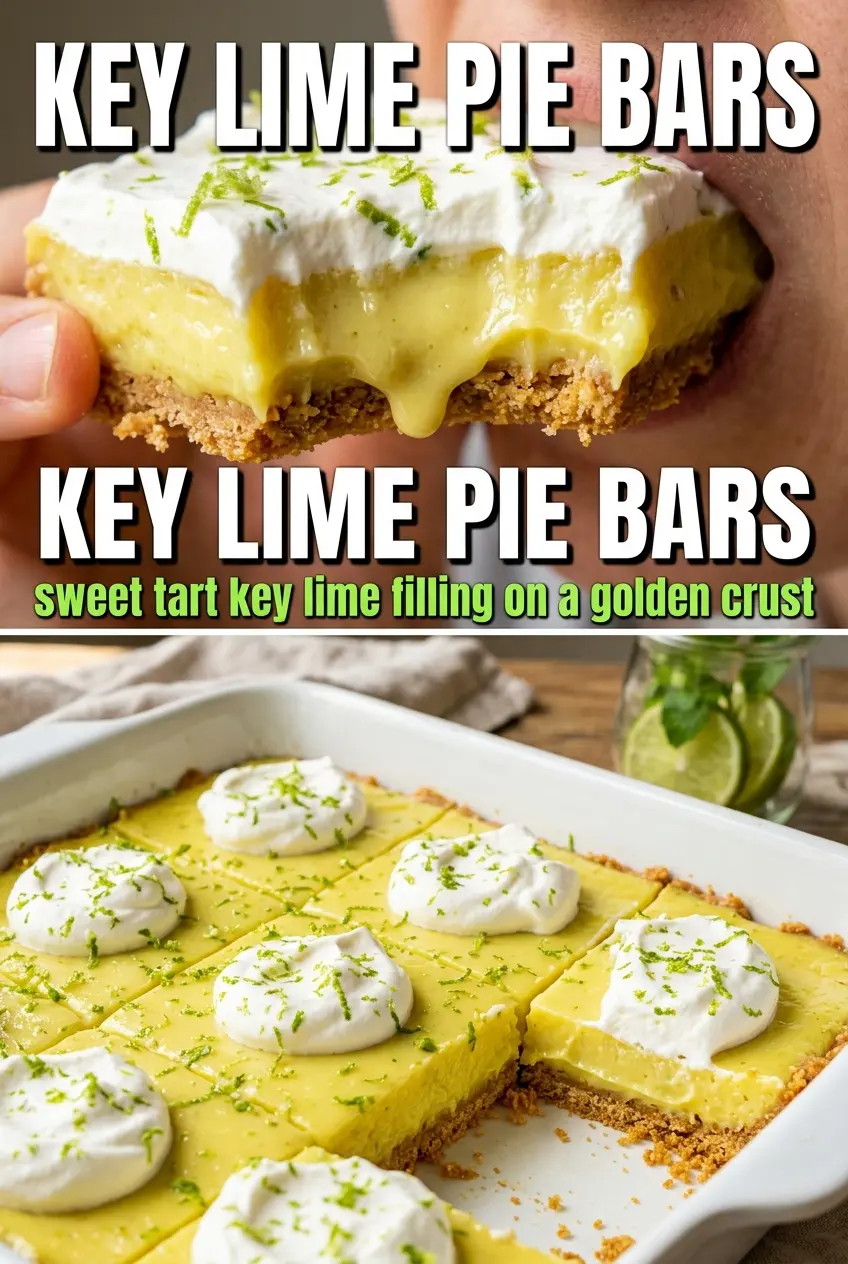
Key Lime Pie Bars
Ingredients
Equipment
Method
- Preheat oven to 350°F. Mix graham cracker crumbs, granulated sugar, and melted butter, then press firmly into a parchment-lined 9x13 pan so it’s packed flat.
- Bake the crust for 8 minutes. Cool slightly until the crust looks set and fragrant.
- Whisk egg yolks, sweetened condensed milk, key lime juice, lime zest, and a drop of green food coloring until smooth and combined.
- Pour the key lime filling over the warm crust and spread evenly. Tap the pan gently so the surface looks level.
- Bake at 350°F for 18-20 minutes until the filling is just set with a slight jiggle in the center. The edges should look set while the middle still trembles.
- Cool the bars completely at room temperature. The filling should fully firm up and stop looking wet or loose.
- Refrigerate for at least 3 hours until firm. Chill until you can lift a slice and the layers hold their shape.
- Dust with powdered sugar and scatter lime zest over the top. Cut into 16 bars to serve with clean, square edges.