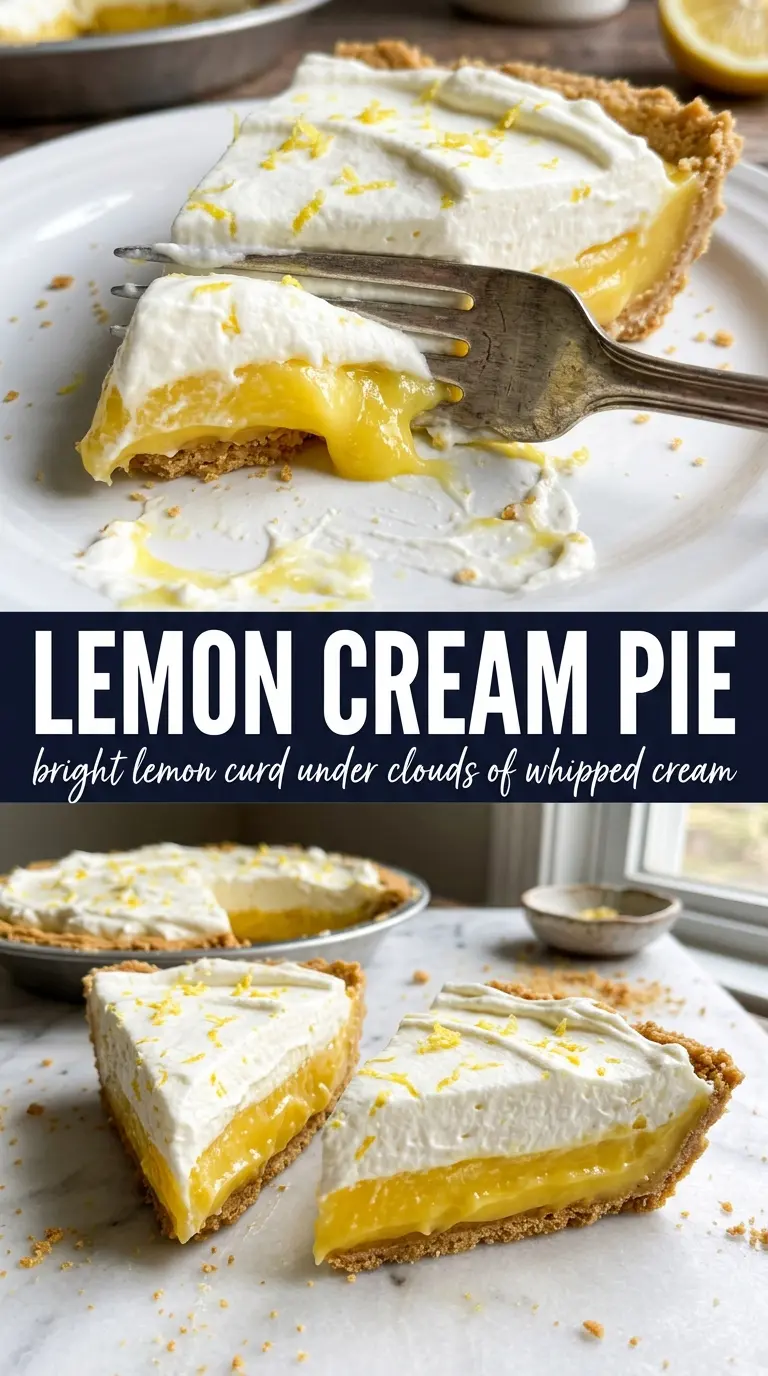
Silky lemon cream filling, a buttery graham cracker crust, and a cloud of whipped cream make this the kind of pie that disappears slice by slice. The filling lands somewhere between cheesecake and classic lemon icebox pie: tangy enough to wake up your taste buds, but soft and creamy enough to cut cleanly after a good chill. Every bite gives you that bright lemon snap against the sweet crust, and the contrast is what keeps people coming back for another piece.
What makes this version work is the balance. Sweetened condensed milk brings body and sweetness without needing a stovetop custard, and cream cheese gives the filling enough structure to hold its shape without turning dense. Fresh lemon juice matters here because bottled juice tastes flat in a filling this simple, and the zest carries the aroma that makes the pie taste as lemony as it looks. A fully cooled crust and enough chilling time are what keep the slices neat instead of sloppy.
Below, I’m walking through the small details that matter most: how to keep the crust crisp, how to beat the filling until it’s smooth instead of grainy, and what to change if you want a lighter topping or a make-ahead dessert for guests.
The filling set up beautifully after chilling overnight, and the lemon flavor was bright without being too sharp. My crust stayed crisp even on the second day, which never happens with cream pies in my house.
Save this lemon cream pie for the next time you want a chilled dessert with a smooth, tangy filling and a crisp graham crust.
The Reason the Filling Stays Smooth Instead of Grainy
The texture comes down to two things: softened cream cheese and a low-effort mixing order. If the cream cheese is still cool in the center, it leaves tiny lumps that never fully disappear once the lemon juice goes in. Beat it until it’s completely smooth before adding anything else, and you’ll get a filling that pours like thick custard instead of breaking into little curds.
Fresh lemon juice is the other place people stumble. Add it after the cream cheese and condensed milk are already combined, then mix just until the filling is even. Too much whipping at the end can loosen the mixture and introduce air you don’t need. This pie sets in the fridge, not in the mixer bowl.
What Each Ingredient Is Actually Doing in This Pie
- Graham cracker crumbs — They give you that toasty, sweet base that stands up to the soft filling. A store-bought crumb works fine here, but if you crush your own crackers, aim for fine, even crumbs so the crust packs tightly.
- Butter — This is what holds the crust together and gives it that rich, sandy bite. Melt it fully, then mix until every crumb looks evenly moistened; dry patches mean a crumbly crust.
- Sweetened condensed milk — This brings sweetness, body, and the dense creamy texture that makes the pie sliceable without baking a custard. There isn’t a good substitute that behaves the same way, so this is one ingredient I wouldn’t swap casually.
- Cream cheese — It gives the filling structure and a subtle tang that keeps the pie from tasting one-note sweet. Full-fat cream cheese works best; reduced-fat versions can set softer and taste a little thin.
- Fresh lemon juice and zest — Juice supplies the sharp lemon flavor, while zest adds the fragrant citrus oils that make the pie smell and taste bright. The zest matters more than people think, especially since the filling never gets cooked long enough to deepen the lemon flavor on its own.
- Heavy whipping cream — It makes the topping light and billowy, which balances the dense filling underneath. Whip it only to stiff peaks; if you go past that, it turns grainy fast.
Building the Pie So It Slices Cleanly
Pressing and Baking the Crust
Mix the crumbs, sugar, and melted butter until the texture looks like damp sand, then press it firmly into the pie dish, especially on the bottom edge where slices usually break first. Bake just until set and fragrant. If the crust looks dark at the edges before the middle is done, it’s already long enough. Let it cool completely before adding the filling or you’ll melt the cream cheese base and soften the crust.
Mixing the Filling Without Beating in Air
Start with the cream cheese alone and beat until it’s smooth and glossy. Add the condensed milk first, then the lemon juice, zest, and vanilla. Once the mixture looks uniform, stop mixing. If you keep going, the filling can take on too much air and set with a mousse-like texture instead of that dense, creamy slice you want.
Chilling Until the Center Holds
Pour the filling into the cooled crust and smooth the top with a spatula. Chill for at least 4 hours, but overnight gives the cleanest cuts. The pie is ready when the center feels firm to a light touch and no longer sloshes when you tilt the pan. If you cut too soon, the filling will slump onto the plate instead of standing up in neat wedges.
Whipping the Topping to the Right Point
Whip the cream and powdered sugar until stiff peaks hold their shape when you lift the beater. Stop there. Underwhipped cream slides off the pie, but overwhipped cream turns grainy and can weep in the fridge. Spread or pipe it over the chilled pie just before serving, then finish with lemon slices and zest curls.
How to Adapt This Pie for a Bigger Crowd or a Different Finish
Make It Ahead for the Best Slice
This pie is at its best after an overnight chill, so it’s a strong make-ahead dessert. Assemble the crust and filling a day in advance, then add the whipped cream topping and garnish right before serving so the top stays fresh and fluffy.
Gluten-Free Crust Swap
Use gluten-free graham-style crumbs in the same amount and keep the butter ratio the same. The filling doesn’t need any changes, and the finished pie still slices cleanly as long as the crust is packed firmly and baked long enough to set.
Dairy-Light Shortcut
The filling depends on condensed milk and cream cheese for structure, so a true dairy-free version changes the character of the dessert. If you only need to reduce dairy in the topping, use a stabilized coconut whipped cream on top and keep the filling as written.
Extra Tart Lemon Flavor
For a sharper pie, add an extra teaspoon of zest before you add more juice. More juice can loosen the filling, but zest boosts lemon flavor without making the texture softer, so it’s the safer way to turn up the citrus.
Storage and Reheating
- Refrigerator: Cover and chill for up to 4 days. The crust softens a little as it sits, but the filling stays creamy and stable.
- Freezer: The pie can be frozen without the whipped cream topping for up to 1 month. Wrap it tightly, thaw in the refrigerator, and add fresh topping after it’s fully thawed.
- Reheating: Don’t reheat this pie. Serve it cold for the best texture; warming it will loosen the filling and make the crust soggy.
Answers to the Questions Worth Asking

Lemon Cream Pie
Ingredients
Equipment
Method
- Mix graham cracker crumbs, granulated sugar, and melted butter until evenly combined, then press firmly into a 9-inch pie dish bottom and up the sides for a tight crust.
- Bake at 350°F for 8-10 minutes, until set and lightly fragrant, then cool completely.
- Beat cream cheese until completely smooth, then add sweetened condensed milk, fresh lemon juice, lemon zest, and vanilla extract.
- Beat until smooth and well combined, then pour the lemon filling into the cooled crust and smooth the top.
- Refrigerate for at least 4 hours or overnight until fully set and sliceable, for a clean, creamy cut.
- Beat heavy whipping cream and powdered sugar to stiff peaks, then spread or pipe over the set pie while the surface is firm.
- Garnish with lemon slices and zest curls and serve chilled, so the bright zest catches the light.