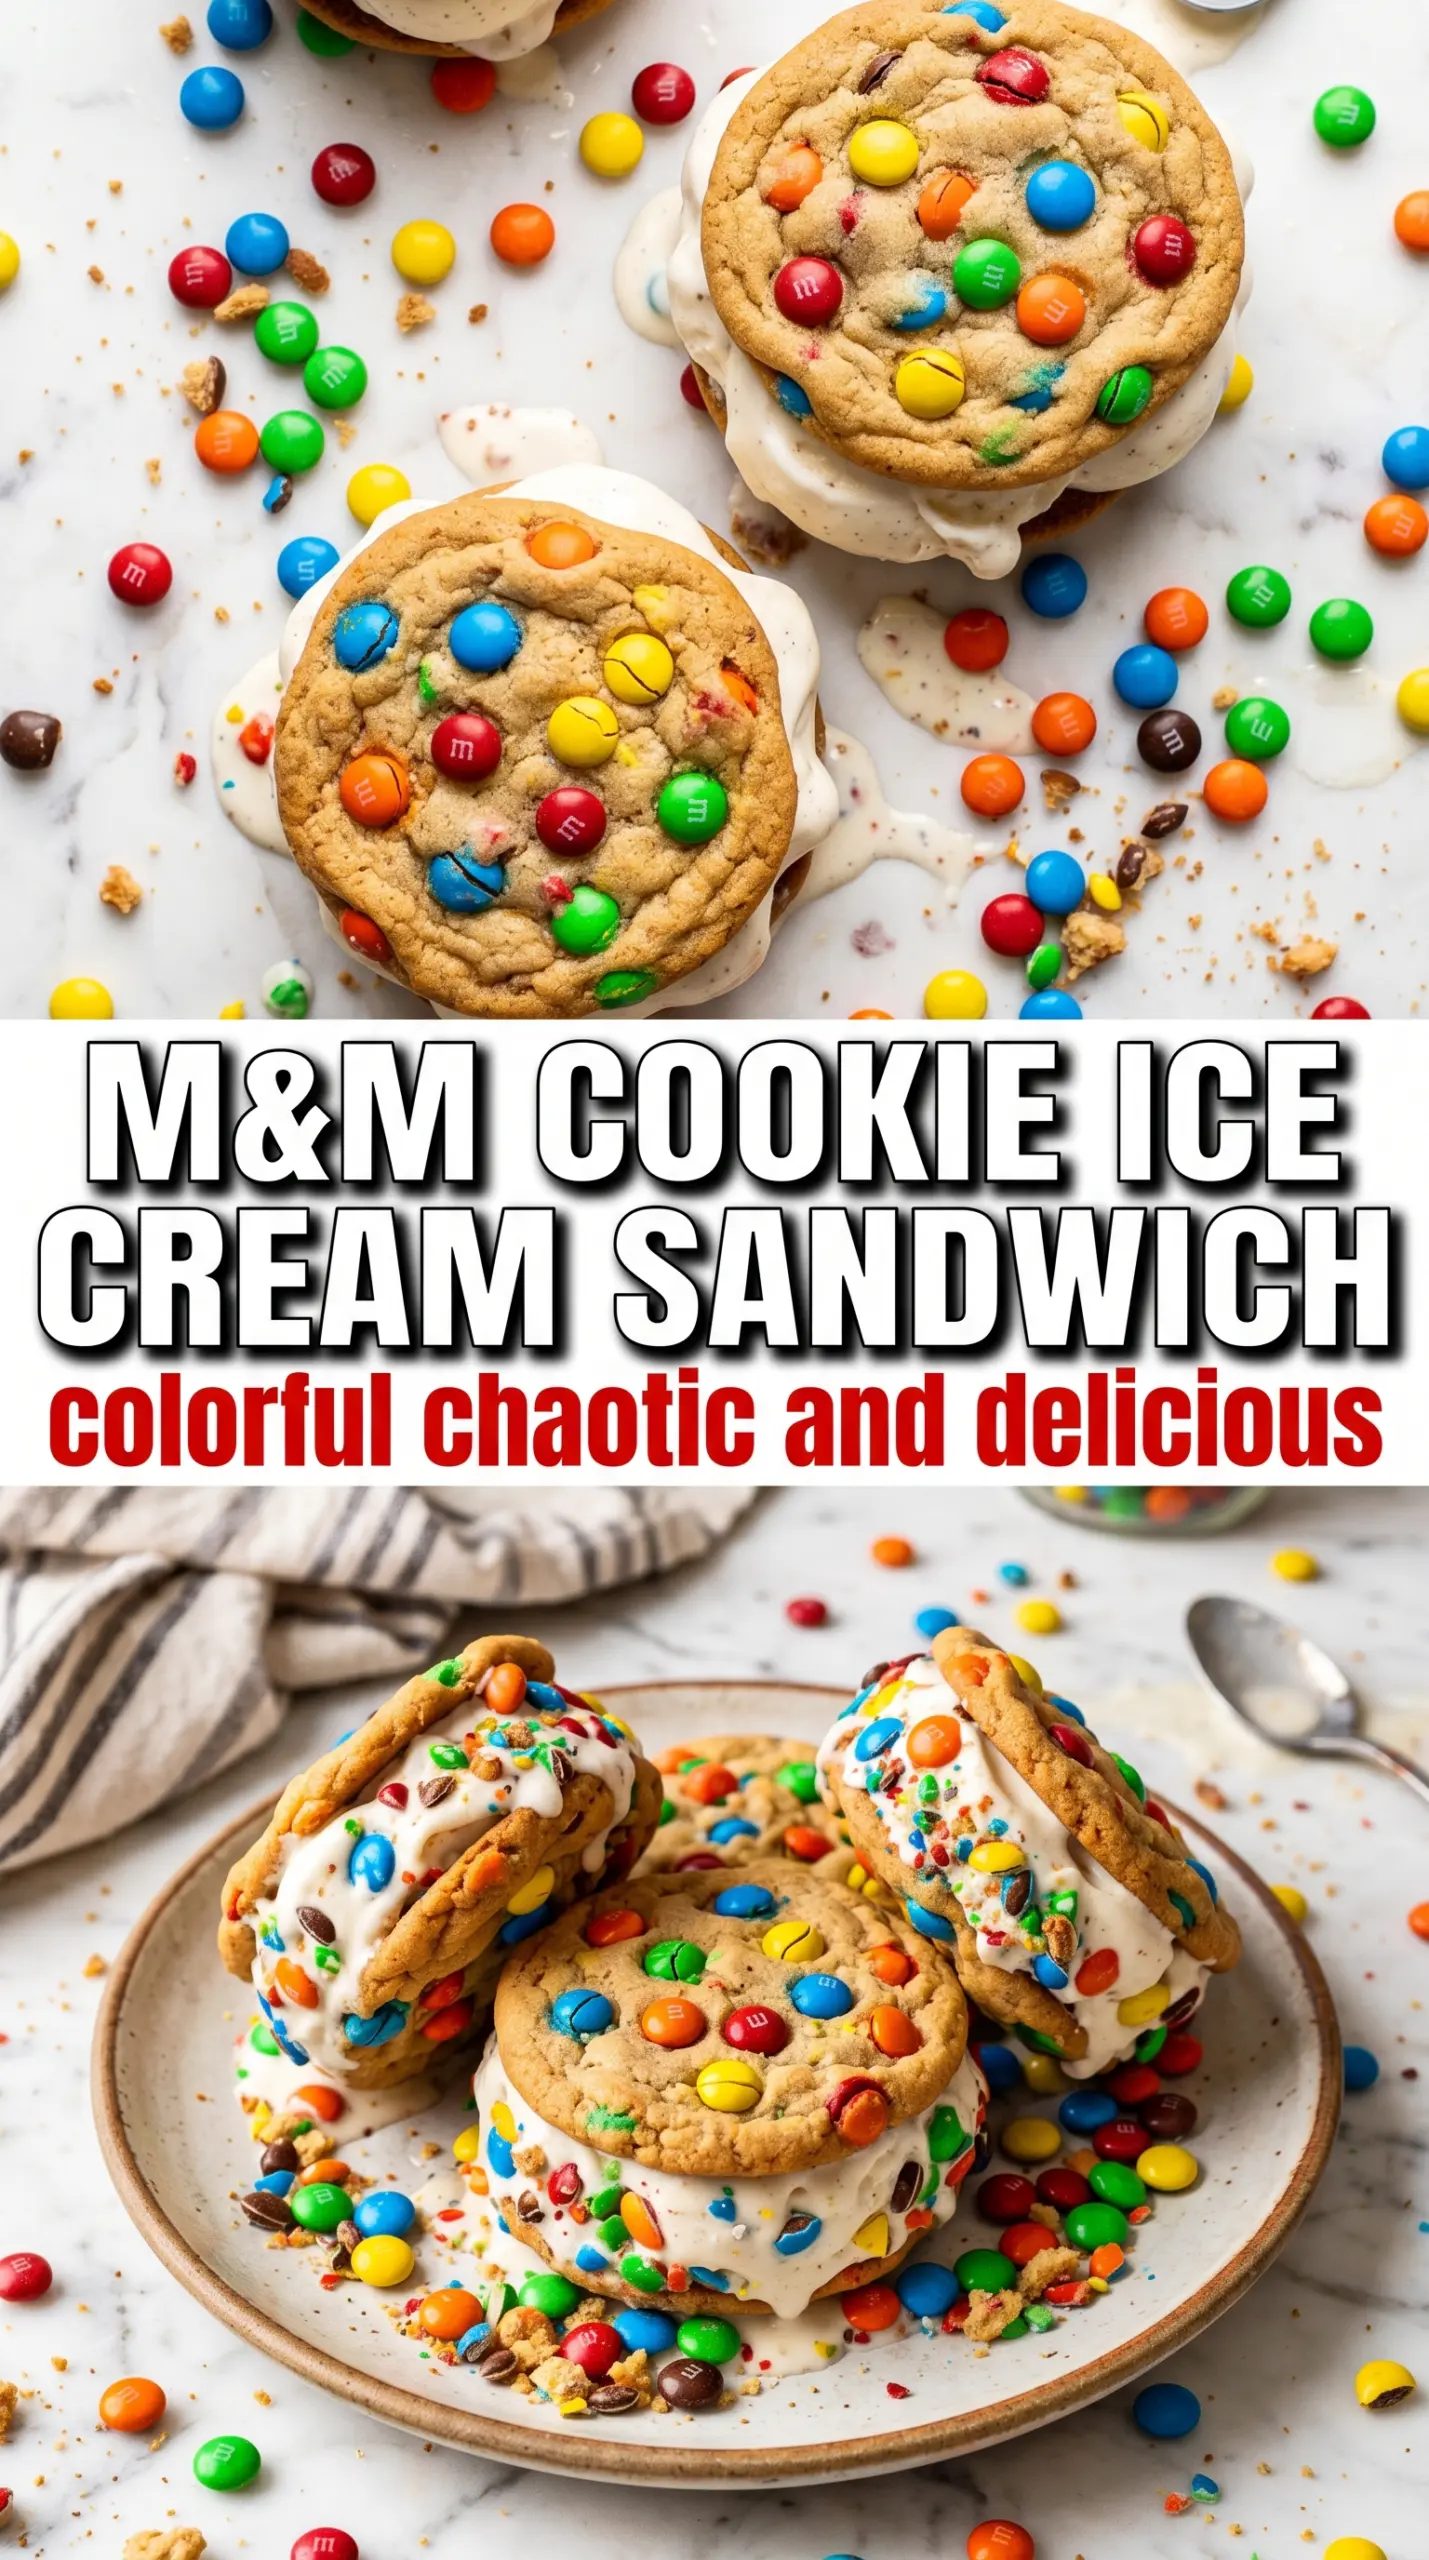
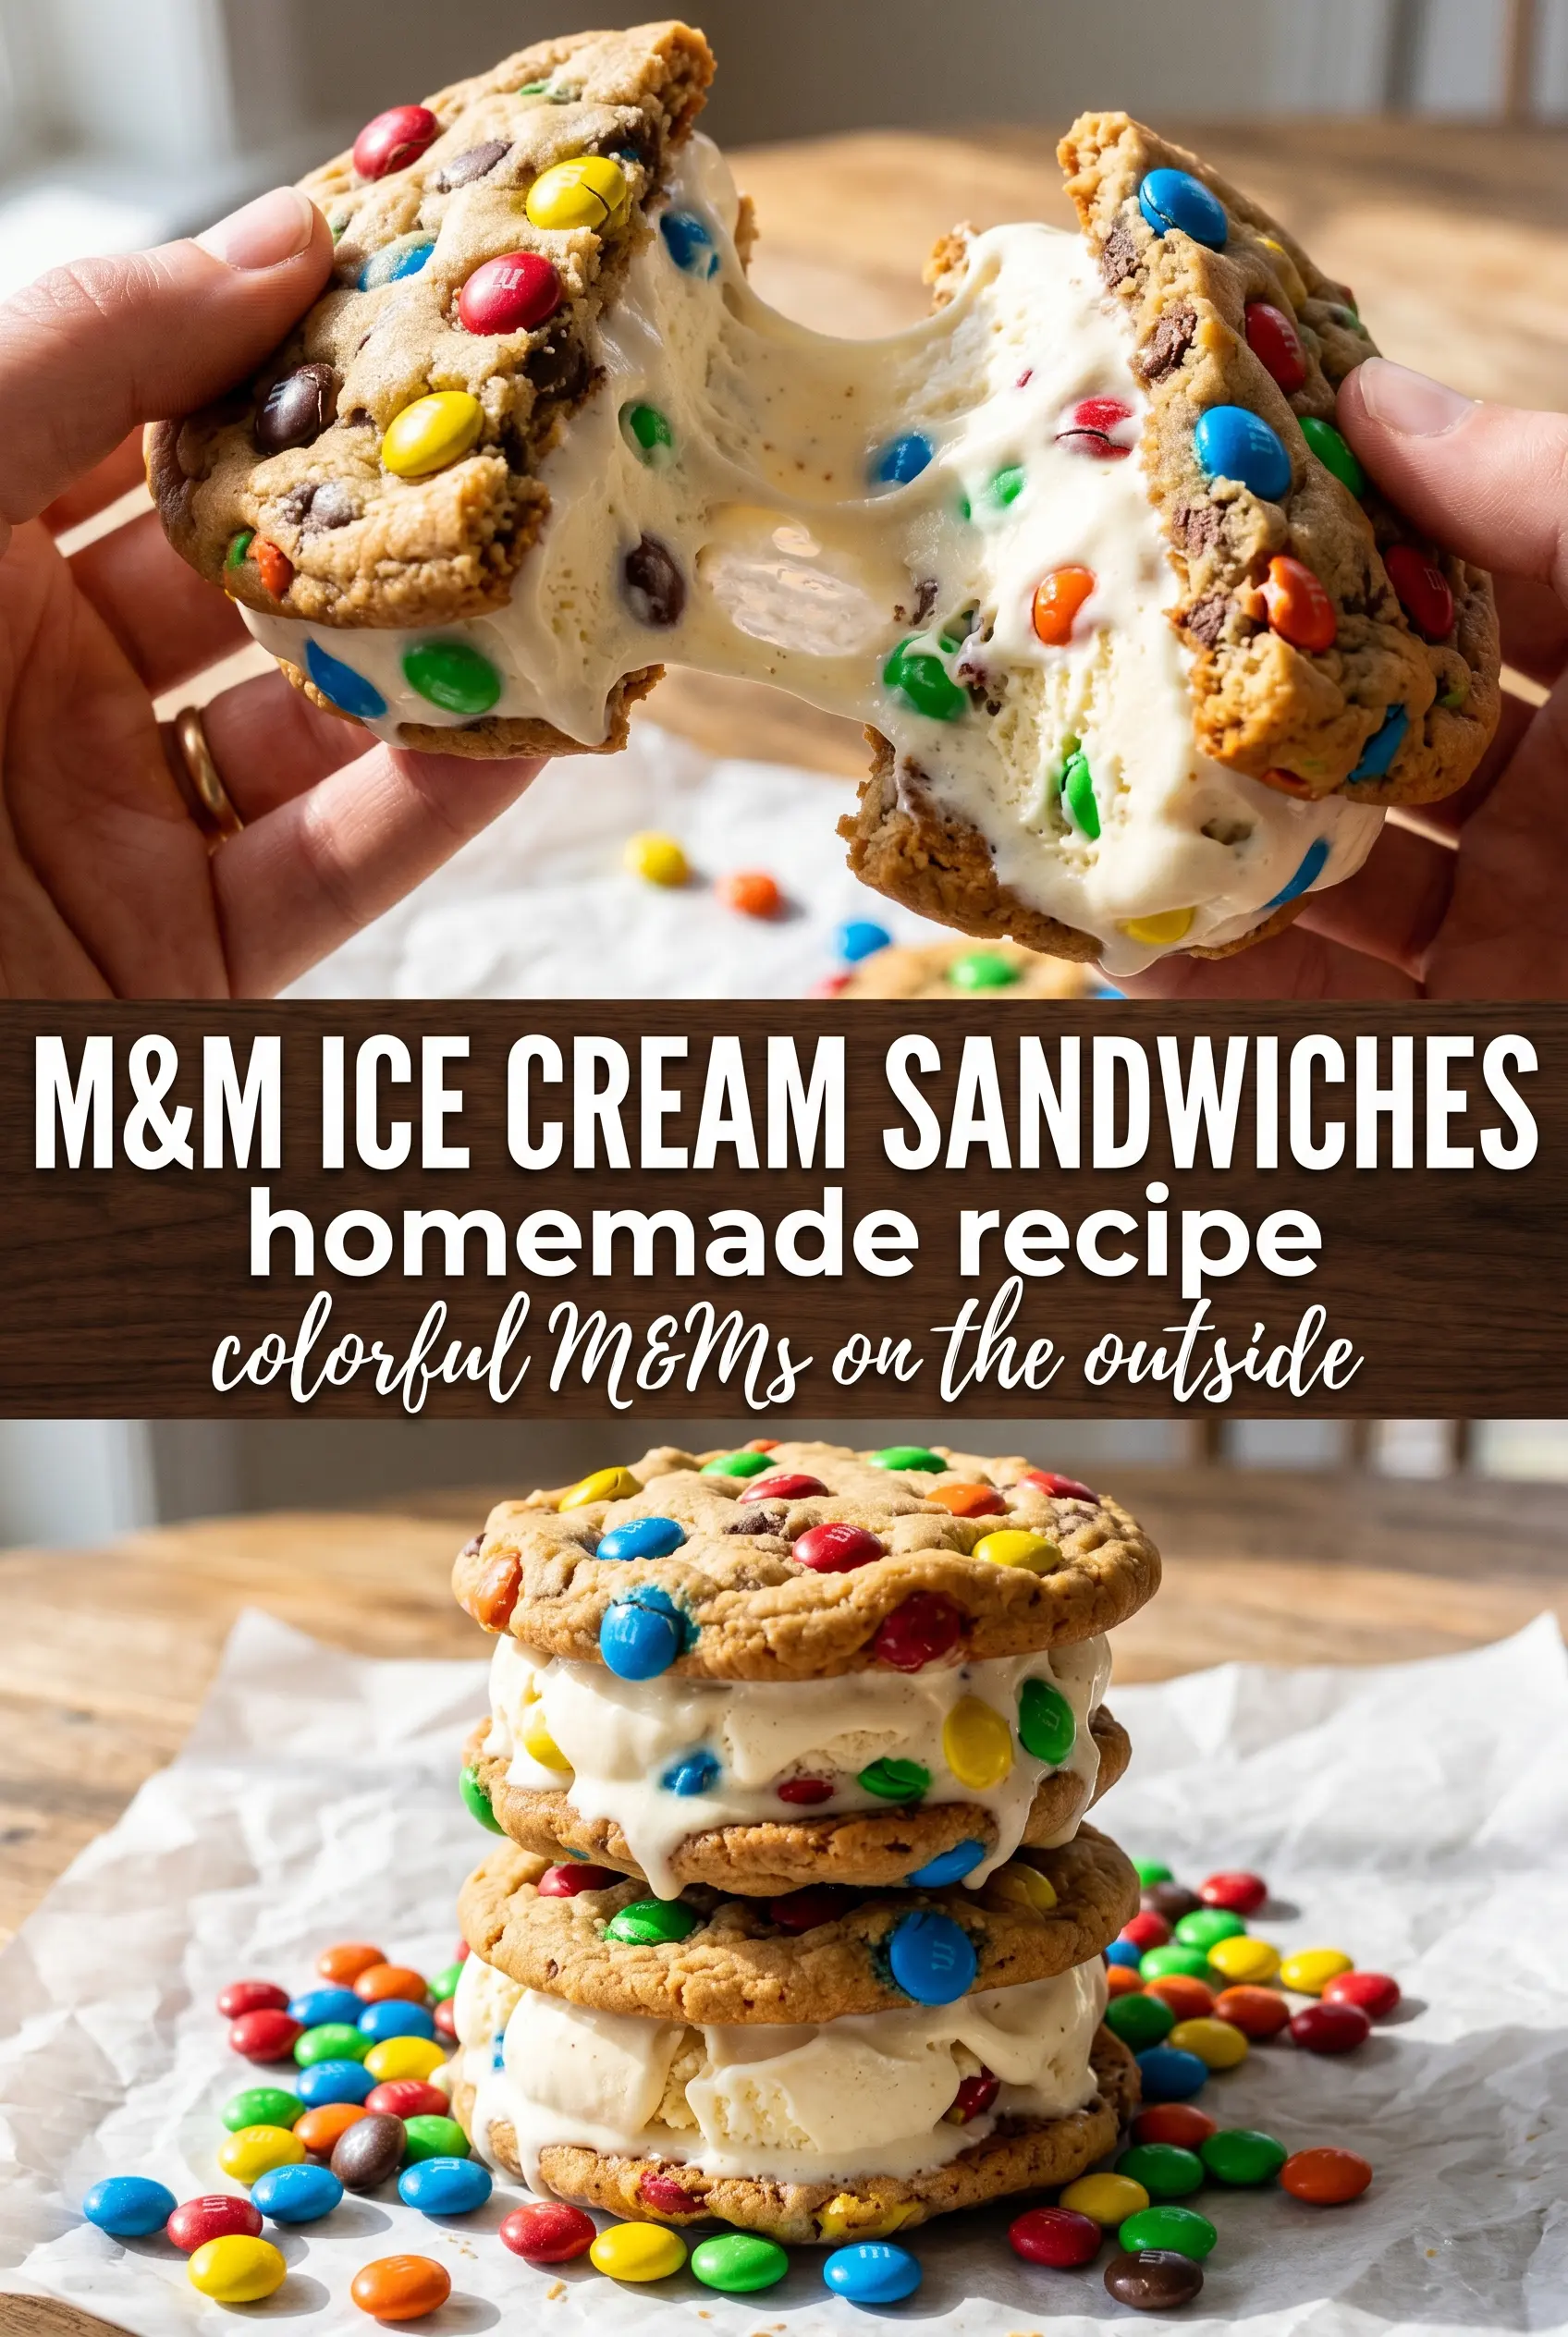
Golden M&M cookies make the best ice cream sandwiches because they stay chewy at the edges, soft in the center, and sturdy enough to hold a thick scoop of vanilla ice cream without crumbling in your hands. The candy on the outside gives you that crunchy snap right before the cold, creamy filling takes over, which is exactly what makes these disappear fast.
This version works because the cookies are baked just until the edges turn golden, then cooled completely before assembly. That keeps them flexible instead of dry and brittle. A mix of brown sugar and granulated sugar gives the cookies enough chew to stay pleasant straight from the freezer, and pressing a few extra M&Ms into the tops after scooping makes the finished sandwiches look as festive as they taste.
Below, I’ve included the small details that matter most: how to keep the cookies from spreading too much, why softened ice cream makes assembly easier, and a few swaps if you want to change the candy, the flavor, or the way you store them for later.
The cookies stayed soft even after freezing, and the ice cream didn’t squish out the sides when I pressed them together. I loved that the M&Ms on the outside stayed colorful and gave each bite a little crunch.
These M&M ice cream sandwiches are the kind of freezer dessert you’ll want ready for birthdays, playdates, and last-minute sweet cravings.
The Trick to Cookies That Stay Soft in the Freezer
The biggest mistake with ice cream sandwiches is baking the cookies too long. They need to look done at the edges and still feel slightly soft in the center when they come out, because they firm up as they cool and then chill again after assembly. If you bake them until they look fully set all the way through, they turn dry once frozen and the sandwich eats like cardboard around the edges.
The other thing that matters is size. Larger cookies make a better sandwich here because they give you a wider surface for the ice cream and help prevent leaks when you bite in. Pressing M&Ms into the tops before baking is useful, but don’t overload the dough with extra candy or the cookies start to spread unevenly and lose that clean sandwich shape.
What Each Ingredient Is Doing in the Cookie-and-Ice-Cream Balance
- All-purpose flour — This gives the cookies enough structure to hold the ice cream. Cake flour makes them too delicate, and bread flour makes them tougher than you want for a frozen dessert.
- Brown sugar — The molasses in brown sugar keeps the cookies chewy after freezing. You need that moisture if you want a sandwich that still bites cleanly straight from the freezer.
- Butter — Softened butter creams with the sugar to create a light, tender cookie. If the butter is melted, the dough spreads too much and the cookies lose the thickness needed for sandwiches.
- M&M candies — Folding some into the dough gives you candy in every bite, while pressing the rest onto the tops makes the finished cookies look bright and festive. Keep a few whole and only crush enough for the edges if you want texture without too much mess.
- Vanilla ice cream — Classic vanilla keeps the cookies front and center. Let it soften just enough to scoop easily; if it’s too melty, it will slide out when you press the sandwiches together.
Building the Cookie Shell and Filling Without a Meltdown
Creaming the Butter and Sugars
Beat the softened butter with both sugars until the mixture looks fluffy and a little lighter in color. That step traps air and helps the cookies bake up with a soft, tender center. If the butter is too cold, the mixture looks grainy and won’t cream properly; if it’s greasy from being too warm, the cookies spread flat.
Mixing the Dough Without Overworking It
Stir in the dry ingredients just until the flour disappears, then fold in the M&Ms. Once the flour goes in, the dough only needs enough mixing to come together. Overmixing makes the cookies tougher and can turn the finished sandwich dense instead of chewy.
Baking for Shape, Not Color
Scoop the dough in large rounds, then press a few M&Ms into the tops before baking so the color stays visible after the cookies spread. Pull them from the oven when the edges are golden and the centers still look slightly soft. They finish setting on the pan, and that little bit of carryover baking is what keeps them sandwich-friendly.
Assembling and Freezing the Sandwiches
Cool the cookies completely before adding ice cream, or the filling will melt into the cookie and slide out the sides. Scoop softened vanilla ice cream onto the flat side of one cookie, top with a second cookie, and press just enough to spread the ice cream to the edges. Roll the sides in crushed M&Ms right away, then freeze the sandwiches for at least an hour so they firm up enough to handle cleanly.
Three Ways to Change the Flavor Without Breaking the Texture
Gluten-Free Cookie Sandwiches
Use a cup-for-cup gluten-free flour blend in place of the all-purpose flour. The cookies may spread a little less and taste slightly more delicate, but they still work well as long as you don’t overbake them.
Dairy-Free Version
Swap in plant-based butter and a dairy-free vanilla ice cream. The cookies will still bake up chewy, but the flavor is a little less rich, so use a good-quality butter alternative with a solid fat content.
Different Candy, Same Structure
Swap the M&Ms for chopped peanut butter cups, mini chocolate chips, or rainbow candy-coated chocolates. Stick with the same total amount so the dough still holds together, and avoid oversized chunks that make the cookies crumble when you bite into the frozen sandwich.
Make-Ahead Freezer Storage
Wrap each sandwich individually in parchment, then tuck them into an airtight freezer bag or container. They keep well for up to 2 weeks, and freezing them separately keeps the cookies from sticking together or picking up freezer smells.
Storage and Reheating
- Refrigerator: Not ideal for these; the cookies lose their best texture and the ice cream softens too quickly.
- Freezer: Freeze assembled sandwiches for up to 2 weeks, wrapped individually so they stay neat and don’t absorb odors.
- Reheating: There’s no reheating here. Let a sandwich sit at room temperature for 3 to 5 minutes before eating so the cookie softens just enough to bite cleanly.
Answers to the Questions Worth Asking
M&M Ice Cream Sandwiches
Ingredients
Equipment
Method
- Preheat oven to 375°F, then whisk all-purpose flour, baking soda, and salt in a mixing bowl until evenly combined.
- Beat unsalted butter with granulated sugar and brown sugar until fluffy, about 2 minutes, then add eggs and vanilla extract and mix until smooth.
- Stir the flour mixture into the wet ingredients until a thick dough forms.
- Fold in 1-1/2 cups M&M candies so they’re evenly distributed throughout the dough.
- Scoop large rounds onto a lined sheet pan and press 4-5 M&Ms into the tops of each cookie so the candy shows on the surface.
- Bake for 10-12 minutes at 375°F until the edges are golden.
- Cool the cookies completely so the ice cream doesn’t melt into the layers.
- Sandwich softened vanilla ice cream between two M&M cookies to form each ice cream sandwich.
- Roll the edges in the remaining crushed M&Ms so the outside is candy-dotted and colorful.
- Freeze for 1 hour before serving to firm the sandwiches for clean, scoopable bites.