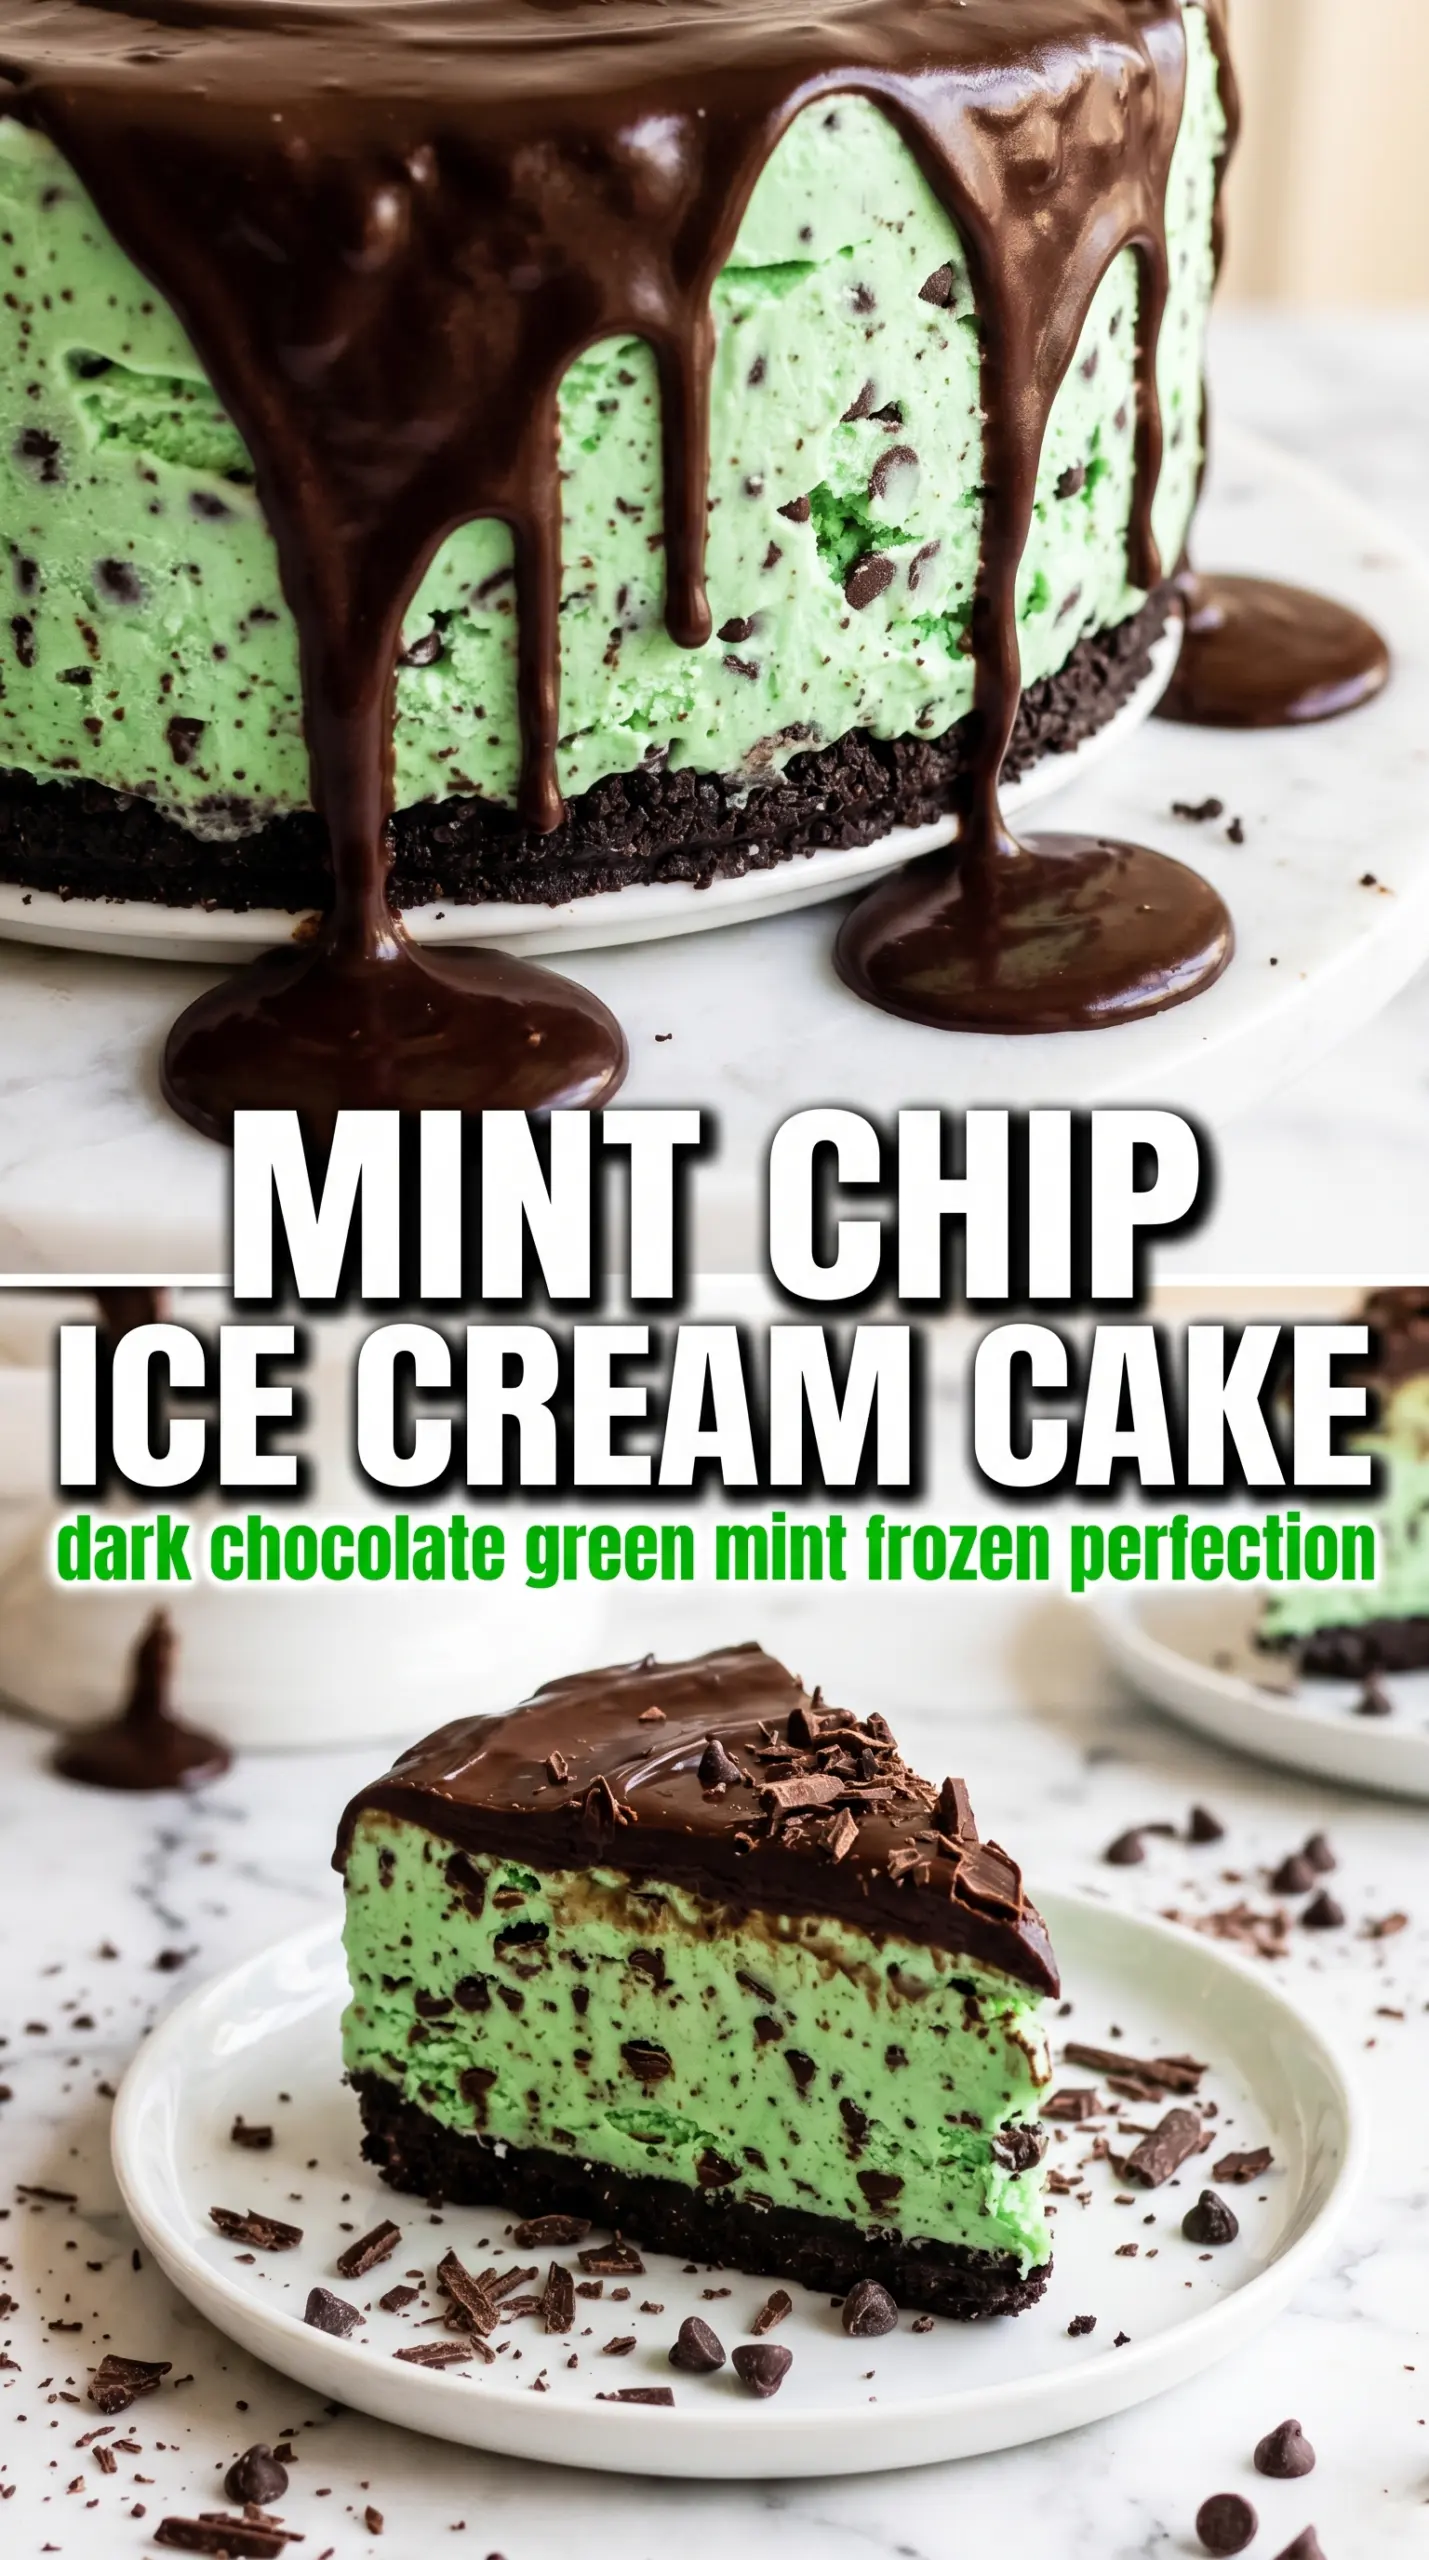
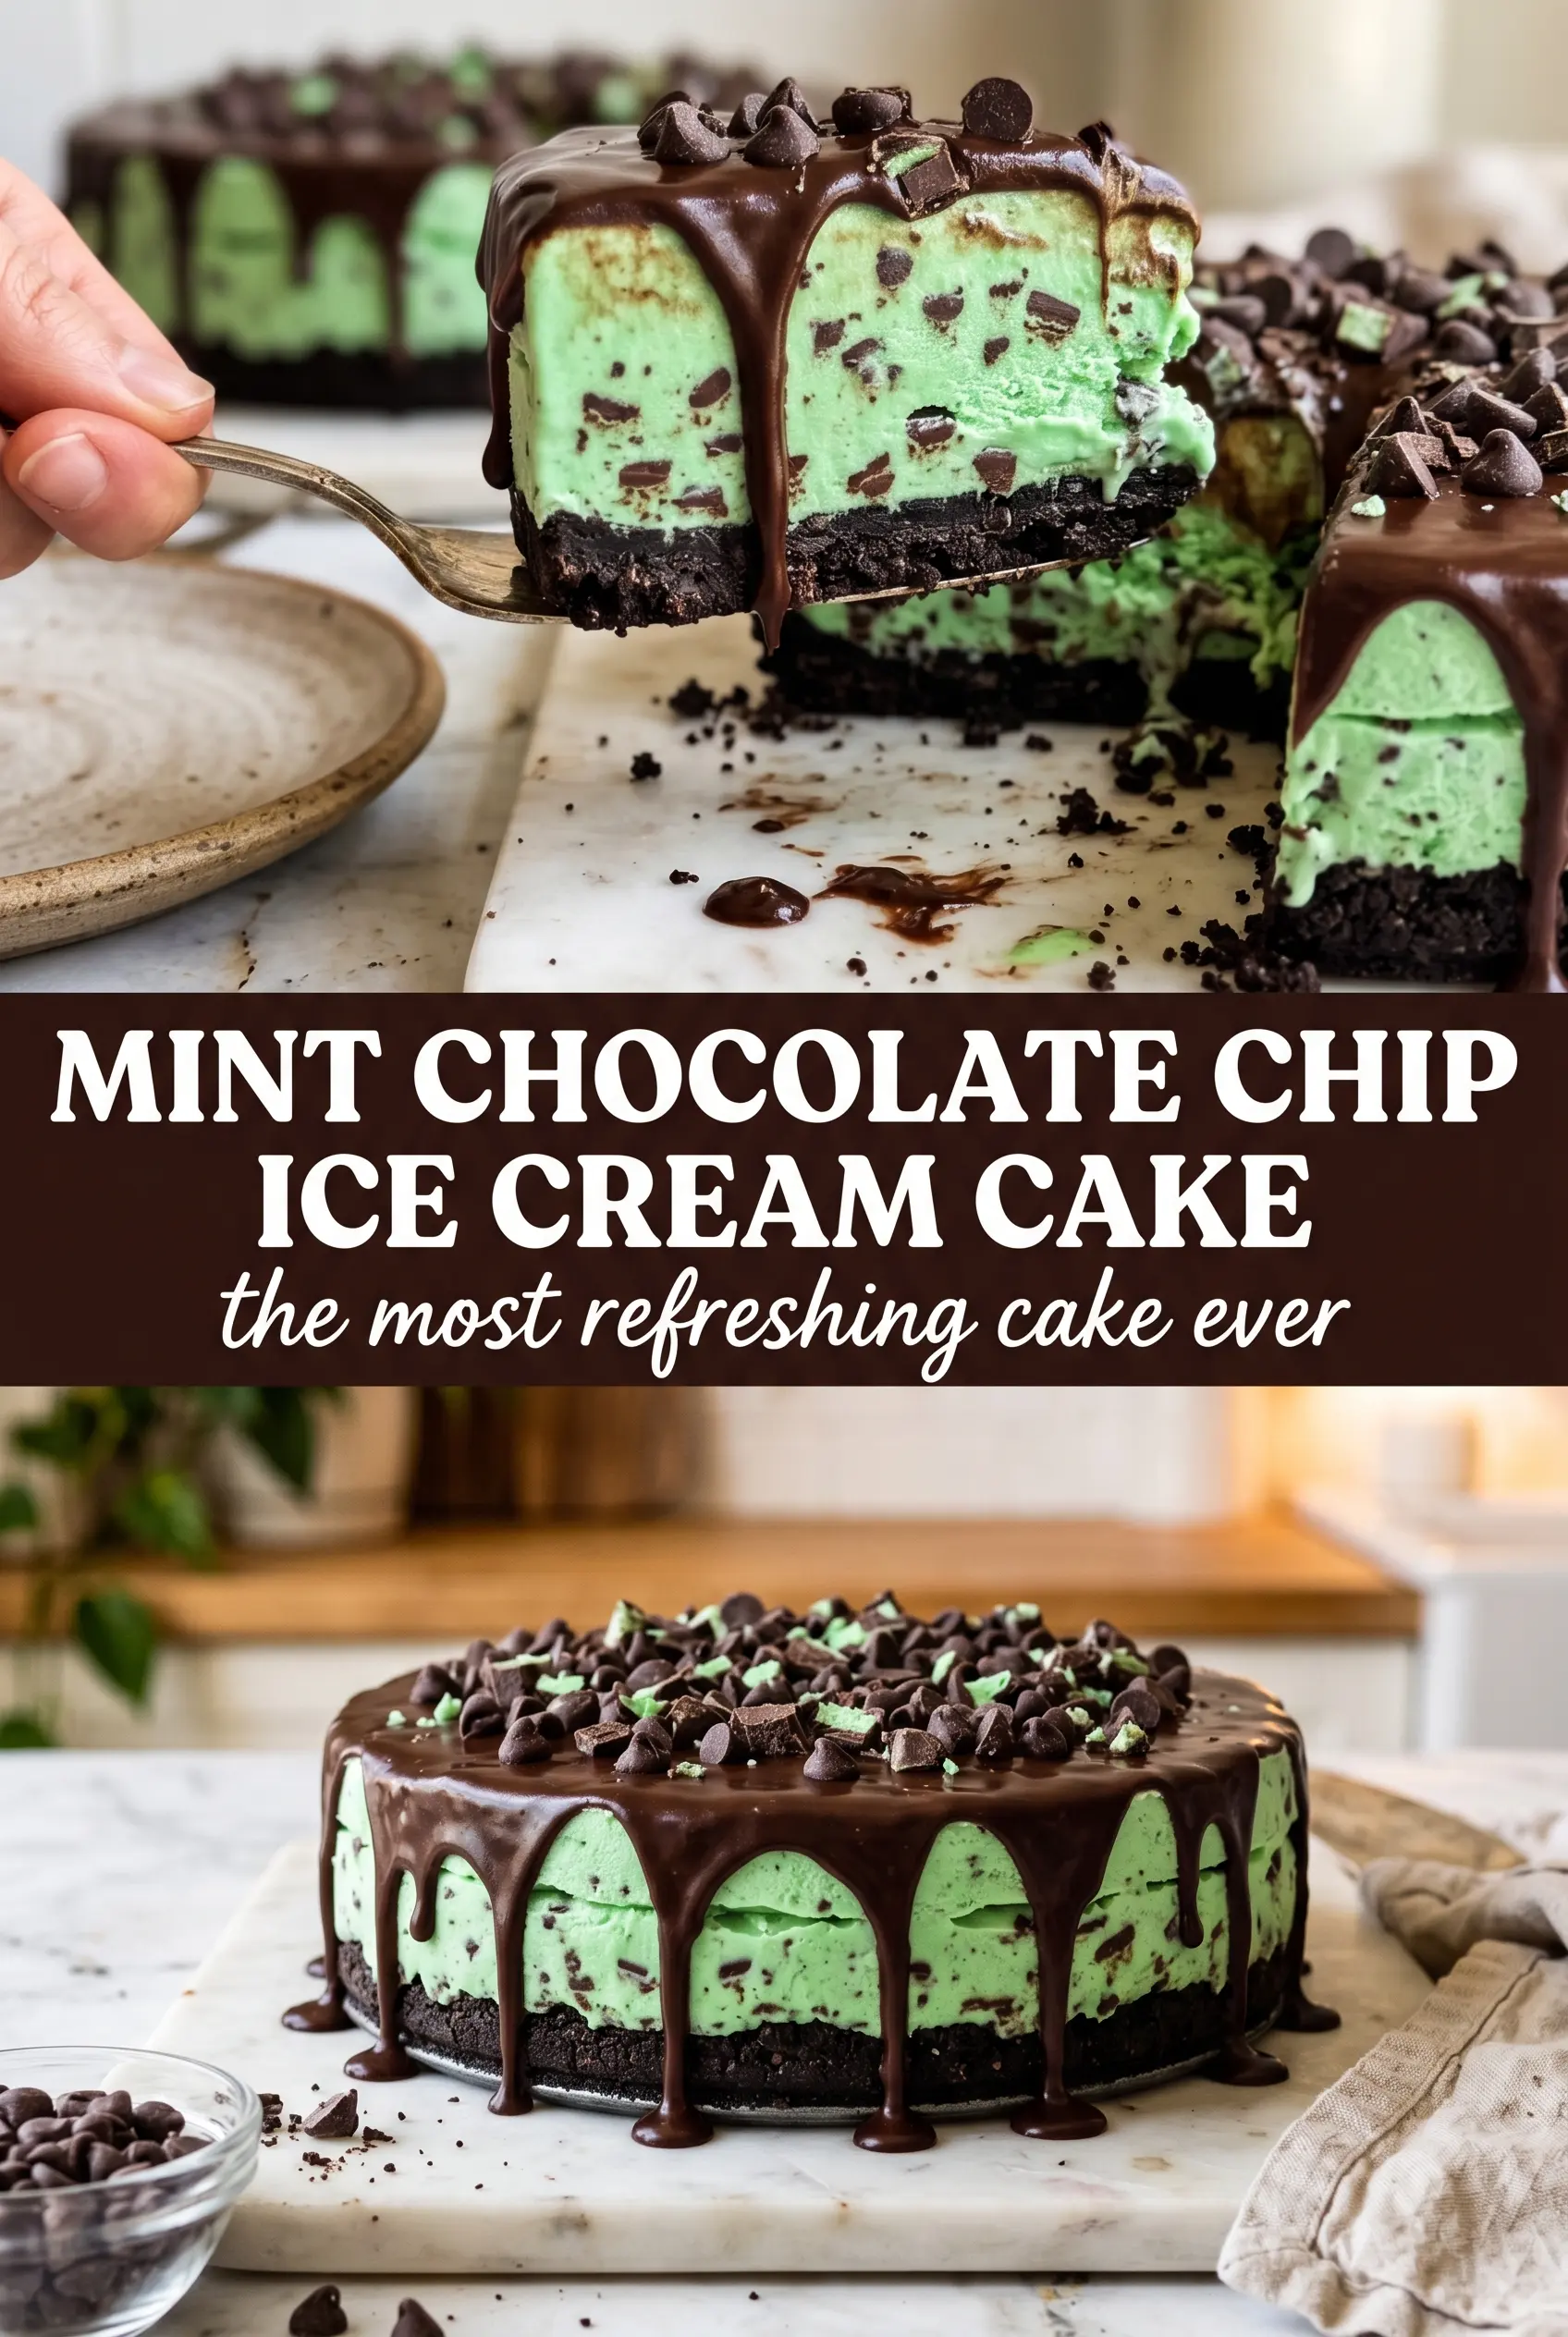
Vibrant green mint chocolate chip ice cream, a dark chocolate cookie crust, and a glossy ganache top make this the kind of dessert people remember after the plates are cleared. The slice holds its shape, cuts cleanly, and gives you that cold, creamy bite against the crunch of the crust and the snap of the chocolate topping. It looks dramatic on the table, but it still tastes like the kind of ice cream cake you want a second slice of.
The part that makes this version work is the order. A well-packed Oreo crust gets a quick freeze so it can stand up to the soft ice cream, and the ice cream itself needs to be softened just enough to spread without melting into a puddle. Ganache goes on after the cake is frozen solid, which keeps it from sinking in and gives you those pretty drips down the sides instead of a muddy top.
Below, I’ll walk through the little timing details that matter most, plus a few swaps if you want to change the cookie base or make the cake ahead for a birthday.
The crust set up firmly and the ganache dripped down the sides exactly like the photo. I let it sit for 10 minutes before slicing and got clean pieces with no melting mess.
Like this mint chocolate chip ice cream cake? Save it for birthday nights when you want a frozen dessert with a crisp cookie crust and a glossy chocolate finish.
The Part That Keeps the Ice Cream Cake Sliceable
The biggest mistake with an ice cream cake is building it too fast. If the base isn’t firm and the ice cream is too soft, the layers blend together before they ever have a chance to set. That gives you a cake that looks fine in the pan and turns sloppy the second a knife goes in.
This version avoids that by freezing between the stages. The crust gets time to harden, the ice cream layer firms up before the ganache goes on, and the ganache itself sets into a thin shell instead of soaking into the cake. That sequence is what gives you clean slices and those distinct layers people love in a good ice cream cake.
- Cookie crust: Crushed chocolate sandwich cookies bring the deep cocoa flavor and sturdy texture that hold up under frozen filling. You want the crumbs fine enough to pack tightly, but not dusty.
- Butter: Melted butter is the glue. If the crust seems loose after mixing, it usually needs a little more pressing rather than more butter, because too much can make it greasy after freezing.
- Mint chocolate chip ice cream: This is the main flavor, so use a brand you already like eating from the carton. Soften it just until spreadable; if it turns soupy, it won’t freeze back into a smooth layer.
- Chocolate ganache: Ganache gives the cake its dramatic top and helps balance the cool mint with a deeper chocolate note. Pour it when the cake is fully frozen, or it will melt into the ice cream instead of sitting on top.
What Each Ingredient Is Actually Doing in This Ice Cream Cake
- Base layer (cookies, cake, or graham cracker) — This provides structure and stability. Crushed and mixed with butter creates a firm foundation.
- Ice cream (the main star) — Use quality ice cream or make homemade. Softness matters for layering.
- Sauce or topping between layers (fudge, caramel, or fruit) — This adds moisture, flavor, and prevents dryness. Don’t skip this layer.
- Frosting or whipped cream (optional outer layer) — This prevents freezer burn and adds creaminess. Stabilized whipped cream works best.
- Freezing time (at least 4-6 hours) — This sets the layers so cake slices cleanly. Longer freezing prevents melting during serving.
- Room temperature before serving (5-10 minutes) — This softens the cake slightly for better texture. Serve immediately after thawing.
- Toppings (chocolate, nuts, cookies, or sprinkles) — These add visual appeal and texture. Add right before serving.
- Storage (in freezer at 0°F or below) — This prevents ice crystal formation and maintains quality. Cover with plastic wrap.
Freezing the Layers in the Right Order
Pressing the Crust Firmly
Mix the crushed cookies with the melted butter until every crumb looks evenly damp, then press the mixture into the bottom of a 9-inch springform pan. Use the flat bottom of a measuring cup to pack it down hard, especially around the edges, because a loose crust breaks apart when you slice the cake. A 15-minute freeze is enough to lock it in place before the ice cream goes on.
Spreading the Ice Cream Without Melting the Base
Let the mint chocolate chip ice cream soften on the counter just until it’s spreadable. You want it to move easily across the crust but still hold shape on the spoon. If it gets too soft, the crust starts loosening and the layer can turn uneven, so stop softening as soon as the ice cream gives when pressed.
Adding the Ganache to a Fully Frozen Cake
Freeze the ice cream layer until it’s firm all the way through before you pour on the ganache. A cold cake keeps the ganache sitting on top long enough to drip attractively down the sides. If the cake is even a little soft here, the ganache will sink and the top will lose that clean, glossy finish.
Finishing With the Toppings
Pipe the whipped cream only after the ganache has set, or the swirls will slide. Andes mint candies give you a nice chocolate-mint crunch, while a few fresh mint leaves keep the top looking bright and fresh. Give the finished cake one more hour in the freezer so the decorations stay put when it’s time to cut it.
Ways to Adapt the Cake for Different Needs
Gluten-Free Cookie Crust
Swap in gluten-free chocolate sandwich cookies and keep the butter amount the same. The crust still packs and freezes well, though some gluten-free cookies crumble a little more loosely, so press it especially firmly into the pan.
Dairy-Free Version
Use dairy-free chocolate cookies, vegan butter, dairy-free mint chocolate chip ice cream, and a coconut-based or dairy-free chocolate topping. The texture stays close to the original, but the flavor will be a little less rich and more coconut-leaning if your substitutes are coconut-based.
Oreo Mint Ice Cream Cake
If you want a stronger cookie-and-cream contrast, fold crushed Oreos into the ice cream layer or use extra cookie crumbs on top instead of Andes candies. That gives the cake a more pronounced chocolate crunch and a less polished, more classic ice cream parlor feel.
Make It Ahead for a Party
Build the cake a full day ahead and leave the whipped cream and fresh mint for the last hour before serving. That keeps the decorations looking neat and gives the whole cake time to freeze evenly, which makes slicing much cleaner.
Storage and Reheating
- Refrigerator: This cake doesn’t belong in the fridge. It softens too quickly and the layers lose their clean edges.
- Freezer: Wrap the cake tightly and keep it frozen for up to 2 weeks for best texture. After that, the ice cream can pick up freezer flavor and the cookie crust gets drier.
- Reheating: No reheating needed. Let slices sit at room temperature for 8 to 10 minutes before serving so the knife cuts through the frozen layers without cracking the ganache.
Answers to the Questions Worth Asking
Mint Chocolate Chip Ice Cream Cake
Ingredients
Equipment
Method
- Combine the crushed chocolate sandwich cookies and melted butter until evenly moistened. Press the mixture firmly into a 9-inch springform pan and freeze 15 minutes until set.
- Spoon the softened mint chocolate chip ice cream onto the frozen crust and spread it into an even layer, smoothing the top. Freeze 4 hours until firm.
- Pour the chocolate ganache over the frozen cake, letting it drip down the sides for a textured look. Freeze 1 hour until the ganache sets.
- Pipe whipped cream around the edge and decorate the top with Andes mint pieces and fresh mint for a bright finish. Freeze 1 more hour before serving so the slice holds clean edges.