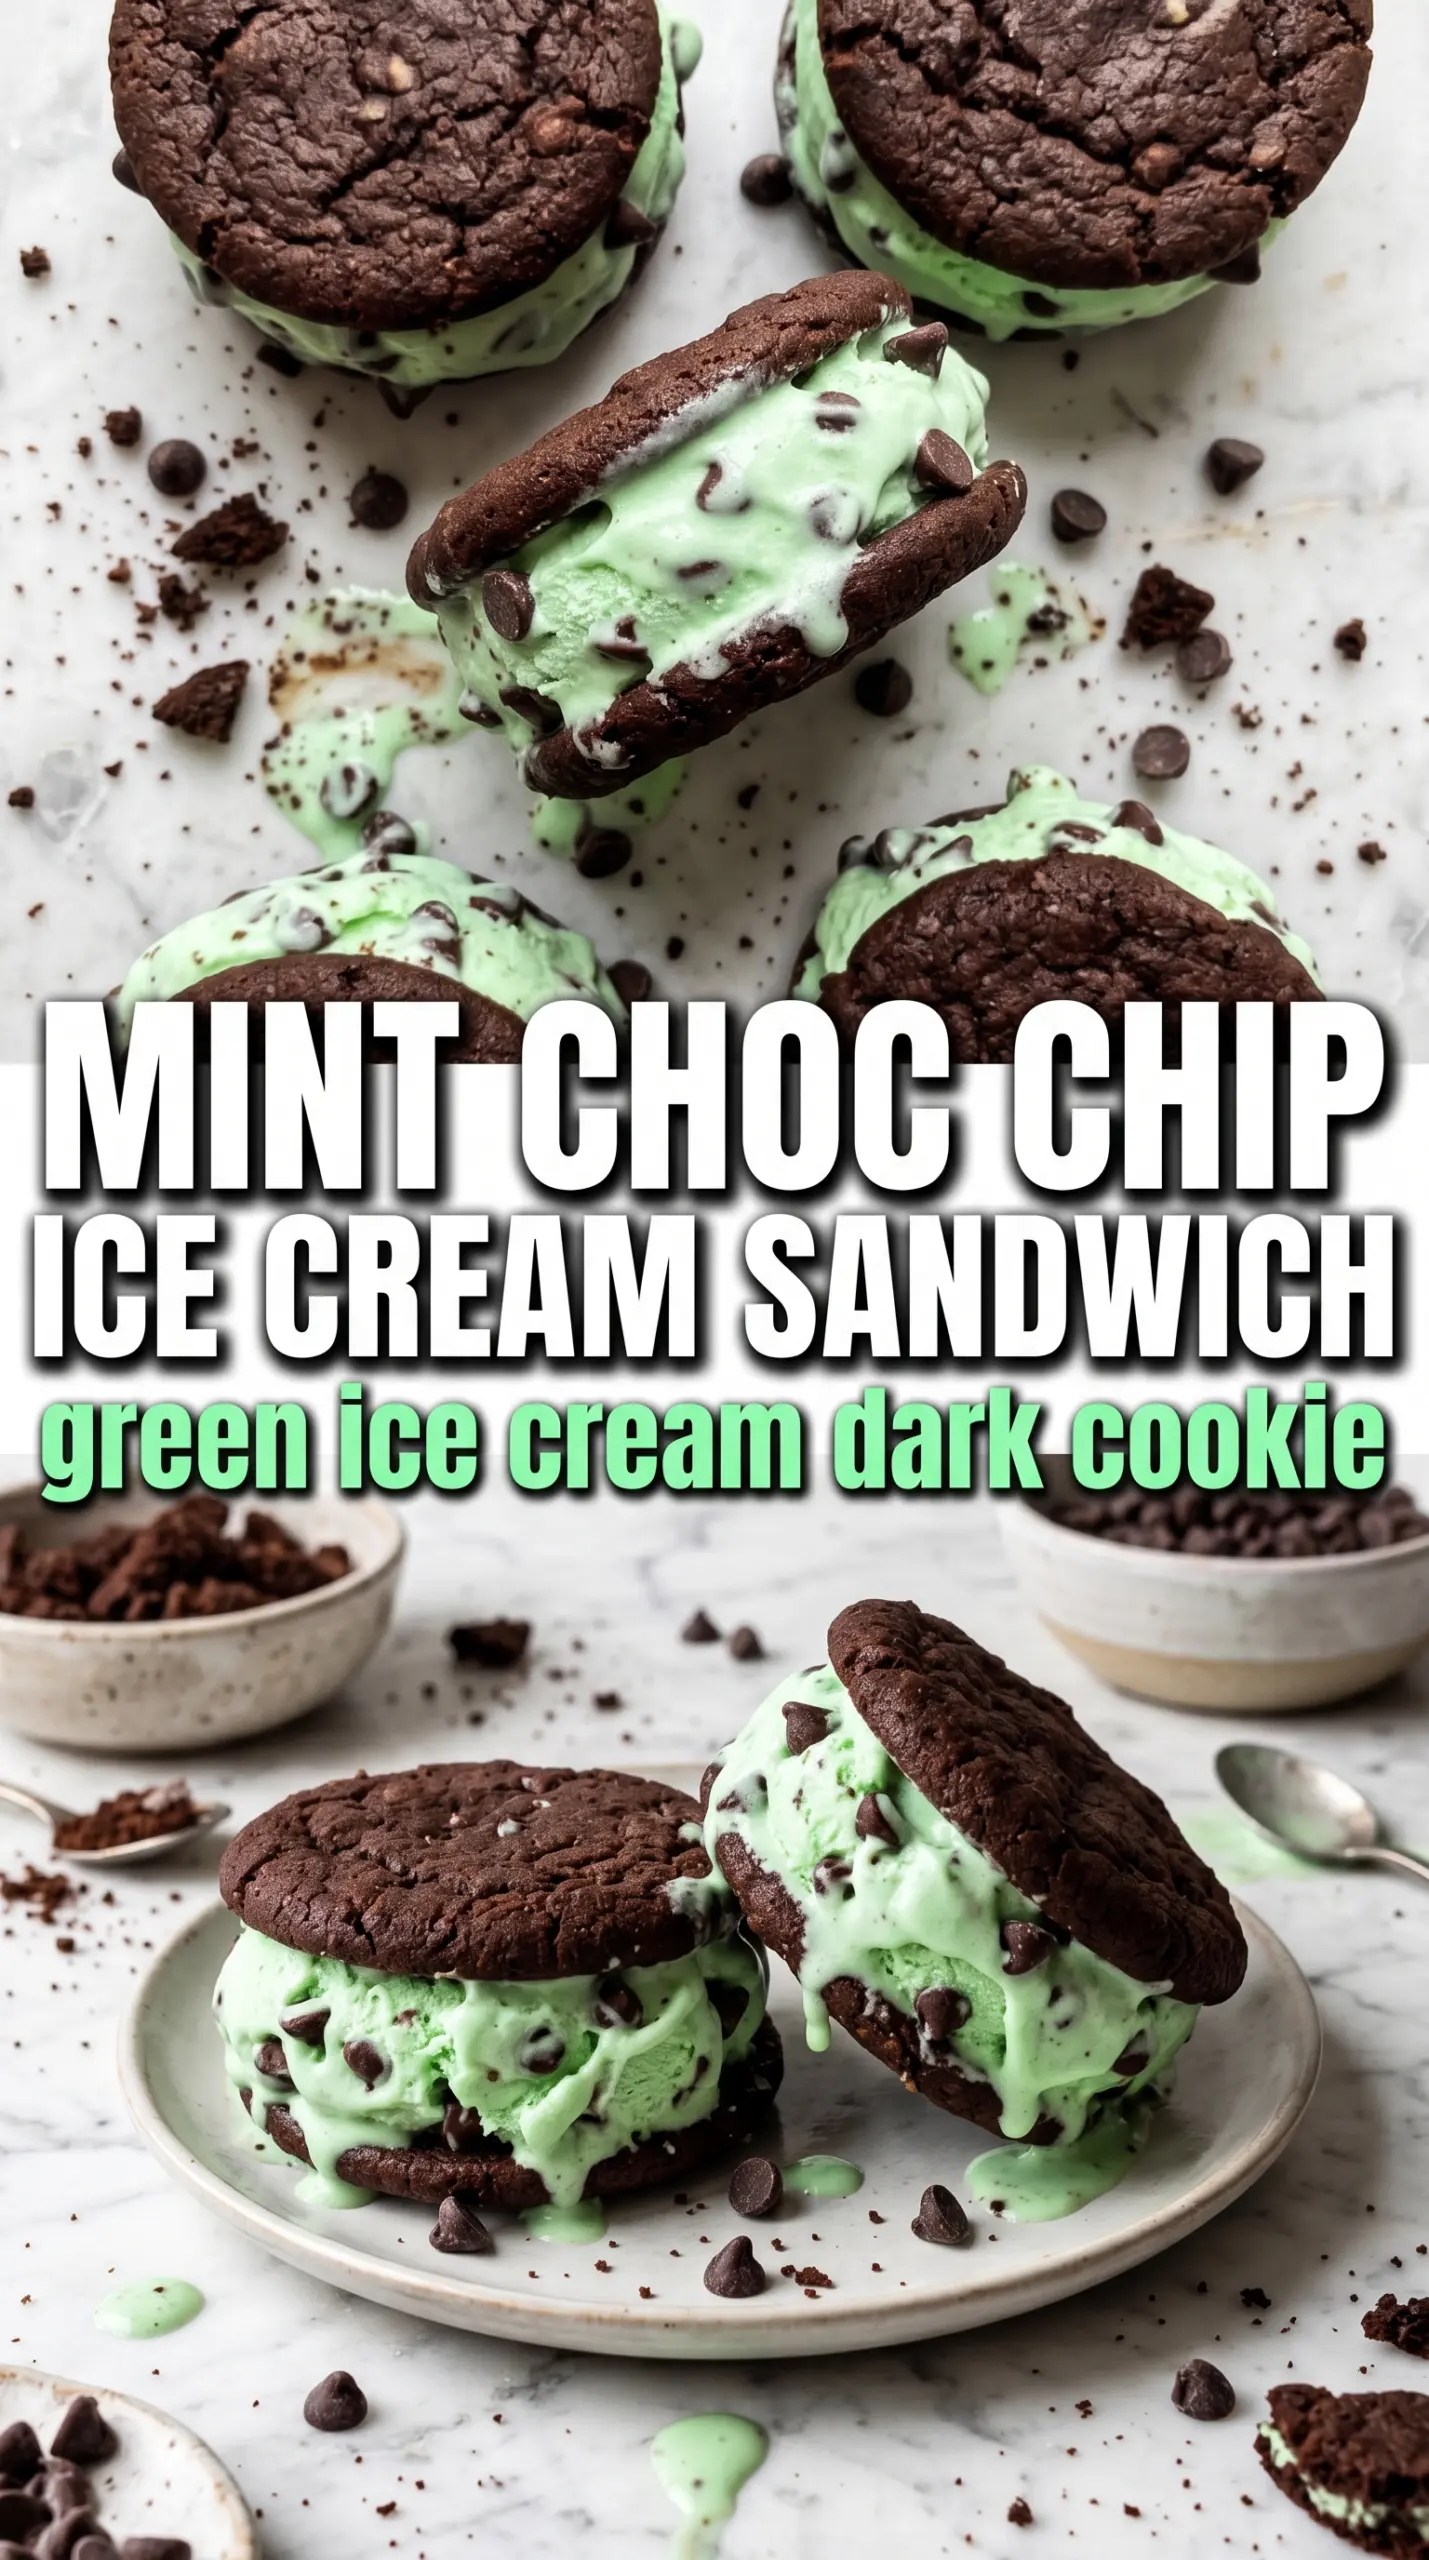
Deep chocolate peppermint cookies and vivid mint chocolate chip ice cream make these sandwiches feel cold in the best possible way. The cookie stays soft enough to bite cleanly straight from the freezer, while the ice cream gives you that creamy, minty center that tastes like a real treat instead of a rushed compromise. The Andes mint edge is the finishing touch that makes every bite a little sharper and a little prettier.
What makes this version work is the contrast. The cookie dough is rich with cocoa, so the peppermint extract reads as cool and fresh instead of candy-sweet. Baking the cookies just until set keeps them flexible after freezing, which matters more here than a crisp cookie ever would. If you overbake them, they’ll turn brittle and split as soon as the ice cream firms up.
Below, I’ll show you how to keep the cookies from becoming dry, how to soften the ice cream without melting it into a mess, and how to make the cleanest sandwich shape for stacking and freezing.
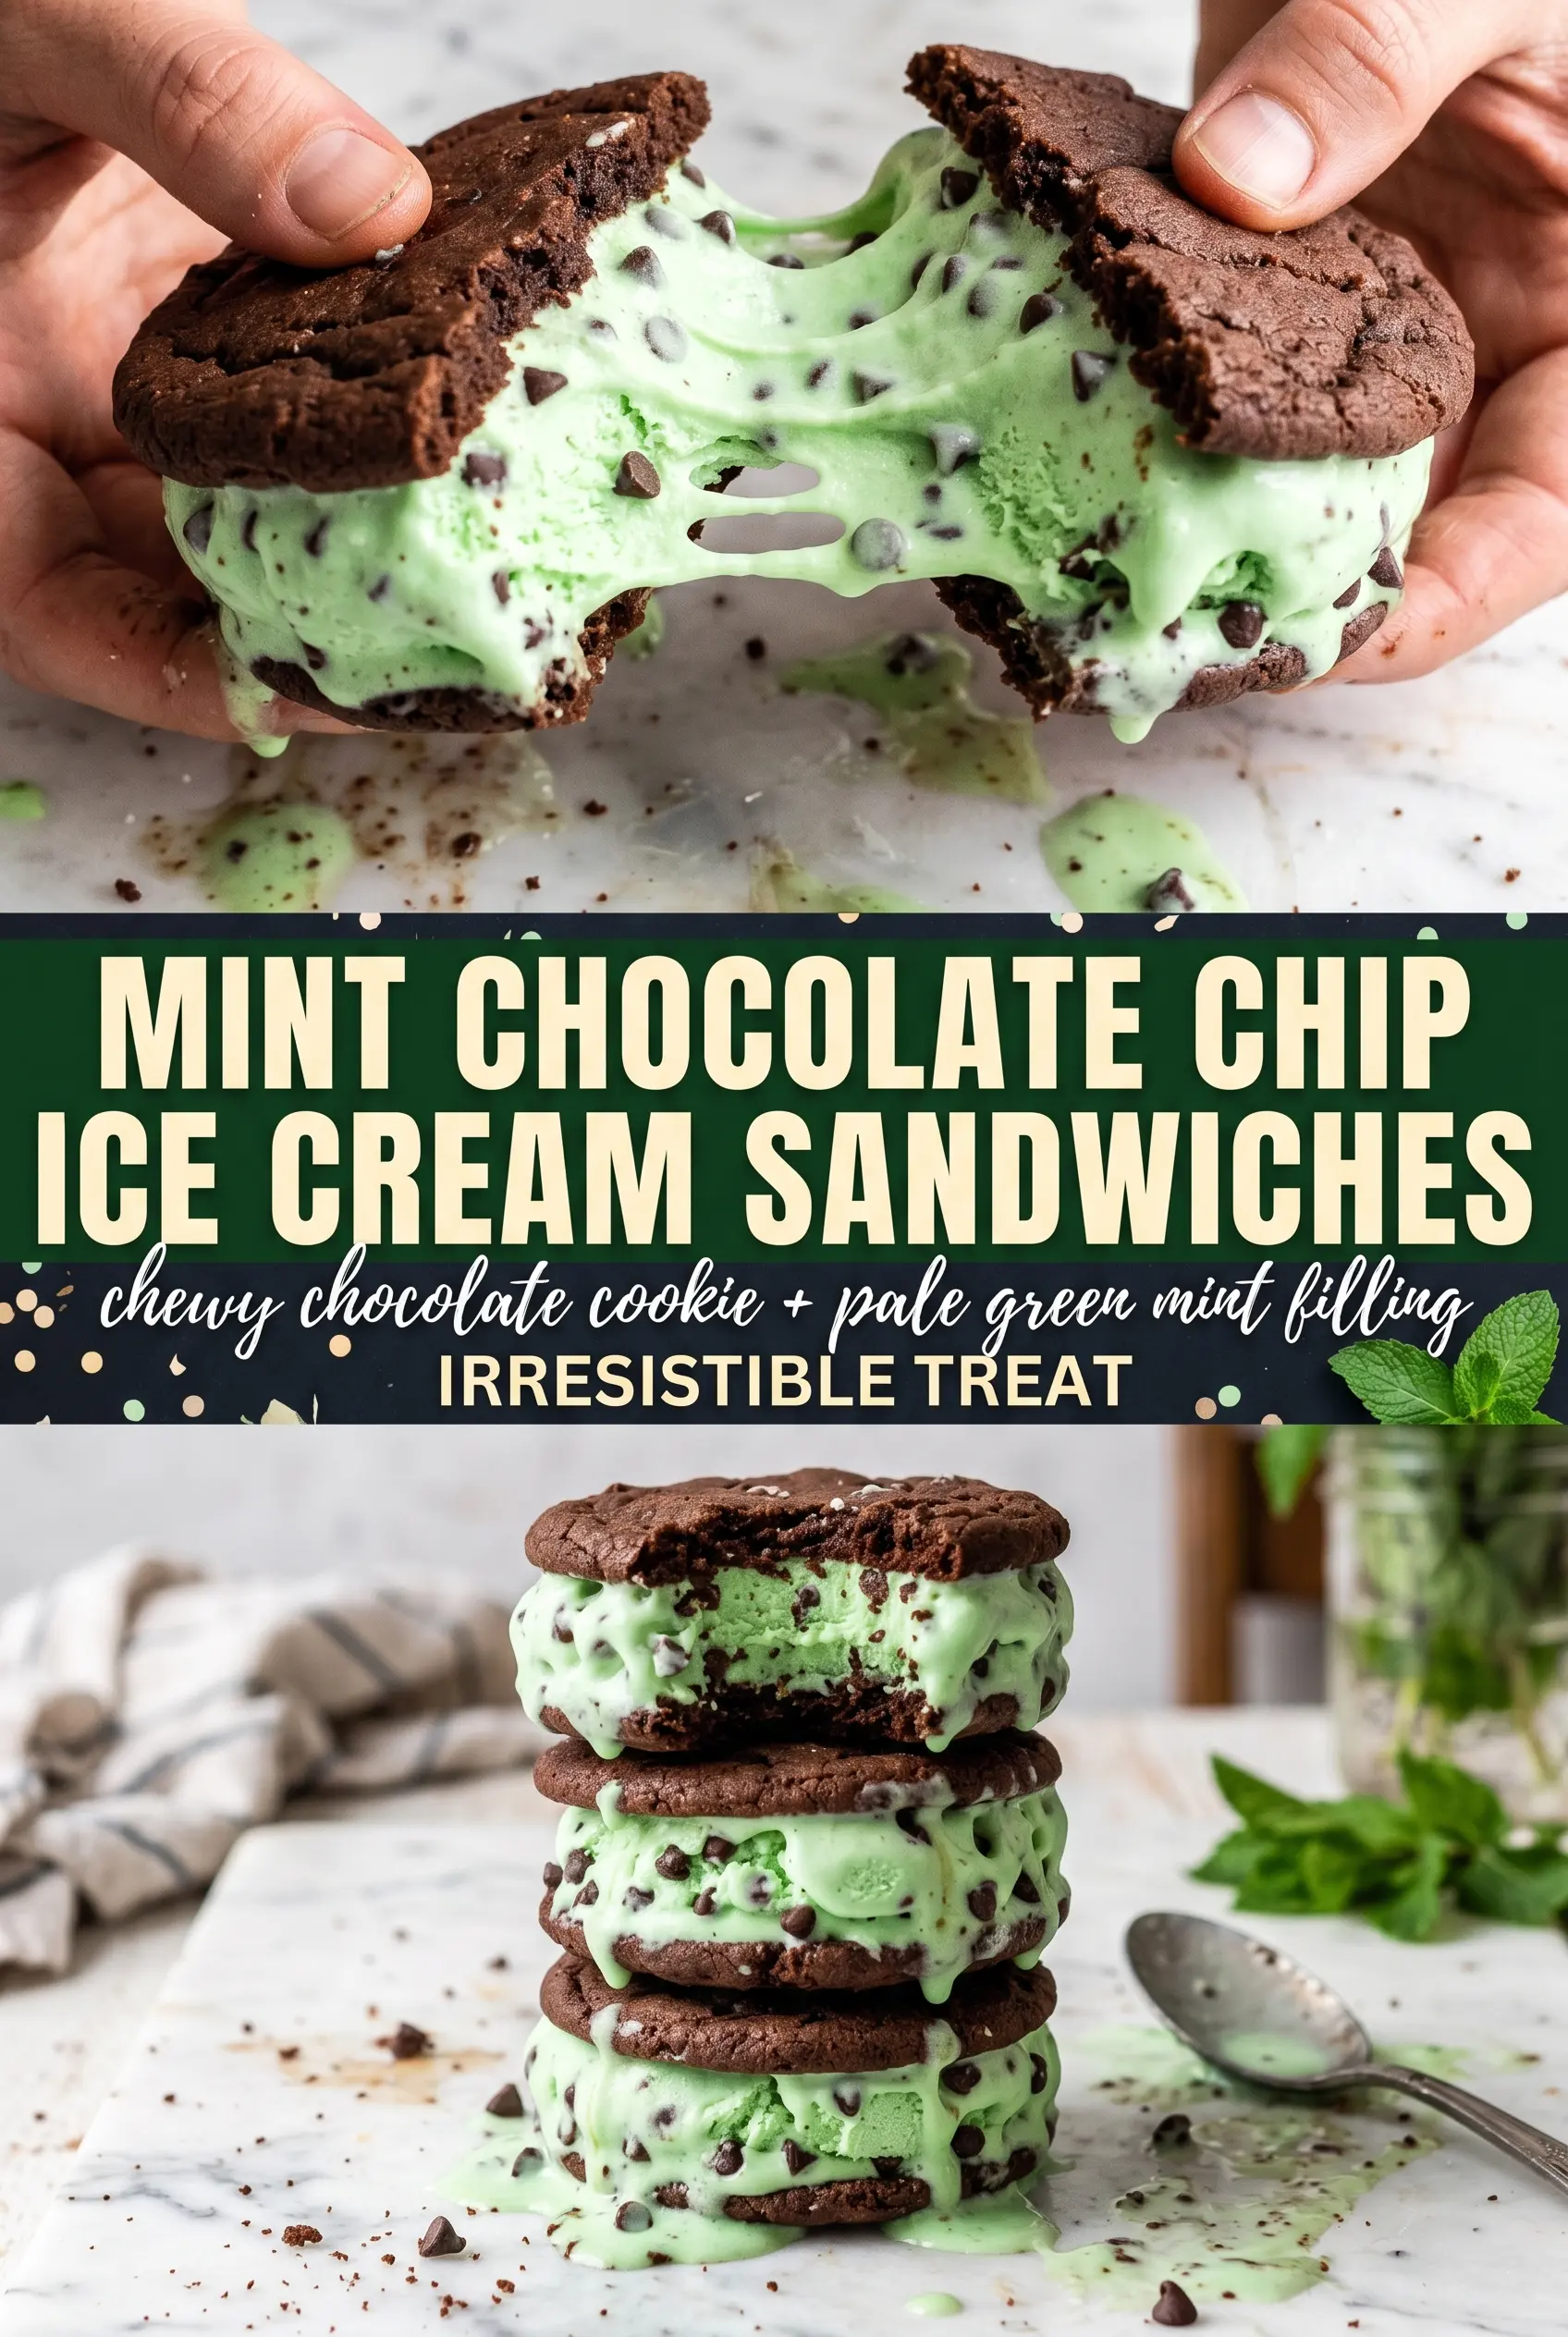
The cookies stayed soft even after freezing, and the peppermint taste came through without being too strong. Rolling the edges in Andes mints made them look bakery-fancy and added a little crunch.
Love the double mint flavor and soft-cookie bite? Save these mint chocolate chip ice cream sandwiches for your next frozen dessert craving.
The Part That Keeps the Cookies Soft After Freezing
The biggest mistake with ice cream sandwiches is treating the cookie like a regular cookie. A crisp cookie seems fine on the tray, then turns hard in the freezer and snaps apart the second you bite into it. These cookies need to be baked just until set at the edges and still soft in the center, because they firm up again as they cool and later in the freezer.
The other thing that matters is shape. Large, evenly flattened rounds give you enough surface area to hold the ice cream without forcing it out the sides. If the cookies are too thick, the ratio turns awkward and the sandwich becomes clumsy to eat. If they’re too thin, they crack when you press them together. You want a sturdy cookie with a little give.
What the Cocoa, Peppermint, and Ice Cream Each Bring to the Table
- Unsweetened cocoa powder — This gives the cookies their deep chocolate base, which keeps the peppermint from tasting like toothpaste. Natural cocoa works fine here; you don’t need a fancy Dutch-process version for a sandwich cookie.
- Peppermint extract — Use peppermint, not mint extract if you want that clean, cool flavor that reads clearly against the cocoa. It’s potent, so measure carefully. Too much and the cookies taste sharp instead of fresh.
- Mint chocolate chip ice cream — Let it soften just until spreadable, not soupy. If it melts too far, it will squeeze out the sides and freeze in a messy layer instead of a neat center. Good-quality ice cream matters here because it’s the middle of the whole dessert.
- Andes mint pieces — These are there for crunch, color, and that extra hit of chocolate-mint flavor around the edge. Crush them lightly so they stick without turning dusty. Fine crumbs melt into the ice cream and disappear.
Building the Sandwiches Before the Ice Cream Gets Away From You
Mixing the Dark Cookie Dough
Whisk the flour, cocoa, baking soda, and salt first so the cocoa is evenly distributed and you don’t get bitter pockets. Beat the butter and sugar until fluffy, then add the eggs and extracts. The dough should turn glossy and deep brown once the dry ingredients go in. If it looks crumbly, keep mixing just until it comes together; overmixing after the flour is in can make the cookies tough.
Baking for a Soft Freezer Bite
Scoop the dough into large rounds and press them flat so they bake into matching sandwich halves. Pull them from the oven when the edges are set and the centers still look a little soft. That’s the sweet spot. They’ll finish setting as they cool on the pan, and if you wait for them to look fully baked, they’ll be too firm once frozen.
Filling, Pressing, and Coating the Edges
Spread or scoop softened ice cream onto the flat side of one cookie, then top with a second cookie and press gently until the filling reaches the edges. Don’t smash them together hard or the ice cream will bulge out and the cookies can split. Roll the exposed edges through crushed Andes mint pieces right away, while the ice cream is still tacky enough to hold them. If the sandwiches are warming up too fast, freeze them for 10 minutes before coating.
Freezing Until Sliceable, Not Rock-Hard
Set the finished sandwiches on a tray and freeze them for at least an hour so the center firms up. If you serve them too soon, they’ll slump and the coating will shed. If you freeze them overnight, let them sit at room temperature for a few minutes before serving so the cookie softens just enough to bite cleanly.
Ways to Adjust the Mint, the Chocolate, and the Freezer Finish
Make them extra minty
Add a tiny extra splash of peppermint extract to the cookie dough, then stop there. The ice cream is already carrying mint flavor, so pushing the cookies too far makes the dessert taste one-note. A small boost sharpens the contrast instead of overpowering it.
Use a gluten-free cookie base
Swap in a 1:1 gluten-free baking flour that includes xanthan gum. The cookies may spread a touch differently, but the sandwich still works because the filling does most of the structural heavy lifting. Bake until just set so the gluten-free crumb doesn’t dry out.
Skip the Andes mint coating
Leave the edges plain for a cleaner look and a softer bite. You’ll lose the little chocolate crunch on the outside, but the sandwiches will freeze a bit more neatly and be easier for kids to handle. It’s the simplest version and still tastes complete.
Storage and Reheating
- Refrigerator: Not the best place for these. The cookies soften unevenly and the ice cream melts into the wrapper too quickly.
- Freezer: Store wrapped sandwiches in an airtight container for up to 2 weeks. After that, the cookies can pick up freezer flavor and the ice cream texture gets icy.
- Reheating: No reheating needed. Let a sandwich sit at room temperature for 3 to 5 minutes before eating so the cookie softens slightly and the center isn’t rock-hard. Cutting that rest short is the easiest way to get a broken sandwich or a face full of ice cream.
Answers to the Questions Worth Asking
Mint Chocolate Chip Ice Cream Sandwiches
Ingredients
Equipment
Method
- Preheat the oven to 350F, then whisk the all-purpose flour, unsweetened cocoa powder, baking soda, and salt until evenly combined.
- Beat the softened unsalted butter and granulated sugar until fluffy, then beat in the eggs, peppermint extract, and vanilla extract.
- Stir the flour mixture into the wet ingredients until a dark dough forms with no dry pockets.
- Scoop the dough into large rounds, press them flat, and place them on a sheet pan.
- Bake at 350F for 10-12 minutes, then cool the cookies completely so they won’t melt the ice cream.
- Sandwich the softened mint chocolate chip ice cream between two cooled cookies to form each ice cream sandwich.
- Roll the ice cream edges in the crushed Andes mint pieces so the sides set with minty crunch.
- Freeze the mint chocolate chip ice cream sandwiches for at least 1 hour before serving to fully firm the filling.