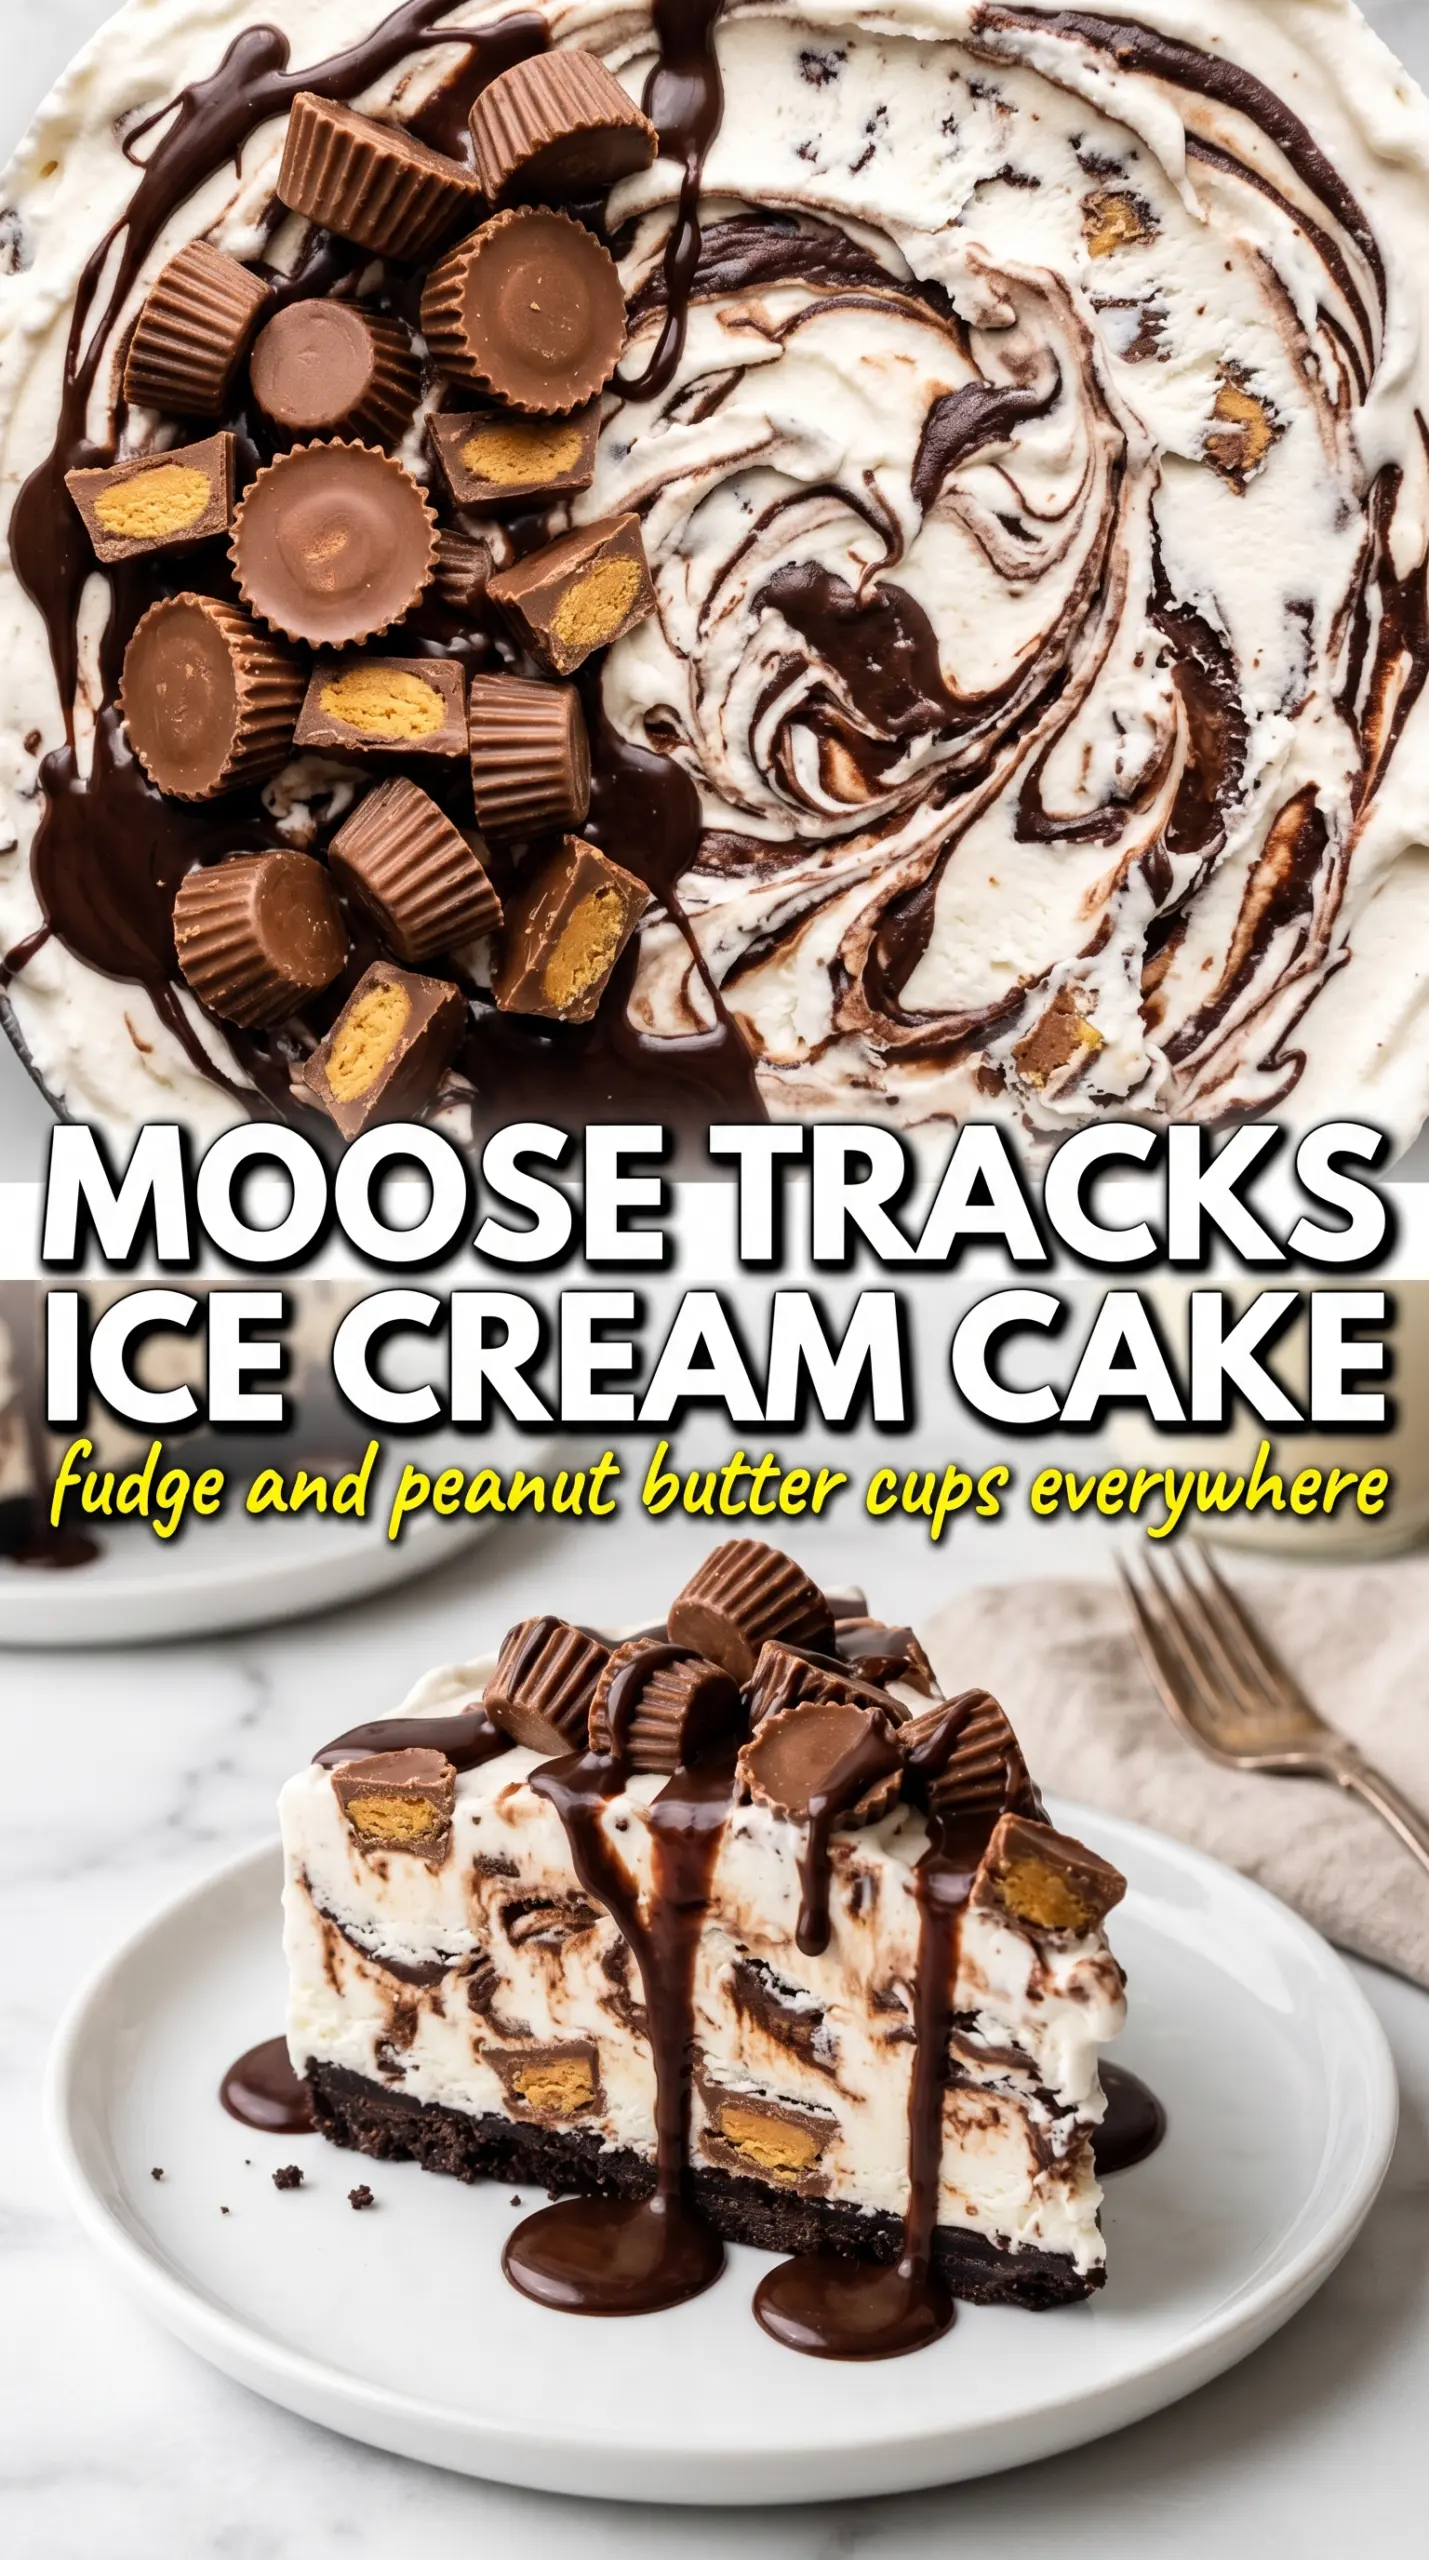
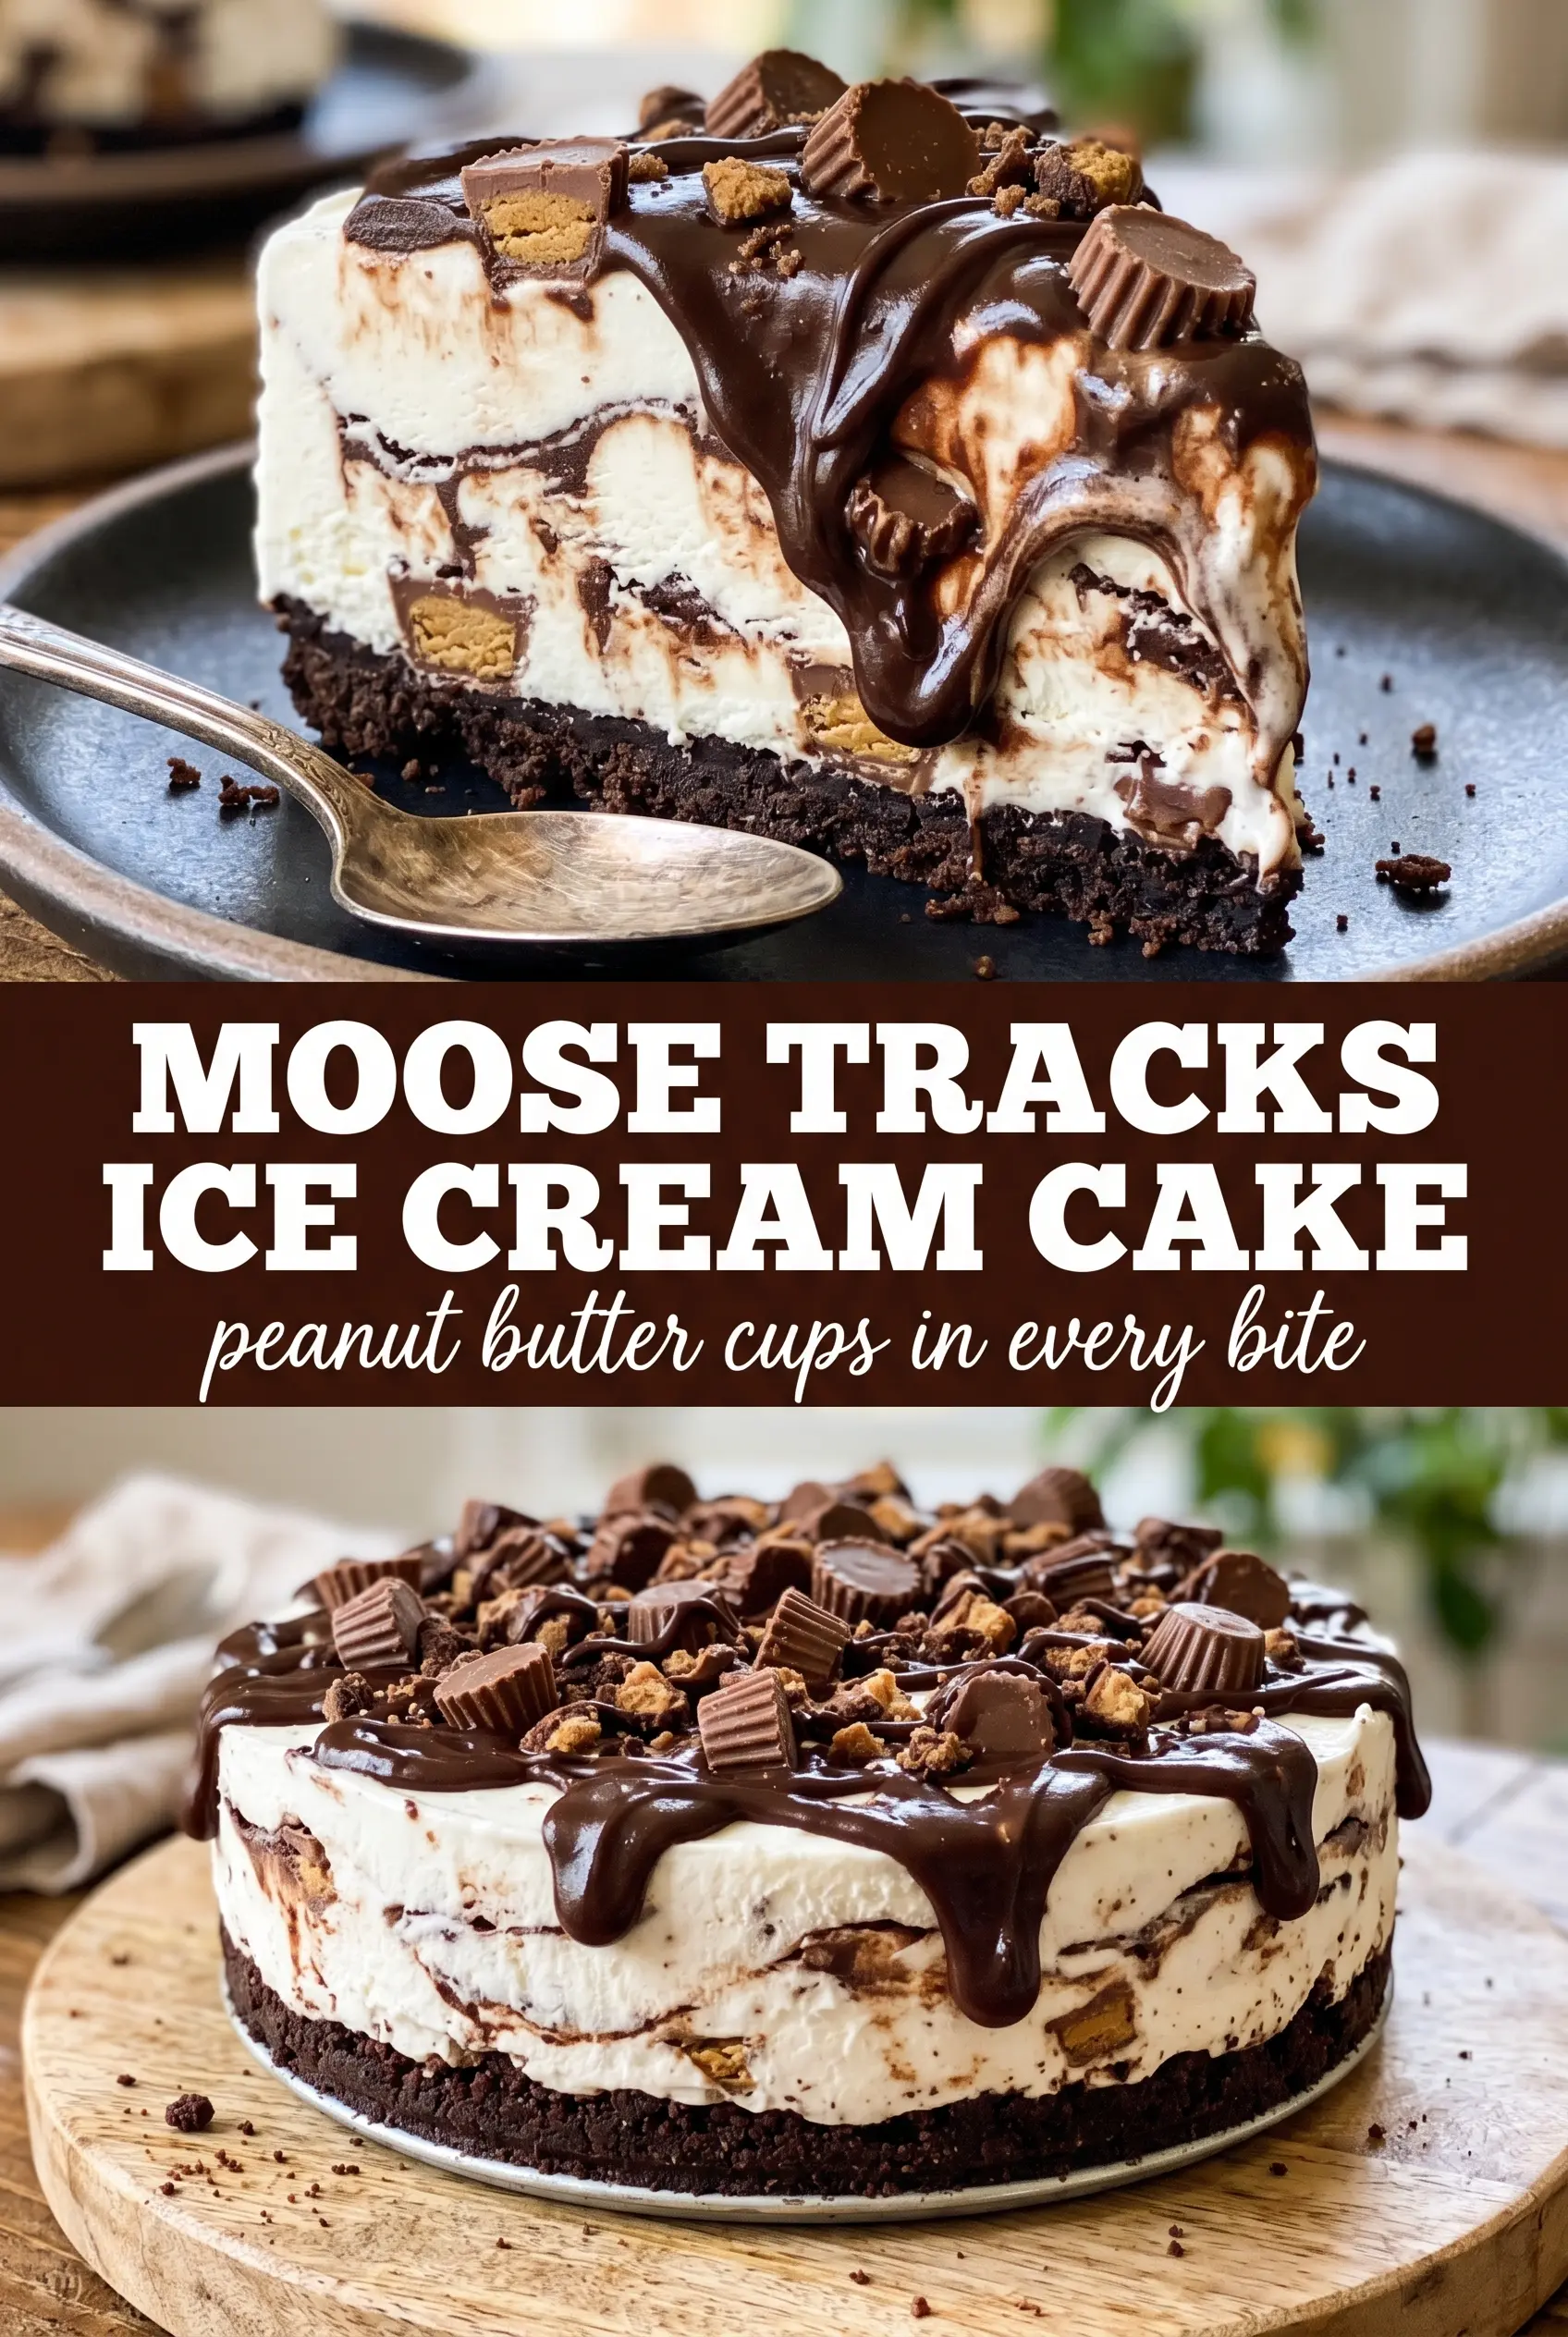
Moose Tracks Ice Cream Cake brings the whole dessert table to a stop the moment it comes out of the freezer. The Oreo crust stays crisp enough to slice cleanly, the vanilla ice cream turns into a creamy middle layer, and the fudge ribbons run through every bite instead of disappearing into the filling. The peanut butter cups matter here, too; they add little pockets of chocolate and peanut butter that keep the cake from tasting one-note.
The trick is working in layers that are cold enough to hold their shape but still soft enough to spread without tearing up the crust. Softened ice cream folds better than melted ice cream, which keeps the cake airy instead of dense and icy. A springform pan gives you clean sides and makes serving much easier, especially once the whipped topping and final drizzle go on top.
Below you’ll find the exact freezing timeline that keeps the layers distinct, plus a few swaps if you want to change the crust or make it ahead for a crowd.
The fudge stayed swirled all the way through and the peanut butter cup pieces were still chunky after freezing. I let it sit 10 minutes before slicing and the layers came out perfect.
Save this Moose Tracks Ice Cream Cake for the dessert nights when you want fudgy swirls, peanut butter cup crunch, and a no-bake cake that slices like a dream.
The One Thing That Keeps the Layers from Turning Muddy
The biggest mistake with an ice cream cake like this is overmixing once the fudge goes in. You want visible streaks, not a fully blended chocolate base, or the cake loses that Moose Tracks look and ends up tasting flatter. Fold just enough to distribute the sauce and peanut butter cups, then stop while the ice cream still looks marbled.
The crust also needs a short freeze before the filling goes in. If you skip that step, the softened ice cream can seep into the cookie crumbs and turn the bottom layer soft instead of compact. Fifteen minutes is enough to set the butter and give you a crust that cuts cleanly.
- Oreos — These give the crust its deep chocolate flavor and a sturdy texture once mixed with butter. A standard chocolate sandwich cookie works best here because the cream filling helps the crust bind without extra sugar.
- Unsalted butter — Butter is what turns the crumbs into a sliceable base. Salted butter works in a pinch, but unsalted gives you better control since the filling and fudge already bring plenty of sweetness.
- Vanilla ice cream — Use a good-quality ice cream with enough fat to stay creamy after freezing. Low-fat ice cream tends to freeze harder and can get icy around the edges.
- Moose Tracks fudge sauce or hot fudge — This is the signature ribbon, so use a sauce that stays soft when frozen. Thick jarred fudge sauce is easier to swirl than a thin syrup.
- Miniature peanut butter cups — Halving them keeps the pieces from getting lost in the ice cream. Larger chunks can work, but they make slicing messier and can pull apart the layer when you cut the cake.
- Whipped topping — It gives the top a smooth, stable finish after the cake has firmed up. Homemade whipped cream can work, but it won’t hold as long in the freezer unless you stabilize it.
What Each Ingredient Is Actually Doing in This Ice Cream Cake
- Base layer (cookies, cake, or graham cracker) — This provides structure and stability. Crushed and mixed with butter creates a firm foundation.
- Ice cream (the main star) — Use quality ice cream or make homemade. Softness matters for layering.
- Sauce or topping between layers (fudge, caramel, or fruit) — This adds moisture, flavor, and prevents dryness. Don’t skip this layer.
- Frosting or whipped cream (optional outer layer) — This prevents freezer burn and adds creaminess. Stabilized whipped cream works best.
- Freezing time (at least 4-6 hours) — This sets the layers so cake slices cleanly. Longer freezing prevents melting during serving.
- Room temperature before serving (5-10 minutes) — This softens the cake slightly for better texture. Serve immediately after thawing.
- Toppings (chocolate, nuts, cookies, or sprinkles) — These add visual appeal and texture. Add right before serving.
- Storage (in freezer at 0°F or below) — This prevents ice crystal formation and maintains quality. Cover with plastic wrap.
Building the Cake So the Swirl Still Shows
Press the Crust Firm and Even
Mix the crushed Oreos with melted butter until every crumb looks damp, then press the mixture into the bottom of a 9-inch springform pan. Use the bottom of a measuring cup to pack it down evenly; loose crumbs will crumble at the first slice. Freeze it for 15 minutes so the butter hardens and the crust sets before the filling goes in.
Fold the Filling, Don’t Beat It
Let the vanilla ice cream soften just until it spreads without cracking. Fold in the halved peanut butter cups and half the fudge sauce with a spatula, using broad strokes so the mix stays thick and speckled. If the ice cream gets too soft, the cups sink and the layer freezes dense instead of creamy.
Swirl the Fudge on Top
Spoon the filling over the crust and smooth it into the pan. Drizzle the remaining fudge sauce over the top, then drag a knife through it in wide curves. Don’t over-swirl; you want ribbons running through the ice cream, not a uniform chocolate layer.
Freeze Until the Center Is Solid
Freeze the assembled cake for 4 hours, or until it feels firm all the way through when you press the center lightly with a clean fingertip. That first long freeze gives the cake its structure before the topping goes on. If the filling is even a little soft here, the whipped topping will sink and the slices will slump.
Finish with the Topping and Final Freeze
Spread the whipped topping over the frozen cake and decorate with extra peanut butter cups and a final drizzle of fudge. Return it to the freezer for 2 more hours so the topping firms up and the decorations stay put. For the cleanest slices, let the cake sit on the counter for 5 to 10 minutes before cutting with a warm knife.
How to Adapt This Moose Tracks Cake for Different Freezers and Dietary Needs
Gluten-Free Crust Swap
Use certified gluten-free chocolate sandwich cookies in place of the Oreos and keep the butter amount the same. The texture stays nearly identical, though some gluten-free cookies crumble a little more, so press the crust firmly and freeze it well before adding the filling.
Dairy-Free Version
Swap in dairy-free vanilla ice cream, dairy-free whipped topping, and a plant-based fudge sauce if needed. Use dairy-free peanut butter cups if you can find them; otherwise, the cake still works with just the fudge and cookie crust, but you lose some of the signature candy-bar bite.
Extra-Fudgy Version
Add an extra 2 to 3 tablespoons of fudge sauce inside the ice cream layer, but stop short of making it runny. More sauce gives you deeper chocolate ribbons, though too much can make the middle soften faster once the cake starts to sit out.
Make-Ahead Timing
This cake can be made a full day ahead and held in the freezer, tightly wrapped, without losing much texture. For longer storage, keep it for up to 1 week and add the final candy topping close to serving so the peanut butter cups stay crisp-looking.
Storage and Reheating
- Refrigerator: Not recommended. This is a frozen dessert and it turns soft fast in the fridge.
- Freezer: Wrap the cake tightly and freeze for up to 1 week for best texture. After that, the ice cream can pick up freezer flavor and the crust gets drier.
- Reheating: No reheating needed. For slicing, let it stand at room temperature for 5 to 10 minutes so the knife glides through the crust instead of cracking it.
Questions I Get Asked About This Moose Tracks Ice Cream Cake
Moose Tracks Ice Cream Cake
Ingredients
Equipment
Method
- Combine crushed Oreo cookies with melted unsalted butter until evenly coated, then press firmly into a 9-inch springform pan to form a flat crust.
- Freeze the crust for 15 minutes until set.
- Spoon the softened vanilla ice cream into a large bowl, then fold in halved miniature peanut butter cups and half the Moose Tracks fudge sauce until evenly distributed.
- Spread the ice cream mixture over the frozen Oreo crust, smoothing the top with an offset spatula or spoon.
- Drizzle the remaining fudge sauce over the top and swirl gently with a knife to create dark ribbon-like swirls.
- Freeze for 4 hours until completely firm.
- Spread whipped topping evenly over the firm cake layer.
- Decorate with extra peanut butter cups and drizzle with extra fudge for a finished look.
- Freeze for 2 more hours before serving so the top stays set and slices cleanly.