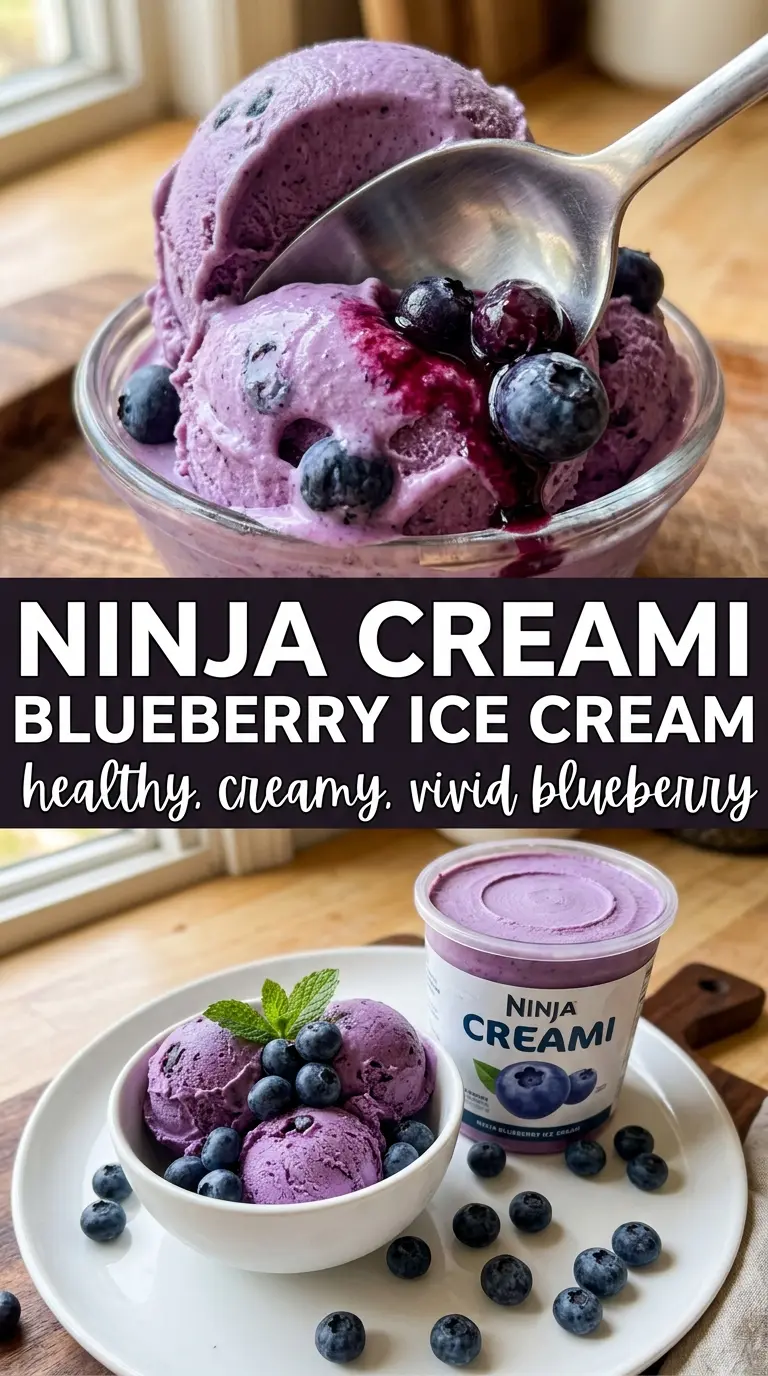
Vivid purple-blue Ninja Creami blueberry ice cream lands with a clean berry flavor and a texture that turns silky instead of icy when the base is blended well and frozen long enough. The cream cheese keeps the pint from eating flat, while the lemon juice sharpens the blueberries so the flavor tastes bright all the way through, not just sweet on top.
The biggest difference between a good blueberry Creami and a grainy one is what happens before the freeze. Straining out the skins gives the machine a smoother job, and blending until the sugar and cream cheese disappear keeps the finished ice cream from turning chalky. A full 24-hour freeze matters here, too. If the base is underfrozen, the texture goes from scoopable to slushy in a hurry.
Below, I’m walking through the ingredient choices that matter most, the spots where this recipe can go sideways, and a few easy swaps if you want it dairy-free or a little lighter.
The blueberry flavor came through after one spin, and the pint was smooth instead of icy. I added the extra tablespoon of milk for the re-spin and it turned out just like soft serve.
Save this Ninja Creami blueberry ice cream for the nights when you want a vivid, fruity pint that spins up silky and bright.
The Part That Stops Blueberry Ice Cream From Turning Grainy
Blueberries bring great flavor, but they also bring skins, seeds, and a lot of water. If you blend everything together without straining, the finished ice cream can read a little seedy or dull instead of clean and creamy. Straining the puree gives you a smoother base and lets the fruit flavor come through without the papery texture that can linger in frozen desserts.
The other thing that matters is balance. Cream cheese sounds small, but it keeps the base from tasting thin after freezing, and the lemon juice keeps the berries from tasting flat. If the mixture tastes slightly sweeter than you want before it goes in the freezer, that’s a good sign. Cold temperatures mute sweetness, so a base that tastes perfect at room temp often tastes bland after freezing.
- Blueberries — Fresh or frozen both work. Frozen berries are fine straight from the bag, and they often give a deeper color. If your berries are very tart, add the sugar a teaspoon at a time after blending.
- Whole milk and heavy cream — This combination gives the pint enough fat to spin creamy instead of icy. Lower-fat milk will still freeze, but the texture gets less plush and more slushy.
- Cream cheese — This is the quiet insurance policy in the recipe. It helps the base emulsify and keeps the final texture smooth after the freezer hardens it.
- Lemon juice — Don’t skip it. Blueberries need acid to taste vivid. Without it, the flavor lands more muted and jammy than fresh.
What Each Ingredient Is Actually Doing in This Ice Cream
- Base ingredient (cream, milk, or custard) — This provides the foundation and richness. Quality matters.
- Sweetener (sugar, honey, or condensed milk) — This sweetens and prevents ice crystals. The ratio is critical.
- Flavor element (vanilla, fruit, chocolate, or other) — This defines the ice cream personality. Use quality ingredients.
- Egg yolks (if making custard base) — These create richness and silky texture. Optional but elevates ice cream.
- Churning (if using ice cream maker) — This incorporates air and prevents ice crystals. Critical for smooth texture.
- Freezing temperature and time — Proper freezing prevents rock-hard texture. Store at 0°F or below.
- Mix-ins (chocolate, cookies, fruit, or swirls) — These add texture and prevent one-dimensional flavor. Add near end of churning.
- Serving temperature (slightly soft, not rock hard) — This provides creamy mouthfeel. Remove from freezer 5 minutes before serving.
Freezing the Base So the Ninja Creami Can Actually Do Its Job
Blending Out the Skins
Start by pureeing the blueberries until they’re completely broken down, then strain the mixture. Press the liquid through the mesh with a spoon or spatula until only skins are left behind. If you rush this and leave chunks in the puree, those bits freeze into little icy flecks that the machine won’t fully smooth out later.
Whisking the Dairy Until It’s Fully Dissolved
Blend the strained puree with the milk, cream, sugar, softened cream cheese, vanilla, lemon juice, and salt until the mixture looks uniform and glossy. You shouldn’t see any little white streaks of cream cheese. If the cream cheese starts in cold clumps, the base can freeze with tiny tangy pockets instead of a smooth, even body.
Freezing the Pint Hard
Pour the mixture into the Ninja Creami pint container and freeze it flat for a full 24 hours. The surface should be level and rock solid before spinning. If the base is even a little soft in the center, the first spin can come out powdery at the edges and slushy in the middle. That’s the sign it needs more freezer time, not more machine time.
Spinning and Re-Spinning
Process on the Ice Cream setting first, then check the texture before adding any liquid. If it looks crumbly or dry, add 1 tablespoon milk and re-spin. That small addition is enough to help the blade pull the mixture together without turning it into blueberry soup. Serve it right away if you want a soft-serve texture, because it firms up fast once it goes back in the freezer.
How to Adapt This Pint Without Losing the Creamy Texture
Dairy-Free Blueberry Creami
Swap in full-fat canned coconut milk for the cream and milk, and use a dairy-free cream cheese. The texture will still spin creamy, but the coconut flavor will show up in the background. Keep the lemon juice in place so the berries still taste bright.
Lower-Sugar Version
Reduce the sugar to 2 tablespoons if your berries are very sweet, or replace part of it with your preferred granulated sweetener. Don’t cut it too hard, because sugar softens the frozen base and keeps the texture scoopable instead of icy.
Extra-Fruity Swirl
Stir a spoonful of thick blueberry jam into the spun ice cream after processing. That gives you pockets of concentrated berry flavor without changing the base texture. Use a jam that’s thick, not loose, or it will streak into the pint and make it melt faster.
Storage and Reheating
- Refrigerator: Not recommended. This is meant to be frozen, and the texture breaks down fast once it starts thawing.
- Freezer: Freeze the processed ice cream in the pint for up to 2 weeks. It will harden, so let it sit at room temperature for 5 to 10 minutes before scooping.
- Reheating: No reheating needed. If it’s too firm after refreezing, run it through the Ninja Creami again or let it soften slightly on the counter. Microwave thawing makes the edges melt before the center loosens.
Questions I Get Asked About This Recipe
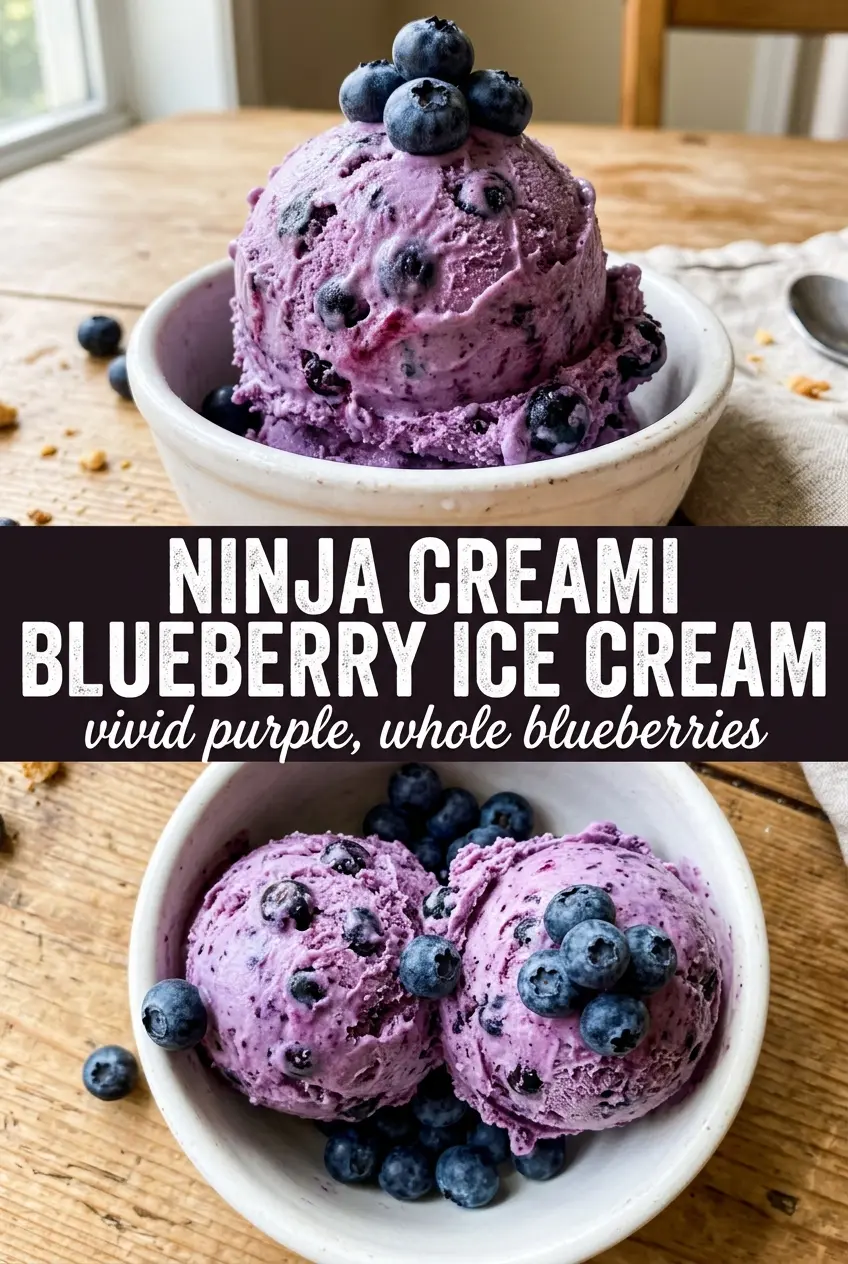
Ninja Creami Blueberry Ice Cream
Ingredients
Equipment
Method
- Blend the fresh or frozen blueberries until smooth, then strain to remove skins for a smoother texture.
- Blend the blueberry puree with whole milk, heavy cream, granulated sugar, softened cream cheese, vanilla extract, lemon juice, and salt until completely smooth.
- Pour the mixture into the Ninja Creami pint container, cover, and freeze for 24 hours.
- Process on the Ice Cream setting, then re-spin with 1 tablespoon milk if needed to reach thick, scoopable blueberry soft serve.
- Serve immediately for the silkiest texture, or return to the freezer to firm up before eating.