Rich chocolate ice cream with a thick peanut butter swirl earns its place fast because it tastes like the best part of a frozen candy bar, only colder, smoother, and a little more grown-up. The base comes out dense instead of icy, with a deep cocoa flavor that still leaves room for the peanut butter to stand out. That balance matters. Too much sweetness and the chocolate disappears; too little fat and the texture turns thin once the pint freezes.
This version leans on cream cheese for body, which is the small detail that keeps the pint from tasting flat after freezing. The cocoa gets blended straight into the base so there are no dry pockets or grainy streaks, and the peanut butter goes on at the end so it stays distinct instead of muddying the whole pint. If you’ve ever had a Creami that spun up crumbly or dull, the fix is usually in the base, not the machine.
Below you’ll find the exact swirl method that keeps the peanut butter visible, plus the small ingredient swaps that still give you a thick, fudgy result.
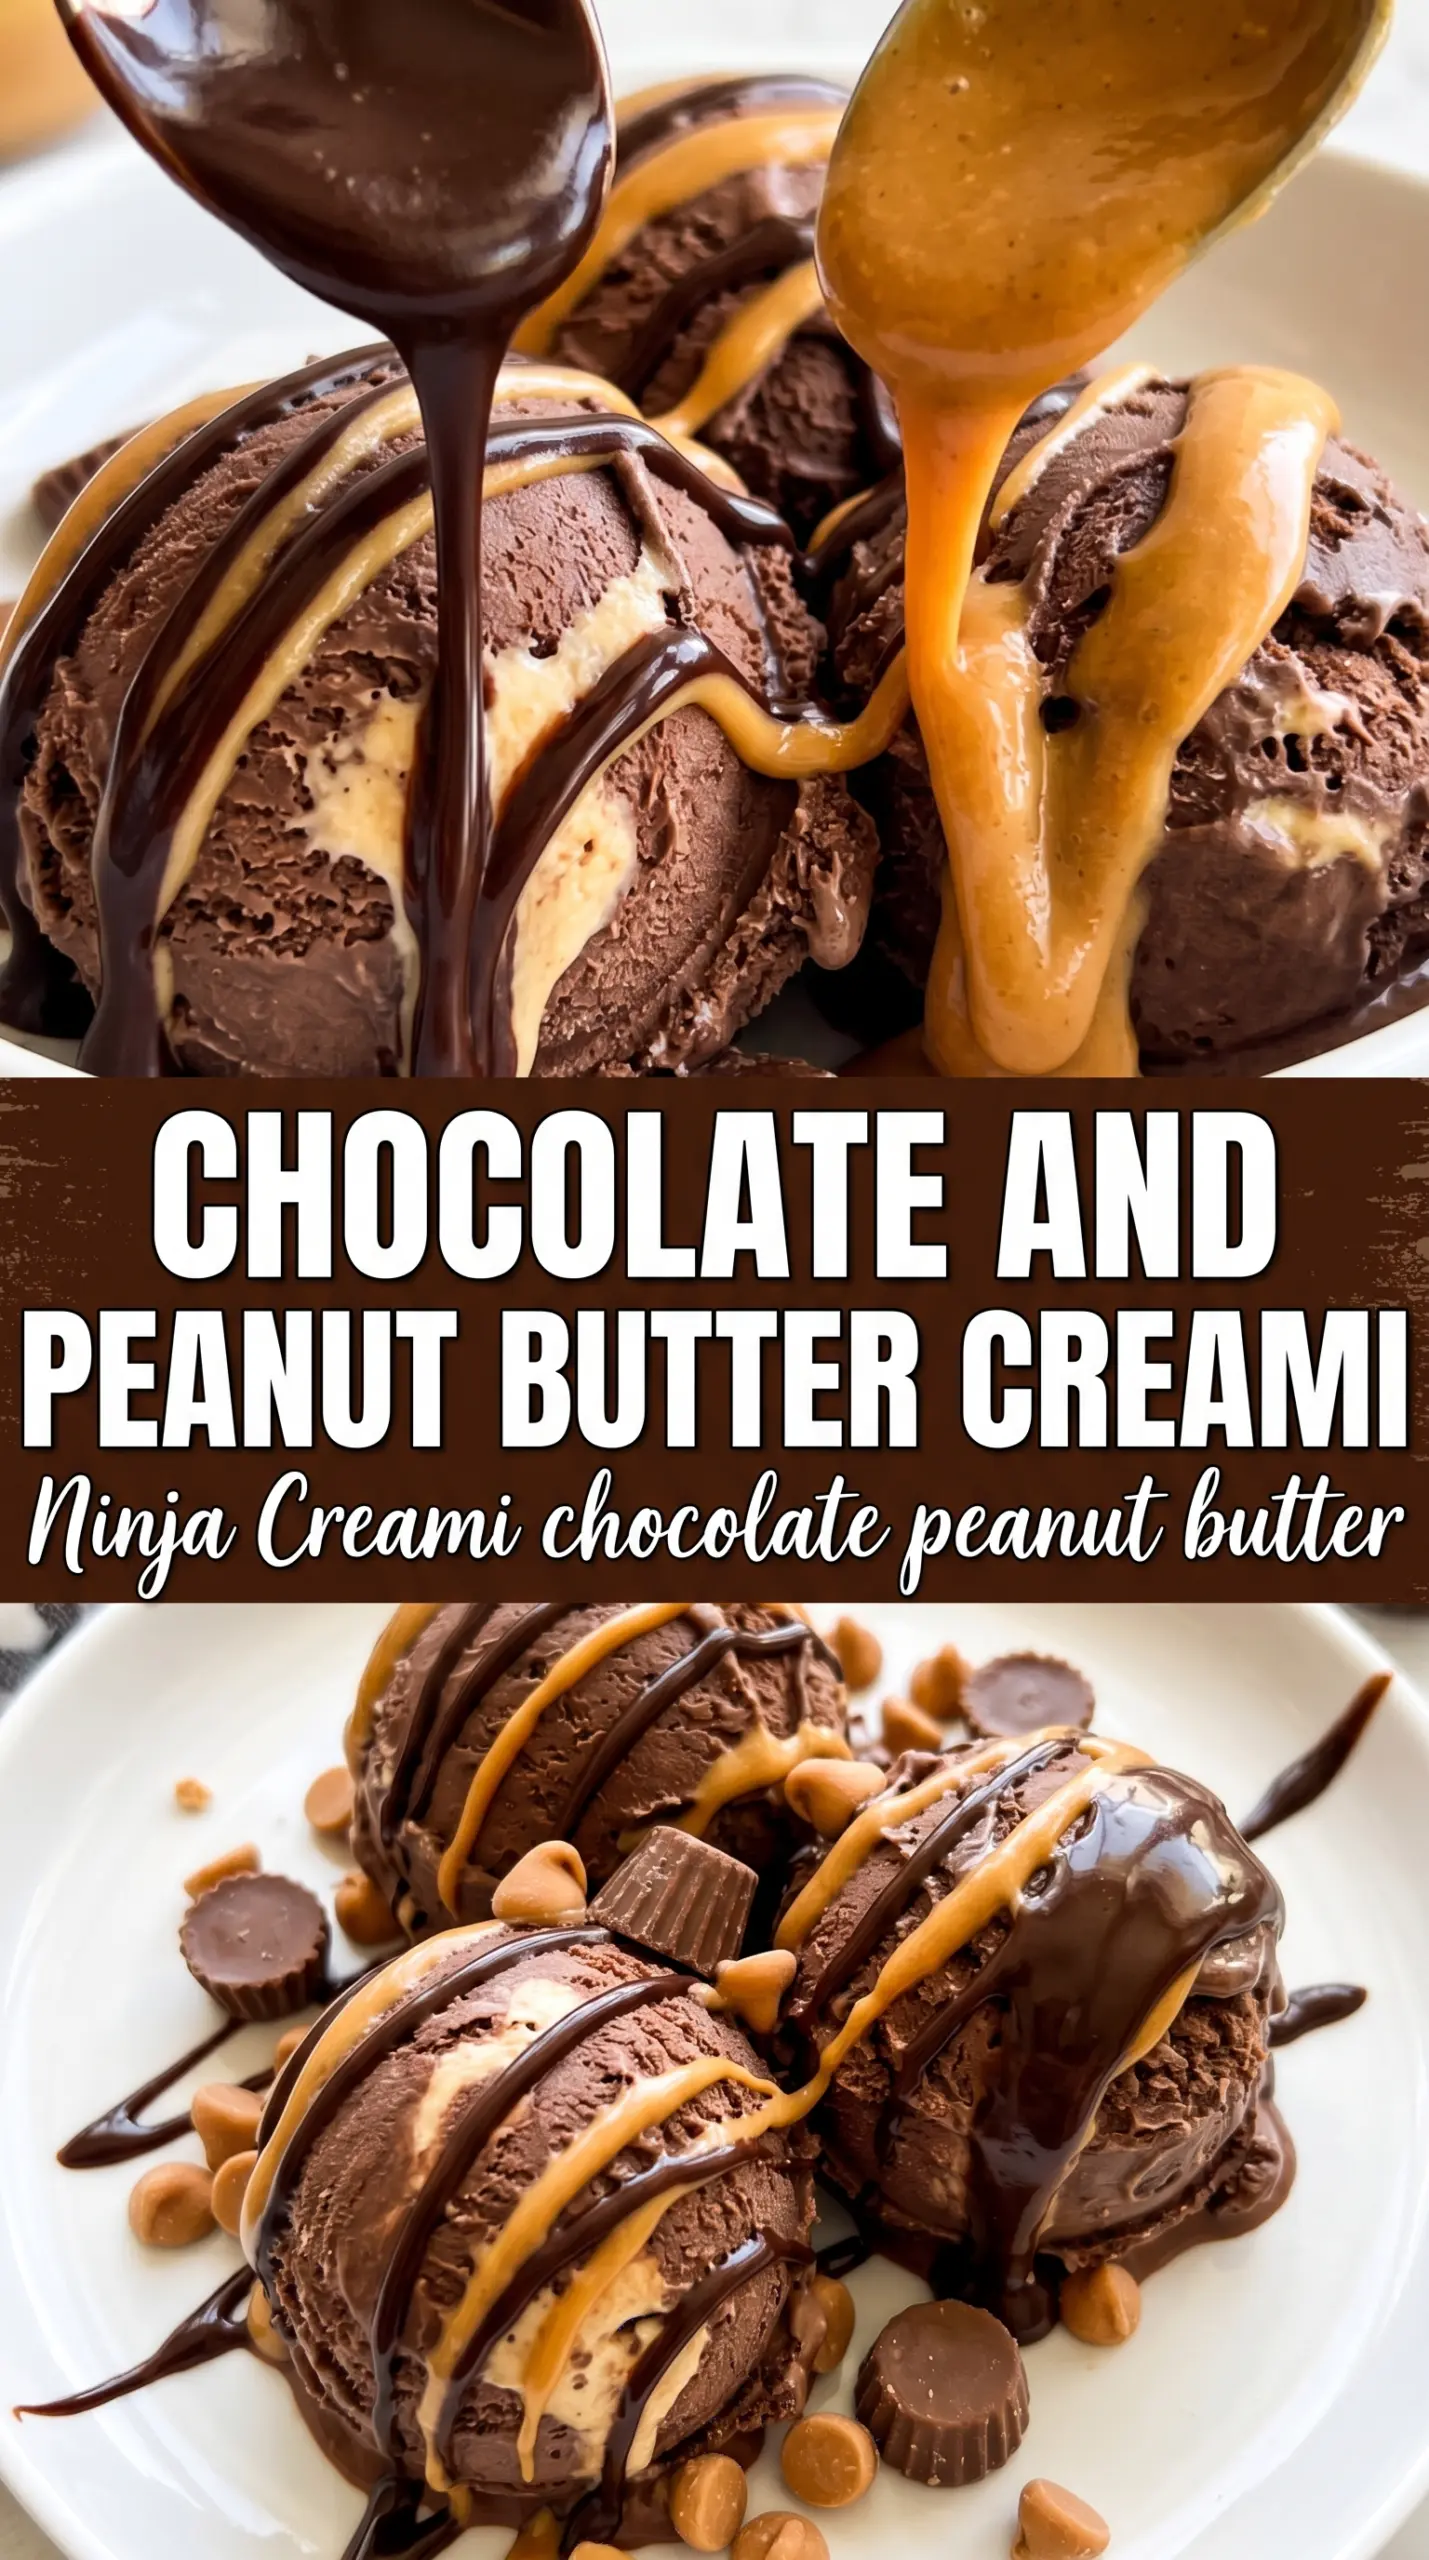
The chocolate base spun up smooth on the first pass, and the warm peanut butter swirl stayed ribboned instead of sinking to the bottom. Mine tasted like a Reese’s cup in ice cream form.
Love the thick chocolate base and peanut butter swirl? Save this Ninja Creami Chocolate Peanut Butter Ice Cream for the next time you want a frozen treat that tastes like dessert shop candy.
The Base Has to Freeze Clean, Not Just Hard
The biggest mistake with Ninja Creami ice cream is assuming the spin will fix a weak base. It won’t. If the mixture is thin, separated, or not fully smooth before freezing, the finished pint turns sandy or slushy instead of creamy. Here, the cream cheese and cream give the base enough fat and structure to shave into that dense, scoopable texture the machine is known for.
Blend until the mixture looks glossy and completely uniform. Cocoa powder hides clumps until the freezing stage, and that’s where people get frustrated. If you can still see specks or little cream cheese bits in the blender, keep going. Once frozen, there’s no rescue for an uneven base.
What Each Ingredient Is Actually Doing in This Pint
- Chocolate milk or whole milk — Chocolate milk gives you a head start on flavor and sweetness. Whole milk works too if you want a deeper cocoa taste and less sweetness, but then the sugar and cocoa matter more. Either way, the liquid needs enough body to freeze into a solid pint without turning icy.
- Heavy cream — This is what gives the ice cream that plush, round texture instead of a sharp icy finish. You can swap in half-and-half in a pinch, but the pint won’t spin as rich. I wouldn’t use low-fat milk here; the texture gets thin after freezing.
- Cream cheese — This is the quiet insurance policy. It adds body, helps emulsify the base, and keeps the finished ice cream from tasting hollow after a day in the freezer. Soften it first or it’ll leave little lumps that never disappear completely.
- Unsweetened cocoa powder — Dutch-process cocoa gives a darker, smoother chocolate flavor, but natural cocoa works if that’s what you keep on hand. The key is blending it fully before freezing so it doesn’t clump or taste dusty. Don’t skip the salt either; it keeps the chocolate from reading flat.
- Creamy peanut butter — Warm it just enough to loosen it for swirls. Natural peanut butter can work, but it sets up more aggressively and can turn a little oily on top. Standard creamy peanut butter gives the cleanest ribbon and the best candy-bar effect.
Blending, Freezing, and the Spin That Makes It Creamy
Build the Base Until It Looks Like Chocolate Milkshakes, Not Batter
Add everything except the swirl peanut butter to the blender and run it until the mixture is smooth and glossy. Scrape down the sides once if needed, because cream cheese likes to hide there. The base should look like a thick chocolate milkshake with no visible flecks of cocoa or cream cheese. If it still looks grainy, the finished pint will spin with tiny icy bits instead of a clean, creamy texture.
Freeze the Pint Flat and Unbothered
Pour the mixture into the Ninja Creami pint container and freeze it level for 24 hours. A slanted surface freezes unevenly, and that can throw off the spin. Don’t rush this stage; underfrozen bases are one of the main reasons people get a soft, soupy result instead of true ice cream. The pint should feel rock solid all the way through before it goes in the machine.
Spin, Check, Then Re-Spin Only If It Needs It
Process on the Ice Cream setting first. If the top looks powdery or crumbly, add 1 tablespoon milk and re-spin. That little bit of liquid helps the blade catch the frozen base and turn it creamy instead of dry. Stop there if it’s already smooth; over-spinning can make it too loose, especially once you add the peanut butter swirl.
Swirl the Peanut Butter at the End
Warm the peanut butter just enough that it drizzles, then spoon or drizzle it over the top of the spun ice cream. Swirl it gently with a spoon, or use the Mix-In function if you want more defined pockets. If the peanut butter is too hot, it will sink and disappear into the base; if it’s too thick, it just sits in a clump. Warm, pourable, and slightly thick is the sweet spot.
Make It More Like a Reese’s Cup
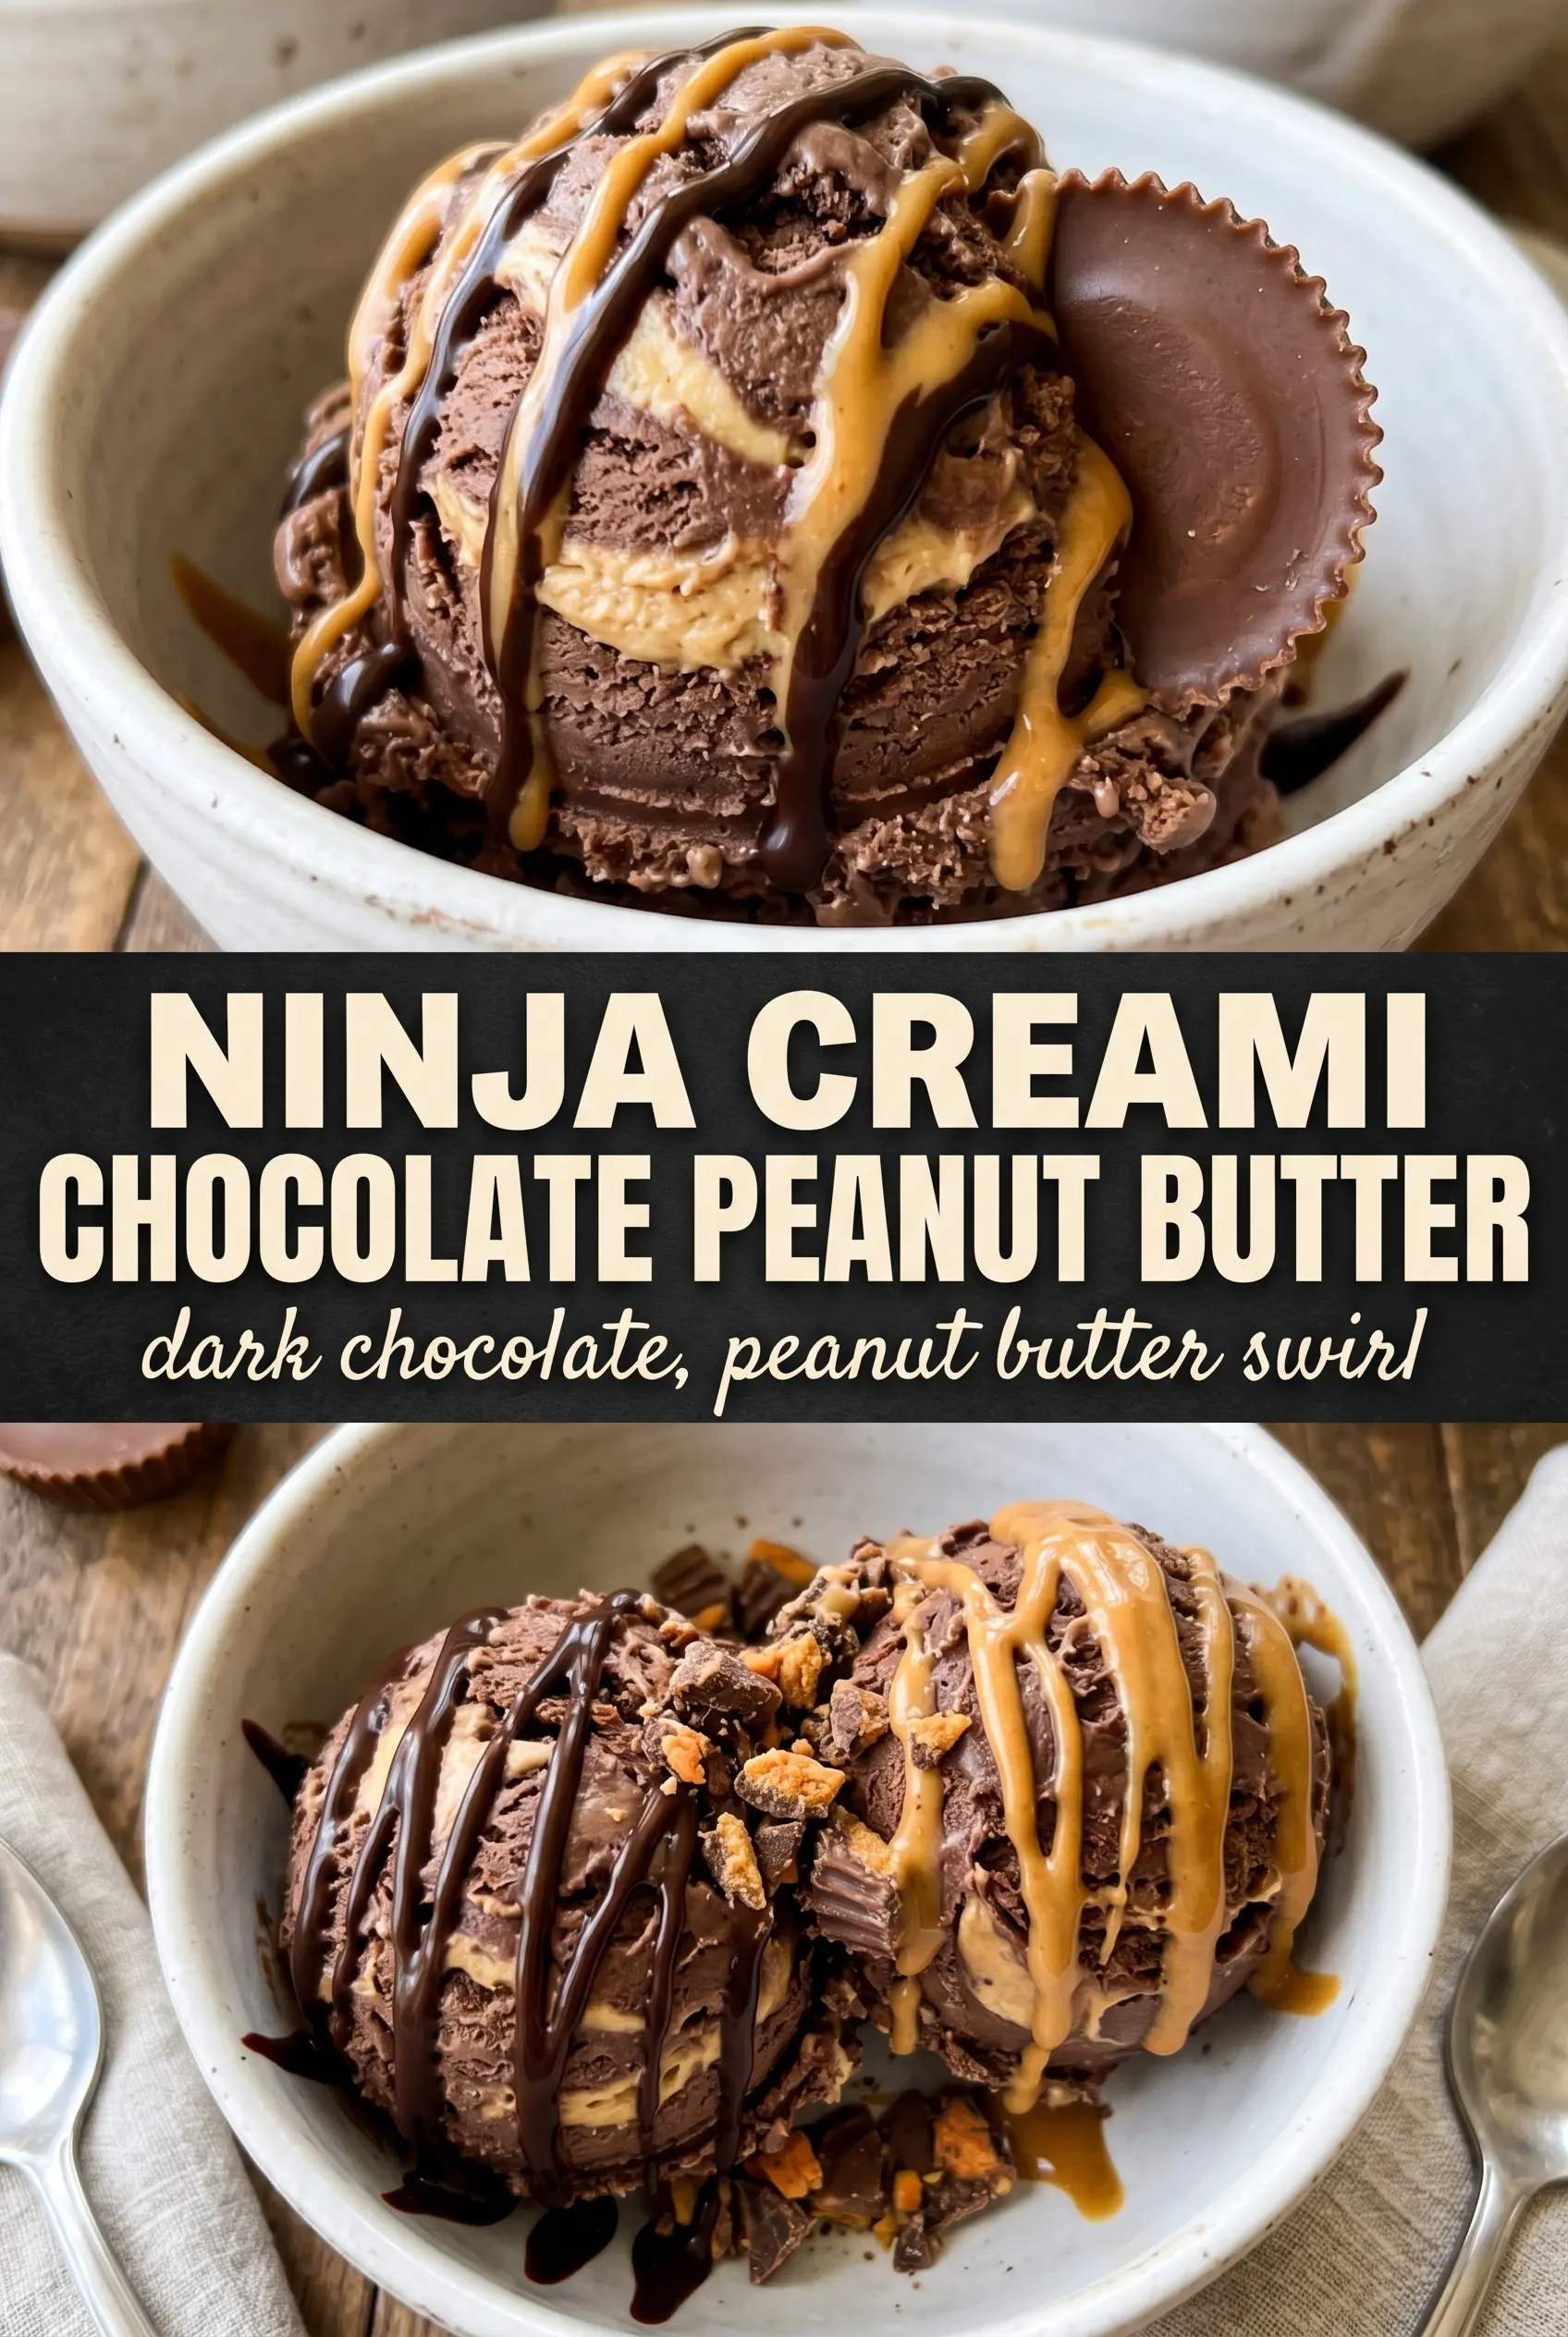
Stir in chopped peanut butter cups after the final spin instead of swizzling extra peanut butter through the base. You’ll get distinct candy pieces and a little crunch at the edges, which changes the texture from smooth-and-creamy to more dessert-shop style.
Dairy-Free Version
Use full-fat canned coconut milk in place of the cream and milk, and swap the cream cheese for a dairy-free cream cheese with a neutral flavor. The result is a little softer and the coconut comes through faintly, but the pint still freezes and spins into a rich, spoonable ice cream.
Lower-Sugar Chocolate Base
Cut the sugar back by 1 tablespoon if your chocolate milk is already sweet. The base will taste darker and less candy-like, but it still spins well because the fat and cream cheese are doing most of the texture work.
Extra Peanut Butter Swirl
Use all 3 tablespoons of peanut butter and swirl half in after the first spin, then drizzle the rest over the top. This gives you bigger pockets of peanut butter, but it also makes the pint softer, so serve it right away for the best texture.
Storage and Re-Spin
- Refrigerator: Not recommended. This is meant to be eaten right after spinning, and it will melt fast at room temperature.
- Freezer: The unfrozen base can be kept frozen in the pint container for up to 1 month. Once spun, the texture is best right away; refreezing after spinning makes it hard and crumbly.
- Reheating: If the pint freezes too hard after sitting in the freezer, let it rest on the counter for 5 to 10 minutes before re-spinning. Don’t add too much liquid at once or it turns soupy instead of creamy.
Answers to the Questions Worth Asking
Ninja Creami Chocolate Peanut Butter Ice Cream
Ingredients
Equipment
Method
- Blend chocolate milk, heavy cream, cocoa powder, granulated sugar, cream cheese, vanilla extract, and salt until completely smooth and no lumps remain. Visual cue: the mixture should look glossy and uniform with no cocoa streaks.
- Pour the mixture into the Ninja Creami pint container, then freeze for 24 hours. Visual cue: the surface will look fully solid with no sloshing or wet spots.
- Process on the Ice Cream setting; if needed, re-spin with 1 tablespoon milk to help it reach a soft-serve texture. Visual cue: the final consistency should be thick and scoopable, not icy.
- Drizzle warm peanut butter over the top and swirl in with a spoon, or use the Mix-In function. Visual cue: dark ribbons of peanut butter should streak through the chocolate base.
- Serve immediately after swirling. Visual cue: peanut butter ribbons stay distinct and glossy rather than melting flat.