Peanut butter protein ice cream has a way of tasting like a treat while still eating like something that belongs in a real meal plan. This version turns out dense, nutty, and creamy instead of icy or chalky, with enough peanut butter flavor to stand up to the protein powder instead of getting buried by it. The result is a scoop that feels rich on the spoon and finishes with that salted peanut butter edge people expect from the good stuff.
The trick is building a base that starts smooth before it ever hits the freezer. Protein powder needs to be fully dissolved, and peanut butter needs to be whisked in until the mixture looks almost like a thin milkshake, not a gritty shake left in the blender cup. A little sugar or monk fruit sweetener keeps the texture from freezing too hard, and the salt sharpens the peanut butter enough that the flavor tastes full instead of flat.
Below, I’m walking through the part that matters most with the Creami: how to avoid the dry, crumbly first spin and when to stop adding liquid before you turn it loose and lose that thick ice cream texture.
Mine came out thick and creamy on the first spin after I let it freeze the full 24 hours, and the peanut butter chips in the middle made it taste like a real dessert instead of a protein snack.
Like this thick, creamy Ninja Creami peanut butter protein ice cream? Save it to Pinterest for the nights when you want a high-protein dessert that still eats like ice cream.
The Reason This Base Turns Creamy Instead of Chalky
The biggest mistake with protein ice cream is treating the base like an ordinary milkshake. Protein powder thickens as it sits, and if it isn’t fully dissolved before freezing, you end up with little dry specks and a sandy finish after the first spin. A smooth base at the start is what gives the Creami something even to work with later.
Peanut butter does two jobs here. It adds flavor, of course, but it also brings fat, which helps the finished ice cream taste richer and less icy. If you use a natural peanut butter that separates, stir it until it’s completely combined before measuring it. Those oily or dry layers throw off the texture more than people expect.
- Protein powder — Use a vanilla or peanut butter flavor that mixes smoothly. Grainy powders stay grainy in the finished pint, so if yours never dissolves well in cold liquid, this recipe will expose that.
- Peanut butter — Creamy peanut butter gives the most consistent texture. Natural peanut butter works, but it needs a thorough stir first and will usually freeze a little less silky.
- Sweetener — Sugar keeps the base softer straight from the freezer, while monk fruit sweetener keeps the recipe lower in sugar. If you use a zero-calorie sweetener, expect to lean on the re-spin more often.
- Milk — Whole milk gives the richest result, but unsweetened almond milk still works if you want a lighter pint. The almond milk version usually needs that tablespoon of extra liquid after the first spin.
Getting the Freezer Pint and First Spin Right
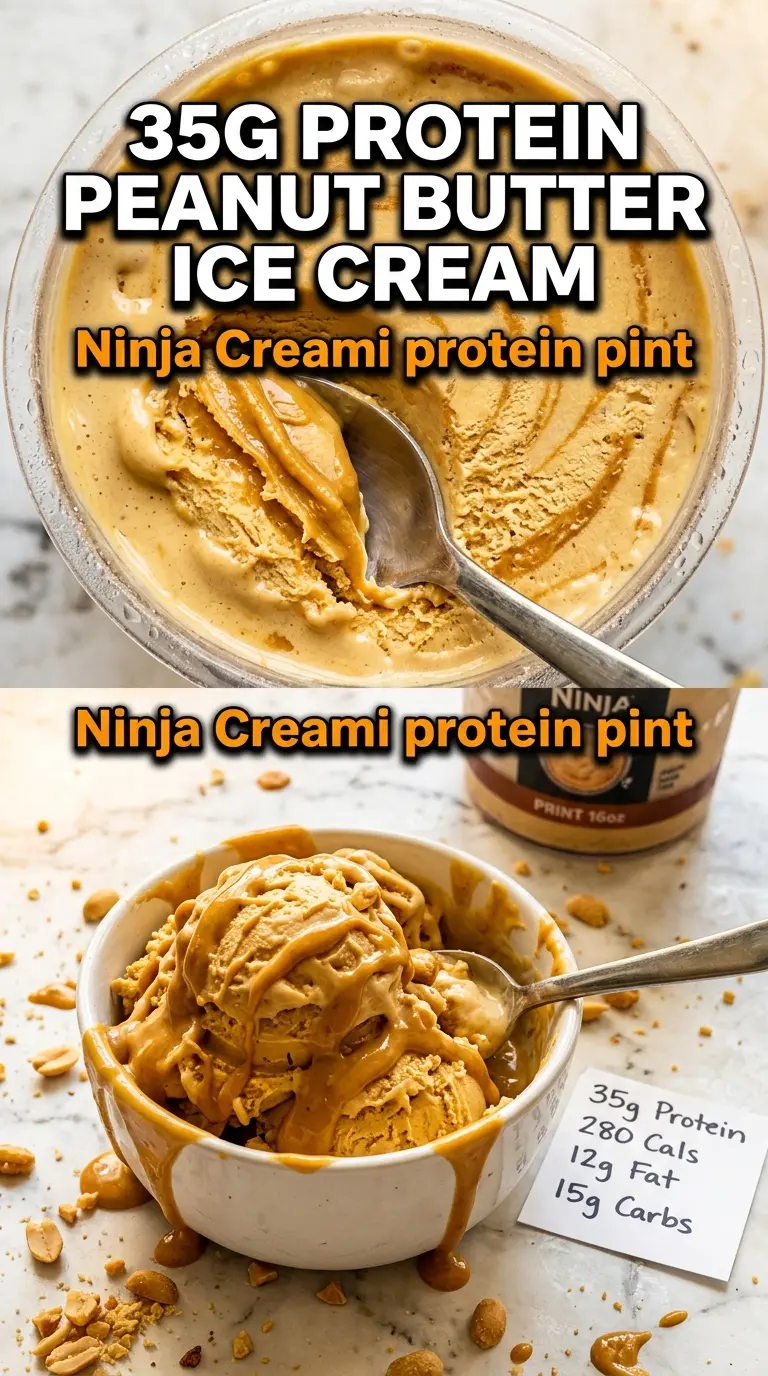
The pint needs the full 24 hours in the freezer, not a rushed overnight chill that leaves the center soft and the edges icy. A partially frozen base gives you a slushy first spin, which usually tempts people to overcorrect with too much milk. That’s how a thick pint turns into soup.
After the first spin, look at the texture before adding anything. If it comes out powdery or crumbly, that’s normal for a high-protein base. Add just 1 tablespoon of milk and Re-spin. The goal is a scoopable texture with a slight sheen, not a loose soft-serve that slumps in the bowl.
Whisk Until the Base Looks Smooth and Glossy
Stir the milk, protein powder, peanut butter, sweetener, vanilla, and salt until the mixture looks uniform and slightly thickened. Any protein powder clumps left behind now will freeze into hard little pockets later. A small whisk works better than a spoon because it breaks up the dry powder fast and keeps the peanut butter from sticking to the bottom.
Freeze the Pint Flat and Undisturbed
Pour the base into the Ninja Creami pint and freeze it on a level surface so the top sets evenly. If the pint freezes tilted, the blade can shave one side harder than the other and leave you with uneven texture. The surface should be solid all the way through before you spin it.
Spin, Then Decide Whether It Needs Help
Use the Lite Ice Cream setting first. If the pint looks dry or crumbly after that first pass, add 1 tablespoon milk down the center and Re-spin. Don’t pour in extra liquid all at once; every tablespoon changes the body of the ice cream, and this recipe only needs enough to help the blade bring the mixture together.
Fold in the Mix-Ins at the End
Add the peanut butter chips or mini peanut butter cups with the Mix-In setting after the base is already creamy. If you add them before the ice cream is smooth, they can disappear into the blade path or break down too much. The last mix-in pass should leave you with visible pieces scattered through the pint, not crushed crumbs.
How to Adapt It When You Want a Different Bowl
Use whole milk for the richest texture
Whole milk makes the pint taste closer to classic ice cream because the extra fat softens the protein base. It’s the best choice when you want the smoothest spoonfuls and don’t mind a slightly richer finish.
Keep it dairy-free with almond milk
Unsweetened almond milk works cleanly here and keeps the recipe lighter, but the finished ice cream won’t have quite the same creaminess as whole milk. If you use almond milk, expect to need the re-spin more often and don’t skip the peanut butter, since it helps replace some of the lost richness.
Swap the sweetener based on your texture goal
Sugar gives the softest result straight from the freezer because it keeps the base from setting too hard. Monk fruit sweetener works if you want a lower-sugar pint, but the texture can freeze firmer, so plan on a more careful re-spin.
Make it nut-free with sunflower seed butter
Sunflower seed butter can stand in for peanut butter if you need a nut-free version, though the flavor will shift toward earthy and slightly less sweet. The texture still works, but the final pint won’t have that classic peanut butter finish.
Storage and Reheating
- Refrigerator: This isn’t a fridge dessert. Once spun, it should be eaten right away, since it melts fast and loses its creamy texture as it sits.
- Freezer: You can refreeze the unspun base for up to 1 month if the pint stays sealed, but the finished ice cream is best fresh from the machine. Re-frozen spun ice cream usually gets harder and needs another re-spin.
- Reheating: Not applicable. If the pint gets too firm after refreezing, let it sit at room temperature for 5 to 10 minutes before spinning again instead of microwaving it.
Answers to the Questions Worth Asking
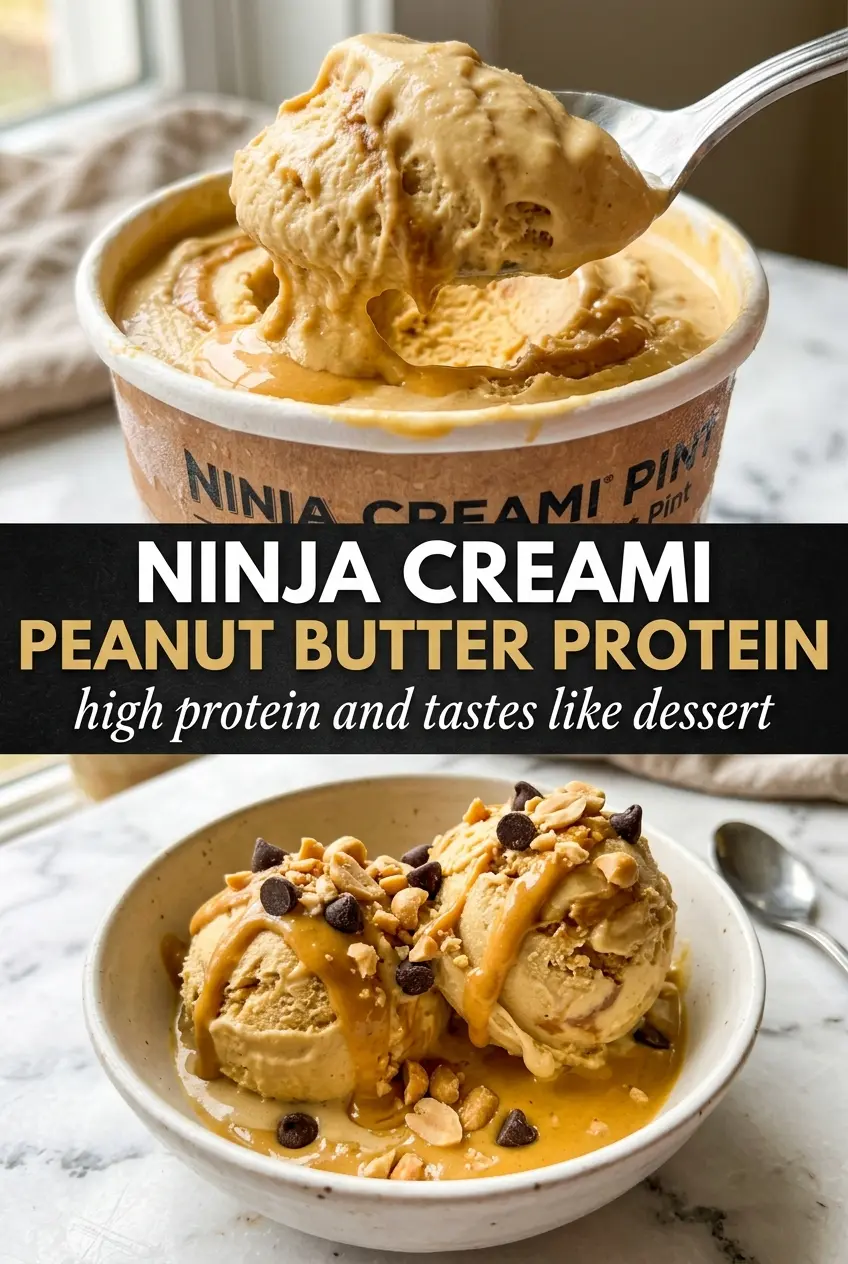
Ninja Creami Peanut Butter Protein Ice Cream
Ingredients
Equipment
Method
- Whisk the milk, protein powder, peanut butter, sweetener, vanilla extract, and salt until very smooth, ensuring there are no protein powder clumps.
- Pour the mixture into the Ninja Creami pint container, then cover and freeze for 24 hours until solid.
- Process on the Lite Ice Cream setting first; watch for a smooth churn, and if it turns grainy, add 1 tablespoon milk and re-spin on the same setting.
- Use the Mix-In setting to fold in peanut butter chips or mini peanut butter cups pieces evenly through the ice cream.
- Serve immediately for the creamiest texture.