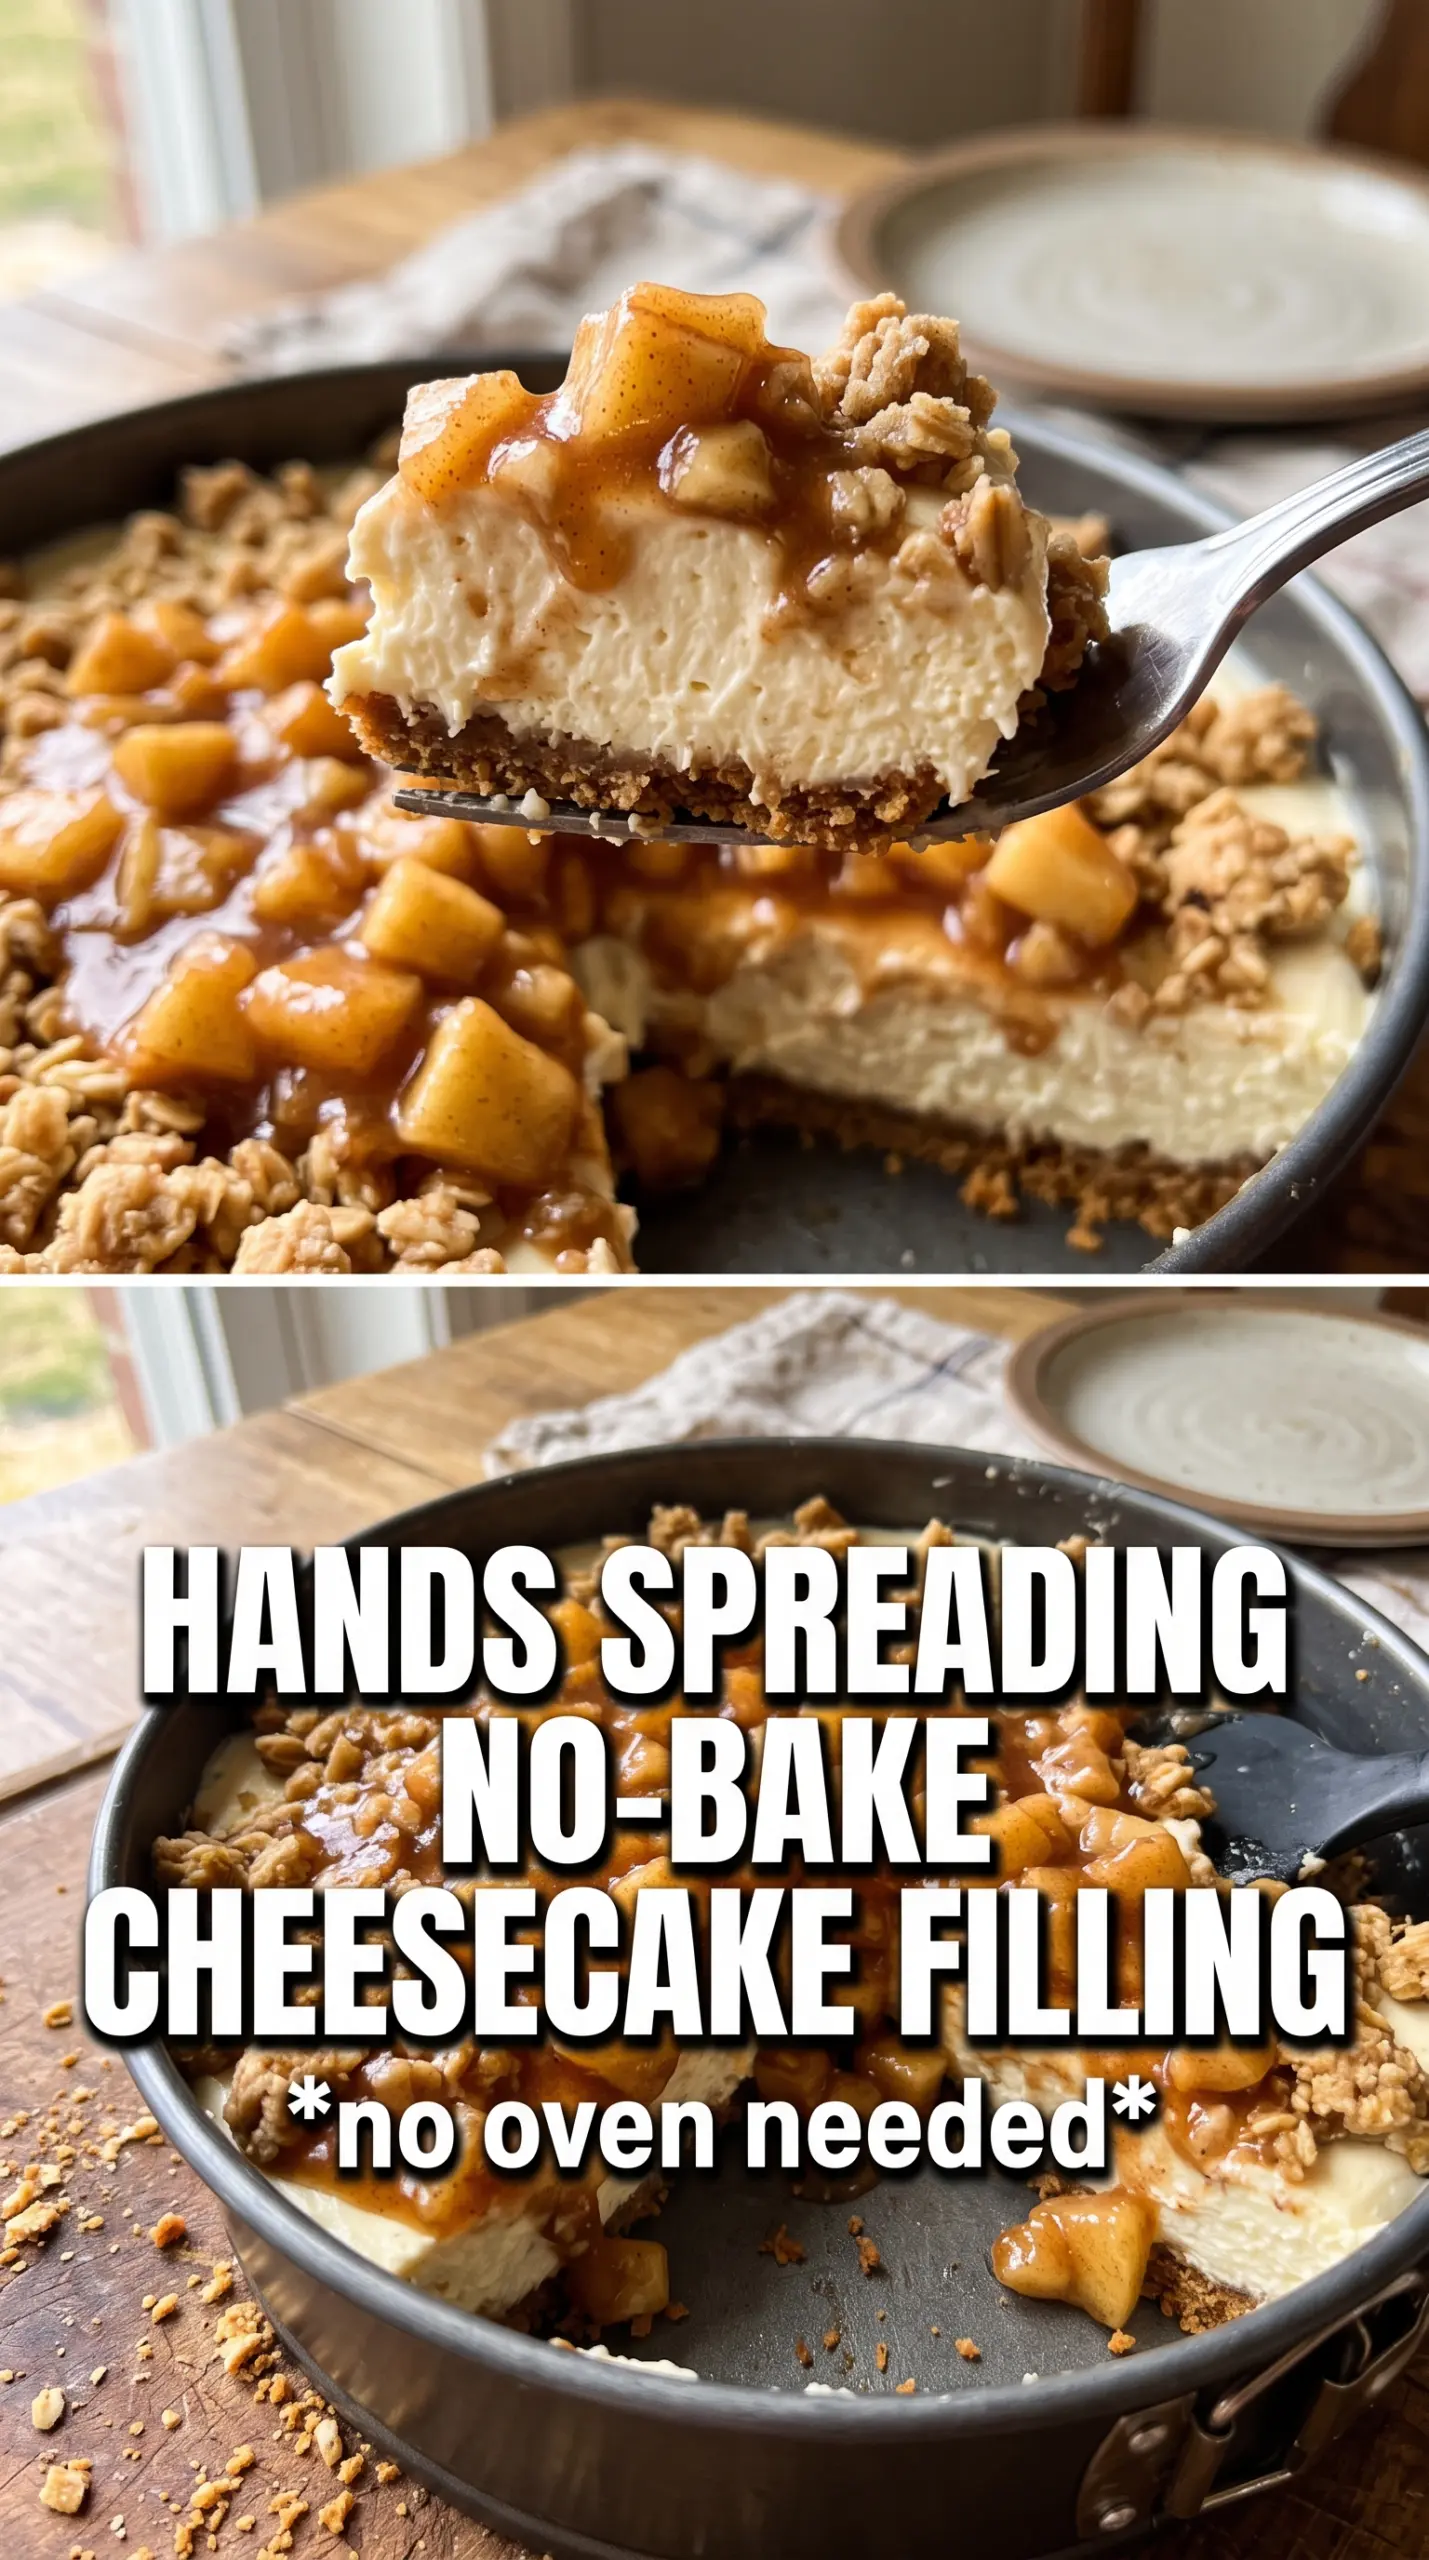
Cold, creamy cheesecake layers and cinnamon apples make this no-bake apple crumble cheesecake taste like a bakery dessert without turning on the oven. The oat crumble base stays sturdy enough to slice cleanly, while the filling sets up light but rich, not dense or gummy. Every bite gets a little crunch from the topping, a soft tang from the cream cheese, and that familiar apple pie warmth on top.
What makes this version work is the contrast in texture and the order of the layers. The crust is pressed firmly and chilled before the filling goes in, which keeps it from turning sandy under the cream cheese layer. Whipping the cream to stiff peaks before folding it in gives the cheesecake enough body to hold its shape after a long chill, and the apple pie filling gets a quick boost of cinnamon and nutmeg so it tastes homemade instead of straight from the can.
Below, I’ll walk through the part that matters most: getting a crust that slices well, a filling that stays smooth, and a topping that doesn’t slide off when you serve it.
The filling set up beautifully after chilling overnight, and the oat crumble stayed crisp enough to give each slice a great little crunch. My husband kept going back for “just one more bite” because the apple topping tasted like real pie filling, not just something dumped on top.
Love the crisp oat crumble, creamy cheesecake filling, and spiced apple topping? Save this no-bake apple crumble cheesecake for the next dessert night.
The part that keeps the crust from going sandy
The biggest mistake with a no-bake crumble crust is treating it like a loose topping instead of a base. You need the melted butter to coat the oats and flour evenly, then you need to press that mixture in firmly enough that it holds together after chilling. If it feels crumbly when you press it into the pan, it needs a little more compression, not more butter.
Chilling the crust before the filling goes in matters more than people think. That short rest gives the butter time to firm back up, which helps the crust keep its shape when you add the soft cheesecake layer. Reserving part of the crumble before pressing the crust is the other key move, since those extra bits finish the dessert with texture instead of leaving the top flat and soft.
- Rolled oats — These give the crust its hearty, crumbly bite. Quick oats turn softer and finer, so the texture won’t be quite as sturdy.
- Flour — This helps the crust bind. All-purpose flour is the right choice here; it keeps the base sliceable without tasting dry.
- Brown sugar — It adds warmth and helps the crumble caramelize in flavor, even though this dessert never goes in the oven.
- Melted butter — This is what turns the dry mix into a pressable crust. Don’t swap in margarine unless you have to; it won’t set up as cleanly.
What each layer is doing while the cheesecake chills
- Cream cheese — This is the backbone of the filling, so it needs to be fully softened and beaten smooth before anything else goes in. Cold cream cheese leaves tiny lumps that never disappear.
- Whipped cream — This lightens the filling and gives it enough structure to slice. Stiff peaks matter here; soft peaks can collapse and make the cheesecake loose.
- Powdered sugar plus brown sugar — Powdered sugar keeps the filling smooth, while brown sugar brings that apple-dessert note that ties the layers together.
- Apple pie filling — Using canned filling keeps this dessert firmly in no-bake territory and guarantees tender apples. Stir in the cinnamon and nutmeg so the topping tastes spiced all the way through instead of one-dimensional.
Building the layers so the slices come out clean
Pressing the crust with enough force
Combine the oats, flour, brown sugar, cinnamon, and melted butter until every dry spot disappears and the mix looks evenly damp. Press it into the springform pan in an even layer, working it across the bottom and slightly up the sides if you want a more finished edge. A flat-bottomed cup helps pack it down without leaving loose patches. If you skip the firm press, the crust will crumble when you cut the first slice.
Whipping the filling until it’s actually smooth
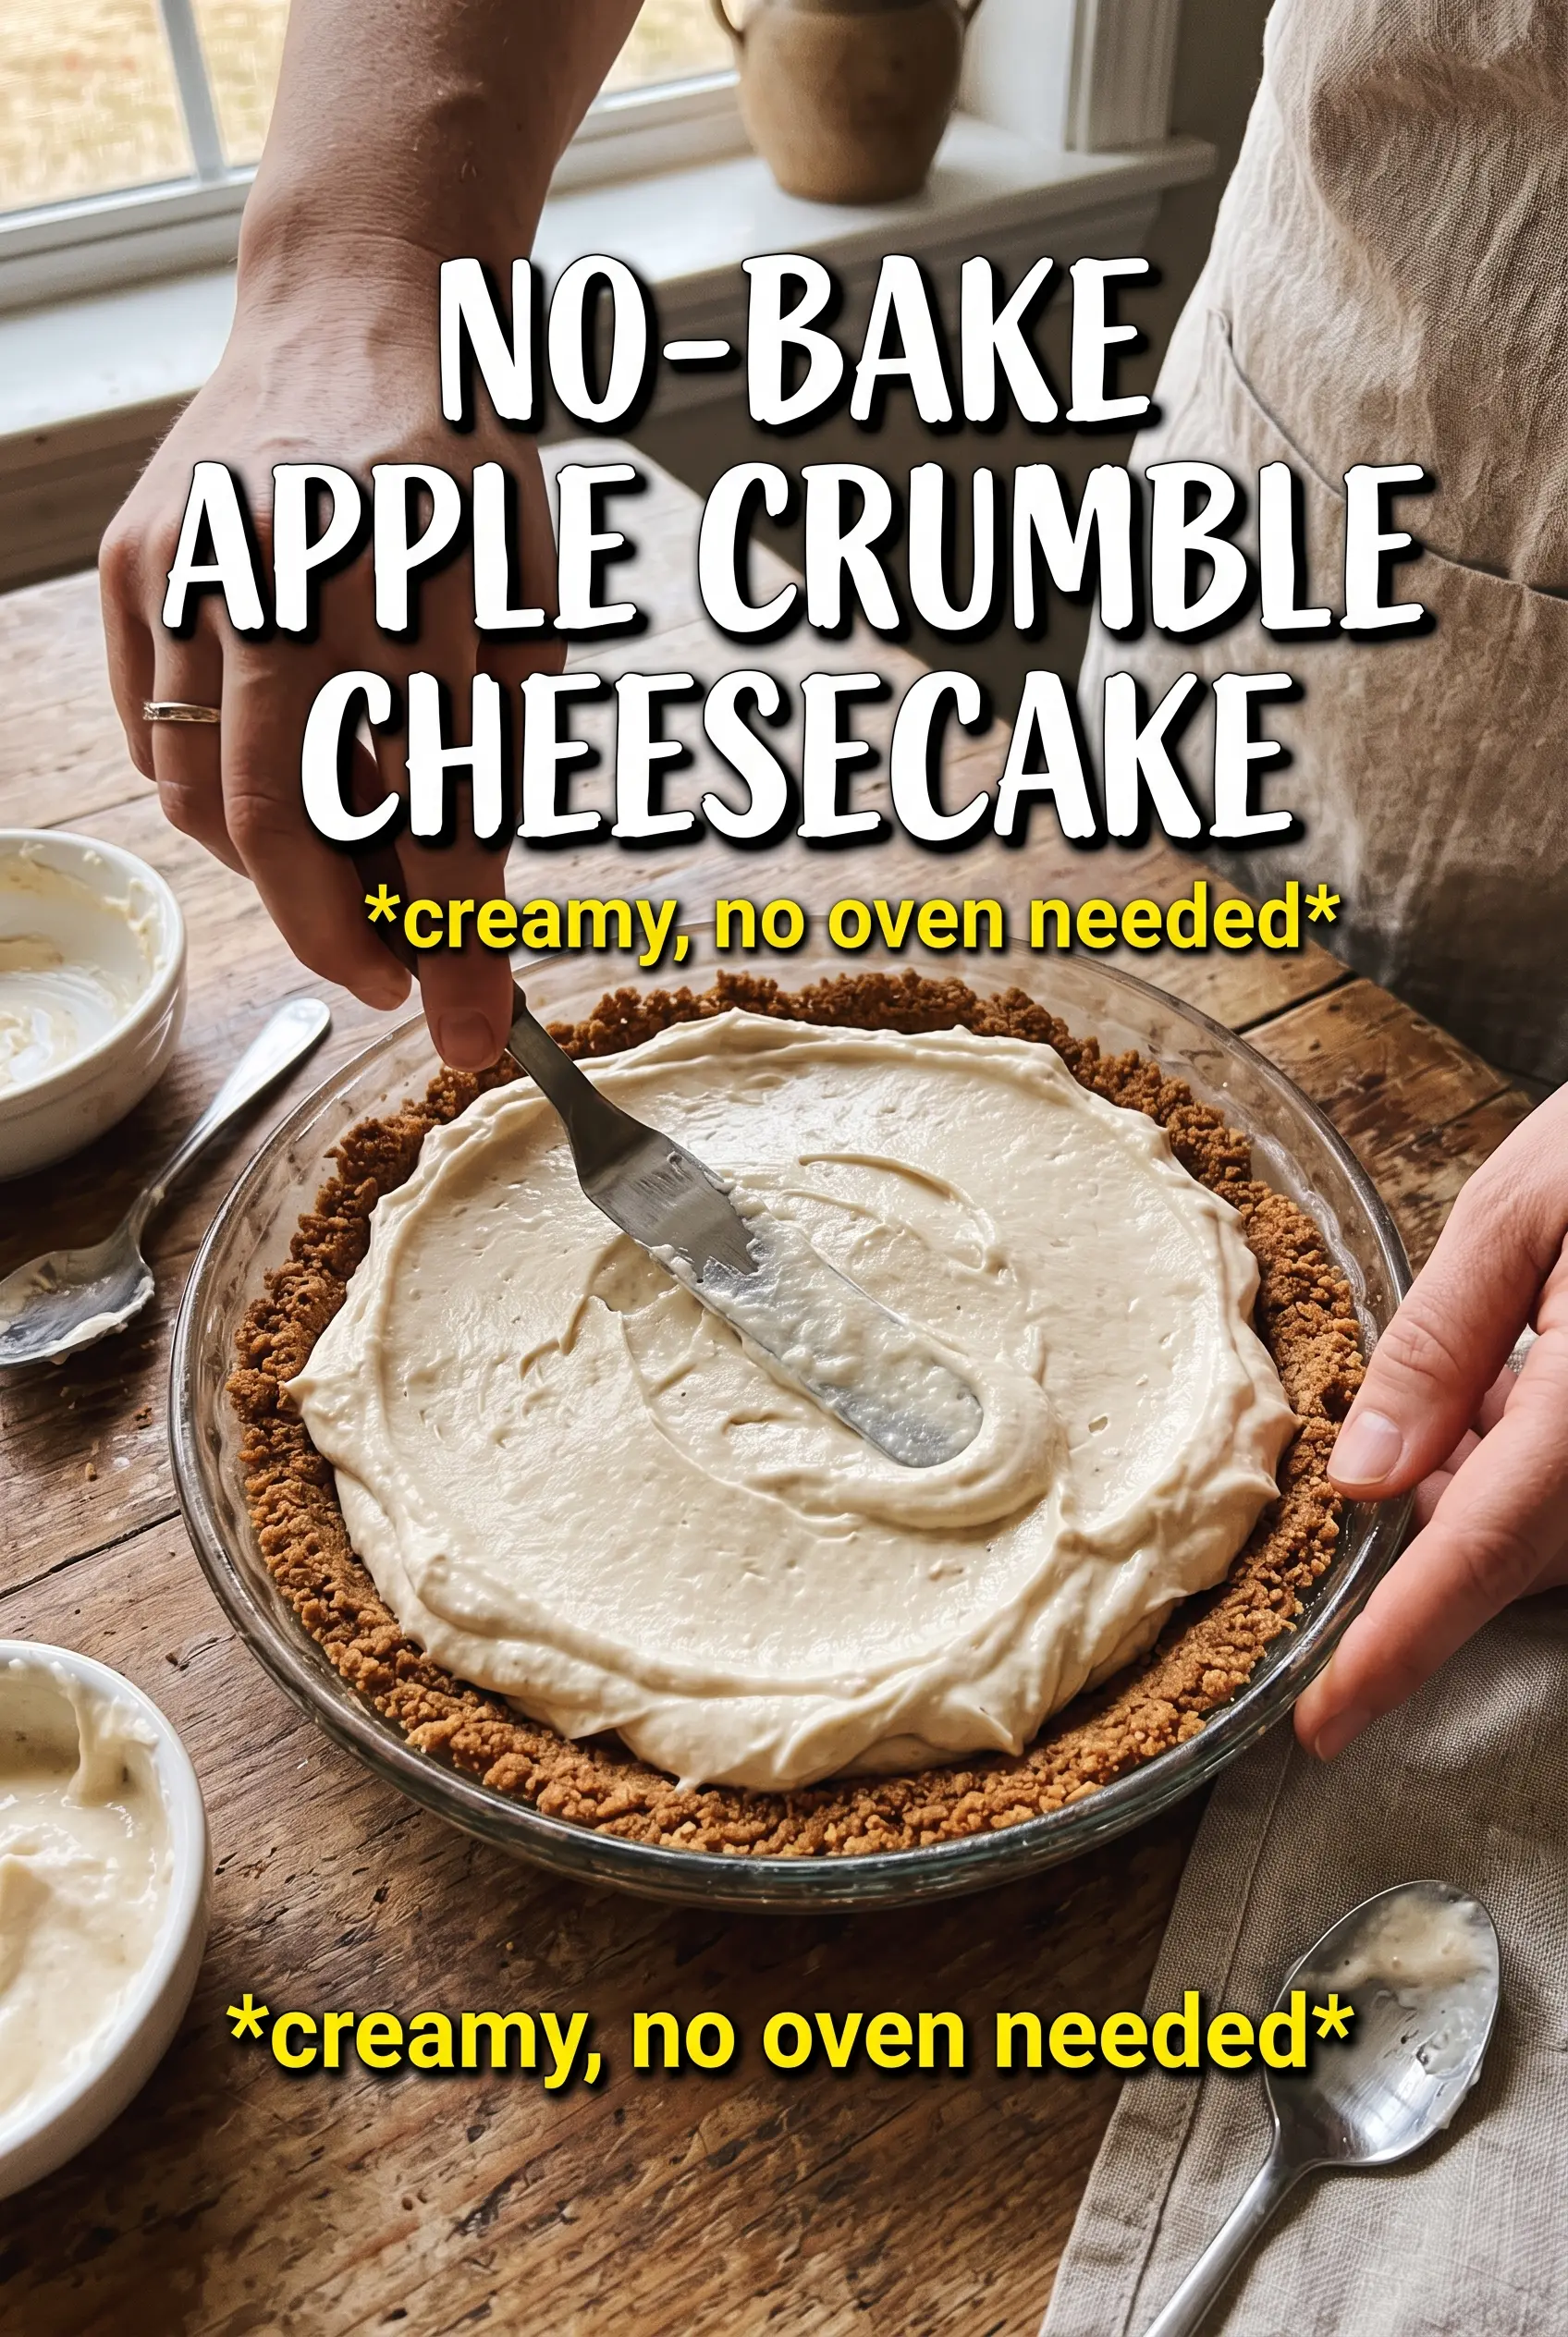
Beat the cream cheese, sugars, vanilla, and cinnamon until the mixture looks silky and there are no streaks of white or tan left. Scrape the bowl well, because the cream cheese likes to hide in the bottom corners and leave lumps behind. Fold in the whipped cream gently, using a spatula and broad strokes, until the filling is fully blended but still airy. If you stir too hard, you’ll knock out the volume and the cheesecake won’t hold that soft, mousse-like set.
Finishing with the apple layer and the chill
Spoon the cheesecake filling over the chilled crust, then spread it all the way to the edges so the topping has a stable base. Stir the cinnamon and nutmeg into the apple pie filling before you add it, then spoon it over the cheesecake in an even layer. Scatter the reserved crumble on top while the apple layer is still exposed so it sticks in place. Six hours is the minimum chill time, but overnight gives you the cleanest slices and the firmest set.
Three smart ways to adjust this cheesecake without losing the point
Make it gluten-free
Use a cup-for-cup gluten-free flour blend in place of the flour, and check that your oats are certified gluten-free. The crust stays crunchy and the flavor stays the same, but the blend should be measured carefully so the base doesn’t turn dusty or overly dry.
Make it dairy-free
Use dairy-free cream cheese and a stable whipped topping or coconut-based whipping cream that holds stiff peaks. The texture will be a touch softer and the tang will be a little different, but the dessert still slices well if you chill it overnight.
Add fresh apples for more bite
If you want a chunkier topping, stir in a small handful of finely diced sautéed apples after seasoning the pie filling. Cook them first so they don’t release extra liquid into the cheesecake, or the top layer can turn slippery when you slice it.
Turn it into mini cheesecakes
Press the crust into muffin cups lined with paper liners and pipe or spoon the filling on top. Minis chill faster and serve neatly at parties, but they need extra care when you press the crust since thin bases can fall apart if packed too loosely.
Storage and Reheating
- Refrigerator: Store covered for up to 4 days. The crumble softens a bit on day two, but the flavor stays excellent.
- Freezer: You can freeze slices, tightly wrapped, for up to 1 month. Thaw in the refrigerator overnight; freezing the whole cake is possible, but the apple topping can weep a little when it thaws.
- Reheating: Don’t reheat this dessert. Serve it cold, straight from the refrigerator, so the filling stays set and the crust keeps its texture.
Questions I get asked about this cheesecake
No-Bake Apple Crumble Cheesecake
Ingredients
Equipment
Method
- Combine rolled oats, flour, brown sugar, and cinnamon, then drizzle in melted unsalted butter and toss until evenly moistened. The mixture should look like damp sand and hold together when pressed.
- Press the crumb mixture firmly into a 9-inch springform pan to form an even base. Chill for 20 minutes to set the crust.
- Reserve 1/2 cup of the crust mixture for the crumble topping. Keep it covered at room temperature so it stays ready to scatter.
- Beat cream cheese, powdered sugar, brown sugar, vanilla, and cinnamon until completely smooth. Scrape the bowl as needed so there are no lumps.
- Fold in whipped heavy cream until no streaks remain, then spread the filling over the chilled crust. Level the top so it chills evenly.
- Stir cinnamon and nutmeg into the apple pie filling until evenly combined. Spoon the spiced filling over the cheesecake in an even layer.
- Scatter the reserved crumble over the apple topping. Cover lightly so the topping doesn’t dry out.
- Refrigerate the cheesecake for 6 hours or overnight before releasing from the springform. Chill until the center feels set and slices cleanly.