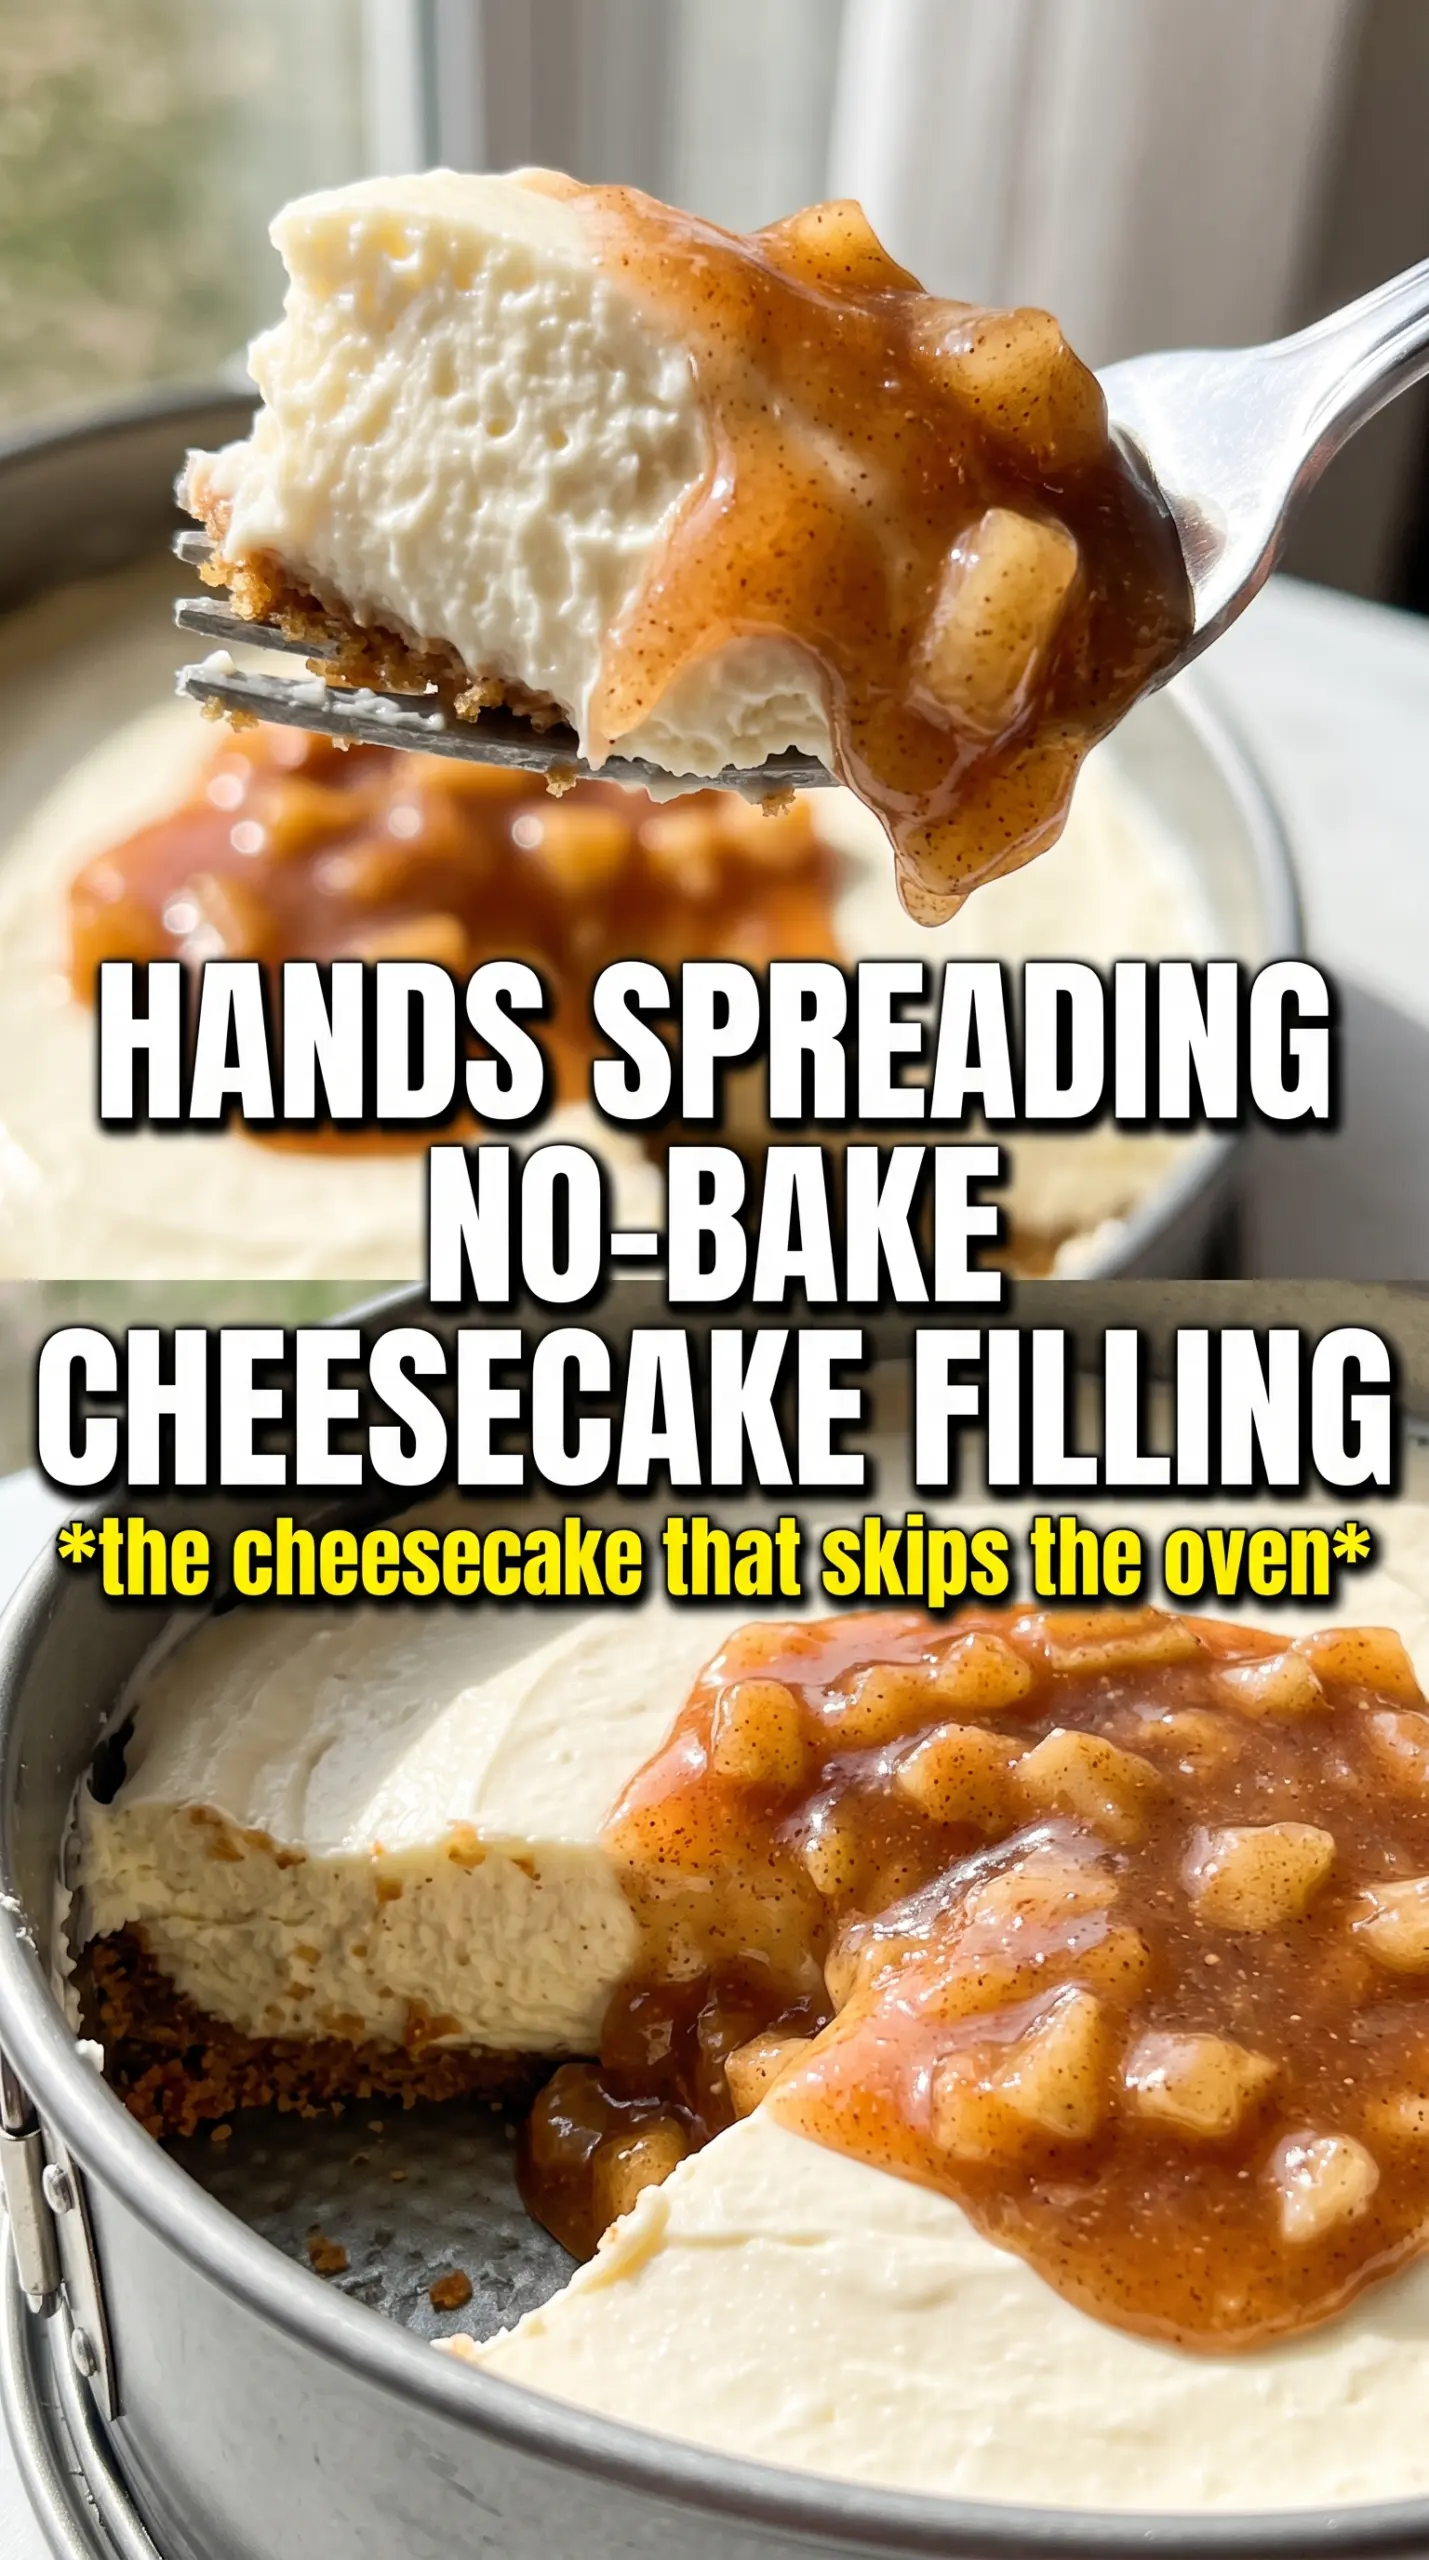
Silky cheesecake, a buttery graham crust, and a glossy apple topping turn this no-bake dessert into the kind of slice that disappears fast. The filling stays light but holds its shape, and the spiced apples on top give every bite that classic apple pie flavor without heating up the kitchen.
What makes this version work is the balance. The cream cheese gets beaten until it's completely smooth before the whipped cream goes in, which keeps the filling from turning grainy. The crust is pressed firmly and chilled before the filling is added, so it slices cleanly instead of crumbling the second you cut into it. The apple pie filling only needs a little cinnamon and nutmeg to taste homemade, especially if you use a good-quality canned filling and don't overwork it.
Below you'll find the small details that matter most: how to keep the filling airy, what to do if your apples are too saucy, and a few easy variations if you want to change the crust or make it ahead for guests.
The filling set up beautifully overnight and the apple layer stayed neat instead of sliding off when I sliced it. I used store-bought pie filling and the cinnamon plus nutmeg made it taste homemade.
Save this no-bake apple pie cheesecake for a chilled dessert with a crisp crust, smooth filling, and spiced apple topping.
The Trick to Keeping a No-Bake Cheesecake Sliceable
A no-bake cheesecake only works when the filling has enough structure to hold the weight of the topping. That means the cream cheese has to be beaten until smooth before anything else goes in, and the whipped cream needs to be folded in gently enough to keep the air you worked into it. If the base is lumpy or the whipped cream gets stirred in like frosting, the texture turns heavy and the slice slumps when you cut it.
The other place people run into trouble is impatience. This dessert needs the full chill time, not just until it feels cold on top. The crust firms up in the fridge, the filling tightens, and the apple layer settles into a clean top instead of sliding around. If you want neat slices, give it the overnight rest whenever you can.
What Each Layer Is Actually Doing Here
- Graham cracker crumbs — These give you the classic cheesecake base with enough sweetness to support the apple topping. Fine crumbs pack more tightly, so pulse them well if yours are coarse.
- Unsalted butter — This is what makes the crust hold together after chilling. Salted butter works in a pinch, but unsalted gives you more control because the filling and topping already bring sweetness.
- Cream cheese — Use full-fat cream cheese here. Lower-fat versions can loosen up too much and won't set as firmly, especially under the apple layer.
- Whipped heavy cream — This is what gives the filling its light, mousse-like texture. Whip to stiff peaks, then fold it in gently so you don't knock out the air.
- Apple pie filling — Canned filling keeps this fast and consistent, but homemade works well if it's already cooled and not watery. If your filling looks loose, simmer it briefly to thicken before it goes on top.
Building the Layers Without Losing the Texture
Press the Crust Harder Than You Think
Mix the graham crumbs, melted butter, and sugar until every crumb looks evenly damp, then press the mixture firmly into the pan. Use the bottom of a measuring cup to pack it down, especially around the edges, because a loose crust will crumble the second you slice into it. Chilling it for the full 20 minutes gives the butter time to set, which is what keeps the base from turning sandy.
Beat the Filling Until It Turns Completely Smooth
Start with softened cream cheese and beat it with the powdered sugar, brown sugar, vanilla, and cinnamon until there are no little lumps left anywhere. If the cream cheese is still cool in the center, those lumps won't disappear later. This is the point where texture gets decided, so scrape the bowl well and keep mixing until the filling looks fluffy and even.
Fold, Don't Stir, the Whipped Cream
Add the whipped cream in two or three additions and fold it in with a spatula until the filling turns pale and uniform. Stirring aggressively will flatten the mixture and make it dense instead of airy. Stop as soon as the streaks disappear; a few soft swirls are better than overmixing and losing volume.
Spice the Apples Before They Go On Top
Mix the cinnamon and nutmeg into the apple pie filling before spooning it over the cheesecake layer. That little step wakes up canned filling and keeps the spices from clumping in one spot. Spread the apples gently so you don't drag the filling underneath, then chill the whole cheesecake until it slices cleanly.
How to Adapt This Cheesecake When You Want a Different Finish
Gluten-Free Crust Swap
Use gluten-free graham-style crumbs in the crust and keep the rest of the recipe the same. The texture stays close to the original, though some gluten-free crumbs need an extra spoonful of butter to press together cleanly.
Dairy-Free Version
Swap in dairy-free cream cheese and a whipped coconut topping in place of the heavy cream. The filling will be a little softer and slightly less tangy, but the cheesecake still slices well after a full chill.
Homemade Apple Topping
Cook peeled apple slices with a little sugar, cinnamon, nutmeg, and a splash of lemon juice until tender and lightly syrupy. This gives you a fresher apple flavor and firmer pieces, but it also adds another cooling step before you can assemble the cheesecake.
Make-Ahead for Entertaining
Assemble the cheesecake the day before you need it and let it chill overnight. The flavor deepens and the slices come out neater, which is what you want if you're serving a crowd.
Storage and Reheating
- Refrigerator: Keep covered for up to 4 days. The crust softens a little over time, but the cheesecake still slices well.
- Freezer: Freeze individual slices without the topping if you want the best texture. Wrap tightly and thaw in the refrigerator overnight; the apple layer can get a little watery after freezing.
- Reheating: This dessert is served cold, so don't reheat it. If a slice feels too firm straight from the fridge, let it sit at room temperature for 10 to 15 minutes before serving.
Answers to the Questions Worth Asking
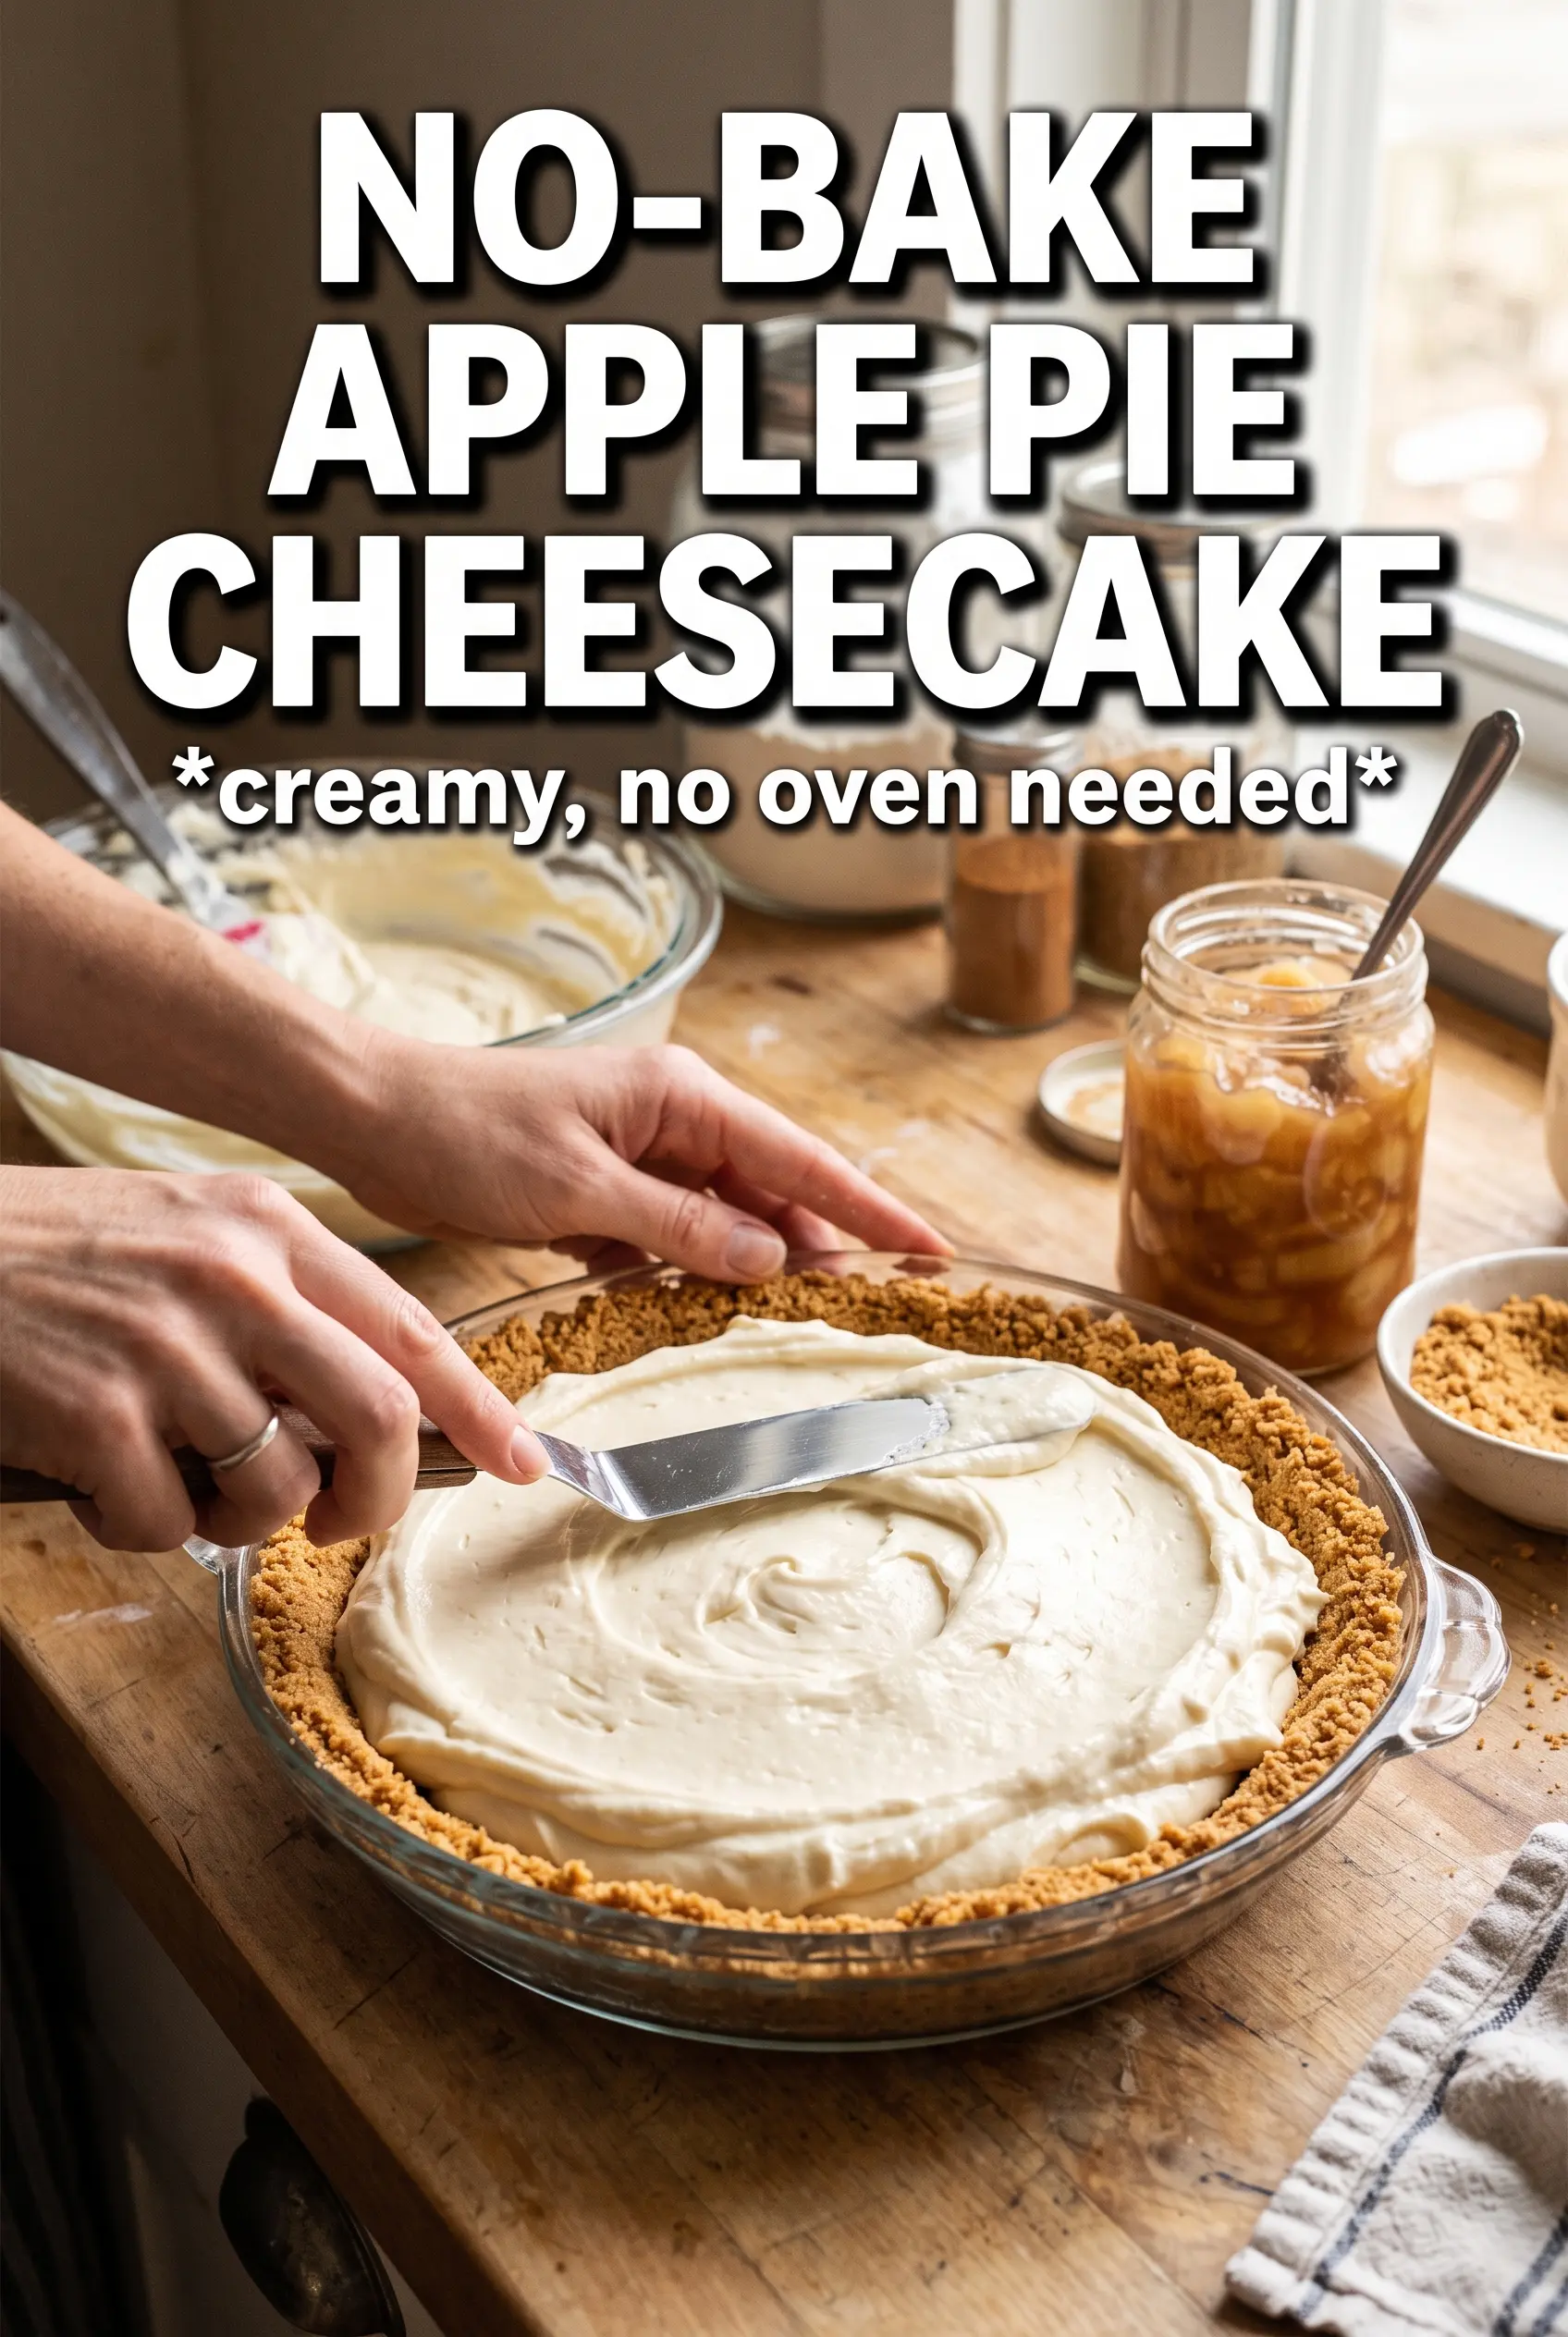
No-Bake Apple Pie Cheesecake
Ingredients
Equipment
Method
- Combine graham cracker crumbs, melted butter, and sugar, then press the mixture firmly into a 9-inch springform pan until evenly packed. Chill in the refrigerator for 20 minutes to set the crust.
- Beat the cream cheese, powdered sugar, brown sugar, vanilla extract, and cinnamon until completely smooth and fluffy. Scrape the sides and bottom to remove any lumps.
- Fold in the whipped heavy cream until no streaks remain. The filling should look thick and uniform with a light, airy texture.
- Spread the cheesecake filling over the chilled crust, then smooth the top so it’s even. Tap the pan gently once to settle the surface.
- Mix cinnamon and nutmeg into the apple pie filling, then spoon it evenly over the cheesecake layer. Leave a small border of filling visible around the edges if needed.
- Refrigerate at least 6 hours or overnight before releasing from the springform. Chill until the center holds its shape when gently nudged.