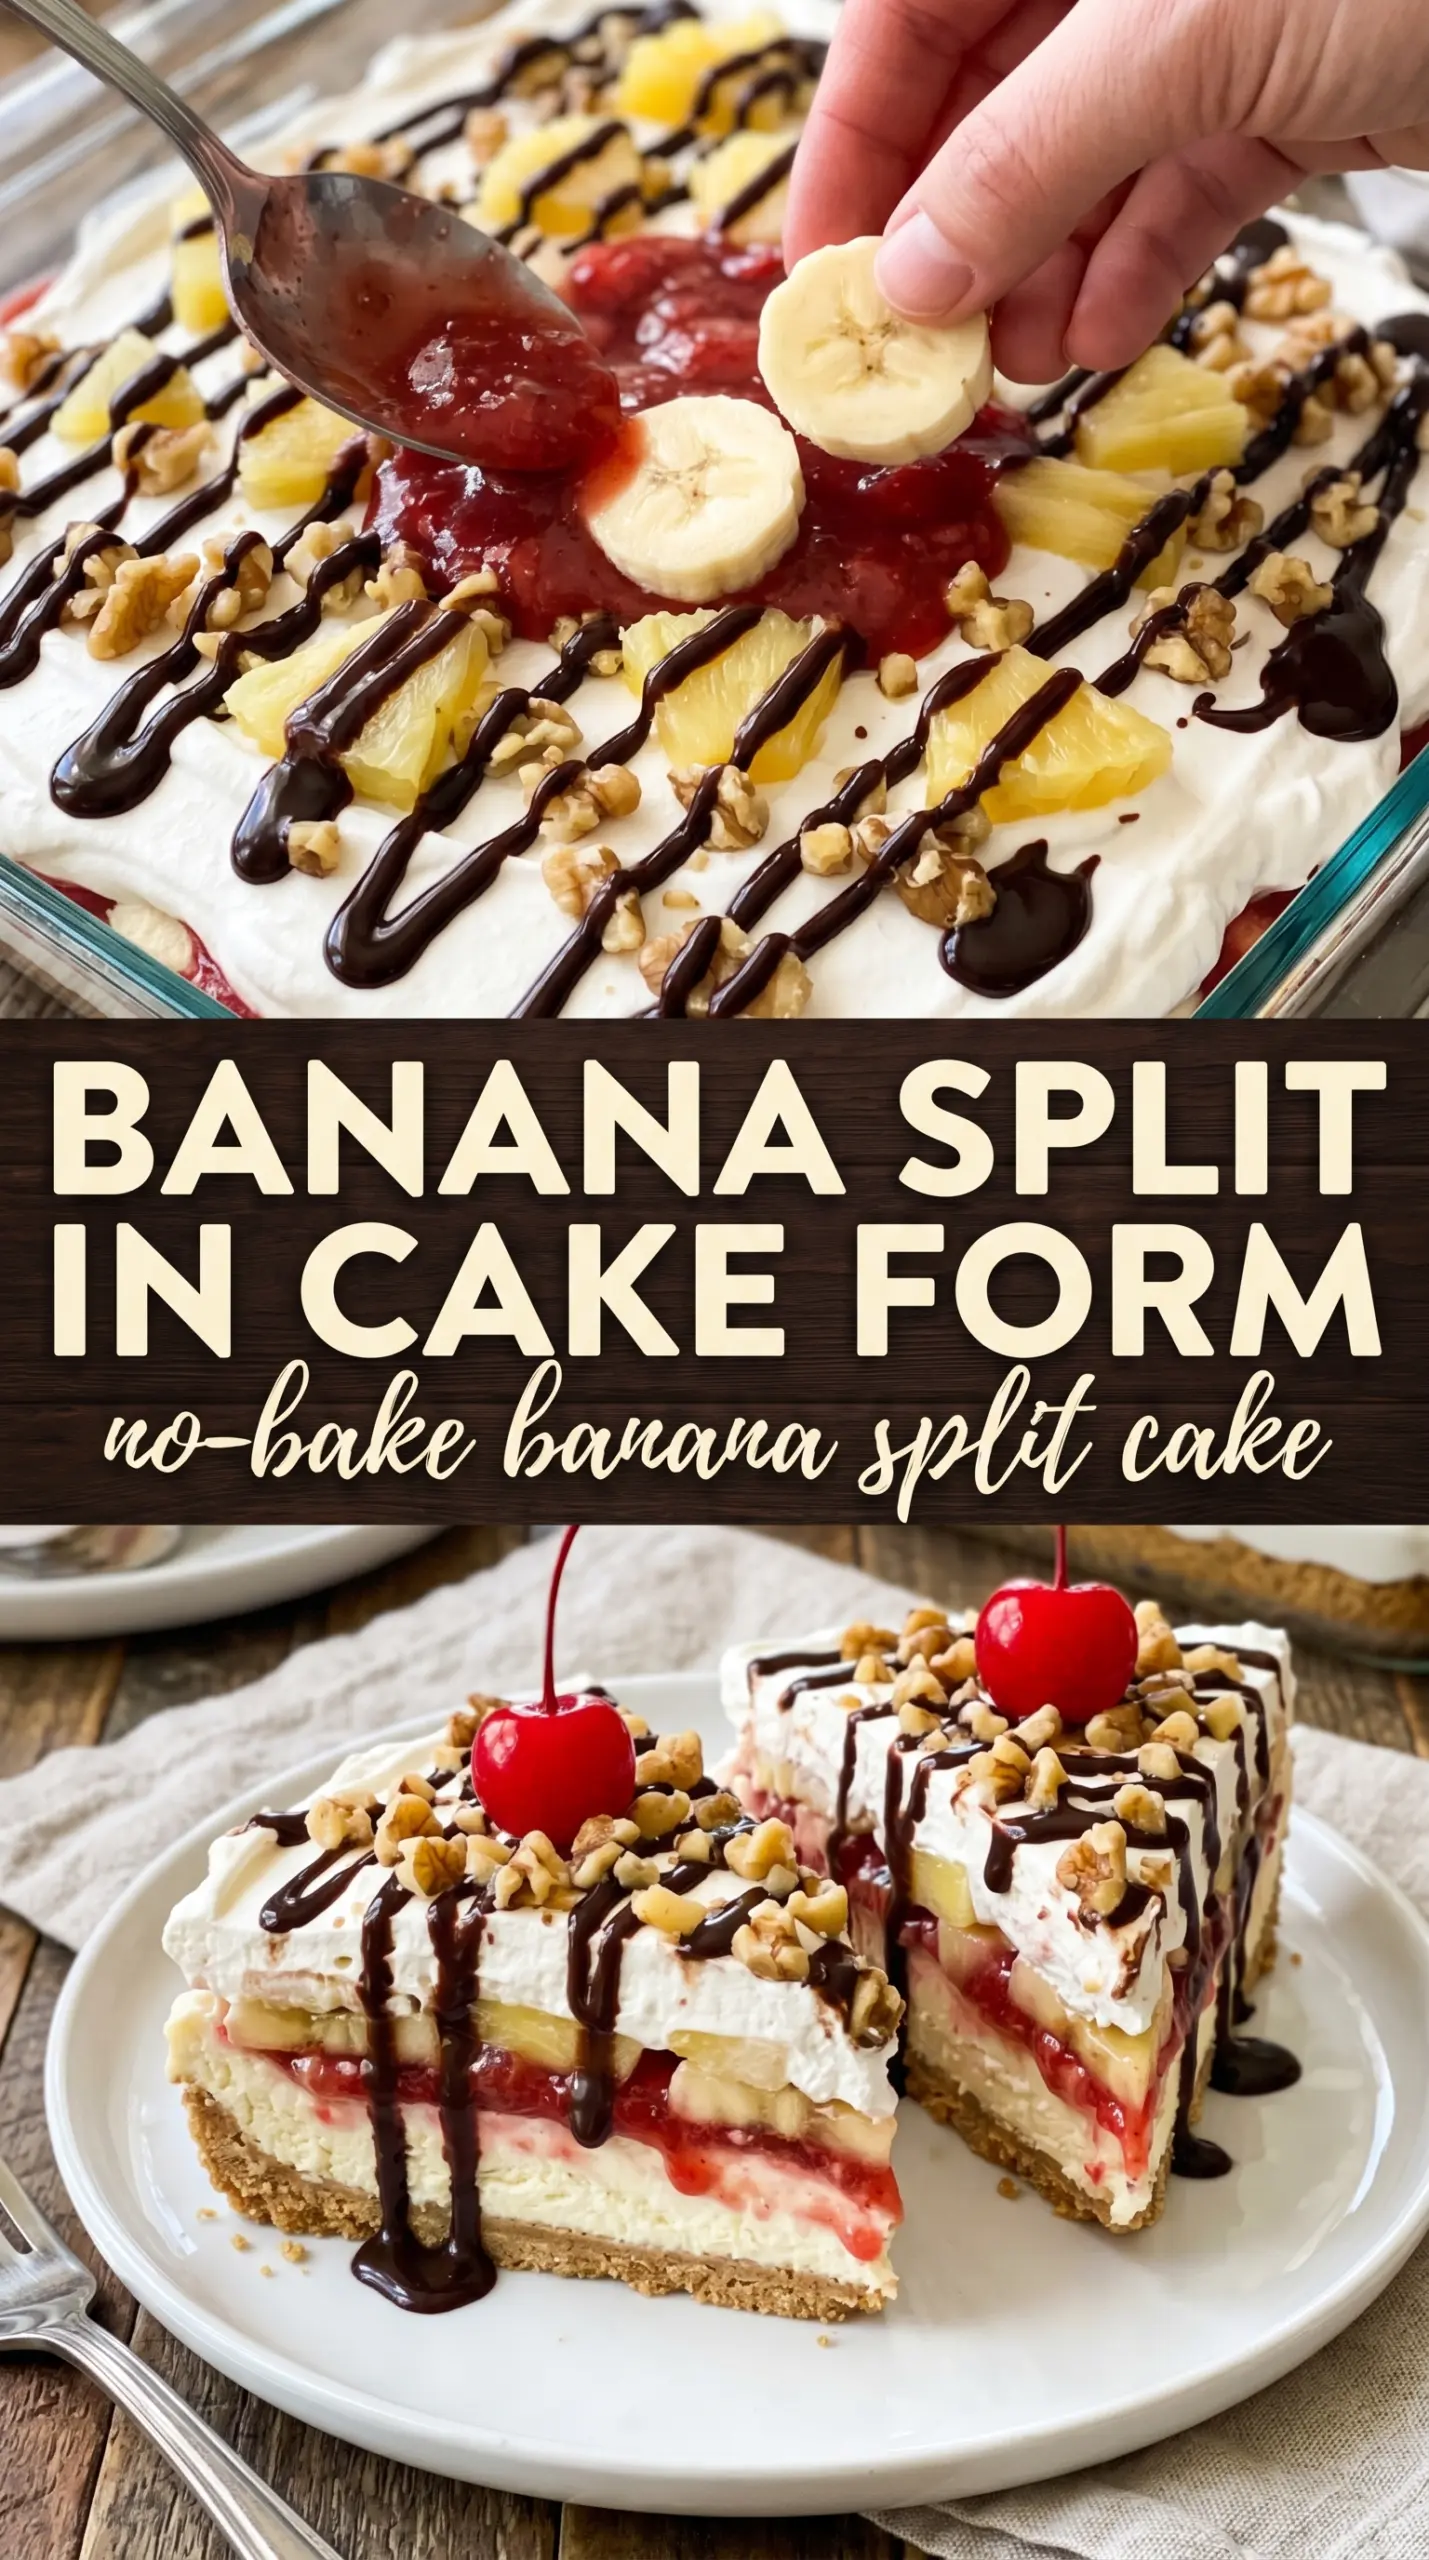
Layers of creamy filling, sweet pineapple, fresh banana slices, and a buttery graham cracker crust make this no-bake banana split cake feel like a chilled dessert tray version of an old-school sundae. It slices cleanly after a good rest in the fridge, holds its shape for a crowd, and gives you all the banana split flavors without turning on the oven.
The trick here is balance. The cream cheese layer keeps the dessert from tasting flat, but it needs to be whipped smooth before anything else goes on top. The pineapple also has to be drained well, or it will seep into the crust and loosen the whole pan before serving. Once the layers are in place, the only hard part is waiting for the chill time to do its job.
Below, I’ll walk through the details that matter most: how to keep the crust from crumbling, why the banana layer goes where it does, and how to adapt the toppings if you’re serving this for a potluck or making it a day ahead.
The layers set up beautifully after chilling overnight, and the pineapple stayed put instead of making the crust soggy. I sliced it for a church potluck and came home with an empty pan.
Love the banana split layers and whipped topping finish? Save this no-bake banana split cake for your next potluck or make-ahead dessert night.
The Crust Needs More Than Just Butter and Crumbs
A graham cracker crust in a chilled dessert has one job: stay compact long enough to support everything above it. The butter binds the crumbs, but the real success comes from pressing the mixture firmly and evenly into the pan so there aren’t weak spots that crumble when you slice.
Here’s the part people miss: the crust doesn’t get baked to set, so it has to start out well packed. If it feels loose in the pan, it will fall apart under the cream cheese layer and the first square you lift out will drag the rest with it. Use the bottom of a measuring cup to press it into the corners and along the edges, where the filling tends to shift most.
What Each Layer Is Doing in the Pan
- Graham cracker crumbs — These give you the classic sundae-shop base. Store-bought crumbs are fine, but they should be fine and even, not chunky, or the crust won’t pack tightly.
- Butter — This is what turns loose crumbs into a sliceable layer. Melt it fully so every crumb gets coated; dry spots leave a sandy crust that breaks apart.
- Cream cheese — This is the backbone of the filling, giving the dessert enough body to stand up to the fruit. Soften it all the way before beating, or you’ll end up with little lumps that never disappear.
- Crushed pineapple — This brings the banana split flavor into the middle of the dessert, but only if it’s drained well. Press it in a fine mesh strainer or squeeze it lightly in paper towels; extra juice is what makes the layers slide.
- Whipped topping — This keeps the top light and makes the whole thing feel like a proper icebox dessert. Homemade whipped cream works if you’re serving it the same day, but whipped topping holds longer and slices more cleanly after chilling.
- Bananas — Use ripe bananas with yellow skins and a few brown freckles. Underripe bananas taste starchy, and overripe ones collapse into the cream layer instead of staying in neat slices.
Getting the Layers in the Right Order So the Cake Slices Cleanly
Pressing the Base
Mix the graham crumbs with melted butter until every crumb looks damp, then press them into a 9×13 pan in an even layer. The crust should feel dense when you tap it with a spoon. If it’s patchy or loose at this stage, the finished dessert will fall apart at the edges.
Building the Cream Cheese Layer
Beat the cream cheese and powdered sugar until the mixture is completely smooth and fluffy. Spread it over the crust gently so you don’t pull the crumbs up into the filling. This layer should look pale and even, with no streaks of cream cheese left behind, because those lumps show up when you cut the dessert.
Adding the Fruit Layers
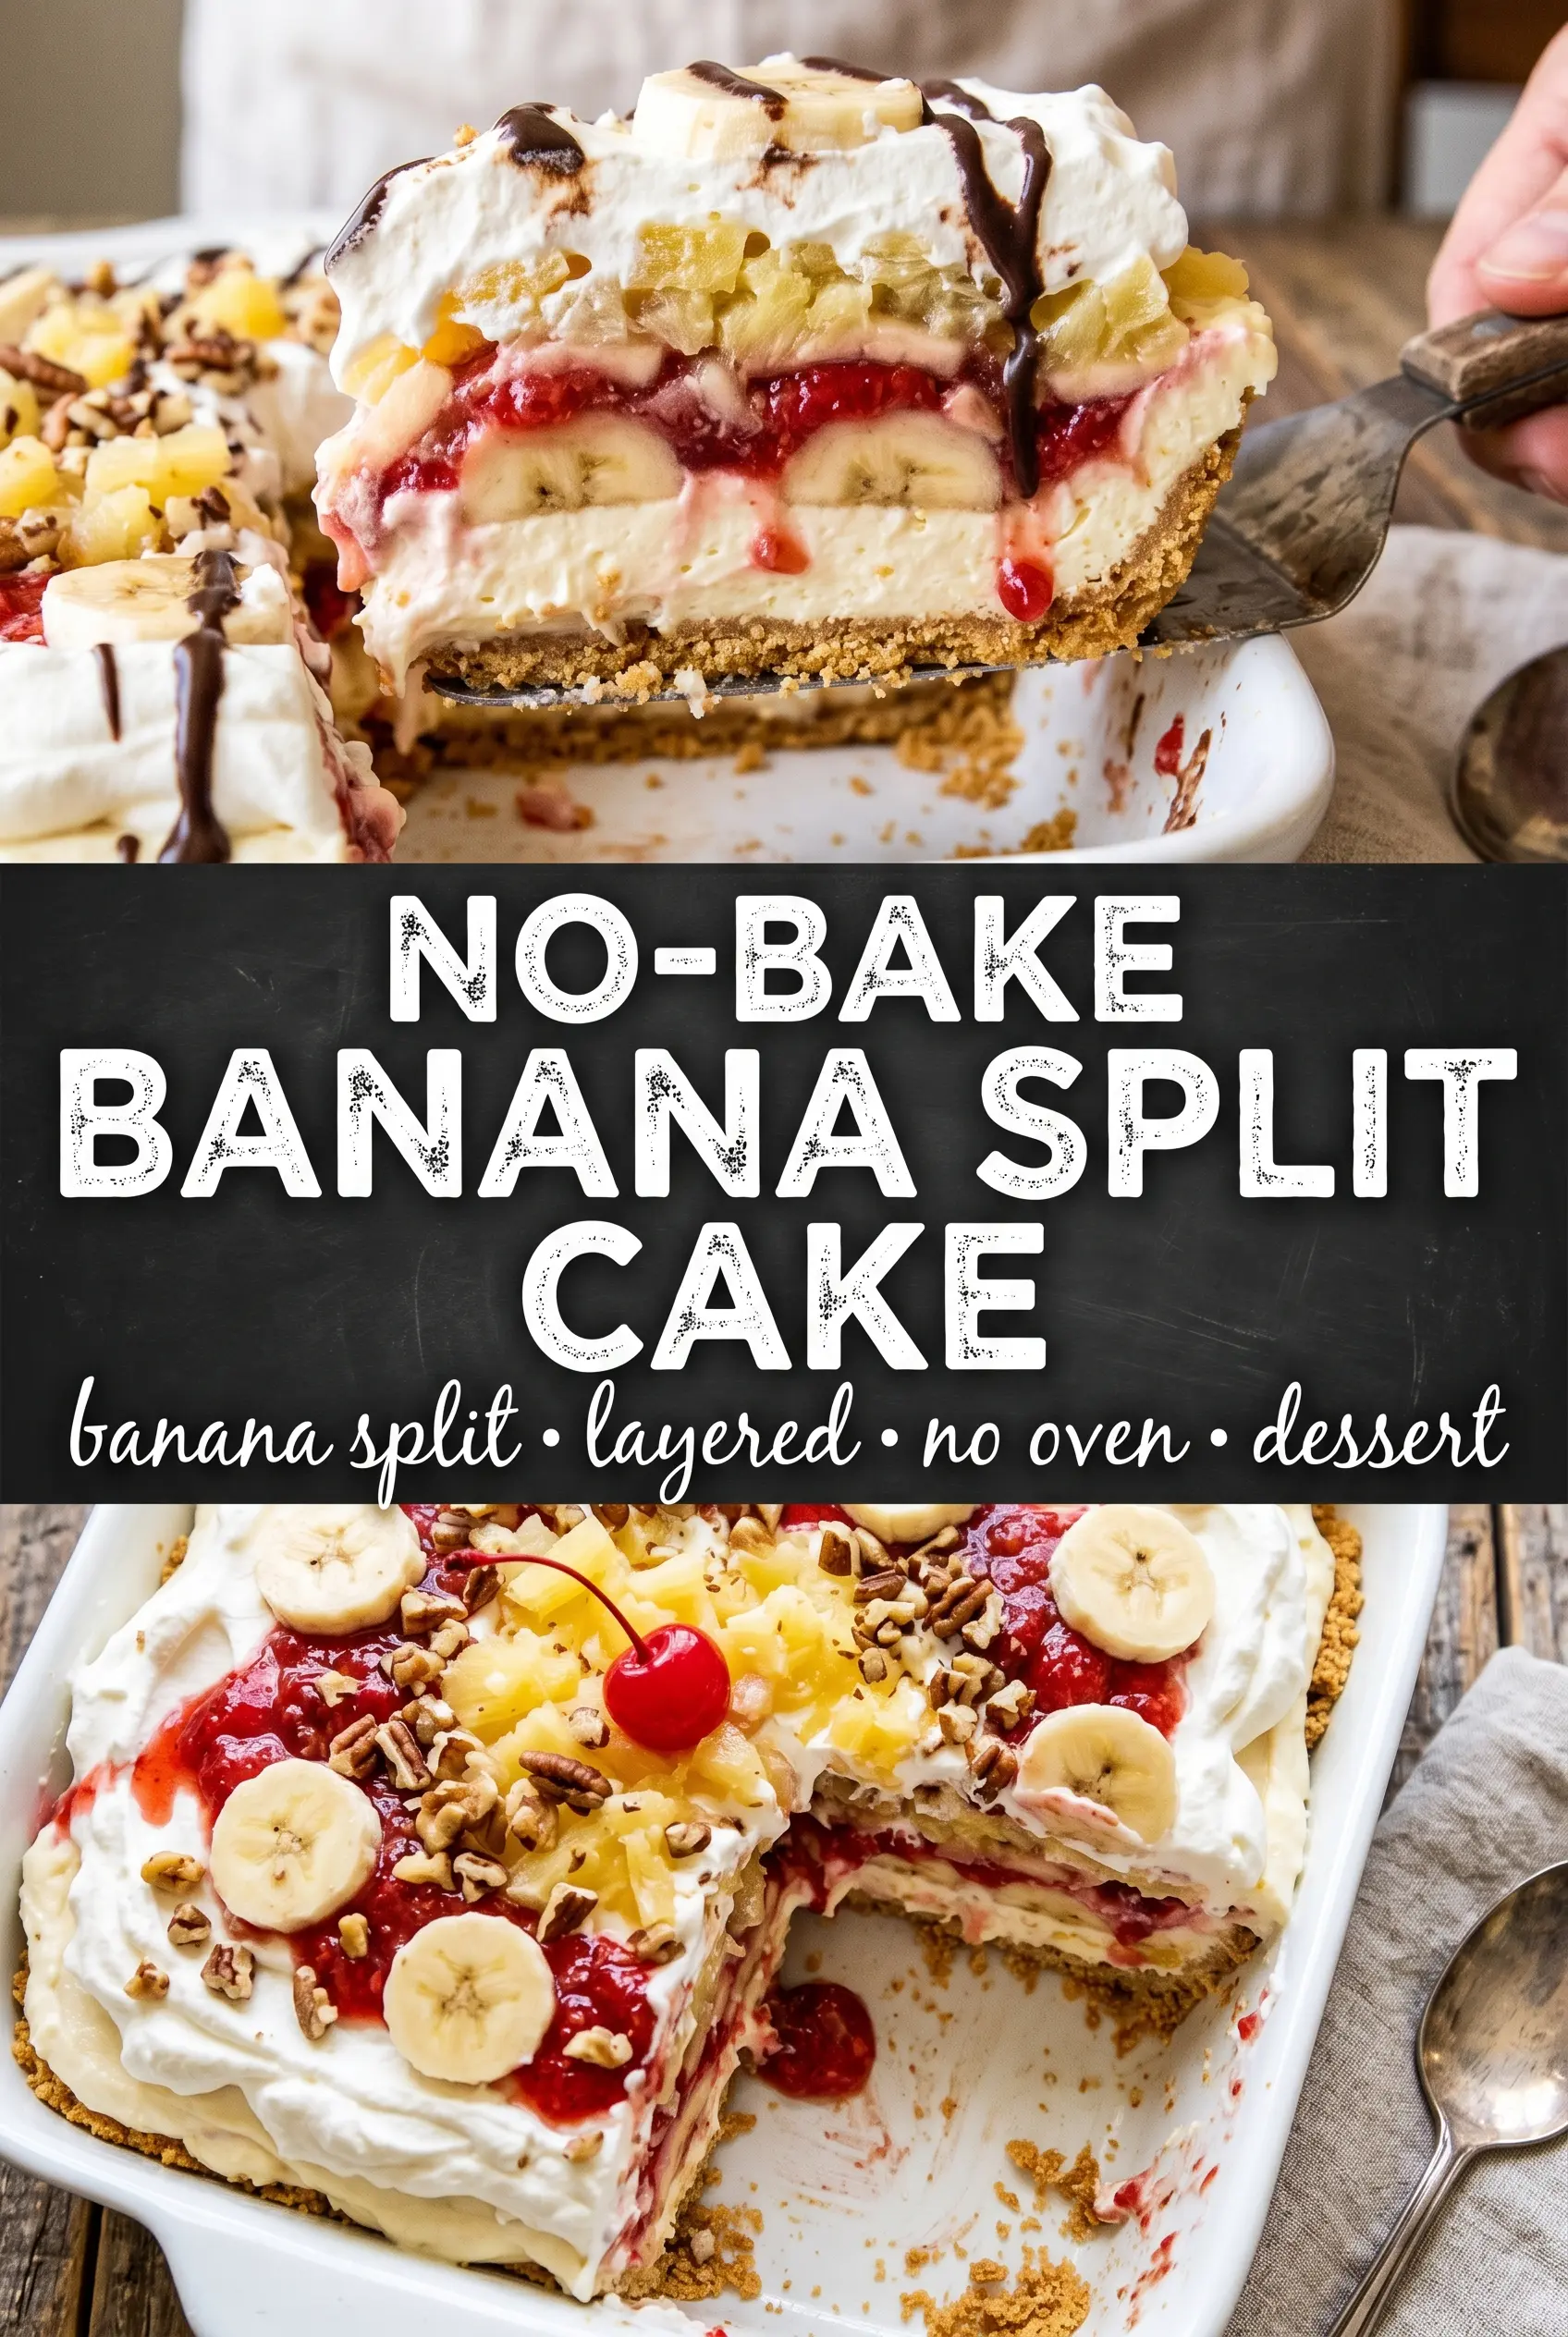
Spread the drained pineapple over the cream cheese, then layer the banana slices on top. Keep the pineapple dry and the banana slices in a single even layer so the dessert stays tidy. If the pineapple is wet, it will creep into the crust; if the bananas are piled too high, the top will slide when you add the whipped topping.
Finishing and Chilling
Spread the whipped topping all the way to the edges, then finish with cherries, walnuts, and drizzles of chocolate and caramel. Refrigerate the pan for at least 4 hours, and longer if you can. The chill time firms the layers and gives the crust time to absorb just enough moisture to slice without cracking apart.
Chocolate Peanut Banana Split Cake
Add a thin layer of chocolate pudding or chocolate whipped topping between the cream cheese and pineapple layers for a richer, sundae-style filling. It turns the dessert closer to a banana split sundae and adds extra stability, but it also makes the cake a little sweeter and heavier.
Dairy-Free Version
Use dairy-free cream cheese and a non-dairy whipped topping with a firm texture. The flavor stays close, but the filling may not set quite as tightly, so give it the full chill time and slice with a sharp knife wiped clean between cuts.
Nut-Free Potluck Pan
Skip the walnuts and top with extra cherries, sprinkles, or crushed graham crumbs instead. You lose the crunch, but the dessert keeps its banana split look and becomes easier to serve in mixed-company settings.
Storage and Reheating
- Refrigerator: Store covered for up to 3 days. The bananas soften after the first day, but the dessert still slices well if kept cold.
- Freezer: I don’t recommend freezing this one. The bananas and whipped topping lose their texture once thawed, and the filling turns watery.
- Reheating: No reheating needed. Serve it straight from the fridge, and use a sharp knife dipped in warm water if you want the cleanest slices.
Answers to the Questions Worth Asking
No-Bake Banana Split Cake
Ingredients
Equipment
Method
- Combine graham cracker crumbs and melted butter, then press the mixture firmly into a 9x13 pan to form an even crust. Visual cue: the crumbs should look like damp sand and hold together when pressed.
- Beat cream cheese and powdered sugar until smooth, then spread the mixture over the crust in an even layer. Visual cue: the surface should look glossy and free of lumps.
- Spread the well-drained crushed pineapple over the cream cheese layer, keeping it as even as possible. Visual cue: fewer liquid streaks should remain visible on top.
- Arrange the sliced bananas over the pineapple in a single, fairly even layer. Visual cue: you should still see the pineapple peeking through lightly at the edges.
- Spread whipped topping to cover completely, smoothing it to the corners of the pan. Visual cue: the bananas and pineapple should be fully hidden under the white topping.
- Top with maraschino cherries and chopped walnuts, distributing them across the surface. Visual cue: the topping should look like a sundae with visible red and brown bits.
- Drizzle chocolate and caramel syrup over the cake, then add any extra sprinkles if desired. Visual cue: you should see thin, contrasting lines against the white whipped topping.
- Refrigerate for at least 4 hours before slicing. Visual cue: the cake should feel firm and sliceable, with clean edges that don’t slump.