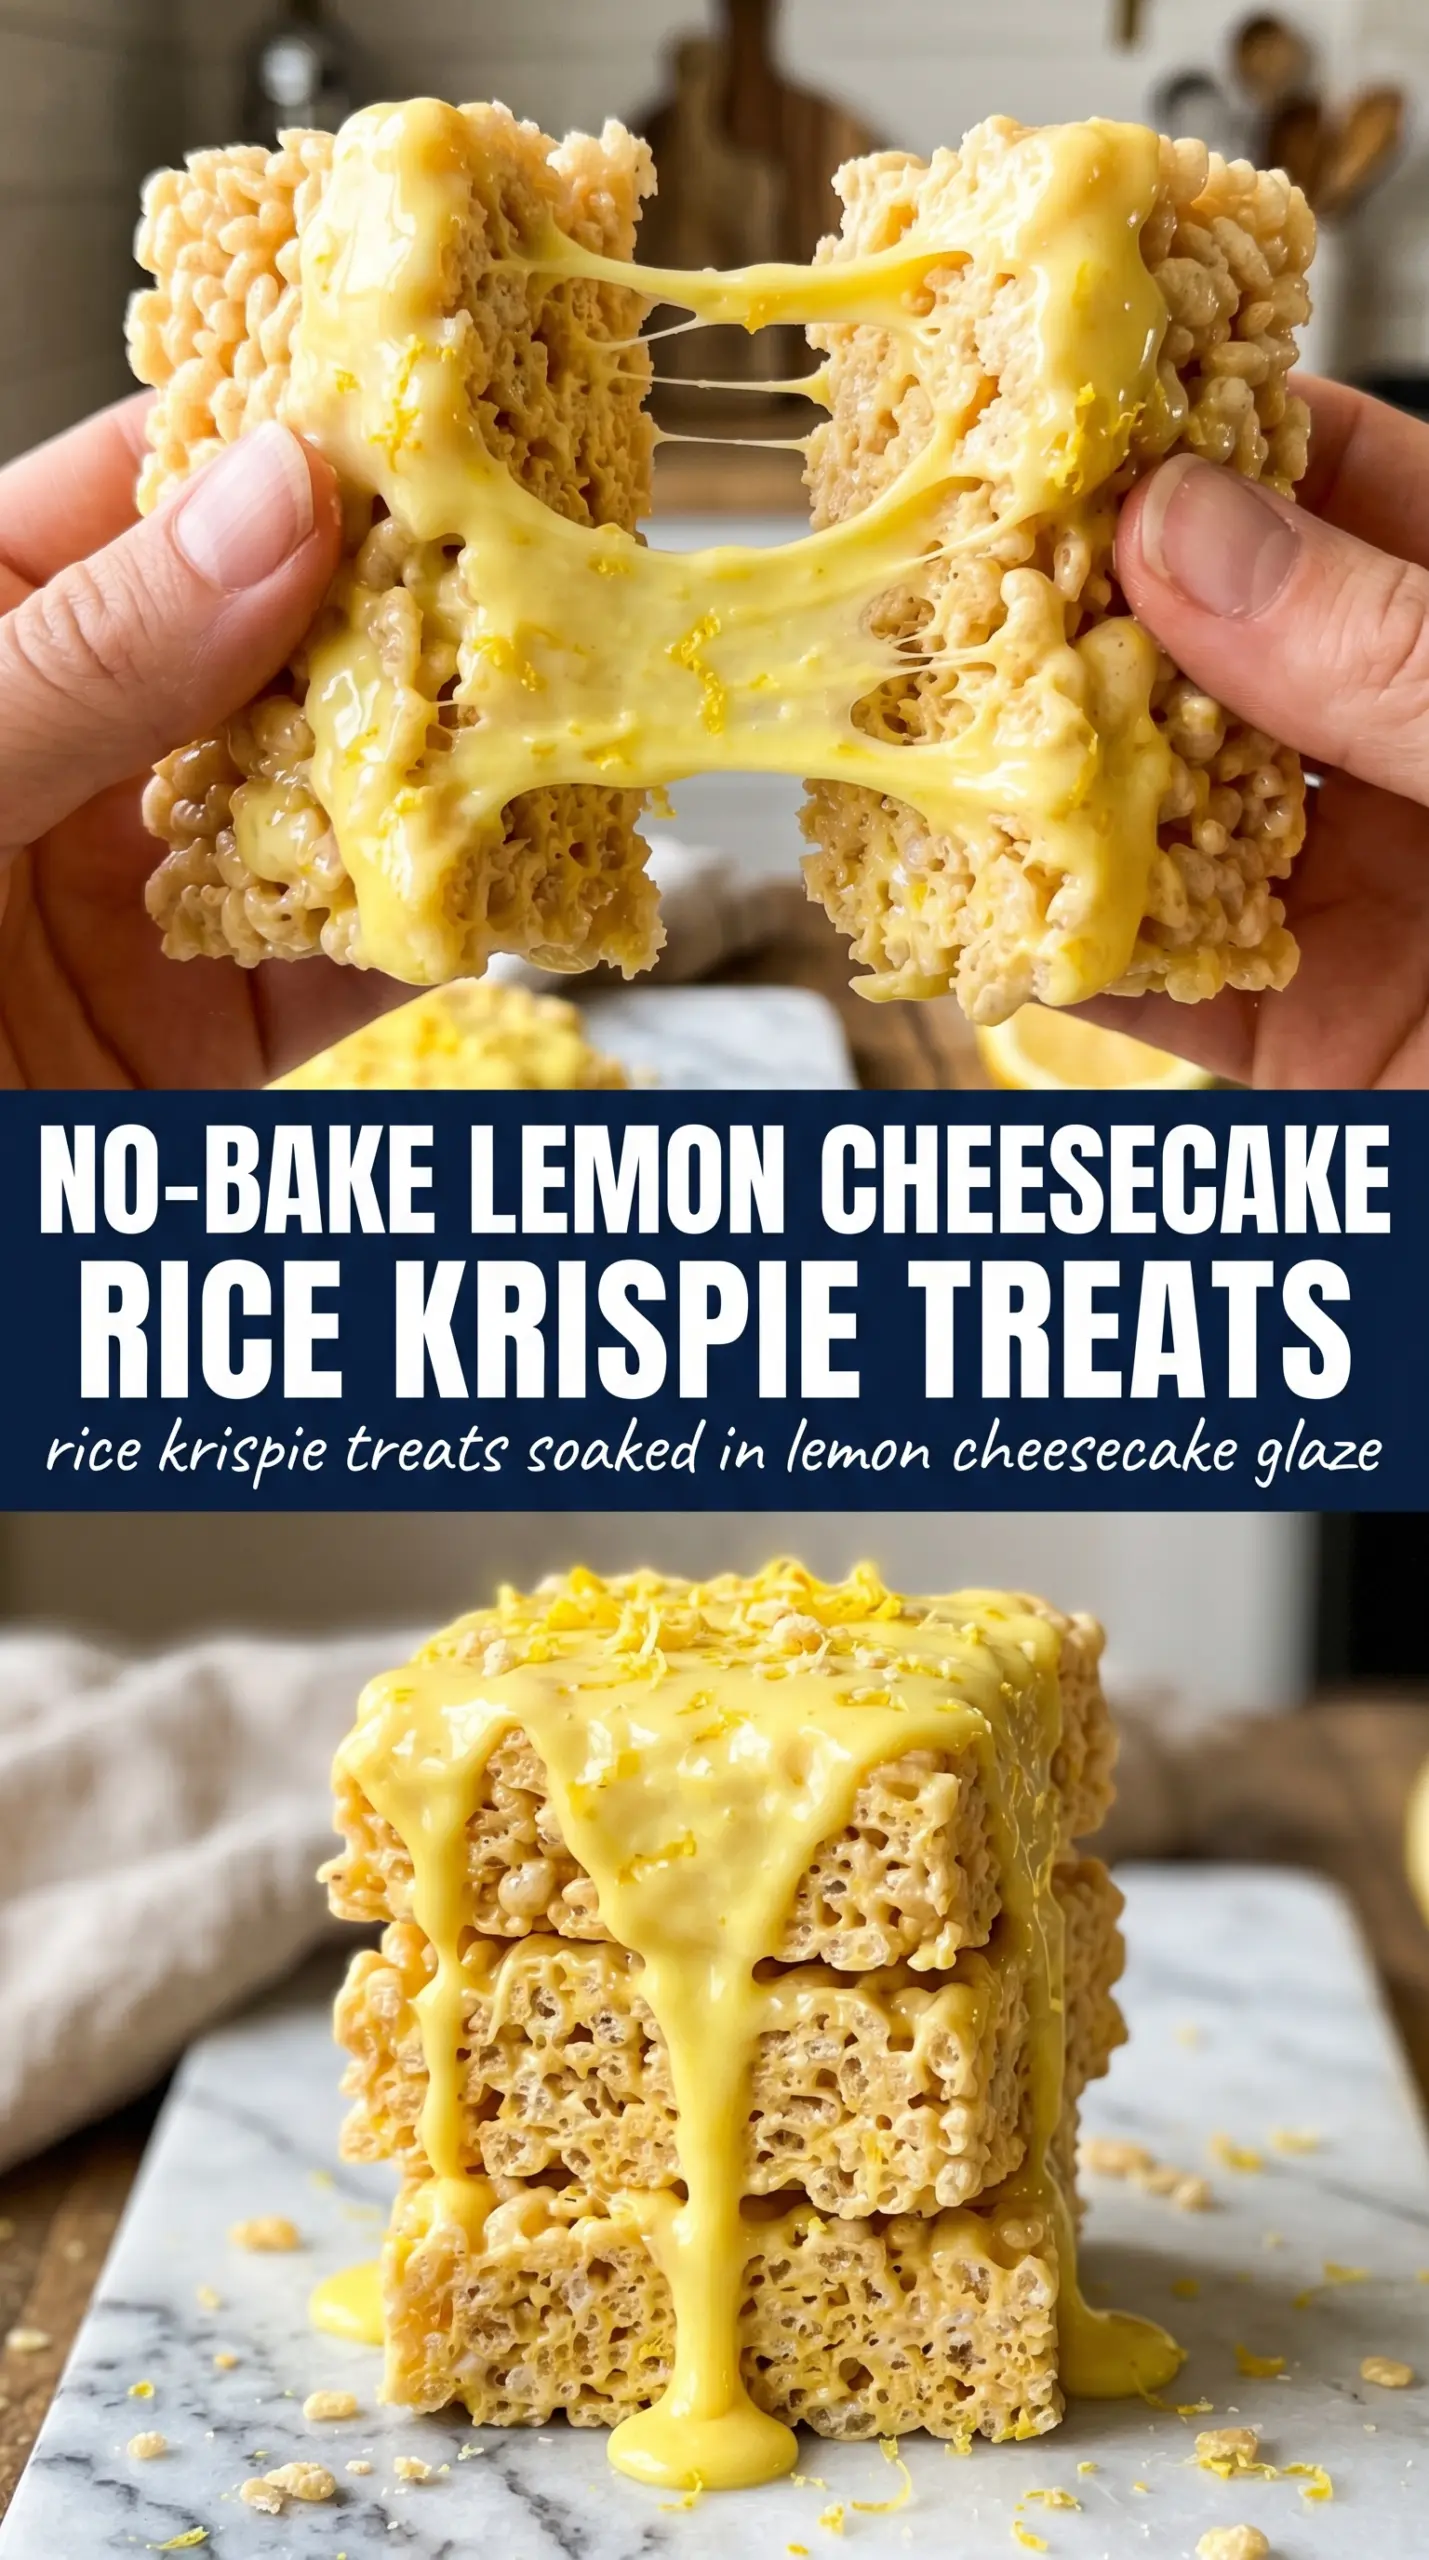
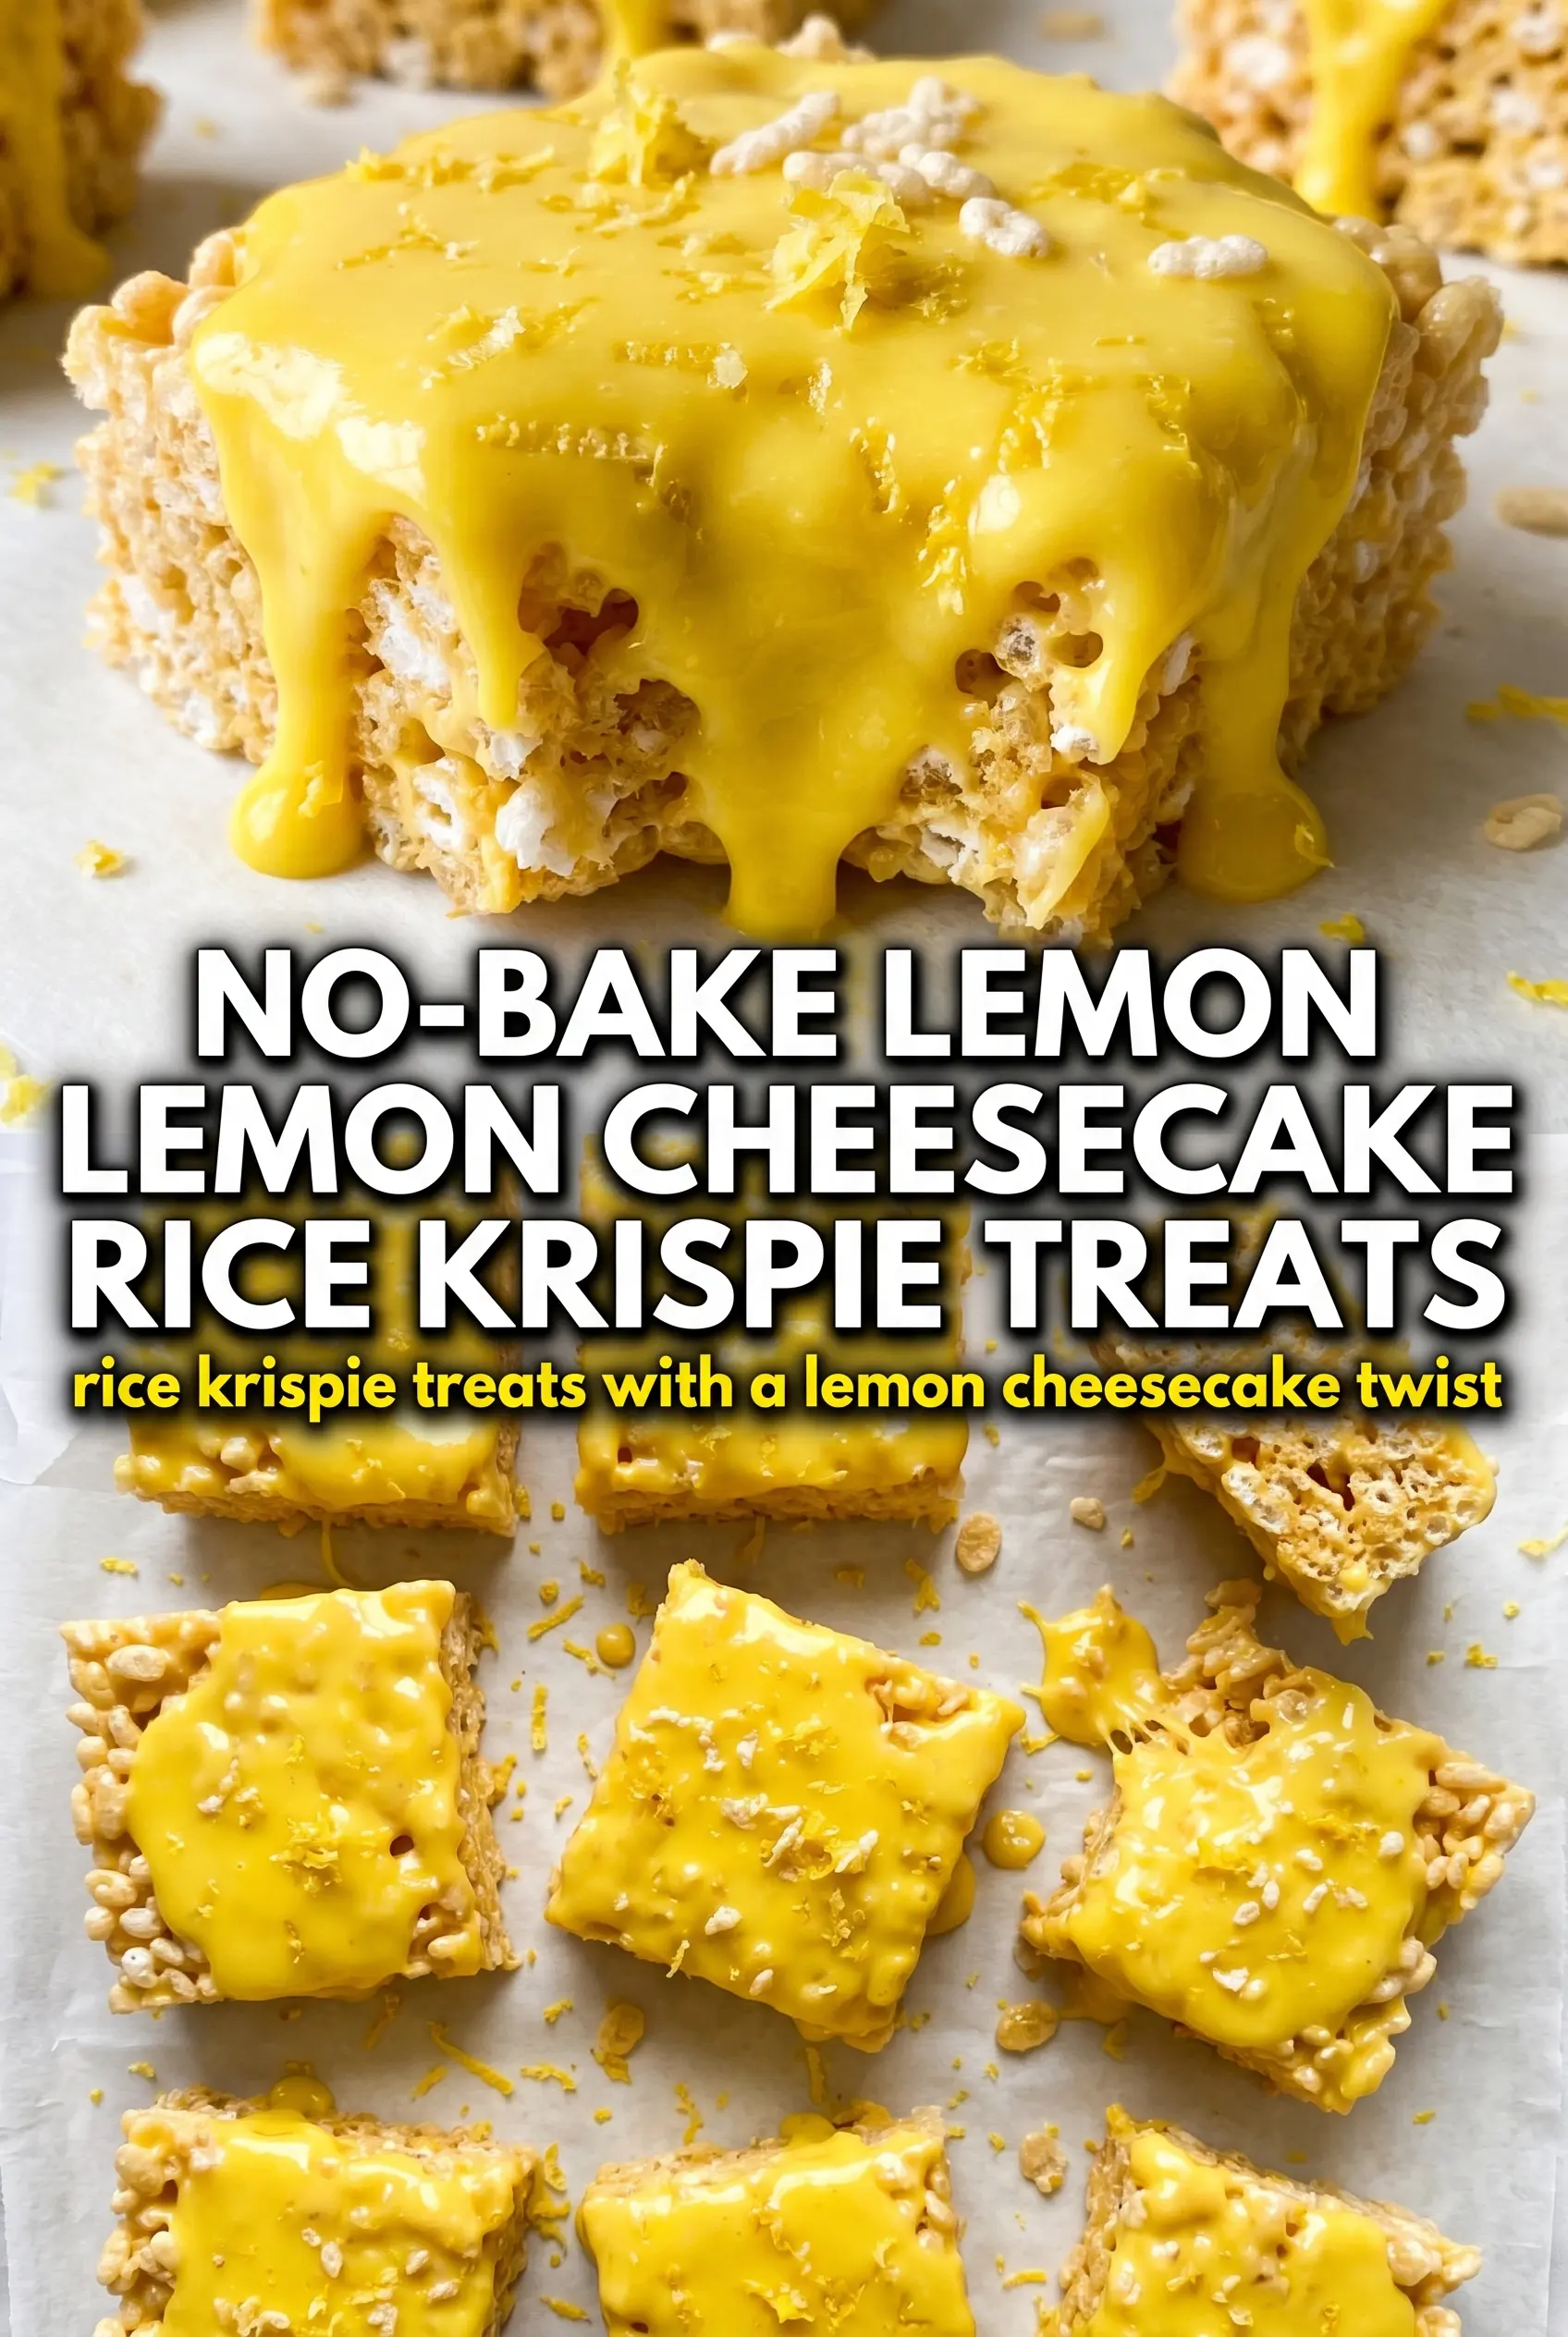
Thick, chewy Rice Krispie bars topped with a cool lemon cheesecake layer hit that sweet spot between nostalgic and polished. The base stays crisp enough to hold its shape, but it still has that marshmallow pull when you bite into it, and the lemon cheesecake on top brings a bright, creamy finish that keeps the whole thing from feeling too sugary. The white chocolate drizzle gives each square a little extra sweetness and a clean look that makes these bars feel bakery-worthy without turning on the oven.
The trick here is keeping the marshmallow mixture gentle and the base packed firmly enough to support the topping. Lemon zest goes into both layers, which is what makes the lemon taste fresh instead of flat, and the cream cheese layer gets folded with whipped topping so it stays light enough to slice cleanly after chilling. If you’ve ever had Rice Krispie treats collapse under a soft topping, this version solves that by letting the base cool completely before the cheesecake layer goes on.
Below, I’m walking through the part that matters most: how to keep the bars chewy, how to get the cheesecake layer smooth, and what to do if you need to make them ahead for a party or potluck.
The lemon zest in both layers makes these taste fresh instead of overly sweet, and the cheesecake topping set up perfectly after an hour in the fridge. Mine sliced into neat squares with no gooey mess.
Save these lemon cheesecake Rice Krispie treats for the next time you want a no-bake bar with a creamy top and a bright lemon finish.
The Reason These Bars Hold Together Instead of Sliding Apart
The base has to do more than taste good here. It needs enough structure to carry a soft cheesecake layer without turning soggy, which is why the marshmallow mixture gets stirred in off the heat as soon as it melts. If you cook the marshmallows too long, the bars turn hard instead of chewy, and that stiff texture doesn’t pair well with the creamy topping.
Pressing the mixture into the pan firmly matters more than most people think. You’re not trying to compact it into a brick, but you do want an even layer with no loose corners, because any weak spot will crumble when you spread the cheesecake over the top. Let the base cool all the way before the topping goes on. Warm Krispie bars soften the cheesecake layer and make cutting messy later.
- Mini marshmallows — They melt evenly and keep the base soft. Fresh marshmallows matter here; older ones can make the bars dry and stubborn.
- Lemon zest — This is where the lemon flavor really lives. Juice gives tang, but zest gives the bright aroma that makes these taste like lemon instead of just sweet cream.
- Cream cheese — Use full-fat cream cheese for the smoothest, richest layer. Reduced-fat versions can work in a pinch, but they’re softer and a little less stable when sliced.
- Whipped topping — It lightens the cheesecake layer so it spreads easily and chills into a sliceable topping. Homemade whipped cream is finer for serving the same day, but it softens faster and won’t hold up as long.
What Each Ingredient Is Actually Doing in This Dessert
- Sugar (the sweetness and structure) — Sugar tenderizes baked goods and creams with butter to create air. Don’t reduce too much.
- Butter (the richness and crumb) — Proper creaming adds air and creates tender texture. Use room temperature butter.
- Eggs (the binder and lift) — These create structure and help baked goods rise. Beat in gradually for volume.
- Flour (the structure base) — Don’t overmix or the dessert becomes tough and dense. Mix just until combined.
- Leavening (baking powder or soda) — This creates rise and light crumb. Too much makes it taste bitter.
- Liquid (milk, yogurt, or other) — This hydrates the flour and carries flavors. Balance is key.
- Flavorings (vanilla, spices, extract) — These define personality. Use quality flavorings.
- Mix-ins or layers (fruit, chocolate, filling) — These add texture and prevent one-dimensional taste.
Building the Layers Without Losing the Chewy Texture
Melting the Marshmallows Gently
Melt the butter over medium-low heat, then add the marshmallows and stir until they’re just smooth and glossy. Once they’re fully melted, pull the pot off the heat and stir in the lemon zest right away. That keeps the citrus fresh and keeps the marshmallow mixture from tightening up. If the heat stays too high, the marshmallow base can turn tough and the final bars lose that soft chew.
Pressing and Cooling the Base
Add the cereal and fold quickly, just until every piece is coated. Scrape the mixture into the prepared pan and press it into an even layer with lightly greased hands or the back of a spatula. Use steady pressure, not aggressive packing, or the bars get dense. Let the base cool completely before touching the topping; even a little warmth can melt the cheesecake layer into the cereal.
Whipping the Lemon Cheesecake Layer
Beat the cream cheese, powdered sugar, lemon juice, lemon zest, and vanilla until the mixture is smooth with no lumps left behind. Fold in the whipped topping gently so you keep the layer light instead of deflating it. If you beat the whipped topping in on high speed, the filling can loosen and turn slack after chilling. Spread it over the cooled base in an even layer all the way to the edges.
Finishing With Chocolate and Chill Time
Drizzle the melted white chocolate in a zigzag over the top, then finish with extra lemon zest for color and a sharper citrus note. Chill the pan for a full hour before cutting. If you slice too soon, the cheesecake layer will drag and the bars won’t hold crisp edges. A chilled knife helps, especially if your kitchen runs warm.
How to Adapt Them for Different Kitchens, Diets, and Crowd Sizes
Dairy-Free Version
Use dairy-free butter, a plant-based cream cheese, and a whipped topping that’s designed to hold its shape. The texture lands a little softer and the cheesecake layer won’t taste quite as tangy, but the bars still slice nicely if you chill them fully.
Extra Lemon Punch
Add another teaspoon of zest to the cheesecake layer and a little more on top. I wouldn’t add more lemon juice unless you also add more powdered sugar, because too much liquid can loosen the filling and make it harder to set cleanly.
White Chocolate Swap
Skip the drizzle and dust the top with a little extra zest if you want them less sweet. You can also use a thin lemon glaze instead, but it won’t set the same way and the bars will look a little more rustic.
Storage and Reheating
- Refrigerator: Store covered for up to 4 days. The base stays chewy, though it softens a touch under the cheesecake layer.
- Freezer: These freeze well if you cut them first and wrap the squares individually. Thaw in the refrigerator so the topping doesn’t sweat and slide.
- Reheating: Don’t reheat these. They’re meant to be served cold or slightly chilled, and heat will melt the cheesecake layer and turn the base sticky.
Answers to the Questions Worth Asking
No-Bake Lemon Cheesecake Rice Krispie Treats
Ingredients
Equipment
Method
- Line a 9x13 pan with parchment paper and spray lightly so the bars release cleanly.
- Melt butter in a large pot over medium-low heat, then add mini marshmallows and stir until fully melted.
- Remove from the heat and stir in lemon zest until evenly distributed.
- Fold in Rice Krispies cereal and press firmly into the prepared pan, then cool until no longer warm.
- Beat cream cheese, powdered sugar, fresh lemon juice, lemon zest, and vanilla extract until smooth and creamy.
- Fold in whipped topping until no streaks remain.
- Spread the lemon cheesecake layer evenly over the cooled Krispie base.
- Drizzle melted white chocolate in a zigzag pattern over the top for a decorative finish.
- Scatter extra lemon zest across the top so each bar gets a bright garnish.
- Refrigerate for 1 hour before cutting into 16 bars for clean slices.