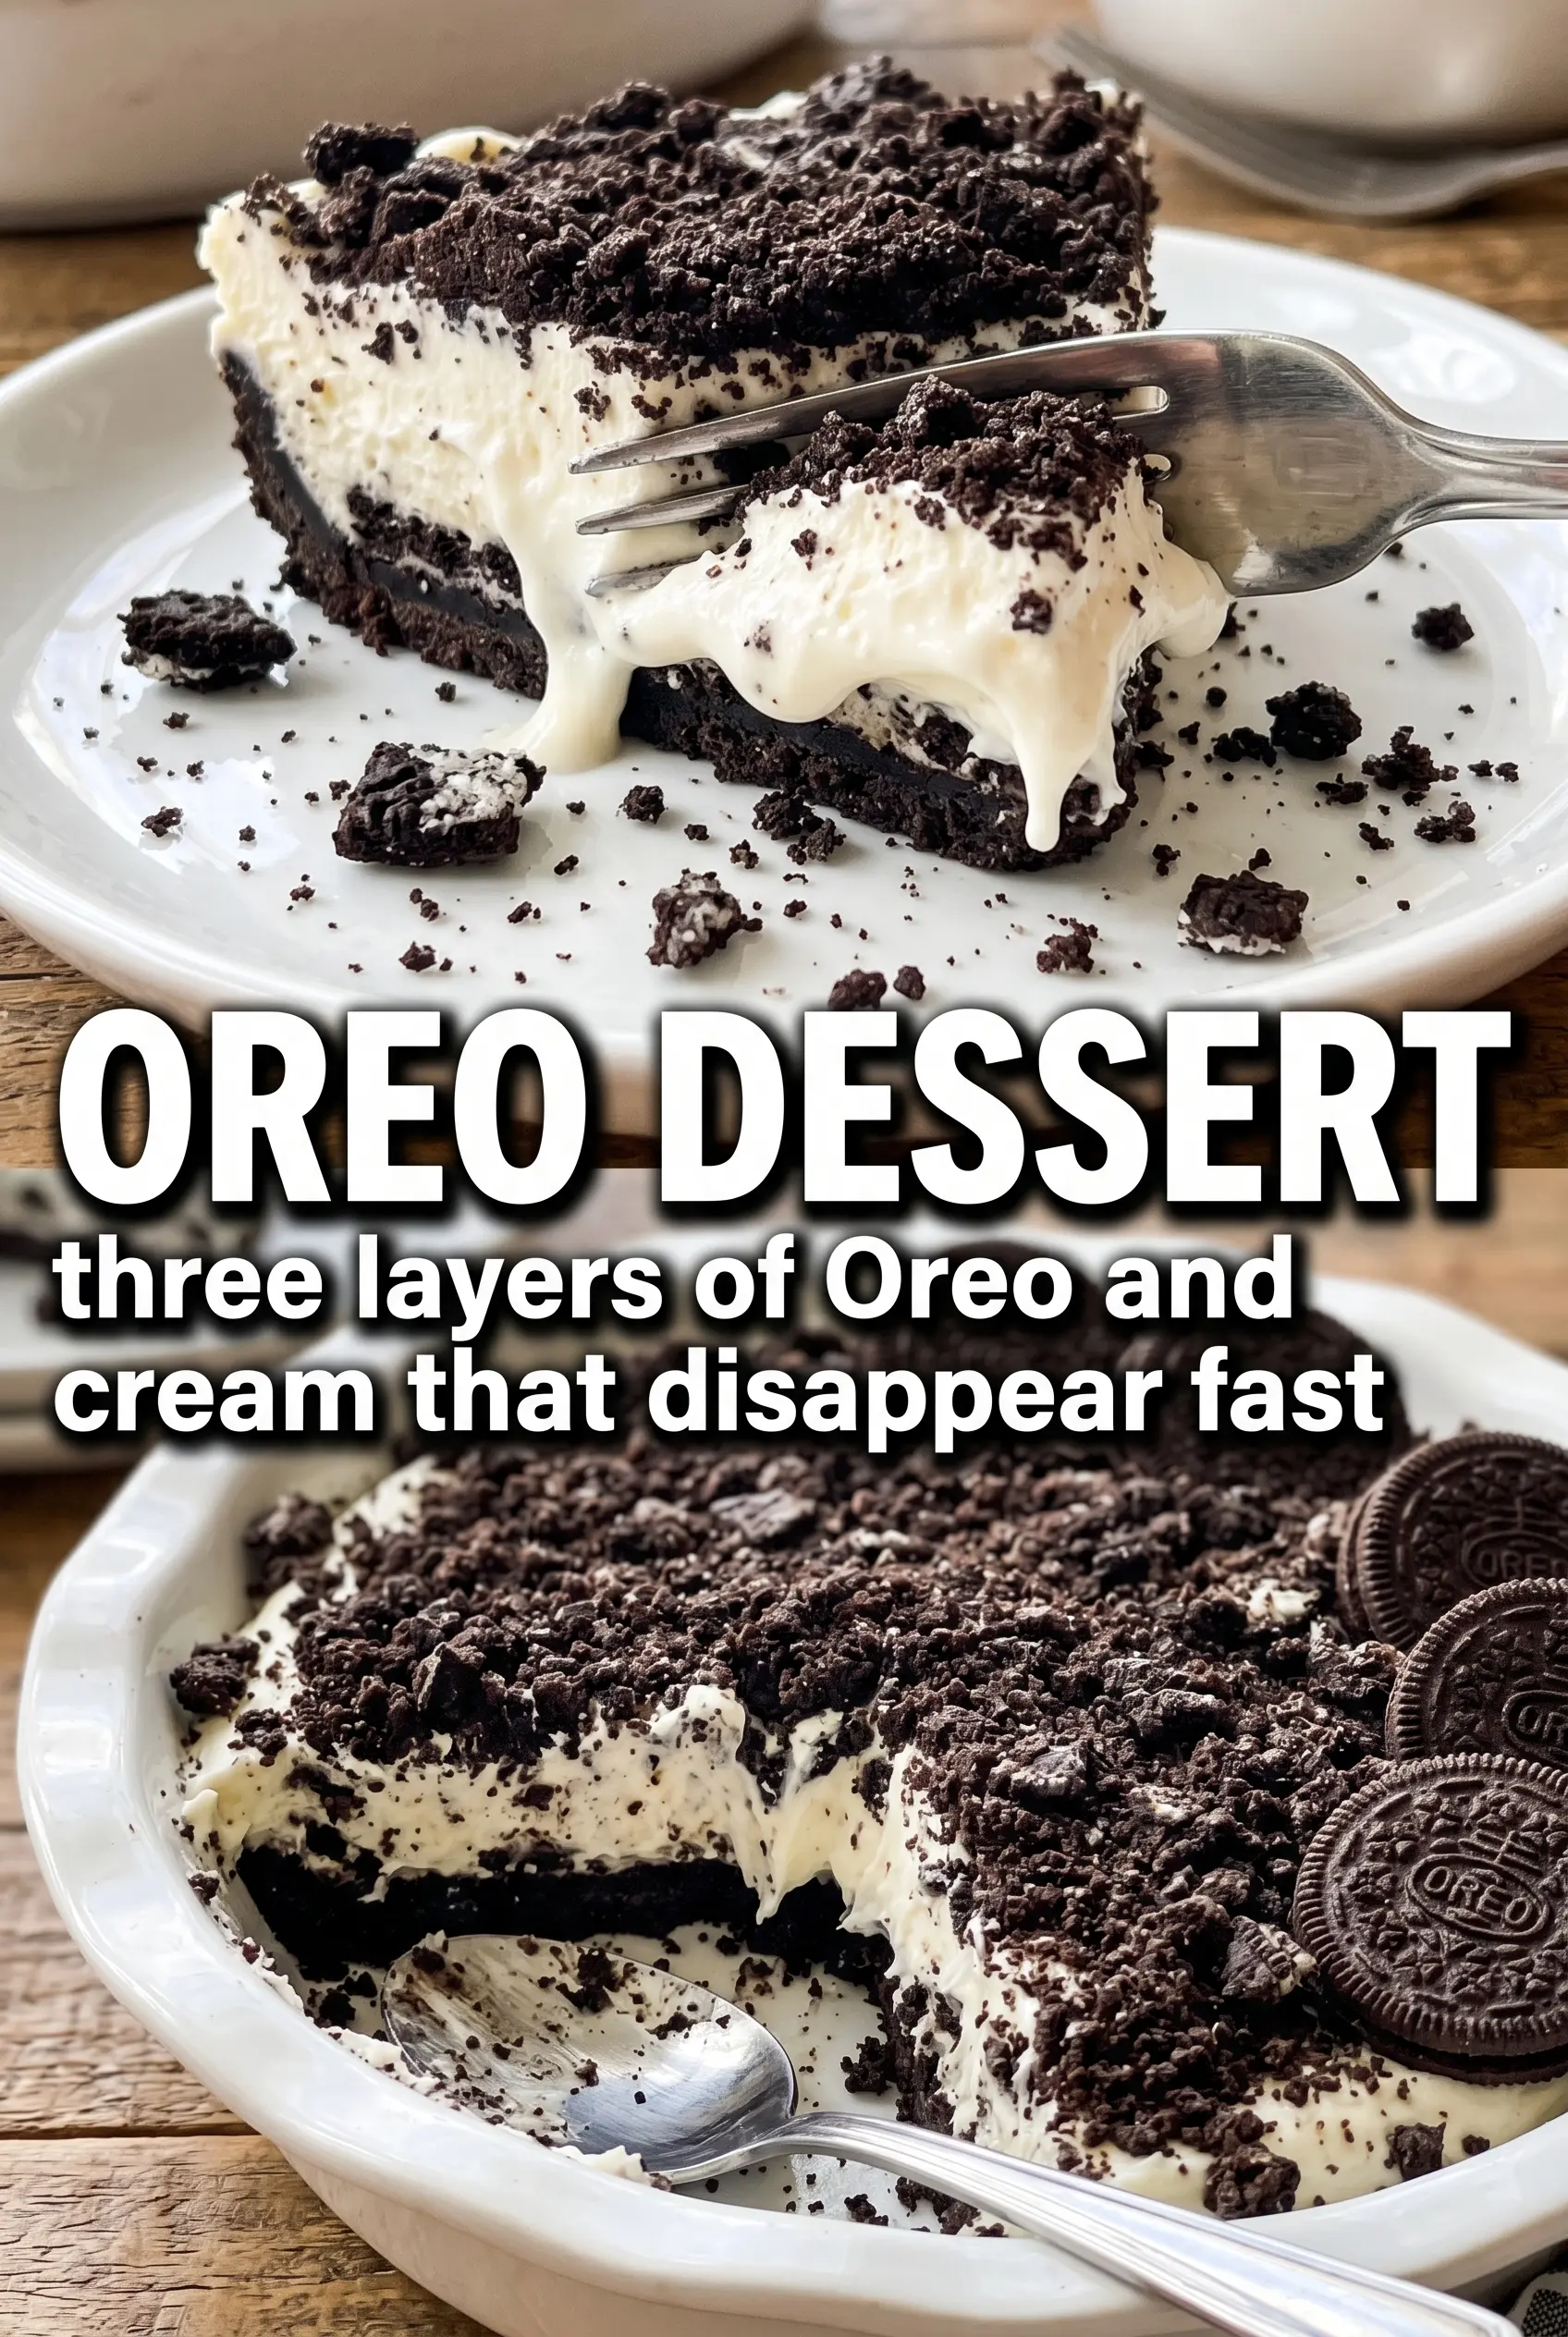
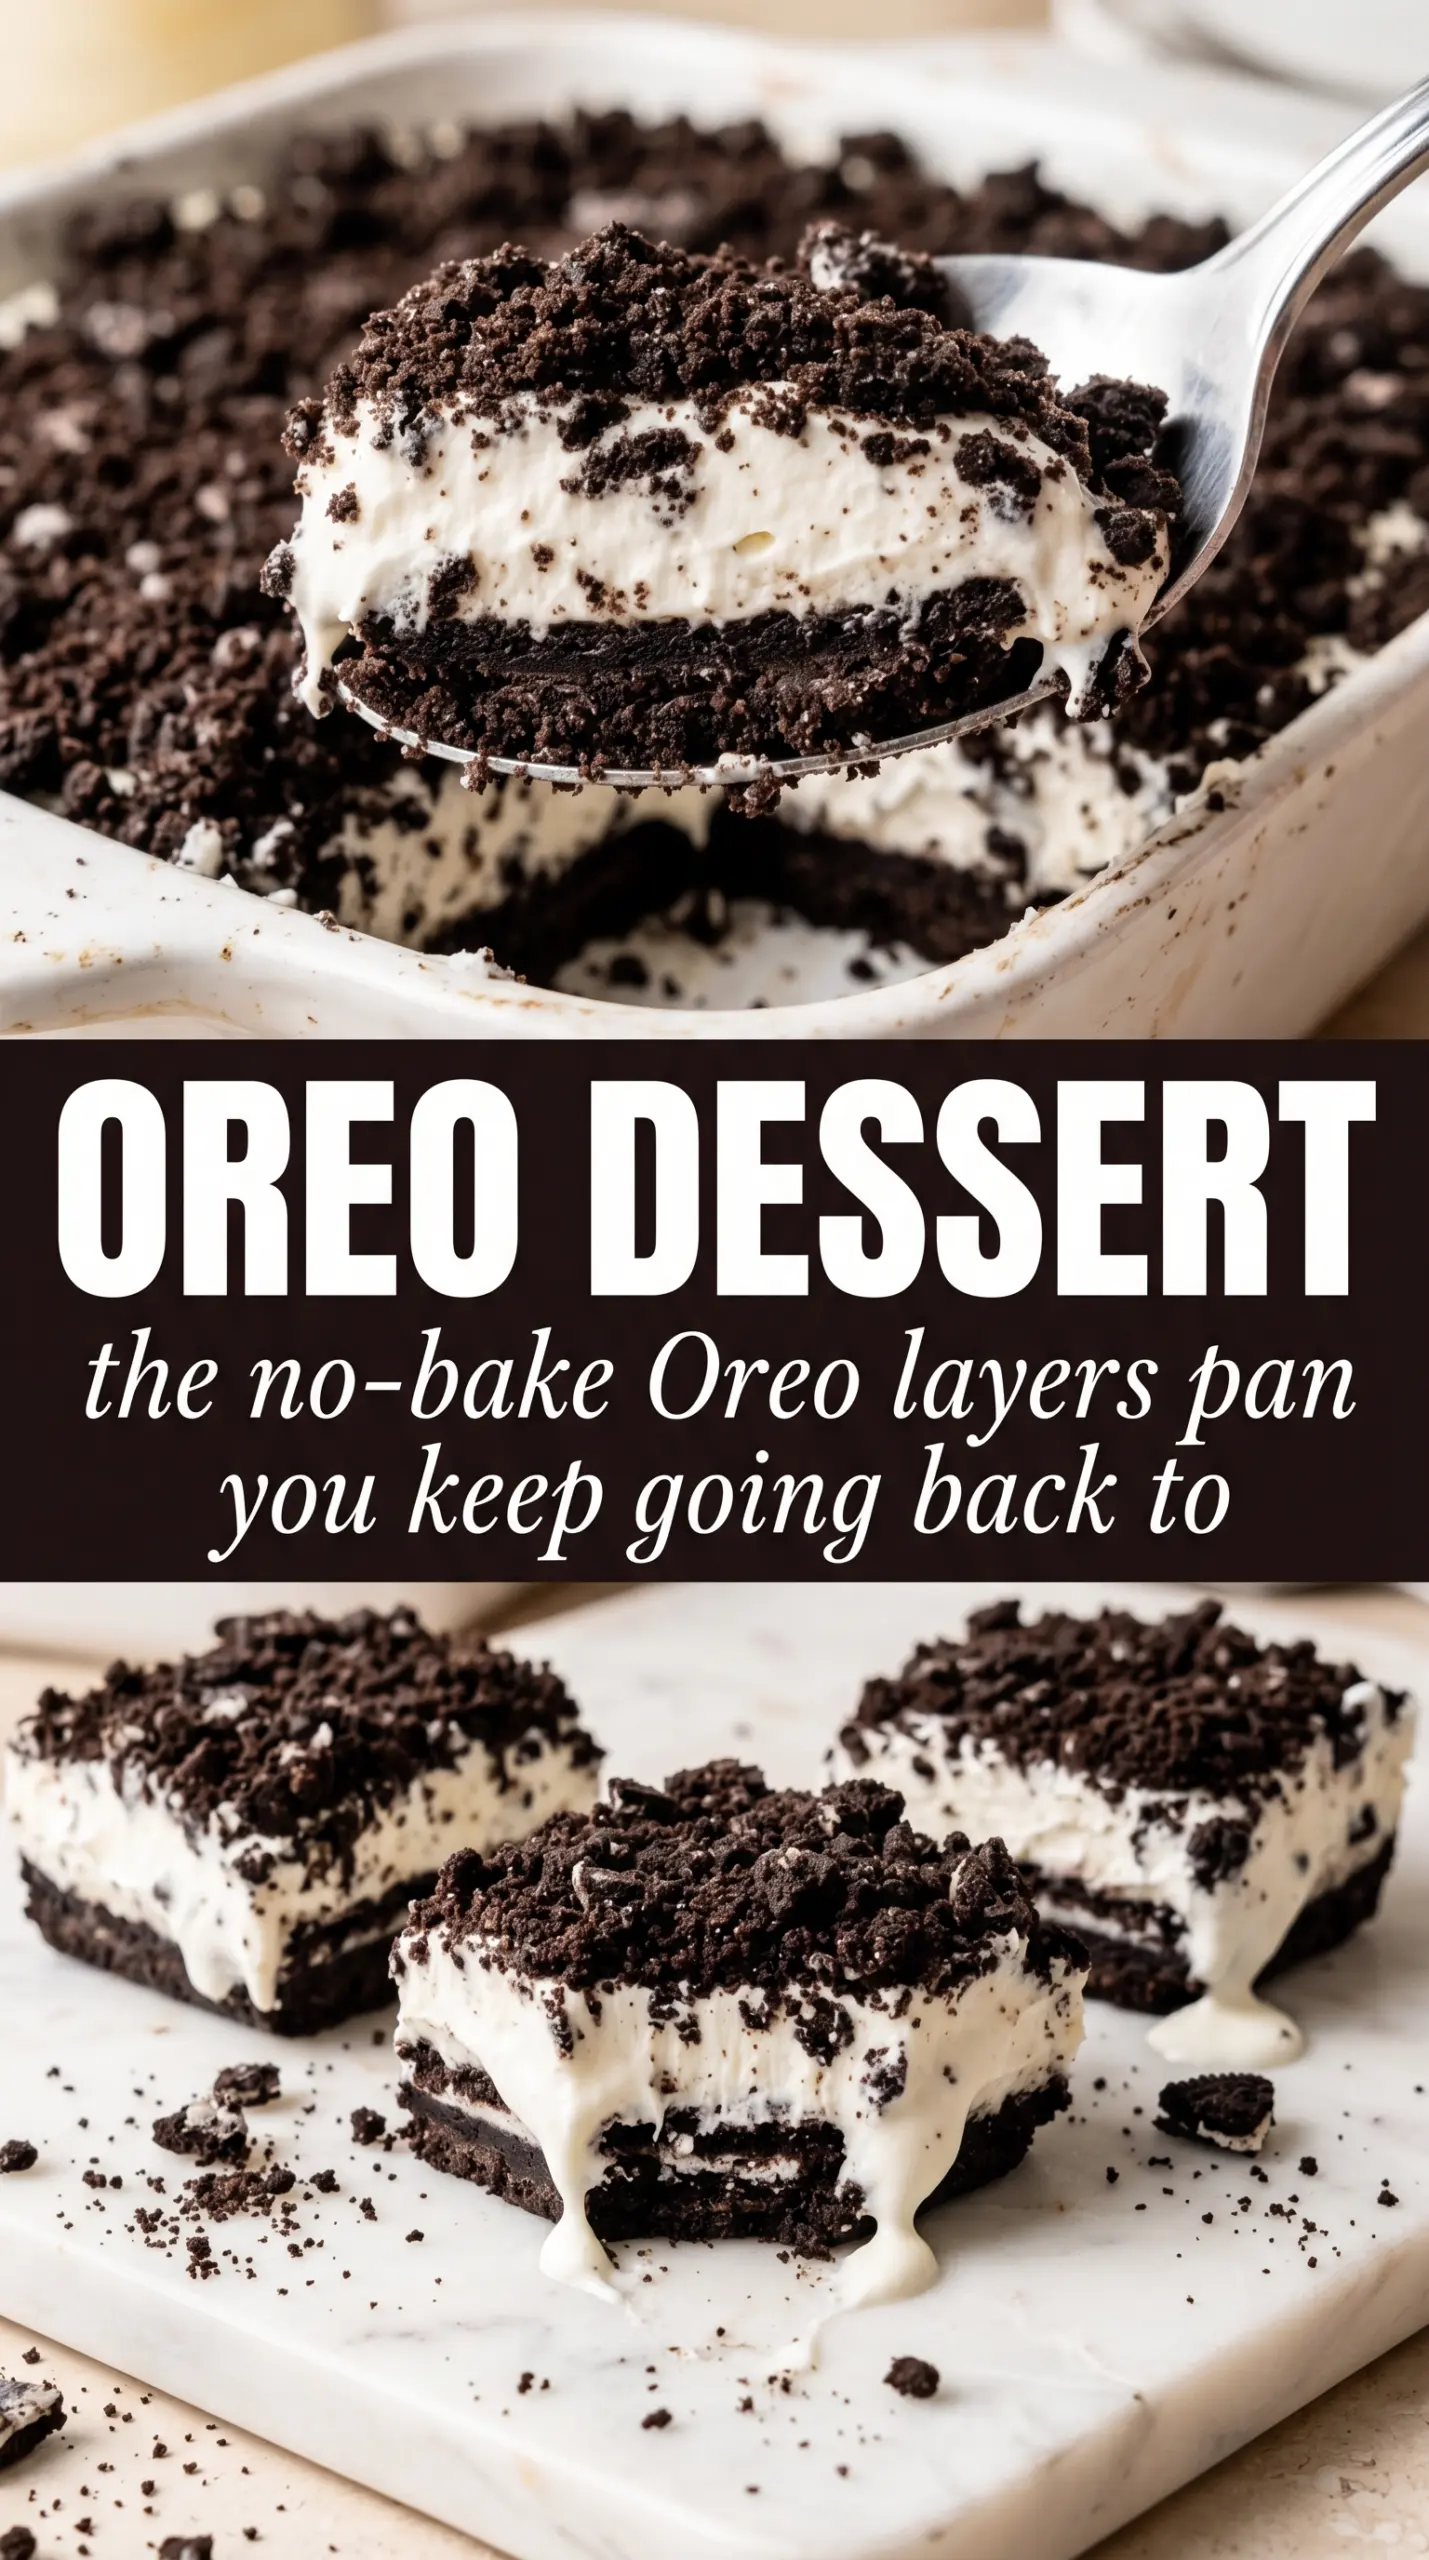
Layers of crushed Oreos, fluffy cream cheese filling, and thick chocolate pudding make this Oreo dessert the kind of no-bake pan you pull from the fridge and watch disappear fast. The texture is the whole point: a firm cookie base, a smooth middle, a cold pudding layer, and a whipped topping finish that softens just enough while the Oreo crumble on top stays crunchy at the edges.
What makes this version work is the contrast. The crust gets packed down firmly so it slices cleanly, the cream cheese layer is sweetened enough to taste like cheesecake without turning heavy, and the pudding is whisked with cold milk until it thickens before it ever touches the pan. That timing matters. If the pudding sits too long before spreading, it sets in the bowl and drags through the layer underneath.
Below, you’ll find the small details that keep the layers sharp, plus a few easy swaps if you want to make it with different cookies or turn it into a make-ahead dessert for a crowd.
The pudding layer set up beautifully and the Oreo crust stayed firm enough to cut neat squares, even after chilling overnight. My kids asked for the last piece before dinner was over.
Pin this creamy Oreo dessert for the next time you need a chilled, sliceable no-bake dessert with sharp layers and a crunchy cookie finish.
The Layer Order That Keeps Oreo Dessert Sliceable
The biggest mistake with layered Oreo dessert is rushing the chill between soft layers. If the crust isn’t packed and chilled first, it can crumble when you spread the cream cheese layer. If the pudding goes on before it has thickened, it slides and blends into the filling instead of sitting in its own clean band.
Each layer needs just enough structure to support the next one. That’s why this dessert works best when the crust gets a short rest in the fridge, the cream cheese layer is spread gently with an offset spatula, and the pudding is used as soon as it reaches a thick, spoonable texture. You’re building a clean stack, not stirring a bowl of flavors together.
- The crust gives you the base and the first bit of crunch. Press it firmly so it holds together when sliced.
- The cream cheese layer adds tang and body. If it’s lumpy, the cream cheese wasn’t softened enough.
- The pudding layer should be thick before it hits the pan. Thin pudding will seep into the layer below.
- The final chill is what turns this from a pan of ingredients into a dessert that cuts cleanly.
What Each Ingredient Is Doing in the Pan
- Oreos do double duty here: they make the crust and the topping. The filling in the cookies helps bind the crust a little, so don’t swap in a dry chocolate wafer unless you’re adding more butter.
- Butter is the glue for the crust. Melted butter is enough here; there’s no need to brown it because you want the cookie flavor to stay front and center.
- Cream cheese gives the middle layer a cheesecake-like tang and structure. It needs to be softened fully or you’ll end up with tiny lumps that show in every slice.
- Whipped topping keeps the filling light. Real whipped cream works too, but it softens faster, so the dessert won’t hold as long in the fridge.
- Instant chocolate pudding is what makes this dessert fast and set up cleanly. Cook-and-serve pudding won’t give you the same thickness without extra steps.
- Cold whole milk helps the pudding thicken quickly. Lower-fat milk works, but the filling won’t taste as rich and the pudding may set a touch looser.
Building the Layers Without Smearing the Sides
Pressing the Oreo Crust
Mix the crushed Oreos with the melted butter until every crumb looks evenly moistened, then press the mixture into the bottom of your dish with real pressure. A flat-bottomed measuring cup helps pack it into an even layer. If the crust looks sandy or loose, it needs more compression, not more butter. Chill it for 15 minutes so it firms up before the filling goes on.
Making the Cream Cheese Layer
Beat the softened cream cheese and powdered sugar until the mixture turns smooth and glossy. Then fold in the whipped topping just until combined. If you overbeat after adding the whipped topping, the layer can lose some of its lightness. Spread it gently over the crust in an even layer, taking care not to pull up the cookie base.
Setting the Pudding Layer
Whisk the pudding mix and cold milk for the full 2 minutes so it starts to thicken properly. The texture should go from loose and milky to visibly heavier and spoonable. Spread it right away over the cream cheese layer. If you wait too long, it firms up in the bowl and tears the layer underneath when you try to spread it.
Finishing and Chilling
Spread the whipped topping across the pudding layer, then add a generous handful of crushed Oreos over the top. That final chill matters more than people think; four hours is the minimum, but overnight gives you the cleanest slices. If you cut it too early, the layers will slump and the crust won’t hold its shape.
How to Adapt This Oreo Dessert for Different Pans and Diets
Make it gluten-free
Use certified gluten-free chocolate sandwich cookies in place of regular Oreos. The texture stays close to the original, but some gluten-free cookies crumble a little more easily, so press the crust firmly and chill it before adding the filling.
Swap in homemade whipped cream
You can replace the whipped topping with freshly whipped cream, but it won’t hold as long in the fridge. For the closest texture, whip it to medium peaks and use it right away. The dessert will taste a little fresher and lighter, but it softens faster after day one.
Use a deeper dish for thicker slices
An 8×8 or 9×9 pan will give you thicker layers and a more dramatic slice, but you may need a little extra chilling time for the center to firm up fully. The method stays the same; just keep the layers even so the dessert doesn’t topple when cut.
Storage and Reheating
- Refrigerator: Store covered for up to 4 days. The top layer softens a bit over time, but the dessert still slices well.
- Freezer: It freezes surprisingly well. Wrap the pan tightly and freeze for up to 1 month, then thaw in the fridge until just soft enough to cut.
- Reheating: No reheating needed. Serve it cold straight from the fridge; warming it will collapse the layers and loosen the pudding.