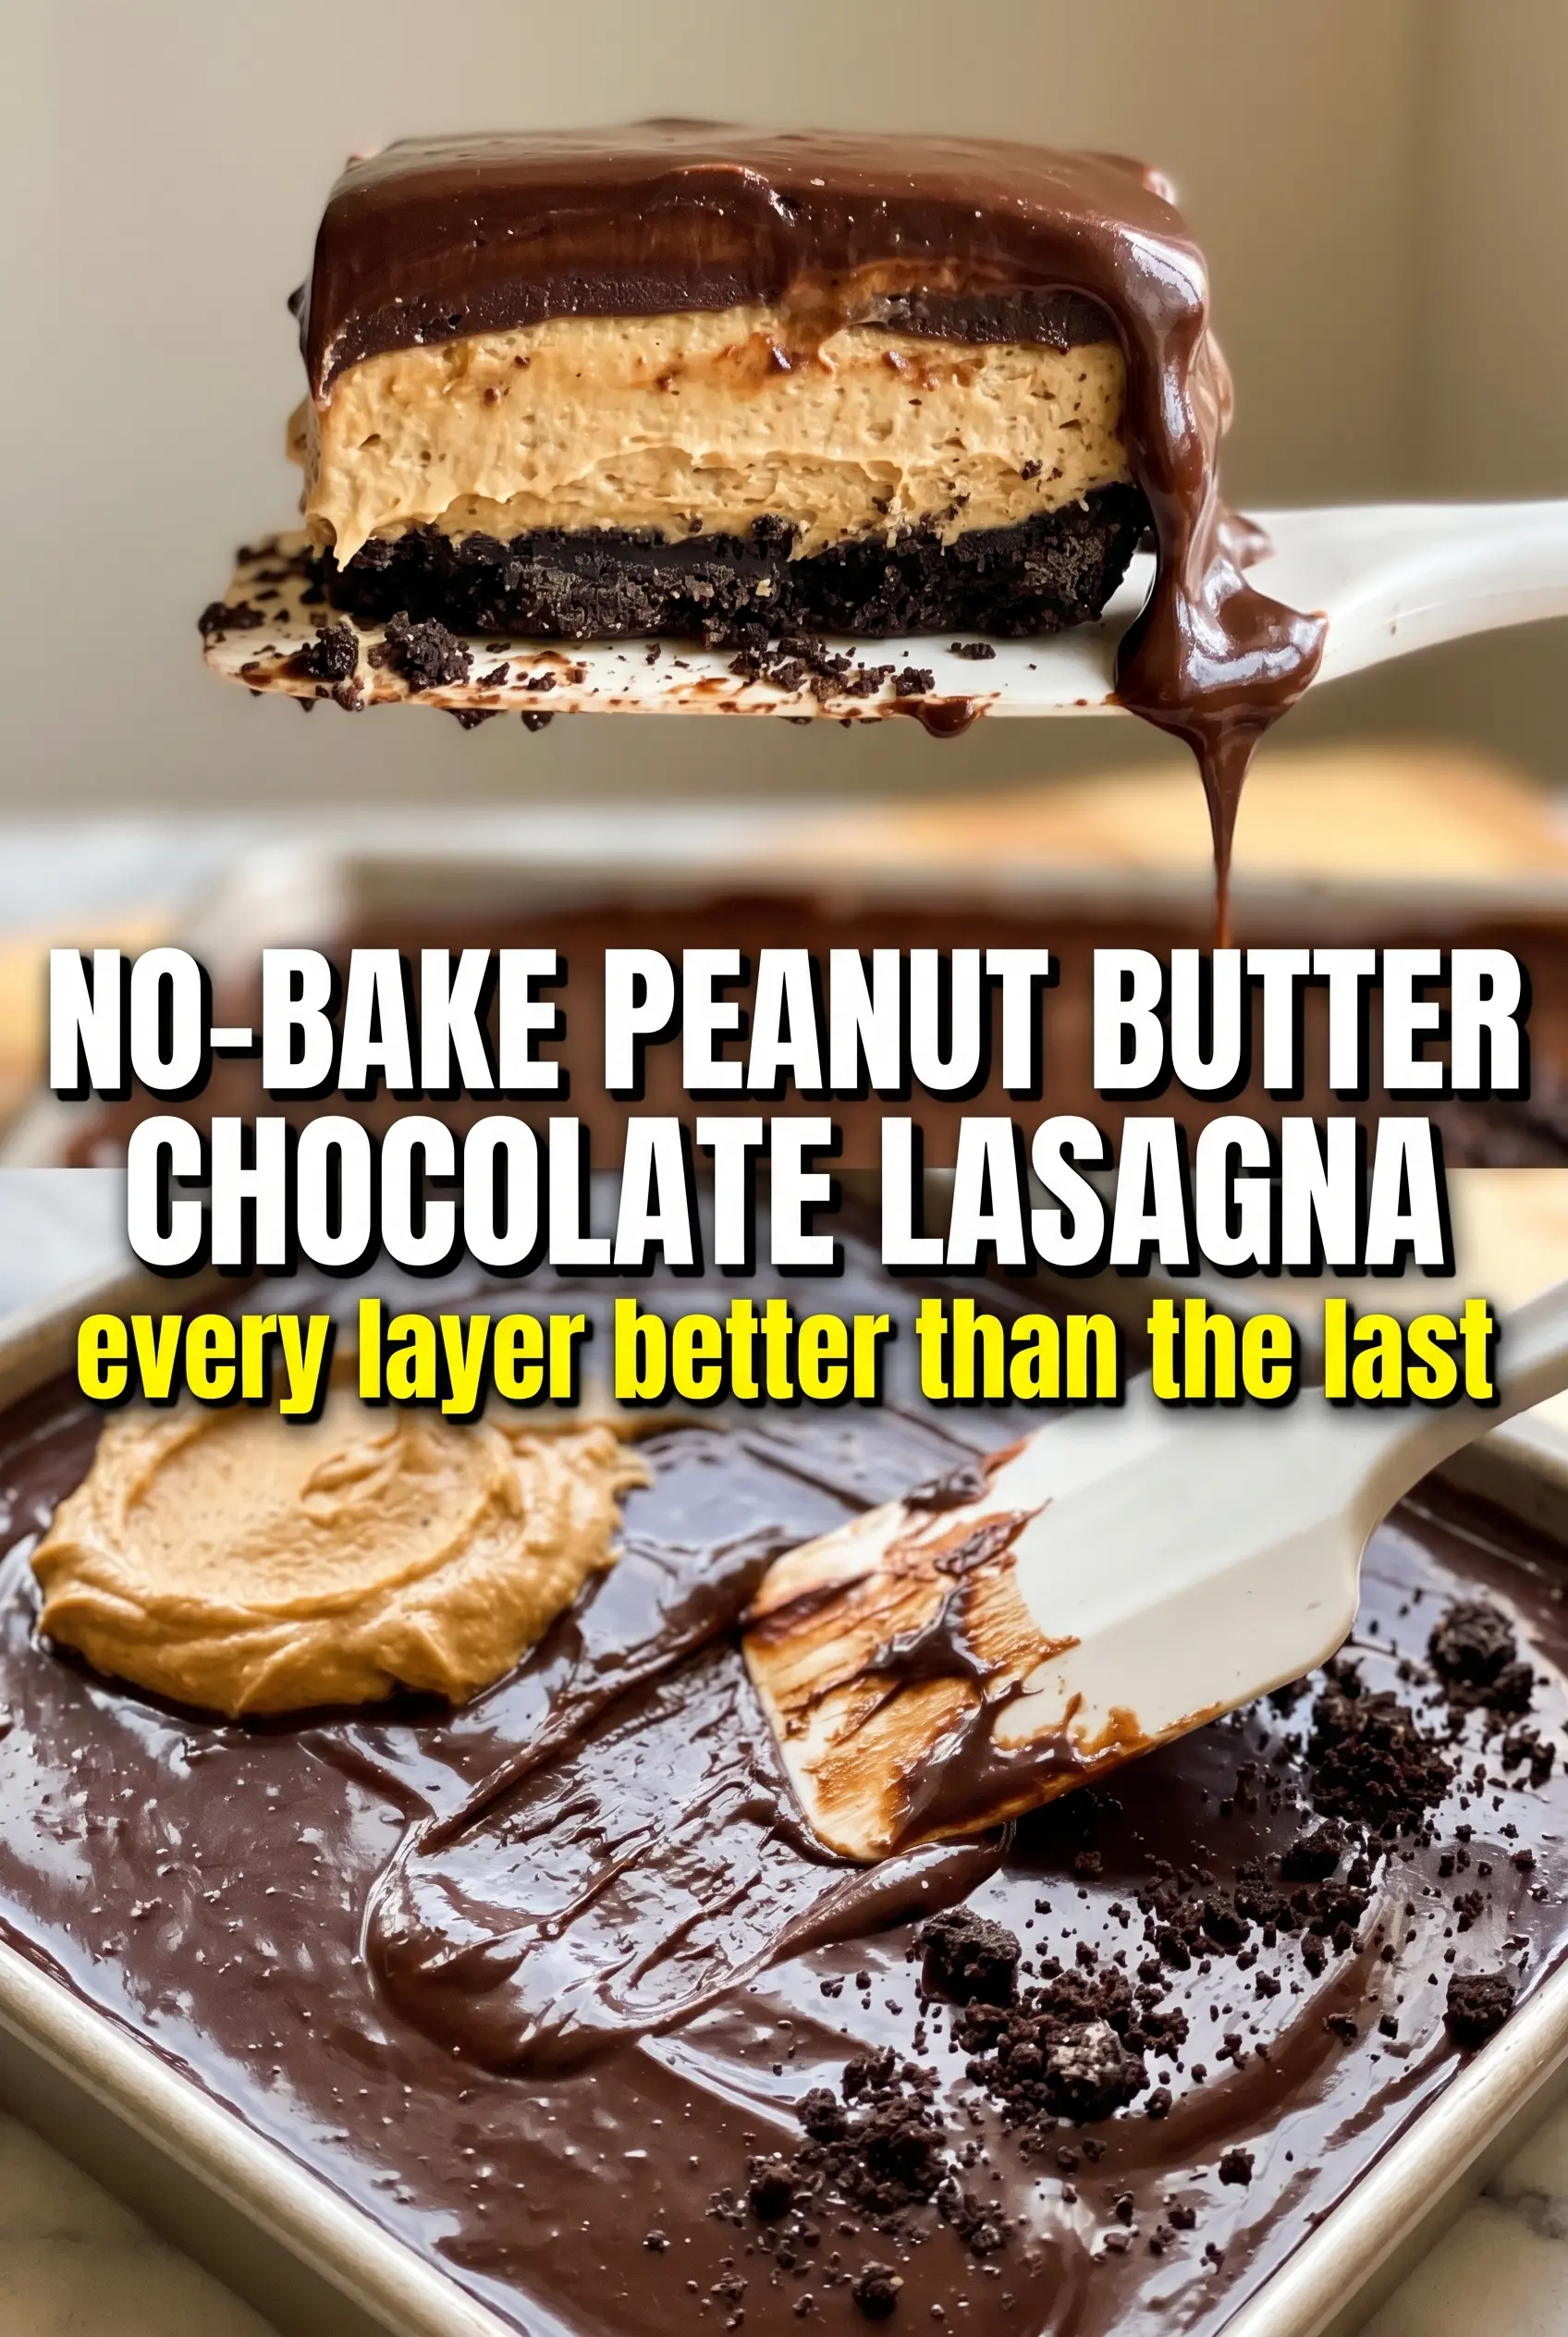
Each chilled slice of no-bake peanut butter chocolate lasagna hits the plate with clean layers and the kind of cool, creamy texture that disappears fast at a potluck. The Oreo crust stays firm enough to cut neatly, the peanut butter layer tastes rich without turning heavy, and the chocolate pudding settles into a smooth middle that keeps the whole dessert from feeling one-note. It’s the kind of dessert that looks like you spent far more time on it than you actually did.
What makes this version work is the balance between dense and light. The cream cheese gives the peanut butter layer structure, the whipped topping keeps it from becoming pasty, and the instant pudding sets quickly enough to support the top layer without baking. That resting time matters. If you slice too early, the layers slide and smear instead of holding their shape.
Below, I’ve included the small things that keep the crust tight, the filling fluffy, and the layers distinct. A few simple details make the difference between a scoopable mess and a dessert that cuts into those clean, picture-worthy squares everyone goes after first.
The crust held together perfectly and the peanut butter layer stayed fluffy even after chilling overnight. My kids kept sneaking forkfuls straight from the pan.
Save this no-bake peanut butter chocolate lasagna for the kind of dessert that slices clean, chills beautifully, and disappears fast.
The Trick to Clean Layers Is Patience, Not More Powdered Sugar
The biggest mistake in desserts like this is rushing the chill time and expecting the pudding to behave like a firm filling right away. It won’t. Instant pudding thickens quickly, but the layers beneath it need time to settle and grip each other, especially once the whipped topping goes on top. If you cut into it early, the peanut butter layer smears into the pudding and the crust crumbles instead of staying in a neat base.
Pressing the crust firmly into the dish matters more than people think. Oreo crumbs need that butter to bind, but they still need compression to hold up under the soft fillings. I use the bottom of a measuring cup and work all the way into the corners. That gives you a base that cuts cleanly instead of falling apart at the first forkful.
What Each Layer Is Doing in the Pan

- Oreo cookies — These bring both the chocolate flavor and the structure for the crust. Crush them finely so the base packs tightly; big chunks make the bottom uneven and harder to slice.
- Butter — Melted butter is the glue for the crust. If the crumbs look dry, the crust will shed when you cut it, so every crumb should look lightly damp before you press it into the pan.
- Cream cheese — This gives the peanut butter layer body and tang. It has to be fully softened, or you’ll end up with little bits that never blend out and the filling won’t spread smoothly.
- Creamy peanut butter — Use a standard creamy peanut butter, not a natural style that separates heavily, because you want a stable, fluffy layer that doesn’t turn oily or grainy.
- Instant chocolate pudding — Instant pudding is the right choice here because it sets without cooking and keeps the middle layer firm enough to support the whipped topping. Cook-and-serve pudding won’t give the same clean slice.
- Whipped topping — This lightens both the peanut butter layer and the top layer. Fold it in gently so you keep the airy texture; stirring hard knocks out the volume and makes the filling dense.
Building the Lasagna So the Layers Stay Distinct
Press the Crust Until It Feels Packed, Not Loose
Mix the crushed Oreos with the melted butter until every crumb looks coated, then dump the mixture into a 9×13 dish and press it down hard. The goal is a compact layer that looks almost like a brownie base, not a sandy bed of crumbs. Chill it for 15 minutes so the butter starts to firm up before the fillings go in. If the crust feels soft or loose at this stage, it will give way under the peanut butter layer.
Beat the Peanut Butter Layer Until It Looks Smooth and Lighter in Color
Beat the cream cheese, peanut butter, powdered sugar, and vanilla until the mixture looks creamy and no streaks remain. The color should lighten a little as air gets whipped in. Fold in the whipped topping with a spatula instead of beating it, because overmixing will flatten the texture and make it heavy. Spread it gently over the crust so you don’t drag crumbs up into the filling.
Let the Pudding Set Before You Spread It
Whisk the pudding mix and cold milk for a full 2 minutes, then stop and let it thicken for a minute or two before spreading it over the peanut butter layer. It should look glossy and mound slightly on the spoon. If it still seems thin, give it another minute; if you pour it on too soon, it can seep into the peanut butter layer and muddy the layers. Spread it carefully with an offset spatula or the back of a spoon.
Finish With a Light Hand on Top
Spread the remaining whipped topping over the pudding in an even layer, then add the chopped peanut butter cups, chocolate shavings, and drizzle. The topping should sit on the pudding without being stirred into it. That’s what gives you the finished look with five clear layers instead of a blended top. Chill the whole pan for at least 4 hours, and overnight is even better if you want the cleanest slices.
How to Adapt It Without Losing the Good Part
Use a gluten-free chocolate cookie crust
Swap the Oreos for your favorite gluten-free chocolate sandwich cookies and keep the butter the same. The texture stays nearly identical as long as you crush the cookies finely and press the crust firmly. The only real change is a slightly different cookie flavor under the peanut butter layer.
Make it a little less sweet
Use a slightly less generous hand with the chopped peanut butter cups on top, and skip the extra peanut butter drizzle if you want a cleaner finish. The dessert still tastes rich, but the chocolate pudding and cream cheese have more room to come through instead of being buried under candy.
Use homemade whipped cream instead of whipped topping
You can replace the whipped topping with stabilized whipped cream if that’s what you prefer, but it needs enough structure to hold up after chilling. Plain softly whipped cream can loosen over time and make the layers slump. Stabilized whipped cream keeps the light texture while giving you a more homemade finish.
Make it ahead for a crowd
This dessert is built for making ahead. Assemble it the night before, keep it covered in the refrigerator, and add the final garnish close to serving if you want the toppings to look extra fresh. The extra chill time makes the slices firmer and the layers cleaner.
Storage and Reheating
- Refrigerator: Store covered for up to 4 days. The crust softens a little over time, but the flavor stays excellent.
- Freezer: It freezes better than most no-bake cream desserts. Wrap the pan well and freeze for up to 1 month; thaw in the refrigerator before serving so the layers don’t sweat.
- Reheating: No reheating needed. Serve it straight from the refrigerator for the cleanest texture. If it’s been in the freezer, let it thaw fully in the fridge first instead of on the counter, or the top layer can turn wet and uneven.
Answers to the Questions Worth Asking
No-Bake Peanut Butter Chocolate Lasagna
Ingredients
Equipment
Method
- Mix the finely crushed Oreo cookies and melted butter until evenly combined, then press the mixture firmly into the bottom of a 9x13 dish; refrigerate for 15 minutes so it sets.
- Beat the softened cream cheese, creamy peanut butter, powdered sugar, and vanilla extract until smooth and fluffy, then fold in 1 cup whipped topping and spread evenly over the Oreo crust.
- Whisk the instant chocolate pudding mix with cold whole milk for 2 minutes until thickened, then spread evenly over the peanut butter layer.
- Spread the remaining 2 cups whipped topping over the chocolate pudding layer to cover it completely.
- Scatter the chopped Reese’s Peanut Butter Cups and chocolate shavings over the top, then drizzle with peanut butter for the final layer of flavor and visual contrast.
- Refrigerate for at least 4 hours or overnight until fully set, then slice into squares and serve cold.