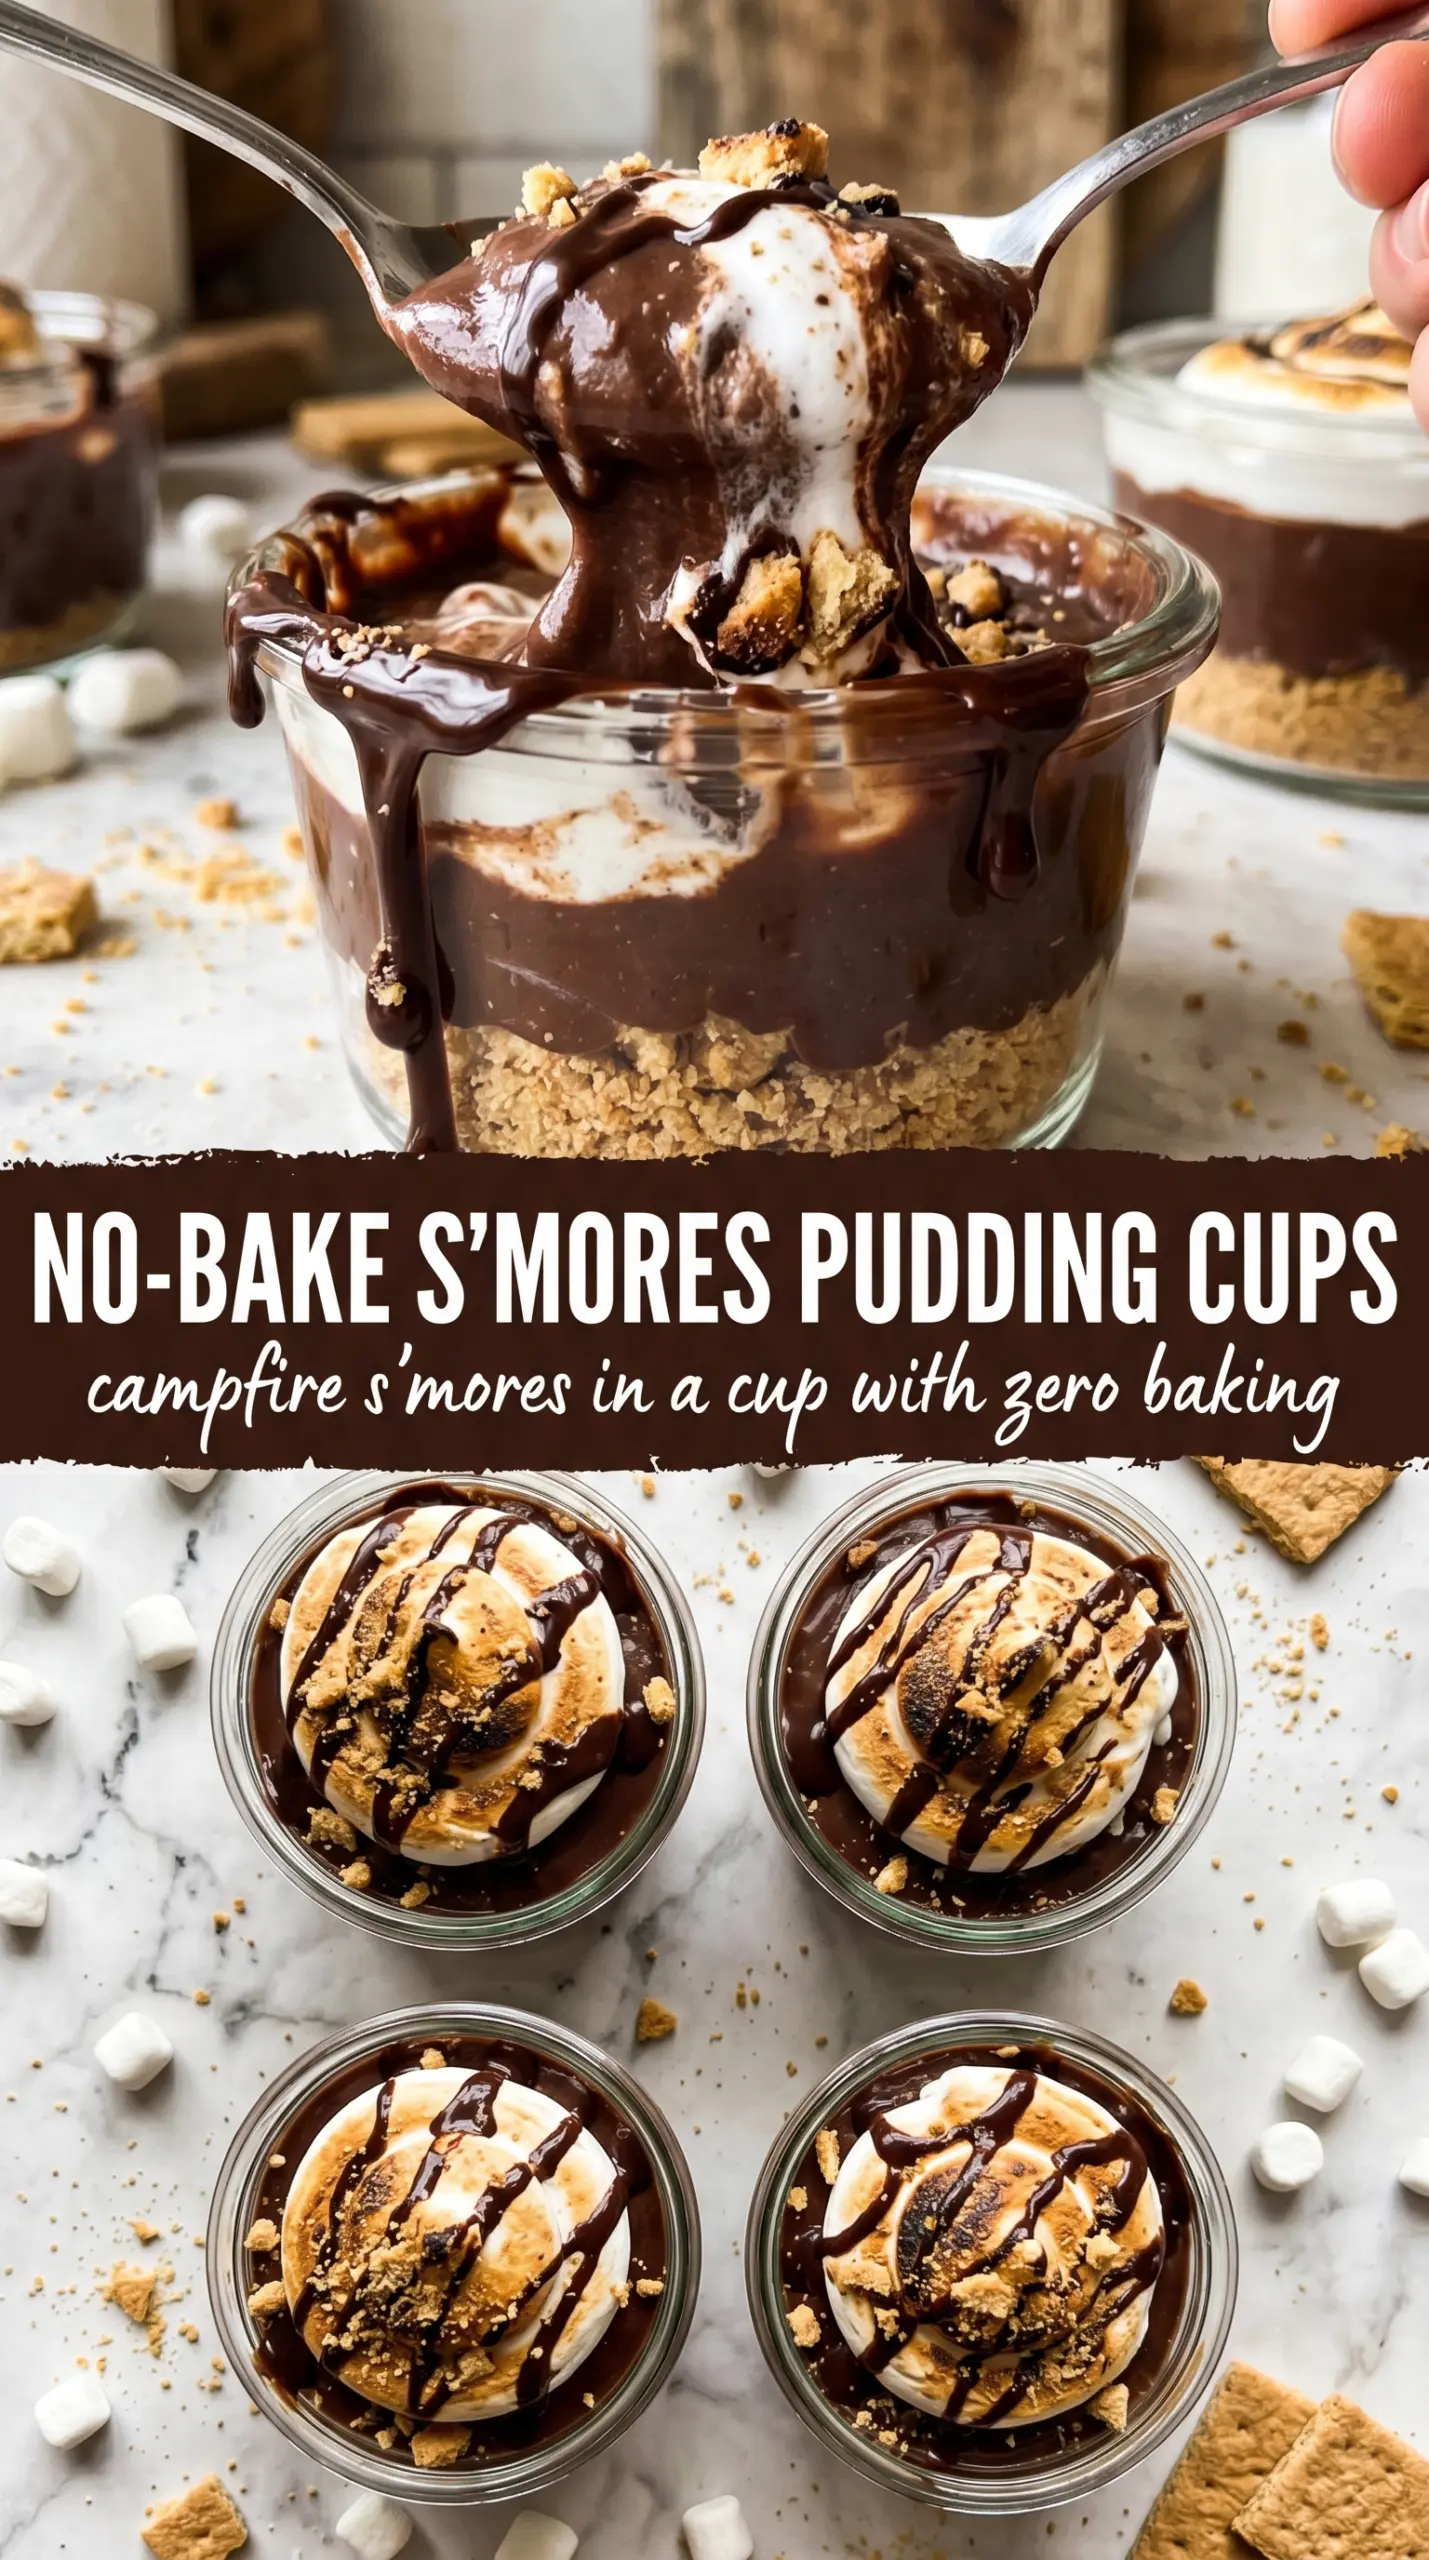
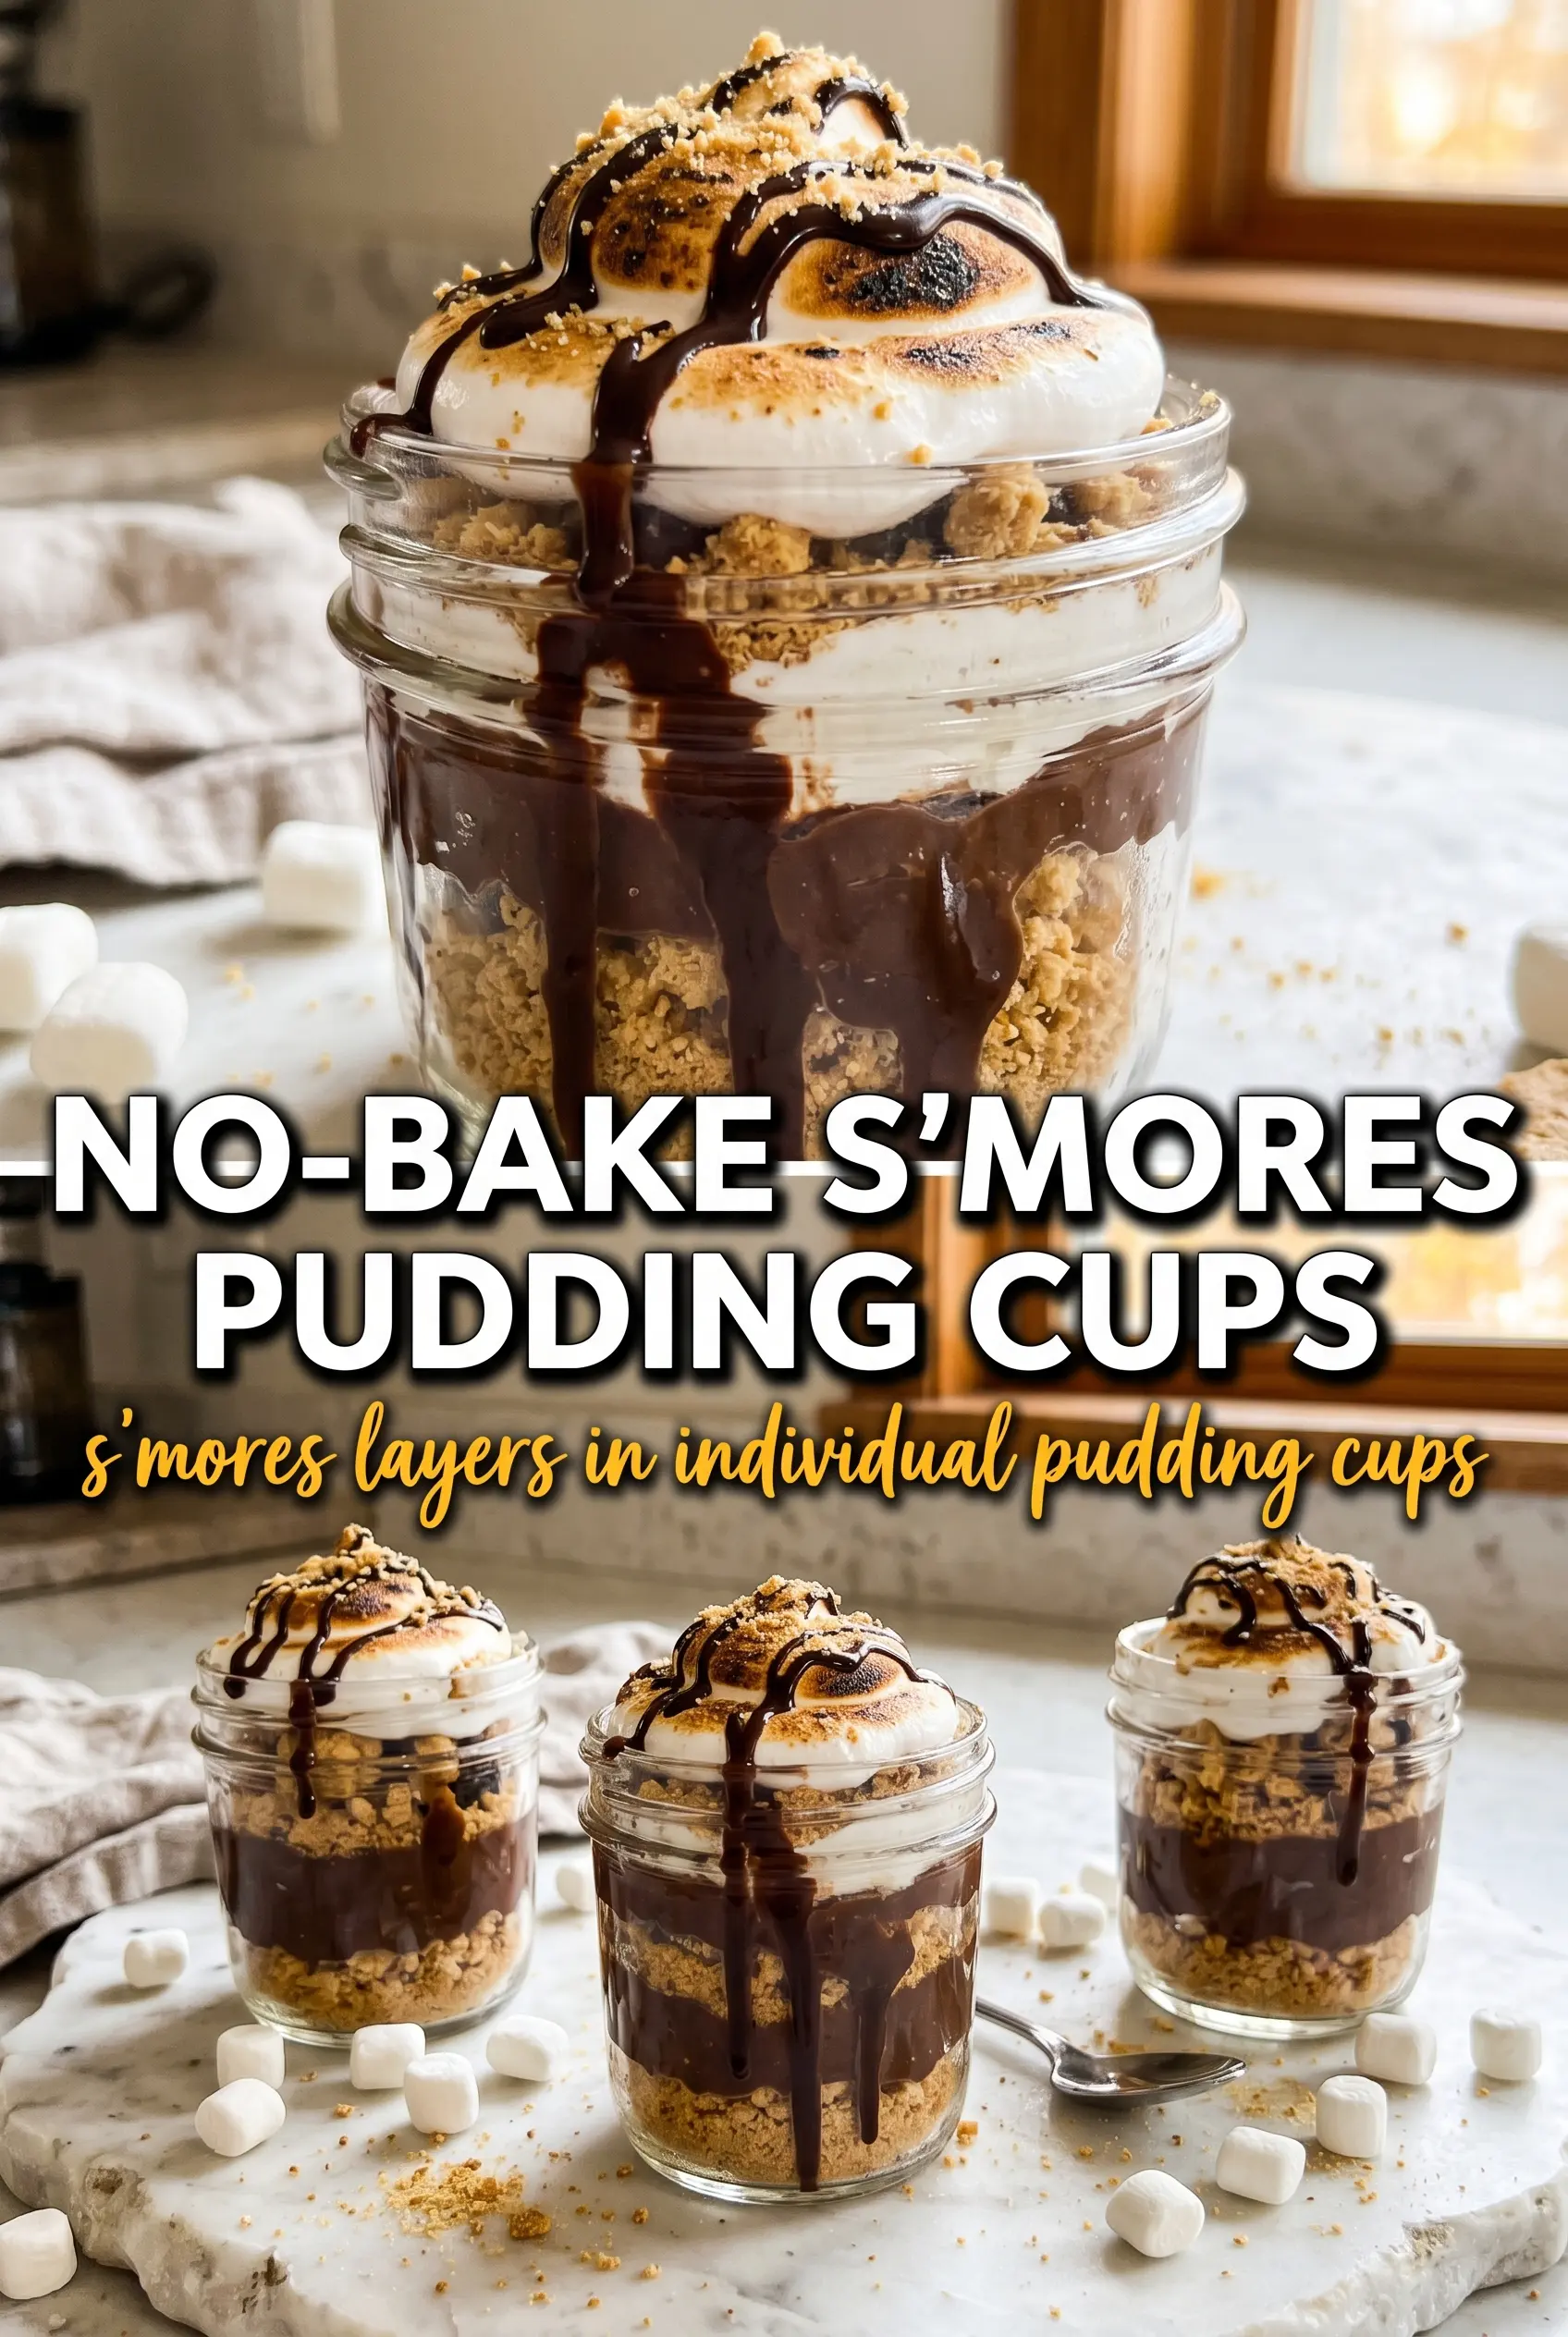
These no-bake s’mores pudding cups hit the same notes as the campfire classic, but in a cold, creamy dessert spooned into neat little layers. You get the crunch of graham cracker crumble, a thick chocolate pudding layer that actually holds its shape, and a marshmallow topping that tastes like the inside of a toasted s’more. The best part is how the textures stay distinct all the way to the last bite.
The trick is in building each layer with enough structure to support the next one. The pudding needs to thicken before you assemble, the graham crumbs need enough butter to clump without turning greasy, and the marshmallow layer needs cream cheese to keep it from sliding around or melting into the pudding. That balance is what makes these cups look polished instead of messy.
Below you’ll find the layering order that keeps every spoonful balanced, plus a few swaps and storage notes that make these easy to serve for parties or prep ahead for a weeknight treat.
The pudding set up fast and the marshmallow layer stayed fluffy instead of sliding off. I chilled them overnight and the crumbs were still a little crunchy the next day.
Love the distinct layers in these No-Bake S’mores Pudding Cups? Save them for the next time you need a chilled dessert with crunchy grahams, silky chocolate, and fluffy marshmallow topping.
The Layering Mistake That Makes S’mores Cups Slide Apart
The problem with layered pudding desserts is usually timing. If the pudding is still loose when it goes into the cups, it seeps into the graham crumbs and turns the bottom into a paste. If the marshmallow layer is too soft, it smears into the chocolate and the whole dessert loses that clean s’mores look.
This version avoids both problems by letting each part do its job before assembly. The pudding gets a short chill after whisking so it firms up enough to spoon cleanly. The marshmallow fluff is mixed with cream cheese, which gives it body and keeps it from flattening out after a few hours in the fridge.
- Instant chocolate pudding — Instant pudding gives you the thick, stable layer you need here. Cook-and-serve pudding softens too much in a dessert cup like this and takes longer to set.
- Graham cracker crumbs — Fine crumbs press into the bottom and top layers cleanly. If you crush them too coarsely, the cups get awkward to spoon and the layers don’t settle evenly.
- Cream cheese — This is what gives the marshmallow layer enough structure to sit on top of the pudding instead of melting into it. Soften it fully first, or you’ll end up with little lumps that won’t smooth out.
- Whipped topping — Fold it in gently to keep the marshmallow layer light. Stirring too hard knocks out the air and makes the topping heavy.
What Each Ingredient Is Actually Doing in These Cups
- Butter — Melted butter binds the graham crumbs so they hold together instead of drifting loose. Add just enough to make the crumbs look like damp sand; too much and the base turns greasy.
- Sugar — A little sugar wakes up the graham layer and gives it that cookie-like s’mores taste. You don’t need much because the pudding and marshmallow layer already bring plenty of sweetness.
- Cold whole milk — Whole milk gives the pudding a richer, thicker set than lower-fat milk. It also helps the texture feel creamy instead of thin once the cups are chilled.
- Marshmallow fluff — Fluff gives you the classic marshmallow flavor without needing to melt and whip actual marshmallows. It blends smoothly with the cream cheese and keeps the top layer glossy.
Building the Cups So Every Spoonful Stays Clean
Mixing the Graham Base
Stir the graham cracker crumbs, melted butter, and sugar until every crumb looks evenly coated. The mixture should clump slightly when squeezed in your hand, but it shouldn’t feel wet. If the crumbs are dry, the bottom layer will scatter when you spoon through it. Press a little into the cups, but don’t compact it so hard that it turns into a dense crust.
Thickening the Chocolate Pudding
Whisk the pudding mix with cold milk for a full 2 minutes until it starts to thicken visibly. It should look glossy and hold soft ridges from the whisk. Then refrigerate it for about 5 minutes before layering. If you rush this step, the pudding will settle too loosely and bleed into the graham layer.
Making the Marshmallow Top
Beat the marshmallow fluff and softened cream cheese together until the mixture is smooth and pale. Fold in the whipped topping with a light hand so the mixture stays airy. The goal is a topping that spoons cleanly and sits in soft mounds. If you overmix, it gets loose and loses that fluffy marshmallow look.
Layering and Chilling
Spoon the graham crumbs first, then pudding, then marshmallow cream, and repeat until the cups are filled. Finish with a little crumble on top so you still get crunch after chilling. Refrigerate the cups for at least 2 hours before serving. If you’re torching mini marshmallows, do it right before serving so the topping stays neat and doesn’t melt down the sides.
How to Adapt These S’mores Pudding Cups Without Losing the Structure
Gluten-Free Version
Use gluten-free graham-style crumbs or crushed gluten-free cookies in the base. Keep the butter amount the same so the crumbs still clump, and check that your pudding mix is labeled gluten-free since some brands vary.
Dairy-Free Swap
Use a dairy-free instant pudding made with your preferred non-dairy milk, then swap in a plant-based whipped topping and dairy-free cream cheese alternative for the marshmallow layer. The texture will still be layered and creamy, but the top layer may be a touch softer.
Extra-Chocolate Version
Swap half of the graham layer on top for chocolate cookie crumbs or add chocolate shavings between the pudding and marshmallow layers. That gives you a deeper chocolate bite, but it makes the dessert less like a classic s’more and more like a chocolate trifle with marshmallow.
Make-Ahead for a Party
Assemble the cups up to 24 hours ahead, but hold back the final garnish until just before serving. The layers stay tidy overnight, and the top stays fresher if you add the mini marshmallows and chocolate shavings right at the end.
Storage and Reheating
- Refrigerator: Store covered for up to 3 days. The crumbs soften a little over time, but the dessert still holds its layers well.
- Freezer: I don’t recommend freezing these cups. The pudding can turn grainy after thawing, and the marshmallow layer loses its smooth texture.
- Reheating: No reheating needed. Serve them straight from the refrigerator for the best texture, and add the toasted marshmallows only at the end so they don’t collapse into the cold layers.
Questions I Get Asked About This Recipe
No-Bake S'mores Pudding Cups
Ingredients
Method
- Mix the graham cracker crumbs, melted butter, and sugar until combined and evenly sandy. The mixture should look like moist crumbs that hold together when pinched.
- Whisk together the instant chocolate pudding mix and cold whole milk for 2 minutes until the mixture thickens. Look for a glossy, pudding-like texture that ribbons off the whisk.
- Refrigerate the chocolate pudding for 5 minutes to firm it slightly before layering. It should thicken enough to spoon cleanly into cups.
- Beat the marshmallow fluff and softened cream cheese together until smooth and creamy. Scrape the bowl as needed so no cream cheese lumps remain.
- Fold the whipped topping into the marshmallow mixture until no streaks remain. The final filling should be light and spreadable.
- Layer in 6 individual cups or glasses by starting with graham cracker crumble, then chocolate pudding, then marshmallow cream; repeat to create distinct layers. Keep layers even so the clear cups show the three colors.
- Top each cup with a little extra graham cracker crumble, mini marshmallows, and chocolate shavings. Arrange the garnish so it sits visibly on top.
- Refrigerate the assembled cups for at least 2 hours until set. The pudding should hold its shape when you tilt the cup.
- Torch the mini marshmallows just before serving if desired. Watch until they turn lightly golden and toasted, then serve immediately.