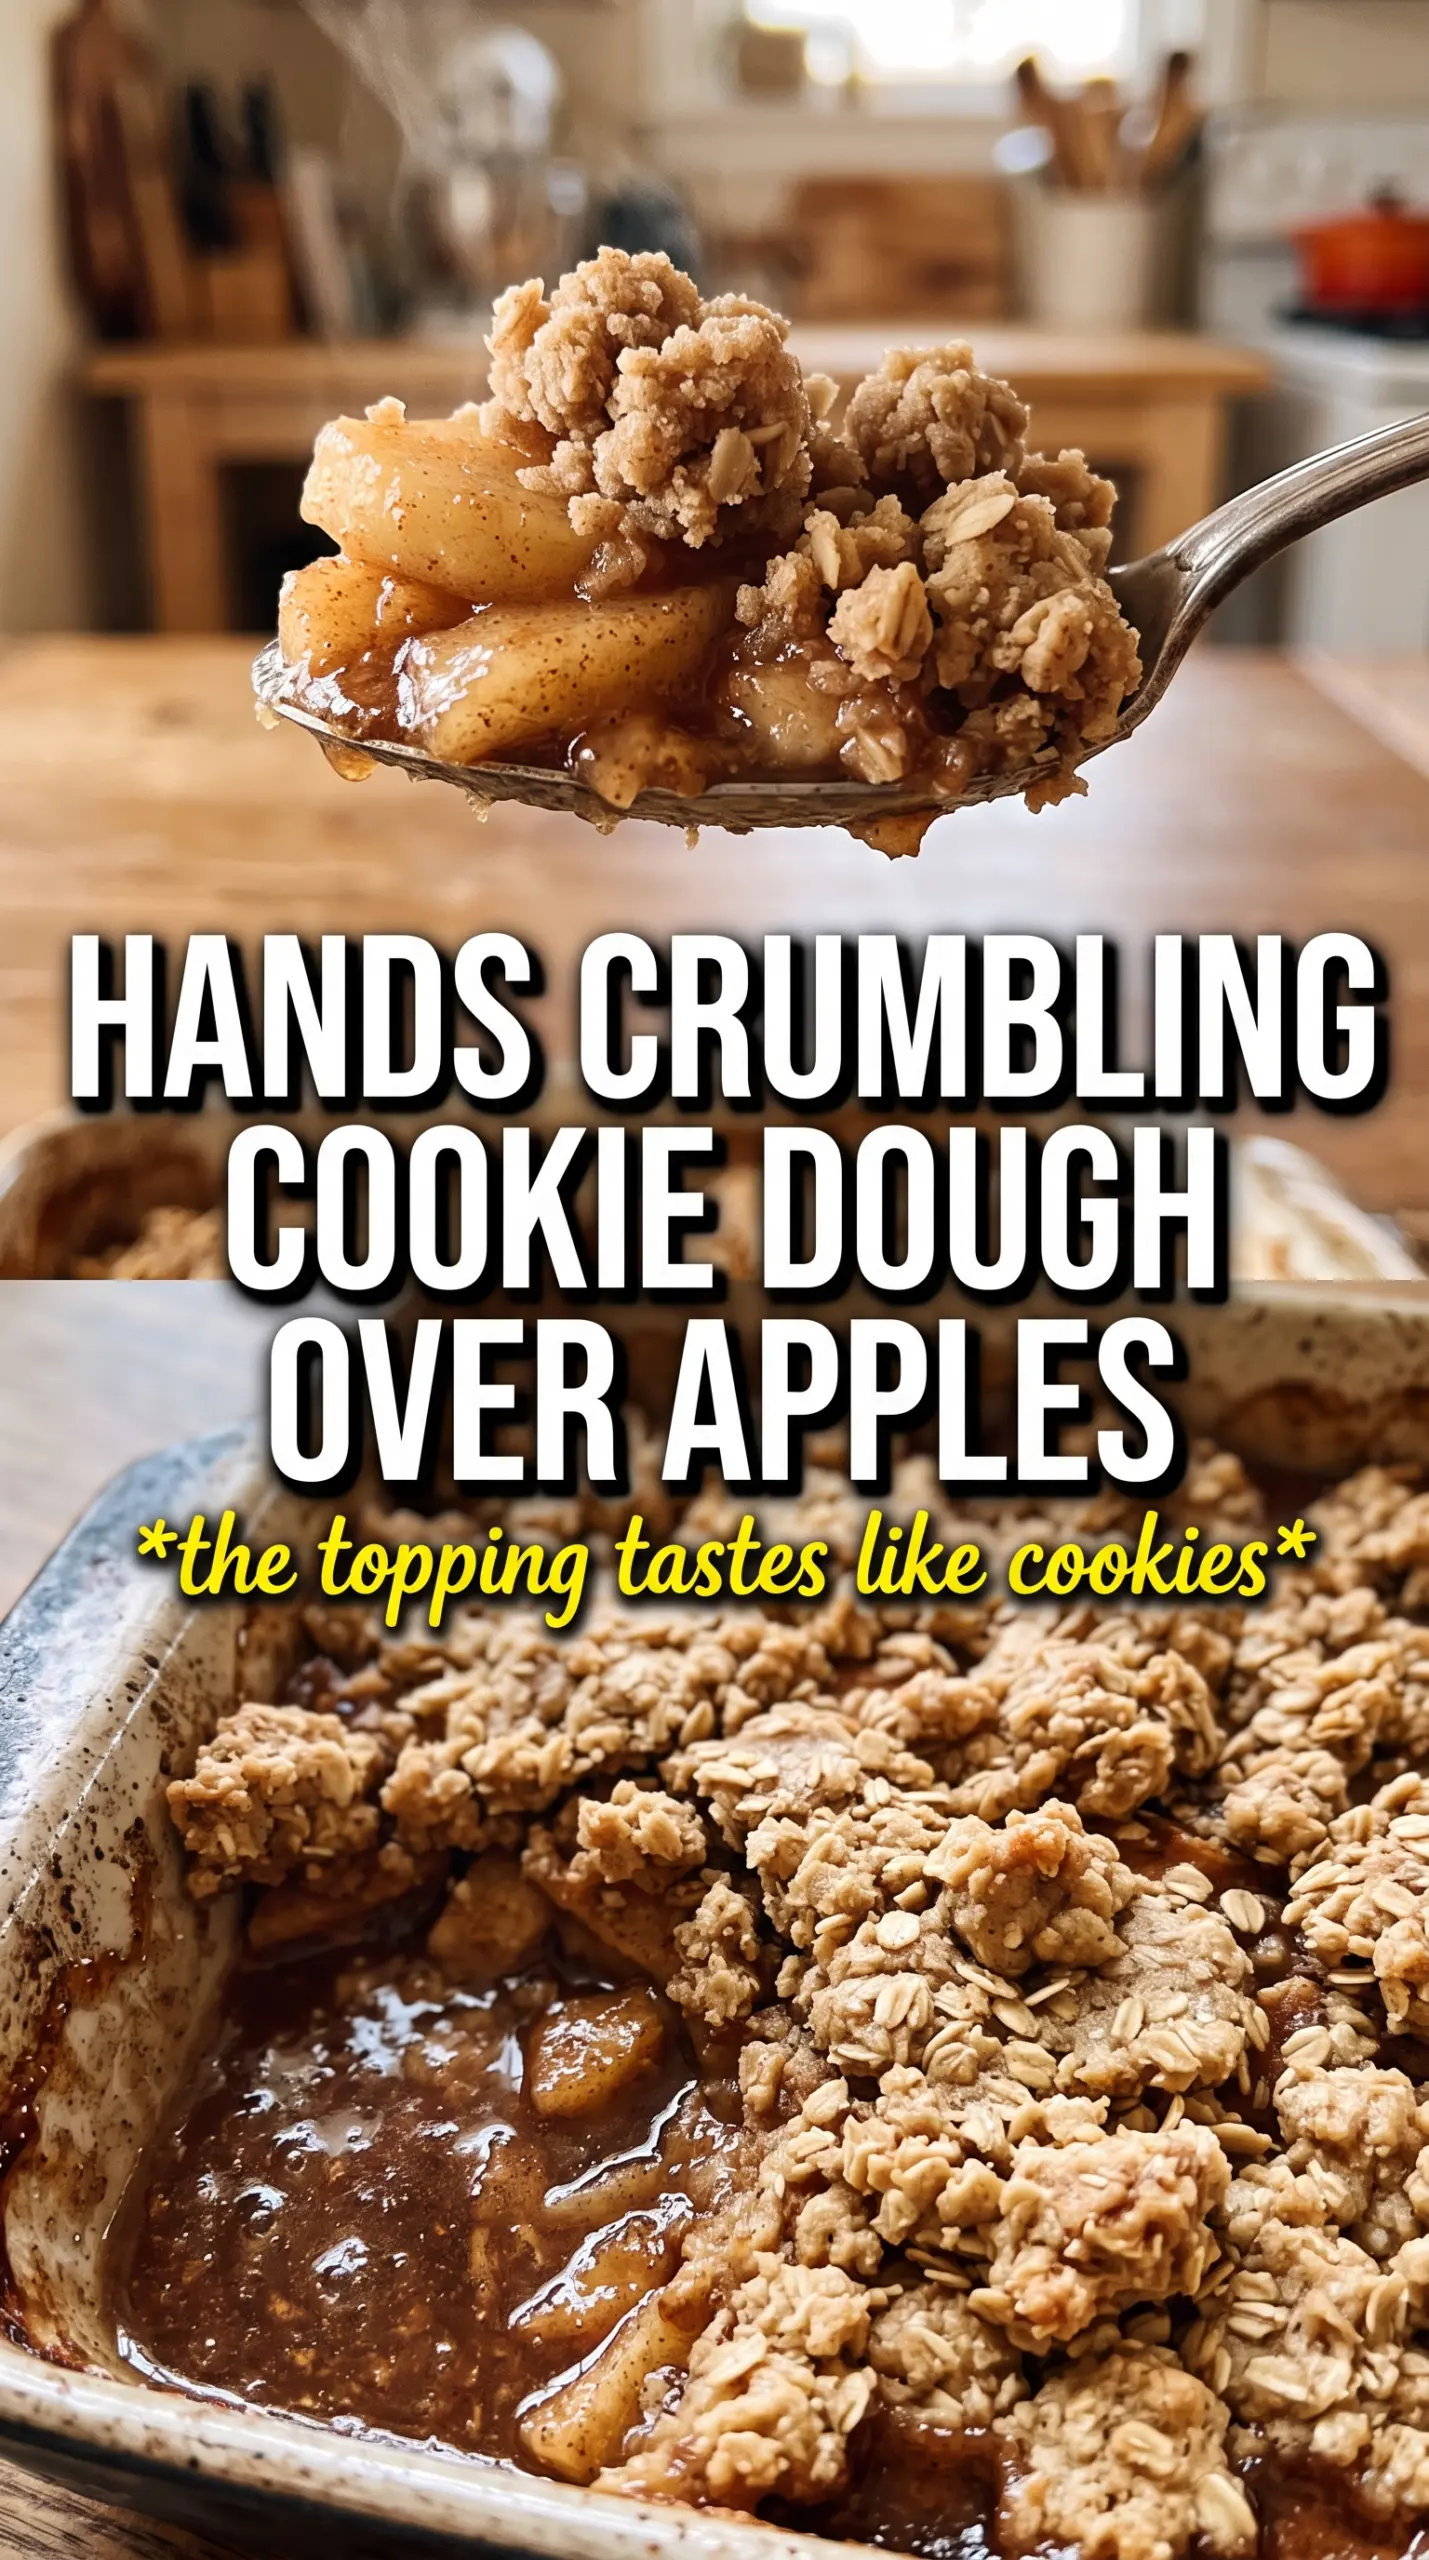
Oatmeal Cookie Apple Crisp lands somewhere between a classic fruit crisp and a batch of warm oatmeal cookies baked over bubbling apples, and that’s exactly why it disappears fast. The topping bakes up craggy and golden with little chewy spots at the edges, while the apples underneath soften into a thick, cinnamon-scented filling that holds its shape instead of turning watery. Every spoonful gives you buttery crumble, tender fruit, and just enough caramelized juice to keep it interesting.
The trick here is treating the topping like cookie dough instead of a loose streusel. Melted butter, honey, and vanilla bind the oats and flour into bigger clumps, which means you get those crisp, cookie-like clusters instead of a sandy layer. The cornstarch in the filling matters too; it catches the apple juices as they bake so the dessert slices and spoons cleanly after a short rest.
Below you’ll find the little details that keep the topping crisp, plus a few smart swaps if you want to work with what’s in the pantry.
The topping baked into those big cookie-like crumbles I was hoping for, and the apple filling thickened up instead of running all over the plate. I used the raisins and they added just the right chewy bite.
Oatmeal Cookie Apple Crisp bakes up with chunky cookie-style topping and thick cinnamon apples — perfect for serving warm with a scoop of vanilla ice cream.
The Secret to Keeping the Topping Clumpy, Not Sandy
The biggest difference between a forgettable crisp and one people keep scooping back into is the texture of the topping. Here, the melted butter and honey are doing more than adding flavor; they help the oats and flour gather into irregular clumps that bake into crisp little clusters. If you use cold butter and cut it in like pie dough, you’ll get a finer crumble that tastes good but misses the cookie-like effect that makes this dessert stand out.
The filling needs a short head start in the oven, not because it must pre-bake, but because the apples have to release enough juice for the cornstarch to thicken. If the top browns before the fruit bubbles, your apples usually need a little more time in the oven, or the slices were cut too thick. Thin, even slices soften at the same rate and keep the filling from turning half-tender, half-crisp.
What Each Ingredient Is Actually Doing in This Crisp
- Apples — Use a mix if you can. A tart apple gives the filling structure and keeps it from tasting flat, while a sweeter apple softens into a jammy base. The most useful rule is to slice them evenly so they bake at the same speed.
- Cornstarch — This is what turns the apple juices into a glossy, spoonable filling instead of a puddle. Flour can thicken in a pinch, but it makes the juices look cloudier and doesn’t set as cleanly.
- Brown sugar — This brings the cookie part of the crumble to life with a deeper, caramel note and a little moisture. White sugar works, but the topping tastes sharper and less like an oatmeal cookie.
- Melted butter, honey, and vanilla — This trio binds the topping into rough clusters and gives the bake its toasted, cookie-like aroma. Honey helps the topping brown and keeps the crumble from feeling dry.
- Raisins or dried cranberries — Optional, but they add chewy bursts that play well with the soft apples. If you don’t like them, leave them out; the crisp won’t need anything else to feel complete.
Building the Filling and Topping So They Bake at the Same Pace
Coating the Apples
Toss the sliced apples with sugar, cinnamon, nutmeg, cornstarch, and lemon juice until every piece looks lightly coated. The sugar should start drawing out a little moisture right away, and that’s a good sign. Spread the apples in an even layer in the baking dish so the filling heats uniformly instead of baking in thick, undercooked pockets. If you pile them too high, the center often stays firmer than the edges when the topping is already browned.
Making the Cookie-Style Crumble
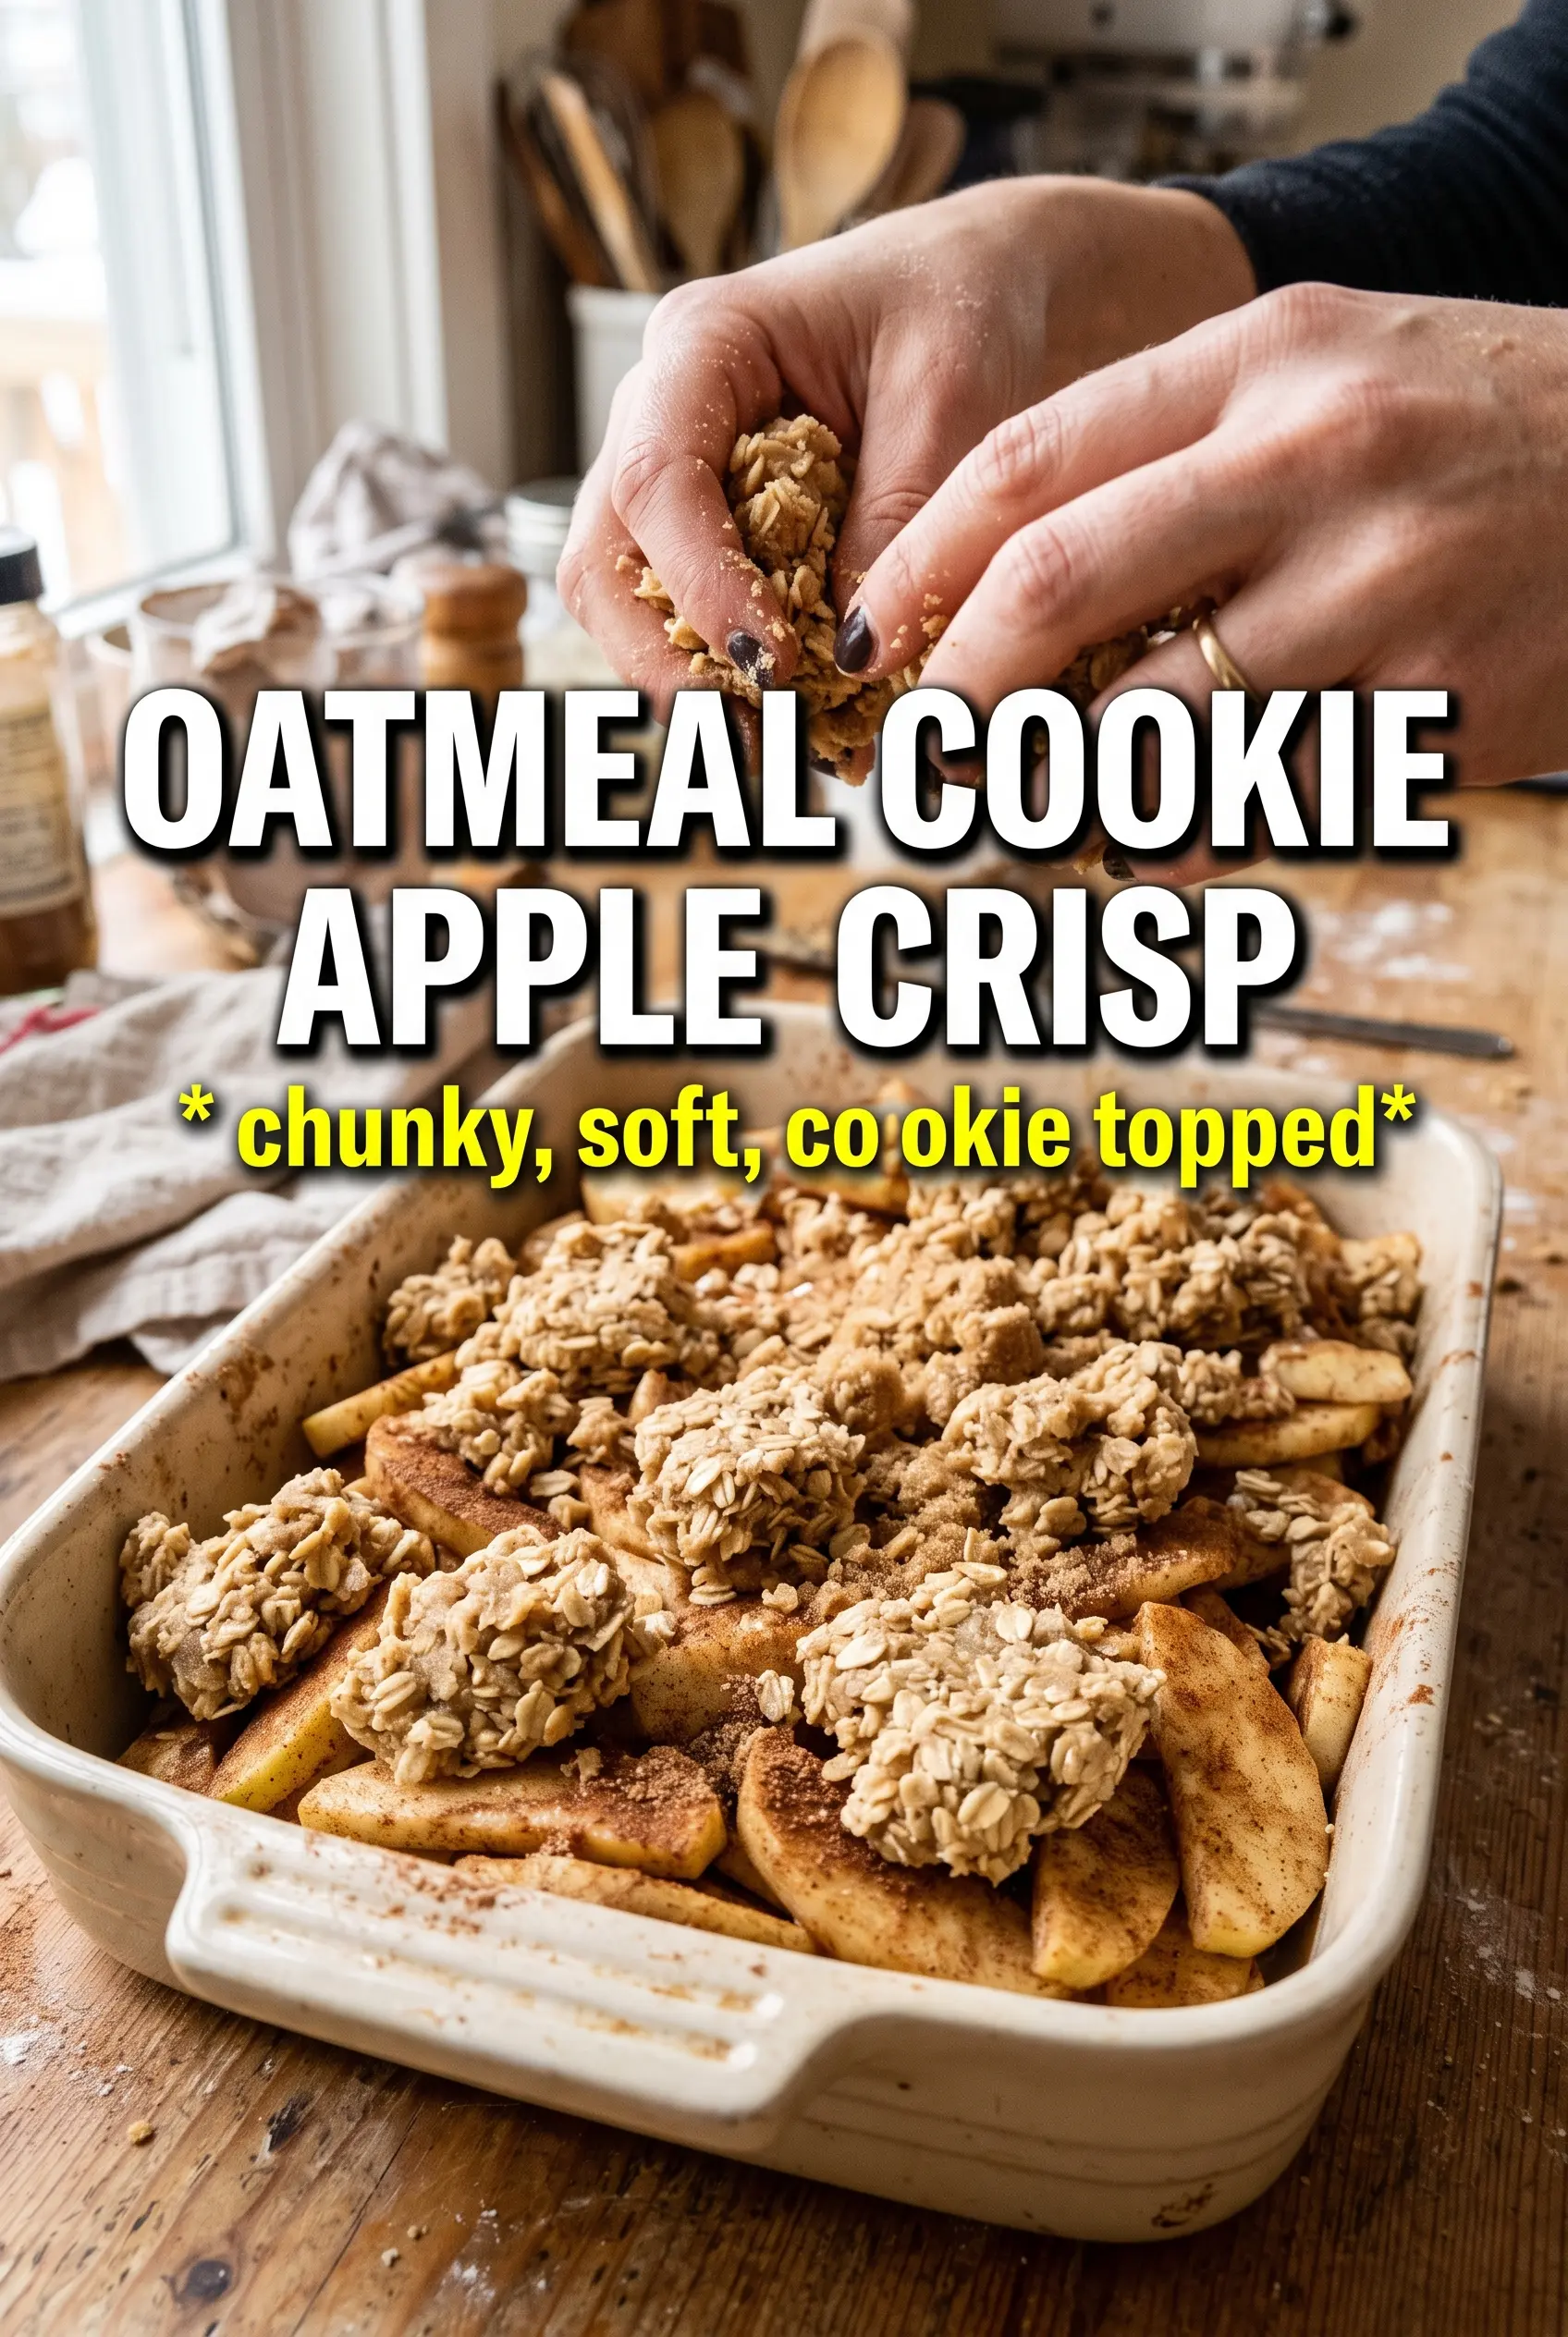
Mix the oats, flour, brown sugar, cinnamon, baking soda, and salt first so the dry ingredients are evenly distributed. Then stir in the melted butter, honey, and vanilla until the mixture looks damp and clumpy, not loose and powdery. The crumble should hold together when squeezed in your hand, with some pieces bigger than others. That uneven texture is what gives you the bakery-style top.
Baking Until the Fruit Bubbles
Scatter the topping over the apples in large chunks, then bake until the top is deep golden and the filling is bubbling at the edges and through the center. That bubbling matters more than the clock, because it tells you the cornstarch has cooked enough to thicken properly. If the top is browning too fast, lay a loose sheet of foil over it for the last stretch. Pull it out too early and the apples can taste sharp and the juices stay thin.
Letting It Set Before Serving
Give the crisp about 10 minutes to rest after it comes out of the oven. The filling finishes thickening as it cools, and that short pause keeps the first servings from collapsing into apple soup. The topping will stay crisp, and the juices will settle into a glossy layer instead of running across the plate. Serve it warm, not piping hot, for the best texture contrast.
How to Adjust This Crisp for What’s in Your Pantry
Make It Gluten-Free
Swap the all-purpose flour for a 1:1 gluten-free baking blend and use certified gluten-free oats. The topping will still clump and brown well, though the texture may be a touch more delicate. Don’t use almond flour alone here; it doesn’t bind the same way and the crumble turns sandy.
Skip the Raisins and Add Pecans
If dried fruit isn’t your thing, fold in chopped pecans instead. They add crunch and a toasty finish that works well with the cinnamon apples. Add them to the topping mixture so they toast in the oven instead of staying soft.
Use Pears for Part of the Apples
Replace up to half the apples with ripe but firm pears for a softer, more floral filling. Pears release more juice, so keep the cornstarch in place and don’t skip the resting time. The result is looser and silkier, not as tart, but still holds together nicely.
Make It Dairy-Free
Use a plant-based butter that melts cleanly and has a neutral taste. Because the topping depends on fat for clumping, pick a dairy-free butter block rather than a soft spread from a tub. The texture stays close to the original if the substitute behaves like real butter when melted.
Storage and Reheating
- Refrigerator: Store covered for up to 4 days. The topping softens a bit as it sits, but it still tastes great.
- Freezer: Freeze baked crisp in a tightly wrapped dish for up to 2 months. Thaw overnight in the fridge before reheating for the best texture.
- Reheating: Warm in a 325F oven until the filling is hot and the topping crisps back up, usually 15-20 minutes. The microwave will heat the apples, but it turns the crumble soft.
Answers to the Questions Worth Asking
Oatmeal Cookie Apple Crisp
Ingredients
Equipment
Method
- Preheat the oven to 375F and grease a 9x13 baking dish.
- Peel and slice the apples, then place them in a mixing bowl for seasoning.
- Toss the apple slices with granulated sugar, cinnamon, nutmeg, cornstarch, and lemon juice until evenly coated.
- Spread the seasoned apples into the greased 9x13 baking dish.
- Combine the rolled oats, all-purpose flour, brown sugar, cinnamon, baking soda, and salt in a bowl.
- Stir the melted butter, honey, and vanilla extract together, then pour over the oat mixture.
- Toss until the crumble is evenly moistened, clumping into cookie-like chunks.
- Fold in raisins or dried cranberries if using, then scatter the crumble in large chunks over the apples.
- Bake for 40-45 minutes at 375F, until the topping is golden and the filling is bubbling.
- Rest the apple crisp for 10 minutes before serving.