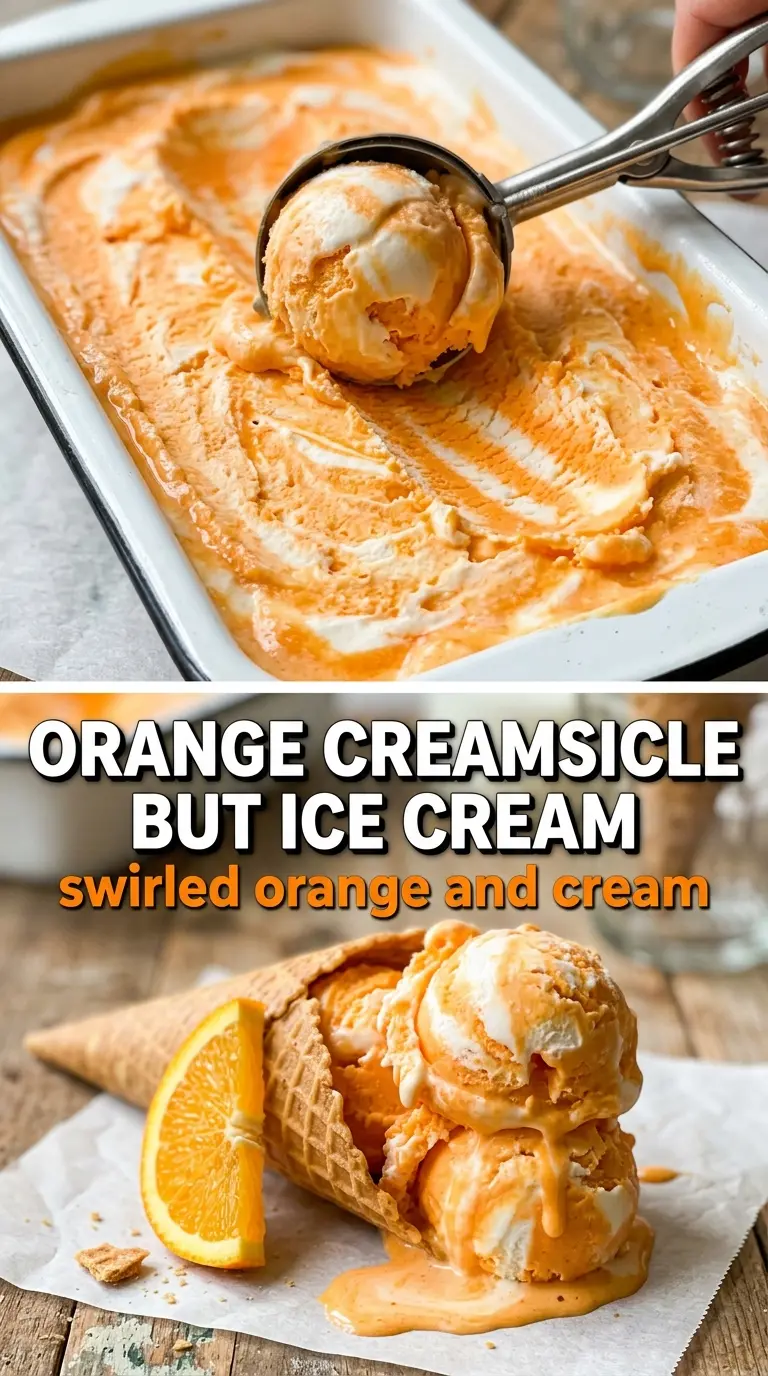
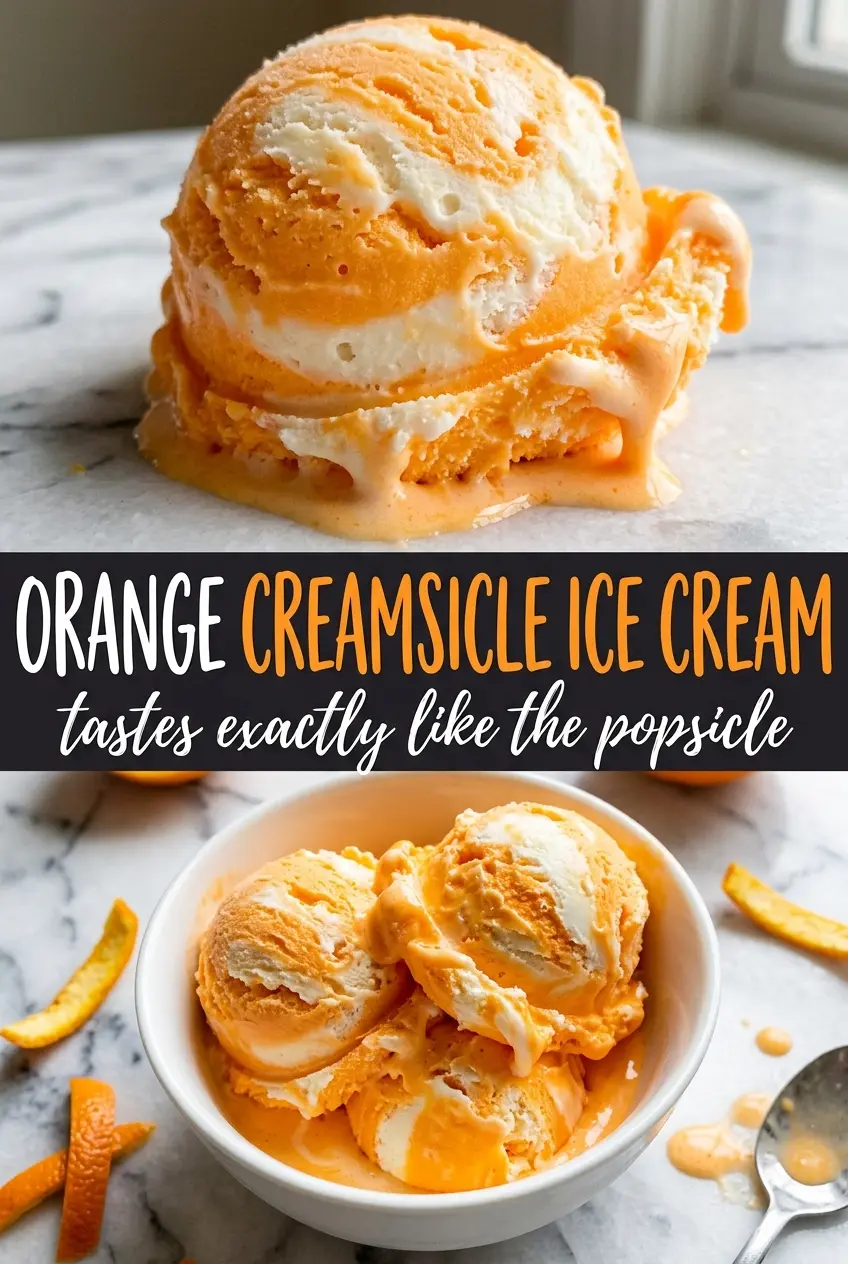
Orange Creamsicle Ice Cream comes out with that classic frozen-candy contrast: bright citrus running through a rich vanilla base, soft enough to scoop cleanly but firm enough to hold those pretty orange ribbons. The flavor lands in two stages, first creamy and mellow, then fresh and tangy on the finish, which is exactly why this version keeps disappearing from the freezer faster than the plain stuff ever does.
The trick is treating the orange as a syrup, not just juice stirred into custard. Fresh zest carries the aroma, while a short simmer concentrates the juice so it doesn’t water down the base or turn icy. The custard itself stays smooth because it’s cooked just to the point where the yolks thicken it without scrambling, then cooled completely before it ever goes into the churn.
Below, I’ll show you how to keep the vanilla base silky, how to build those orange swirls instead of muddying the whole batch, and what to do if you want a brighter color without changing the flavor.
The custard turned out velvety and the orange swirl stayed distinct instead of blending into the vanilla. It tasted exactly like a creamsicle, and the texture was scoopable straight from the freezer after a short sit on the counter.
Keep this Orange Creamsicle Ice Cream handy for the days when you want creamy vanilla and bright citrus swirls in one scoop.
The Custard Stays Smooth When You Don’t Rush the Heat
Ice cream custards usually fail one of two ways: the yolks scramble, or the base cooks too softly and never sets with enough body. The sweet spot is 175F, where the custard thickens enough to coat a spoon and still pours in a clean ribbon. Pull it off the heat at that point and strain it right away. That step catches any little bits of cooked egg before they become a grainy surprise in the finished ice cream.
The other detail that matters here is cooling. Warm custard churns badly and freezes with a coarse texture, so it needs to chill all the way through before it goes into the machine. If you rush that part, the fat stays too loose and the ice crystals get larger than you want.
What the Orange Syrup Is Doing That Juice Alone Can’t
- Heavy cream — This gives the ice cream its plush body and keeps the custard from freezing hard as a brick. Use the real thing here; lower-fat swaps won’t carry the same richness or scoopability.
- Whole milk — It loosens the base just enough so the finished texture stays soft instead of dense. Anything lighter makes the ice cream less creamy and more icy.
- Egg yolks — They thicken the custard and give it that old-fashioned ice cream feel. There isn’t a true equal substitute if you want the same body; without yolks, the texture turns more like a frozen dessert than a custard ice cream.
- Fresh orange juice and zest — The zest brings the perfume, and the juice brings the tang. Bottled juice tastes flat here, and the zest is what keeps the orange flavor from disappearing under the dairy.
- Vanilla extract — Vanilla is the bridge between the dairy and citrus. Skip the imitation stuff if you can; a good vanilla makes the whole scoop taste rounder.
- Orange food coloring — Totally optional, but it can make the swirls read more like a classic creamsicle. It changes the look, not the flavor.
Building the Swirl So It Stays Bright
Heating the Dairy Base
Warm the cream and milk until you see steam and small bubbles around the edge, not a full boil. That gentle heat helps the yolks thicken smoothly once they’re tempered in. If the dairy boils hard, the custard can pick up a cooked taste and the yolks are more likely to curdle when they hit the pot.
Tempering the Yolks
Whisk the hot dairy into the yolks slowly at first, then pour the warmed yolk mixture back into the pan. This keeps the eggs from seizing into bits. Once the custard starts to thicken, stir with patience and keep the heat low enough that the bottom of the pot never catches.
Cooking to the Right Thickness
Stop at 175F and strain the custard into a clean bowl. It should coat the back of a spoon and leave a path when you run a finger through it. If it goes much hotter, the texture gets eggier and you lose that smooth, creamy finish.
Making the Orange Syrup
Simmer the orange juice, zest, and sugar until the mixture looks glossy and slightly syrupy. That concentration matters because watery citrus will muddy the custard and freeze into ice crystals. Cool it completely before churning; warm syrup can melt the ice cream base as it swirls in.
Churning and Layering
Churn the vanilla base until it’s thick and almost like soft serve. In the last couple of minutes, drizzle in the orange syrup and stop before it fully blends. Spoon the finished ice cream into the container in layers so you keep those orange ribbons instead of turning the whole batch pale and uniform.
For a stronger orange punch
Add an extra teaspoon of zest to the orange syrup, not the custard. That keeps the citrus aroma bright without making the base bitter or throwing off the texture.
Dairy-free version
Use full-fat canned coconut milk in place of the cream and milk, then expect a faint coconut note and a softer freeze. It won’t taste exactly like a classic creamsicle, but it still gives you a creamy citrus ice cream with a good scoop.
No ice cream maker
Freeze the custard in a shallow container and stir it every 30 minutes until it’s thick but still soft, then fold in the orange syrup near the end. The texture won’t be quite as airy, but the flavor stays on point if you keep the mixture moving while it freezes.
Color without changing flavor
A drop or two of orange food coloring in the syrup gives you that familiar creamsicle look. Use it sparingly, because too much makes the swirls look artificial fast.
Storage and Reheating
- Refrigerator: Not applicable once frozen. Keep the churned base chilled only before freezing so it stays smooth.
- Freezer: Stores well for about 2 weeks in a tightly covered container. Press a piece of parchment or plastic wrap directly on the surface to slow ice crystals.
- Reheating: Not needed. For the best scoop, let it sit at room temperature for 5 to 10 minutes before serving so the custard softens without melting at the edges.
Answers to the Questions Worth Asking
Orange Creamsicle Ice Cream
Ingredients
Equipment
Method
- Heat the heavy cream and whole milk until steaming, not boiling, then pull off the heat for a moment.
- Whisk the hot cream mixture into the egg yolks beaten with 1/2 cup sugar to temper, then return the mixture to the heat.
- Cook, stirring, until the custard reaches 175F—when it coats the back of a spoon—then strain it into a clean container.
- Stir in the vanilla extract and salt, then cool completely to room temperature before churning.
- Combine the fresh orange juice, orange zest, and the remaining 1/4 cup sugar in a small saucepan.
- Simmer for 5 minutes until slightly syrupy, then cool completely.
- Churn the vanilla custard in an ice cream maker until thick and the texture holds soft-melt form.
- In the last 2 minutes of churning, drizzle in the orange syrup and stop mixing before it fully combines to keep visible swirls.
- Transfer the ice cream to a container, layering spoonfuls to maintain the swirl pattern.
- Freeze at least 4 hours until firm enough to scoop.