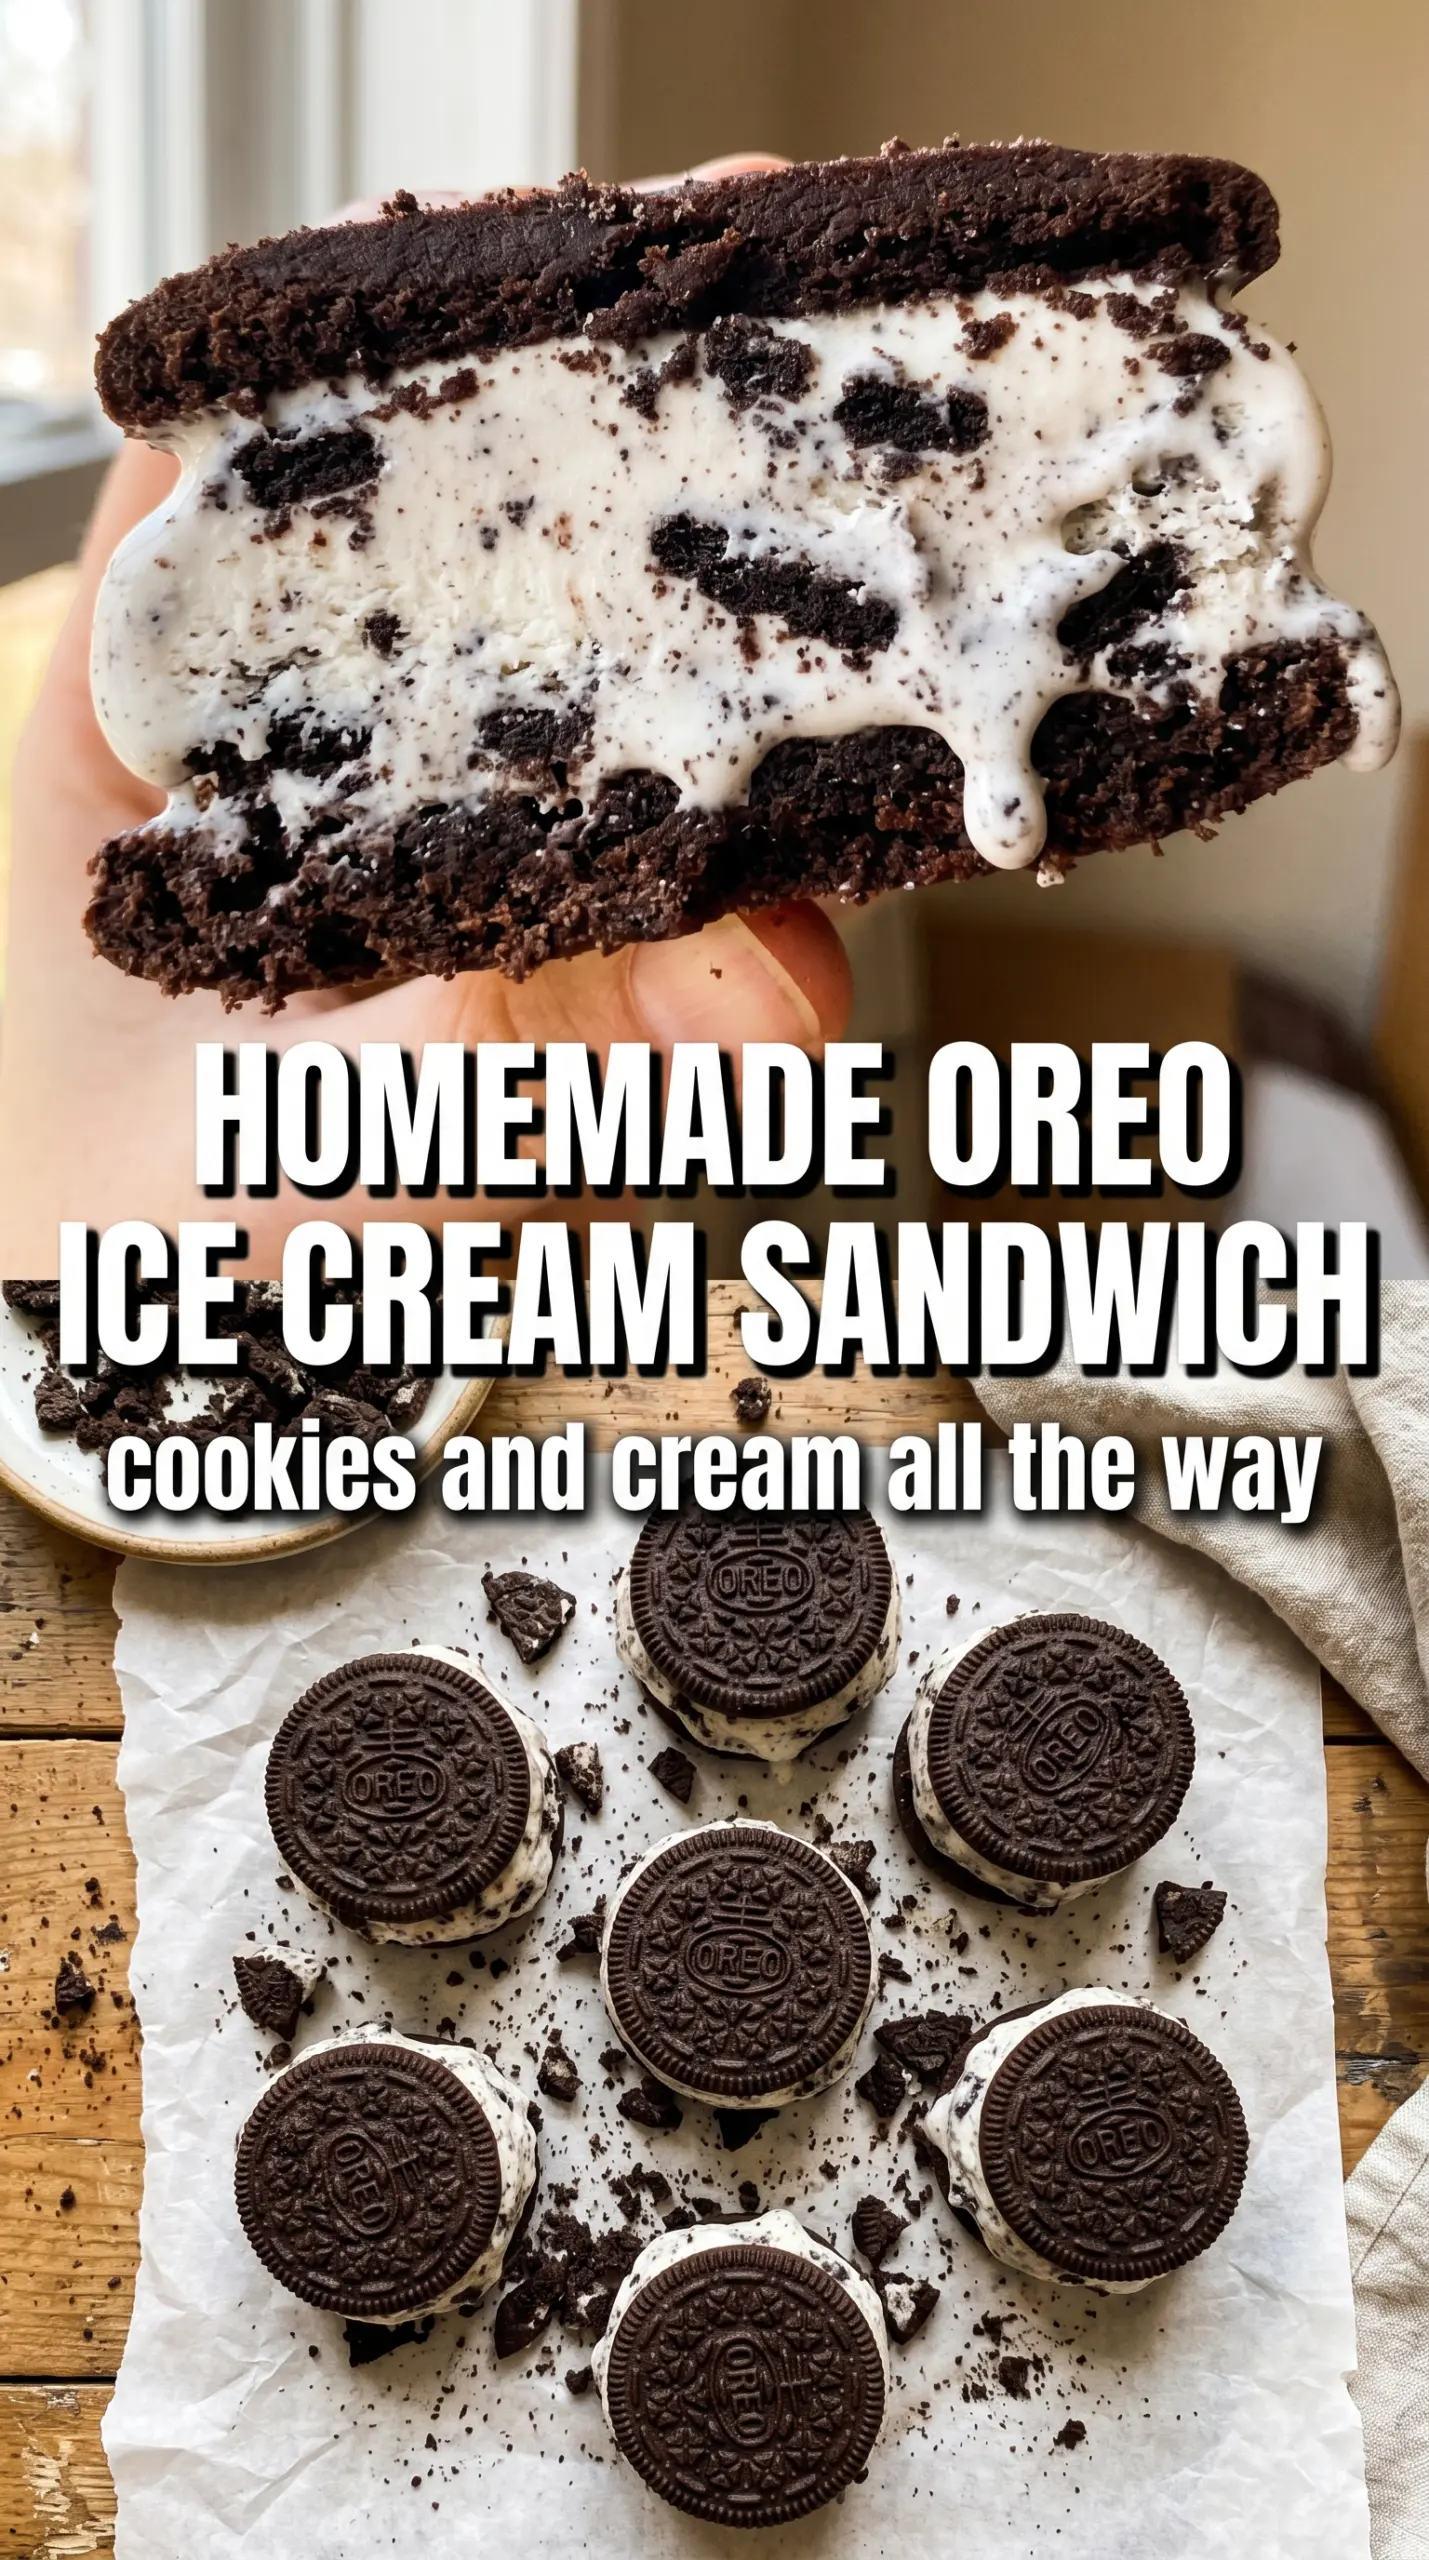
Thick chocolate cookies and cold cookies-and-cream ice cream make these Oreo Ice Cream Sandwiches the kind of dessert people remember after the plates are cleared. The cookies bake up soft enough to bite cleanly, but sturdy enough to hold a generous scoop without cracking or turning soggy. Every bite hits that double Oreo note: dark cocoa cookie, creamy vanilla filling, and little bits of cookie in the ice cream.
The trick is keeping the cookies on the softer side and letting them cool all the way before you assemble. If they’re too crisp, they’ll get hard in the freezer; if the ice cream is too soft, it squeezes out the sides before you can wrap the sandwiches. A quick freeze after assembly locks everything in place and gives the cookies time to meld with the ice cream instead of just sitting next to it.
Below, you’ll find the small details that make these work: how flat to press the dough, how to keep the edges neat, and what to do if you want a cleaner finish or a more dramatic Oreo-crumble rim.
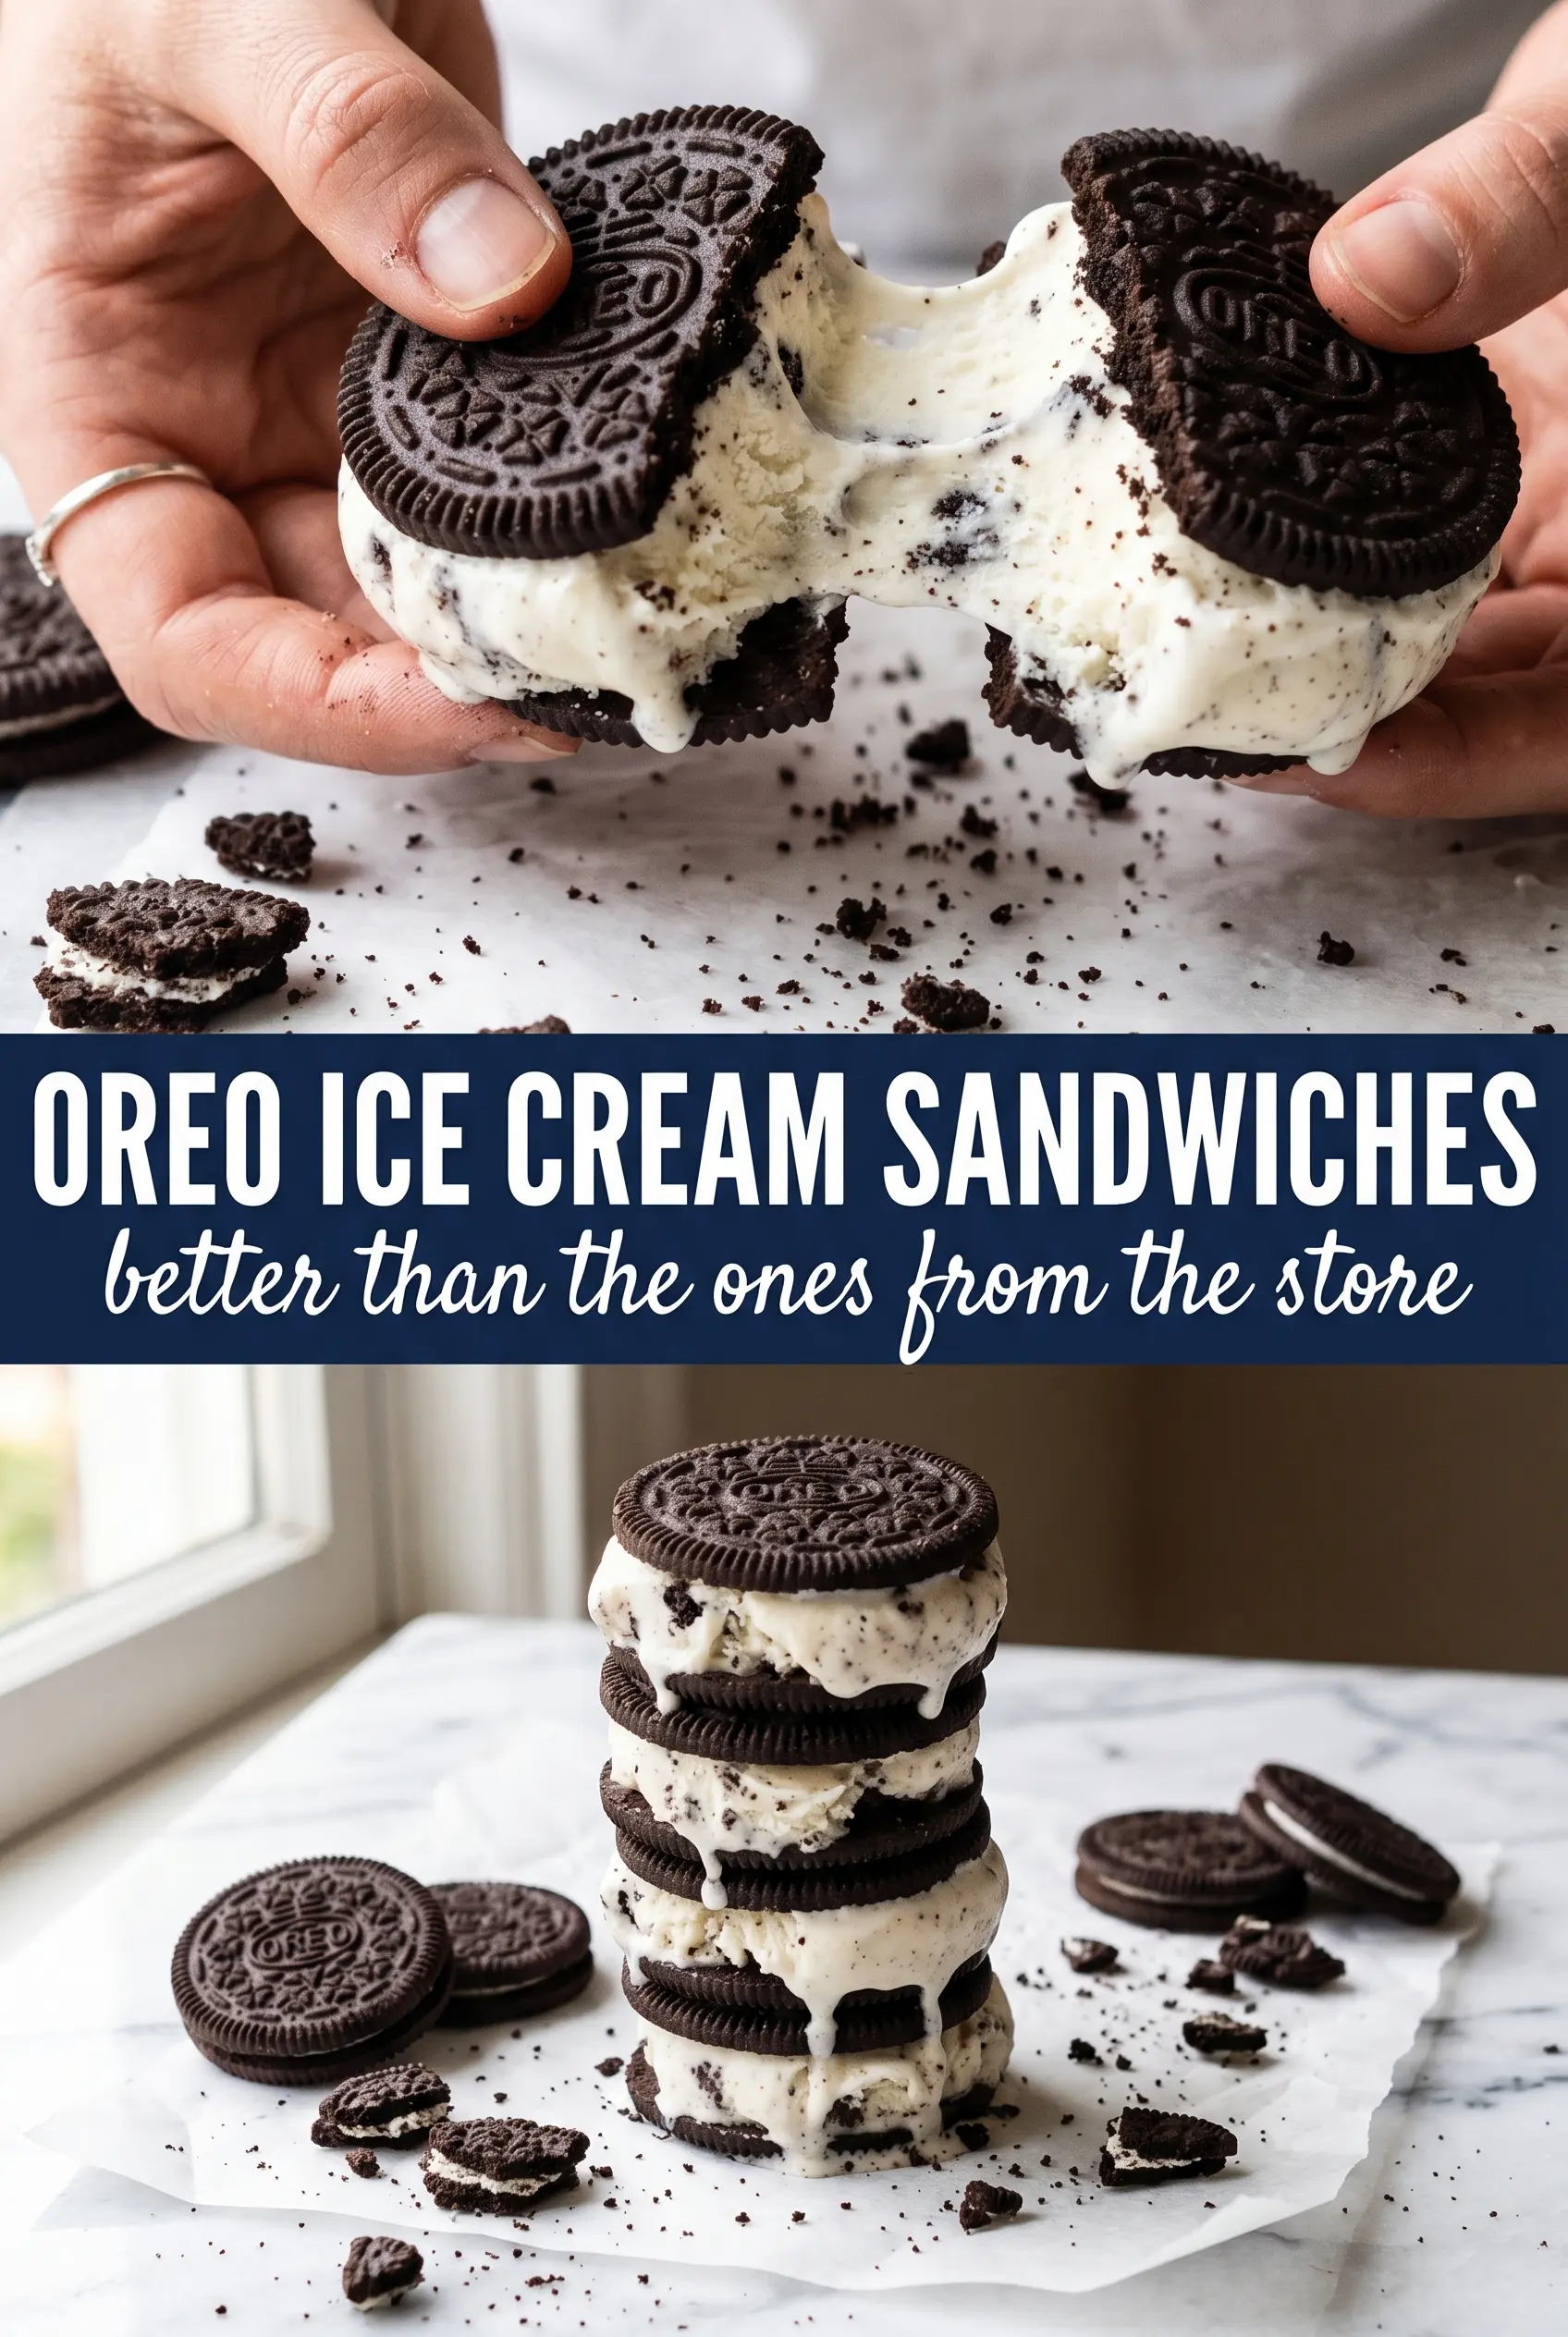
The cookies baked up soft and stayed that way after freezing, and the ice cream didn’t squish out the sides once I pressed the sandwiches together. I rolled the edges in crushed Oreos and they looked bakery-level.
Love the thick cookies-and-cream center and crisp Oreo edge? Save these Oreo Ice Cream Sandwiches for the next time you want a frozen dessert that feels homemade and nostalgic.
The Soft Cookie Edge That Keeps These Sandwiches From Turning Brick-Hard
The biggest mistake with homemade ice cream sandwiches is baking the cookies like you would for a crisp chocolate cookie. That seems logical, but it backfires in the freezer. A firmer cookie gets even firmer once it’s frozen, and the whole sandwich starts feeling stiff instead of creamy and biteable.
This dough is meant to bake into a cookie that is set at the edges but still tender in the middle. Pull them when the centers are no longer glossy and the edges look dry, even if they still seem a little soft. They finish cooling on the pan, and that residual heat is enough to complete the bake without drying them out.
- Cocoa powder — This gives the cookies their deep Oreo-style color and bitterness. Use unsweetened cocoa, not Dutch-process if you want the flavor to stay sharp and classic.
- Butter — Softened butter whips with the sugar and helps the cookies bake with a tender crumb. If the butter is too warm, the dough spreads too much and you lose that sandwich shape.
- Cookies and cream ice cream — This is the flavor bridge that makes the whole dessert taste like an oversized Oreo. A premium brand gives you more cookie pieces, but any good cookies-and-cream ice cream works.
- Vanilla extract — It rounds out the cocoa and keeps the cookie from tasting flat. Don’t skip it; the ice cream will carry the Oreo flavor, but the cookie still needs balance.
What Each Ingredient Is Actually Doing in This Ice Cream Sandwich
- Cookies or wafers (the structure) — These need to be sturdy enough to hold ice cream. Soft or brittle cookies crumble or break.
- Ice cream (the filling and star) — Use quality ice cream or make homemade. Slightly softened makes assembly easier.
- Optional coating (chocolate, sprinkles, nuts, or coconut) — This adds flavor and prevents the sandwich from slipping out of hands.
- Speed of assembly — Work quickly so ice cream doesn’t melt. Have everything prepared before you start.
- Temperature control (keep ice cream cold) — Work with ice cream straight from the freezer for best results.
- Pressing technique (gentle pressure) — Don’t squash the ice cream out. Just enough pressure to adhere the cookies.
- Freezing after assembly (at least 2 hours) — This sets the sandwich so it stays together. Longer is better for stability.
- Serving immediately after freezing — Cold ice cream sandwiches taste best. They melt quickly at room temperature.
Building the Cookies So They Bake Flat and Stack Evenly
Mix the dough just until it comes together. Cream the butter and sugar until fluffy, then add the eggs and vanilla before stirring in the dry ingredients. Once the flour disappears, stop. Overmixing makes the cookies tough, and tough cookies are harder to bite once frozen.
Portion generously and press them down. Three tablespoons per cookie is the right size for a proper sandwich. Roll the dough into mounds, then flatten them before baking so they spread into even rounds instead of domes. If they come out puffed, they’ll slide around when you add the ice cream.
Cool them completely before assembly. Warm cookies melt the ice cream on contact and create a messy seam. Let them sit on the sheet pan for a few minutes, then move them to a rack until they’re fully cool all the way through. That extra patience pays off when the sandwiches freeze into neat, clean layers.
Work with softened, not soupy, ice cream. You want it just soft enough to scoop and spread. If it’s melted, it will leak out before you can seal the sandwich. If it’s too firm, it will tear the cookies when you press down.
Getting the Fill and Freeze Right
Making the Cookie Dough
Beat the butter and sugar until the mixture looks lighter in color and a little fluffy. That incorporates air and gives the cookies a softer bite. Once the eggs and vanilla go in, the mixture should look smooth and glossy before you add the dry ingredients. If the batter looks curdled at that stage, keep mixing a few seconds longer before moving on.
Shaping for Sandwiches
Scoop the dough in equal portions and flatten each mound with your palm or the bottom of a glass. You’re aiming for wide, even rounds, not thick cookies that rise into little hills. Bake until the edges are set and the centers look just a touch underdone; they’ll firm as they cool. If you wait for a fully dry center, the cookies will finish too hard for a good frozen bite.
Assembling and Wrapping
Pair cookies by size so the sandwiches look even. Add a generous scoop of ice cream to the flat side of one cookie, press the second cookie on top, then gently nudge the ice cream to the edges. Roll the edge in crushed Oreos if you want that classic finished look. Wrap each sandwich individually before freezing so the cookies don’t absorb stray freezer odors and the ice cream stays smooth.
Freezing Until Set
Give the sandwiches at least an hour in the freezer before serving, and longer if you want firmer edges for cleaner bites. If you serve them too soon, the center will slump and the filling will smear instead of holding shape. After that first freeze, they slice and bite much more cleanly, and the cookies have time to soften just enough around the ice cream.
How to Change the Center, the Coating, or the Cookie Without Losing the Point
Dairy-Free Oreo Ice Cream Sandwiches
Use a dairy-free butter and a cookies-and-cream style frozen dessert made with non-dairy milk. The cookie base stays close to the original, but the filling will freeze a little firmer and melt a touch faster at room temperature, so keep the sandwiches wrapped until the moment you serve them.
Gluten-Free Version
Swap in a good 1:1 gluten-free flour blend for the all-purpose flour. The cookies may spread a little less and bake up slightly more delicate, so flatten them evenly before baking and handle them gently once they’re cold. The flavor stays the same; the texture just gets a little more tender.
Extra Oreo Crunch Finish
Press crushed Oreos into the ice cream edges after assembling, or roll the whole rim in crumbs for a more dramatic look. This adds texture and turns the sandwich into a cleaner visual match for the cookies, but it also makes the edges a little messier to eat, so it’s best if the sandwiches have had time to freeze solid first.
Storage and Reheating
- Refrigerator: These don’t belong in the fridge for long; the ice cream softens too quickly and the cookies go sticky. Keep them in the freezer until serving.
- Freezer: Wrap each sandwich individually and freeze up to 2 weeks for best texture. After that, they’re still safe, but the cookies can pick up freezer flavor.
- Reheating: Don’t reheat these. Let them sit at room temperature for 3 to 5 minutes before serving so the cookies soften just enough for clean bites without turning the filling soupy.
Answers to the Questions Worth Asking
Oreo Ice Cream Sandwiches
Ingredients
Equipment
Method
- Preheat the oven to 350F, then beat the softened butter and granulated sugar until fluffy.
- Add the eggs one at a time, then mix in the vanilla extract until smooth.
- Whisk the all-purpose flour, unsweetened cocoa powder, baking soda, and salt, then stir into the butter mixture to form a dough.
- Scoop the dough into large rounds (about 3 tablespoons each) and press flat on a lined sheet pan.
- Bake for 10-12 minutes until the edges are set, then cool completely.
- Scoop a generous amount of cookies-and-cream ice cream onto the flat side of one cookie.
- Place a second cookie on top and press to spread the ice cream to the edges.
- Roll the edge of the sandwich in crushed Oreos so the sides are coated.
- Wrap each sandwich individually and freeze at least 1 hour before serving.