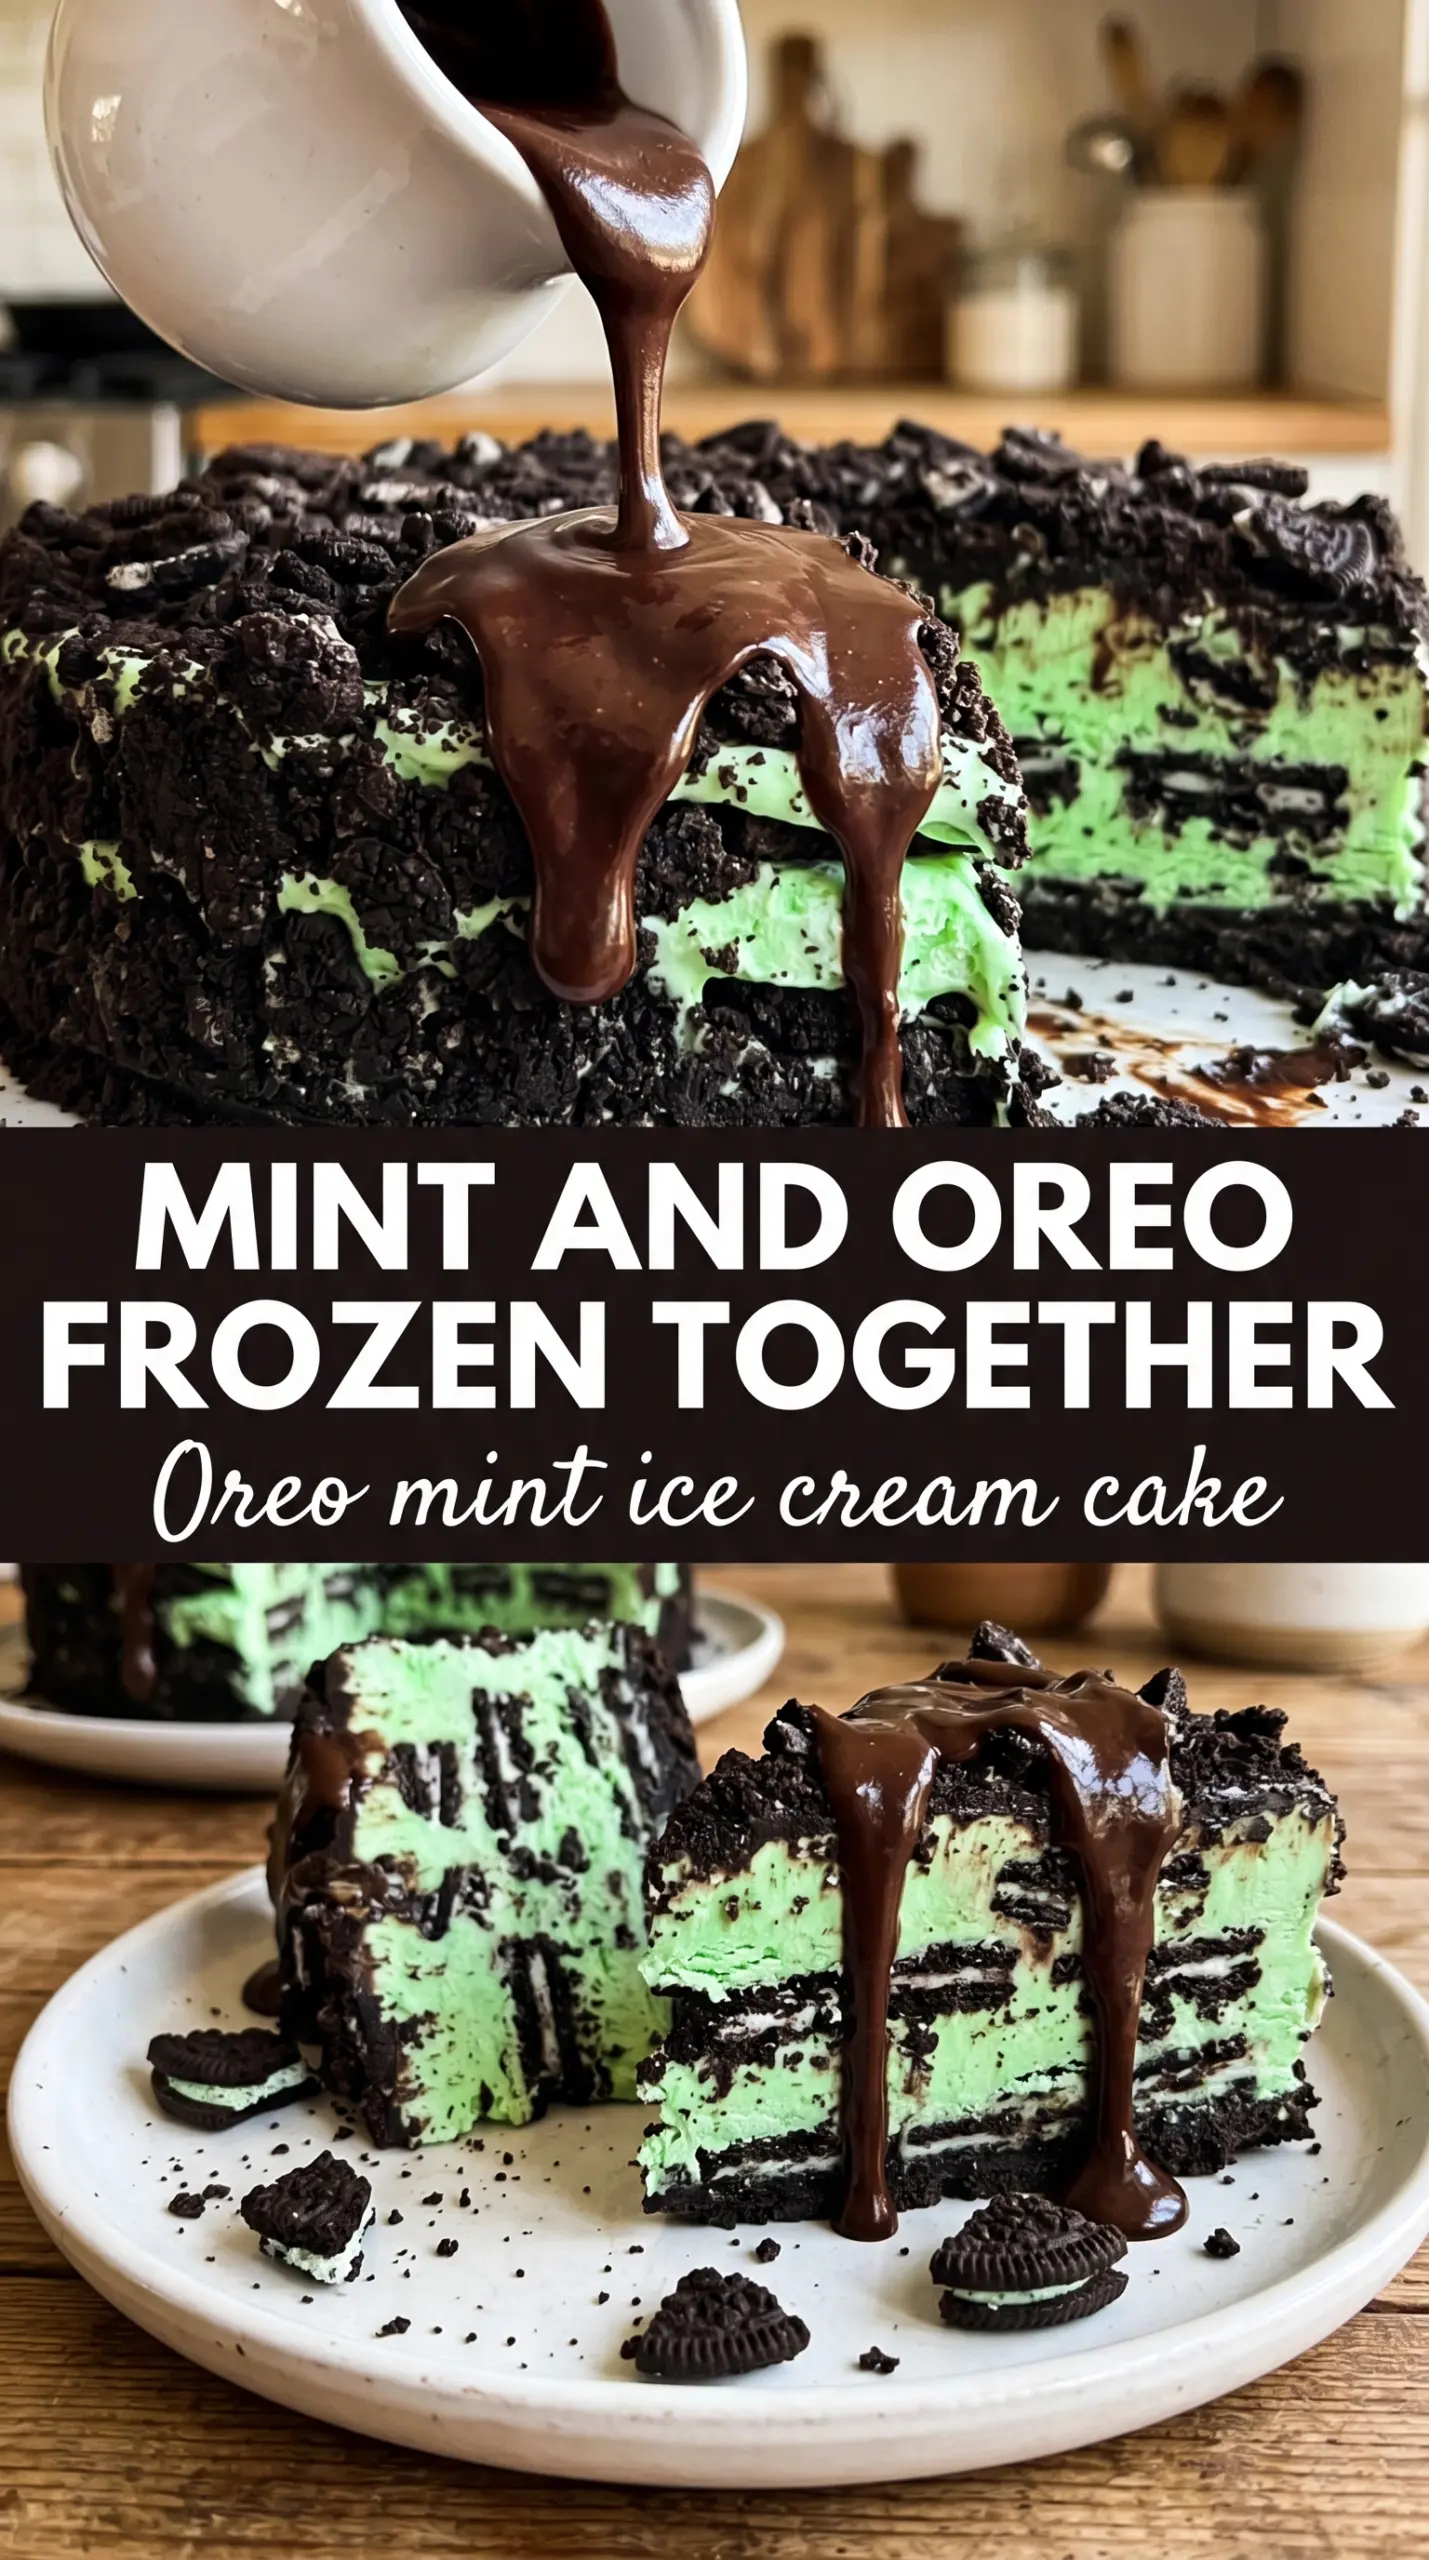
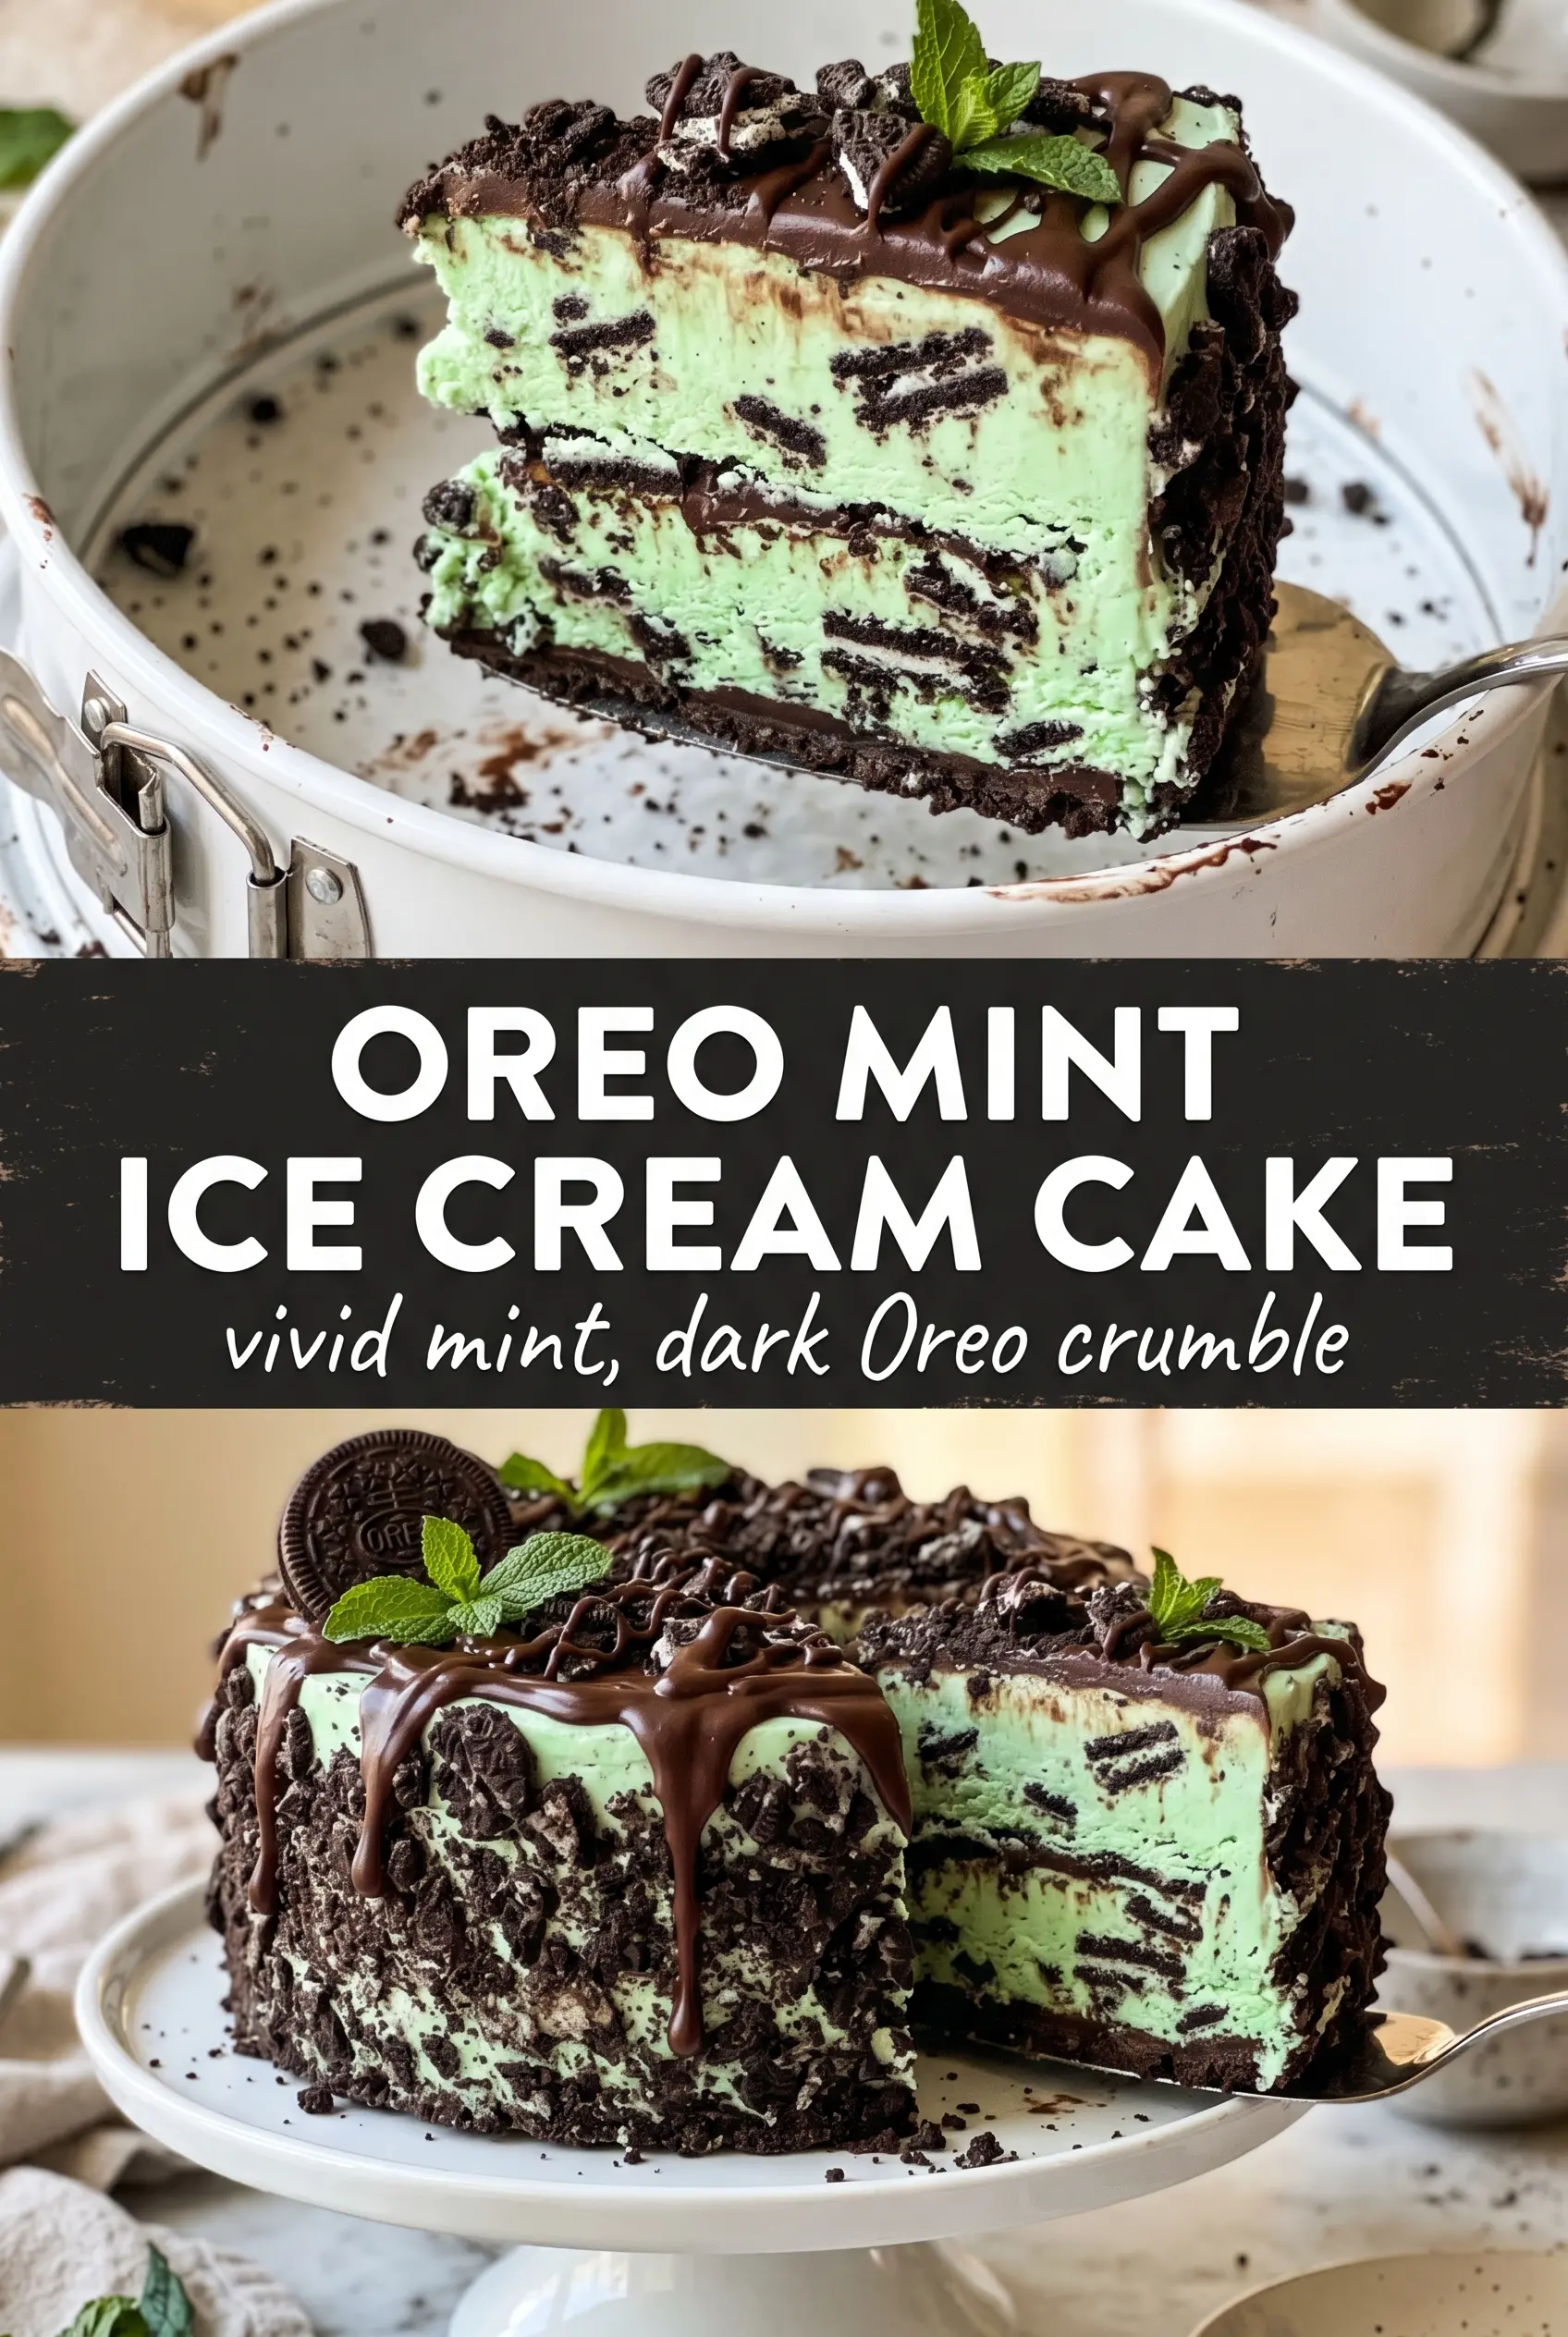
Cold, creamy slices of Oreo mint ice cream cake hit that sweet spot between nostalgic and special enough for a birthday table. The Oreo crust stays firm enough to cut cleanly, the mint chocolate chip layer brings that cool, grassy snap of mint, and the chocolate ganache settles into a glossy top that makes every slice look like it came from a bakery freezer case.
The trick is giving each layer its own time to firm up before the next one goes on. A crust that’s pressed well and briefly frozen won’t crumble when you add the ice cream. Softened ice cream spreads without tearing the crust, and a fully frozen surface keeps the ganache from sinking in instead of sitting on top where it belongs.
Below, I’ve included the one timing detail that keeps the layers neat, plus a few smart swaps for when you want to change the mint level, the topping, or the way you finish it for a party.
The crust held together perfectly and the ganache set up smooth instead of running into the ice cream. I made it the day before a birthday party and it sliced cleanly straight from the freezer.
Like this minty Oreo cake? Save it for birthdays and summer nights when you want a frozen dessert with a fudgy chocolate top and clean layers.
The Part That Keeps the Layers Clean Instead of Melting Together
The biggest mistake with an ice cream cake is rushing the freeze time between layers. If the crust isn’t firm, the ice cream drags it up. If the ice cream layer isn’t solid, the ganache leaks through and you lose that neat striped look when you slice it.
Work with the cake like you’re building a stack, not stirring a dessert. Press the crust down tightly so the crumbs act like one solid base, then freeze it long enough to set. After that, spread the ice cream in an even layer and freeze until it’s hard all the way through before adding the chocolate. That patience is what gives you those clean wedges instead of a messy scoopable slab.
- Oreos — These do double duty here: the cookies make the crust, and the extra cookies on top add crunch. Use the whole cookie, cream filling and all, for the crust since the filling helps bind the crumbs.
- Butter — Melted butter is what turns cookie crumbs into a sliceable base. Don’t cut it back too far or the crust will fall apart when you release the pan.
- Mint chocolate chip ice cream — This is the flavor driver, so buy one you actually like eating on its own. Let it soften just enough to spread; if it gets too soupy, it won’t freeze into a clean middle layer.
- Chocolate ganache — A smooth ganache gives the cake that glossy top and a clean chocolate bite. Let it cool until it’s pourable but not hot, or it can melt the ice cream underneath.
- Whipped topping — This soft finishing layer lightens the frozen cake and gives you a surface for the cookie crumble. Homemade whipped cream works too, but it freezes softer and can weep a little faster.
- Andes mint pieces — These are for the finishing touch and bring a little extra mint-chocolate crunch. Chop them right before decorating so they stay crisp and don’t pick up moisture from the freezer air.
What Each Ingredient Is Actually Doing in This Ice Cream
- Base ingredient (cream, milk, or custard) — This provides the foundation and richness. Quality matters.
- Sweetener (sugar, honey, or condensed milk) — This sweetens and prevents ice crystals. The ratio is critical.
- Flavor element (vanilla, fruit, chocolate, or other) — This defines the ice cream personality. Use quality ingredients.
- Egg yolks (if making custard base) — These create richness and silky texture. Optional but elevates ice cream.
- Churning (if using ice cream maker) — This incorporates air and prevents ice crystals. Critical for smooth texture.
- Freezing temperature and time — Proper freezing prevents rock-hard texture. Store at 0°F or below.
- Mix-ins (chocolate, cookies, fruit, or swirls) — These add texture and prevent one-dimensional flavor. Add near end of churning.
- Serving temperature (slightly soft, not rock hard) — This provides creamy mouthfeel. Remove from freezer 5 minutes before serving.
Building the Crust, Freezing the Middle, and Finishing Without a Mess
Press the Oreo Base Tight
Crush 24 Oreos into fine crumbs, then mix them with the melted butter until every crumb looks damp. Press the mixture firmly into the bottom of a 9-inch springform pan, working it all the way to the edges so there aren’t weak spots. If the crust looks loose or sandy, it needs more pressure, not more butter. A quick 15-minute freeze gives it enough structure to hold the ice cream layer.
Spread the Ice Cream While It’s Still Scoopable
Let the mint chocolate chip ice cream soften at room temperature until it spreads easily but still holds shape. Spoon it over the frozen crust and push it gently into an even layer with an offset spatula or the back of a spoon. If it’s too hard, it will tear the crust; if it’s too melted, it will refreeze unevenly and get icy. Freeze the cake until the center is firm, about 4 hours.
Pour the Ganache on a Fully Frozen Surface
When the ice cream layer is solid, pour the chocolate ganache over the top and tilt the pan to help it reach the edges. The cake should be cold enough that the ganache stays on the surface and sets into a smooth shell instead of sinking into the cream. If the ganache looks too thick to pour, warm it for a few seconds; if it feels hot, let it cool longer so it doesn’t melt the layer beneath it. Freeze for 1 hour to lock it in place.
Add the Topping and Give It One Last Freeze
Spread the whipped topping over the set ganache, then crush the remaining Oreos and scatter them over the top. Finish with Andes mint pieces and a few mint leaves if you want a cleaner, party-ready look. The final 2-hour freeze matters because it gives the whole cake one solid structure, which is what lets you release neat slices from the pan instead of scooping soft layers apart.
Small Changes That Still Keep the Cake Frozen and Sliceable
Use Chocolate Ice Cream Instead of Mint
Swap in chocolate ice cream if you want a more classic cookies-and-cream style cake. You’ll lose the bright mint snap, but the chocolate ganache and Oreo crust will taste deeper and richer, almost like a frozen brownie-and-cookie dessert.
Make It Dairy-Free
Use a dairy-free mint chip ice cream, plant-based butter, and a dairy-free whipped topping. Check the ganache base too, because standard chocolate ganache usually relies on cream. The result still slices well as long as every layer freezes fully, but the texture will be a little softer at room temperature.
Make It Gluten-Free
Use certified gluten-free chocolate sandwich cookies in place of Oreos. The crust behaves the same way, so the method doesn’t change, and you still get that dark cookie flavor with a clean, firm base.
Trade the Ganache for a Thin Chocolate Shell
If you want a firmer chocolate bite, use a thinner ganache or a chocolate sauce that sets hard when chilled. It won’t be as plush as a ganache layer, but it gives the cake a sharper snap when you cut through the top.
Storage and Reheating
- Refrigerator: Don’t store this in the fridge for more than a few minutes while serving. It softens fast and loses the clean layers that make it special.
- Freezer: Wrap the cake well and freeze up to 2 weeks. For the best texture, keep it in the springform pan until fully firm, then wrap it tightly after unmolding.
- Reheating: No reheating needed. For clean slices, let the cake sit at room temperature for 8 to 12 minutes before cutting with a warm knife.
Questions I Get Asked About This Recipe
Oreo Mint Ice Cream Cake
Ingredients
Equipment
Method
- Crush 24 Oreo cookies and combine with the melted butter until evenly coated, then press the mixture into a 9-inch springform pan. Freeze for 15 minutes until firm.
- Spread the softened mint chocolate chip ice cream over the frozen crust and smooth the top. Freeze for 4 hours until set.
- Pour the chocolate ganache over the frozen cake and tilt the pan so it covers the top evenly. Freeze for 1 hour until the ganache is set.
- Cover the cake with the whipped topping, then crush the remaining 6 Oreos and sprinkle over the top. Decorate with Andes mint pieces and fresh mint.
- Freeze for 2 more hours before releasing from the springform pan and serving. The layers should be fully firm for clean slices.