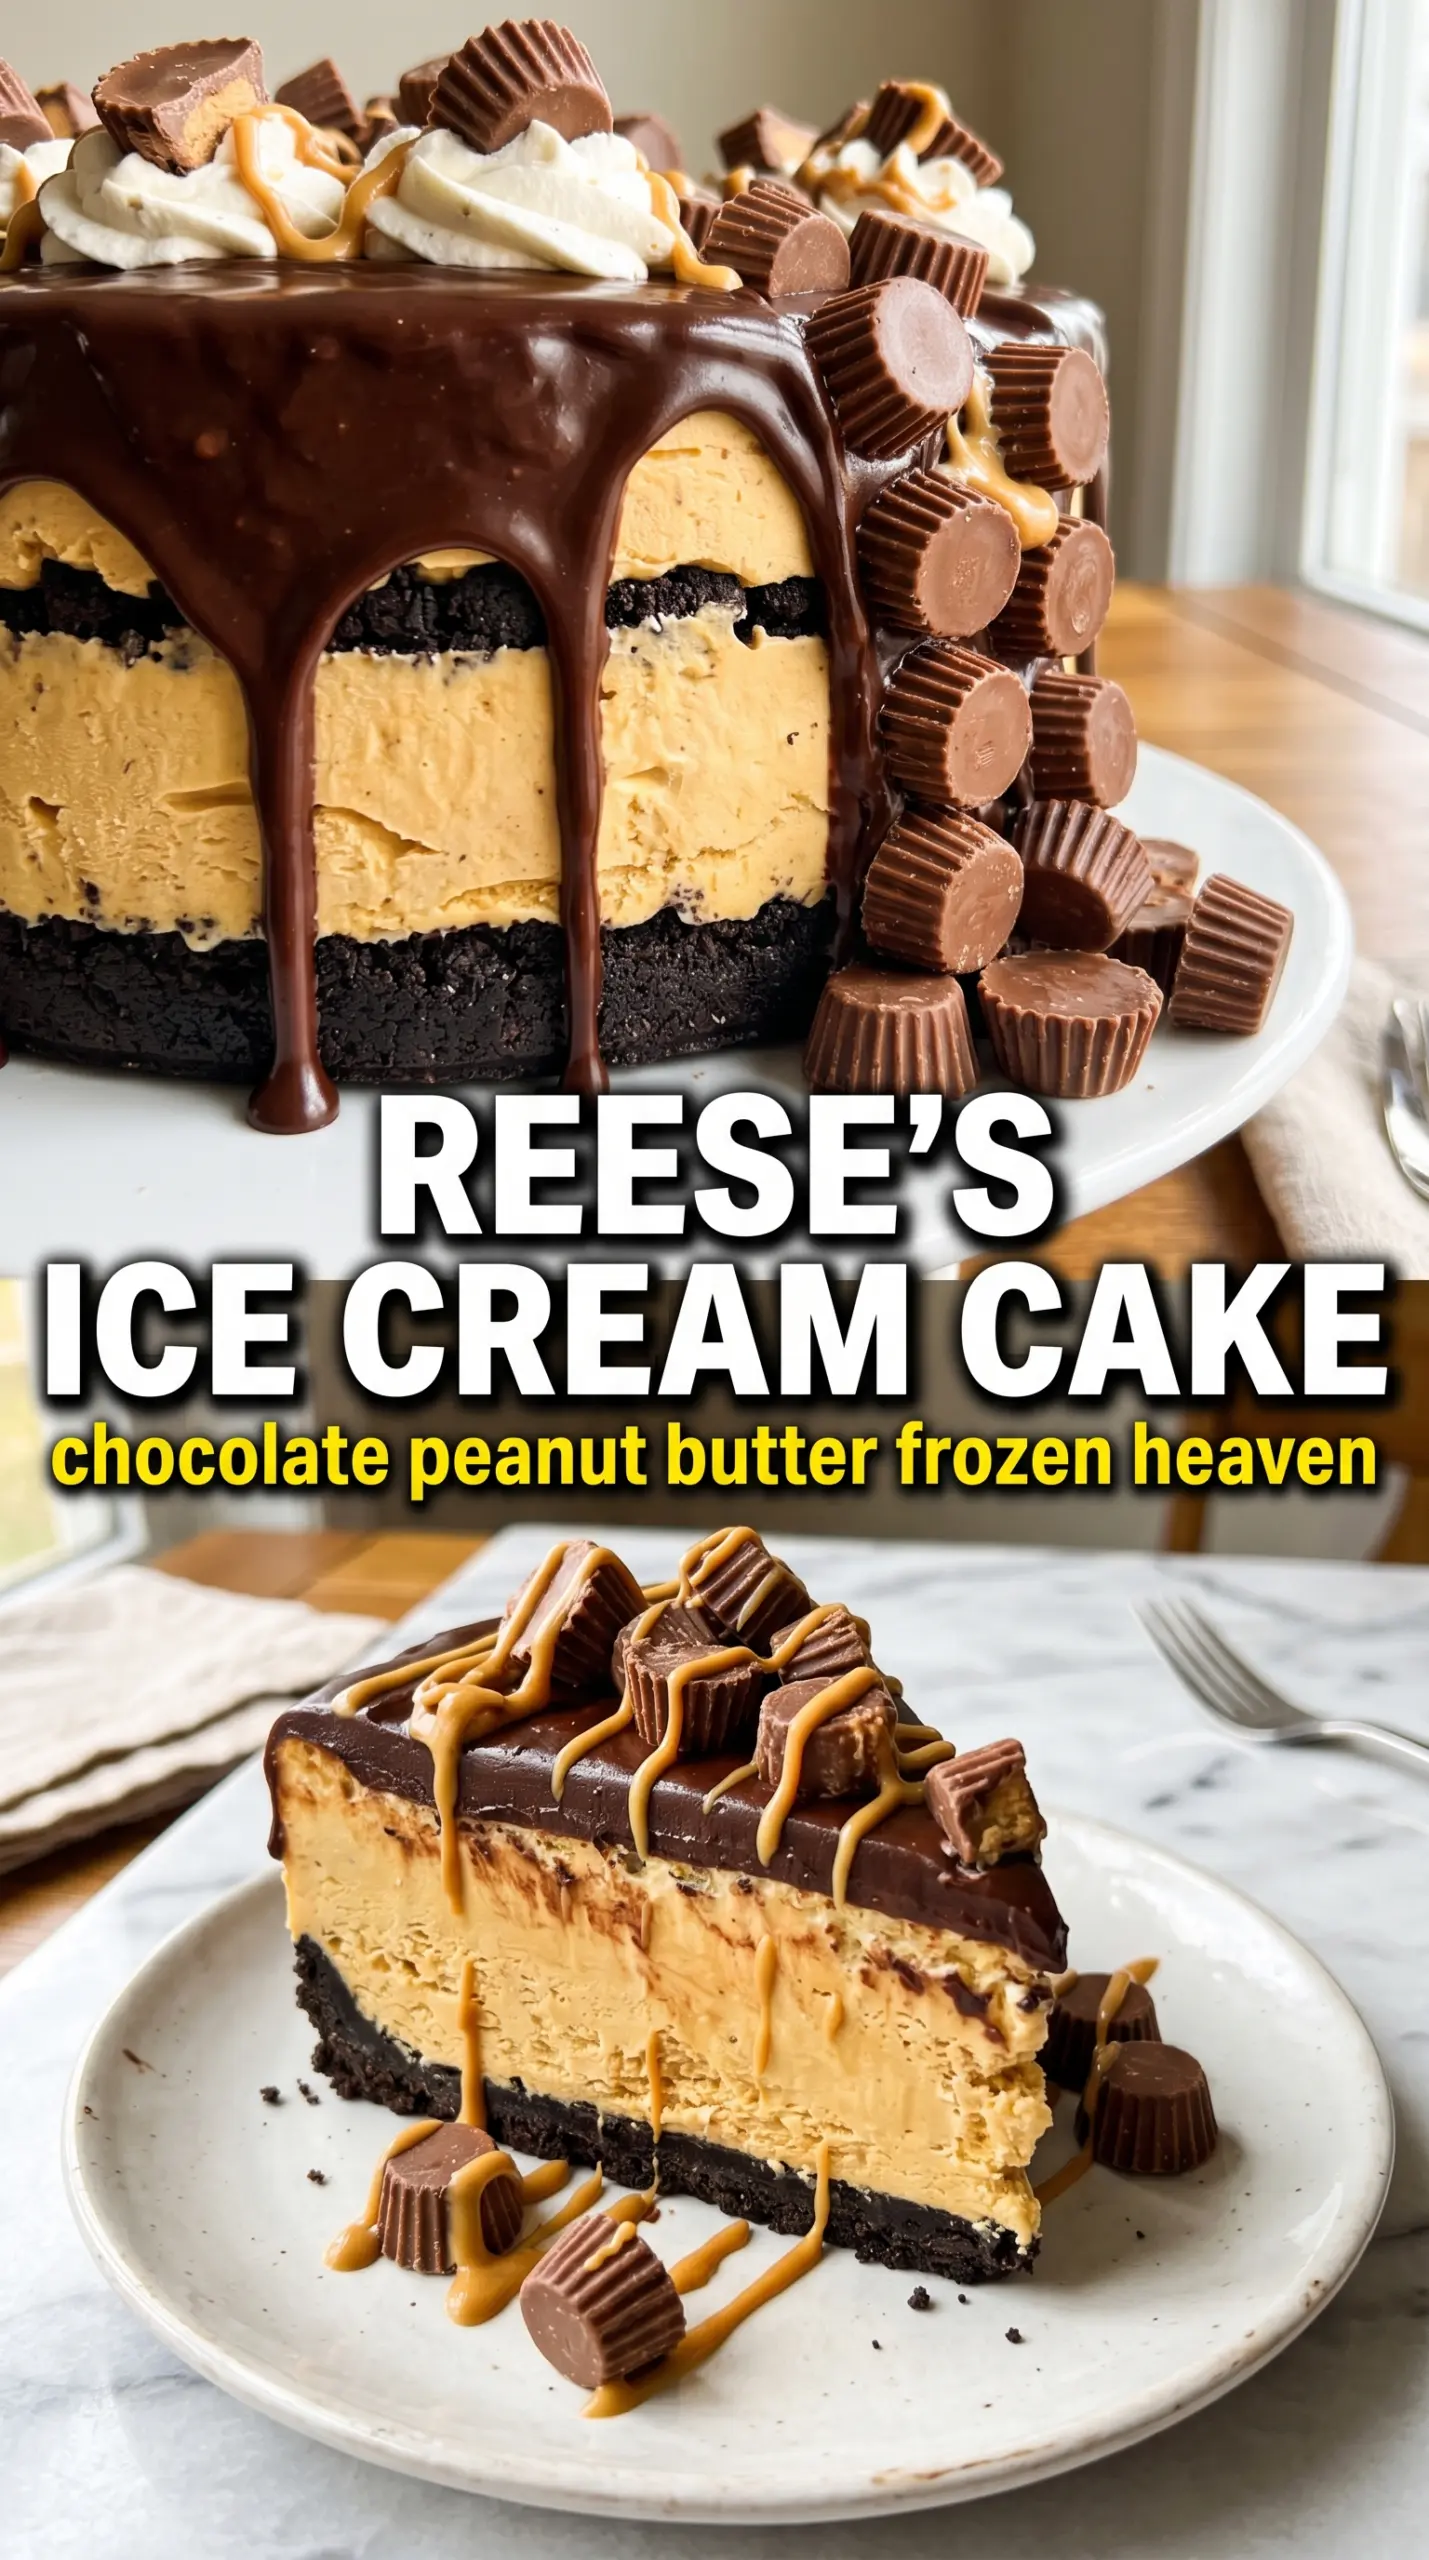
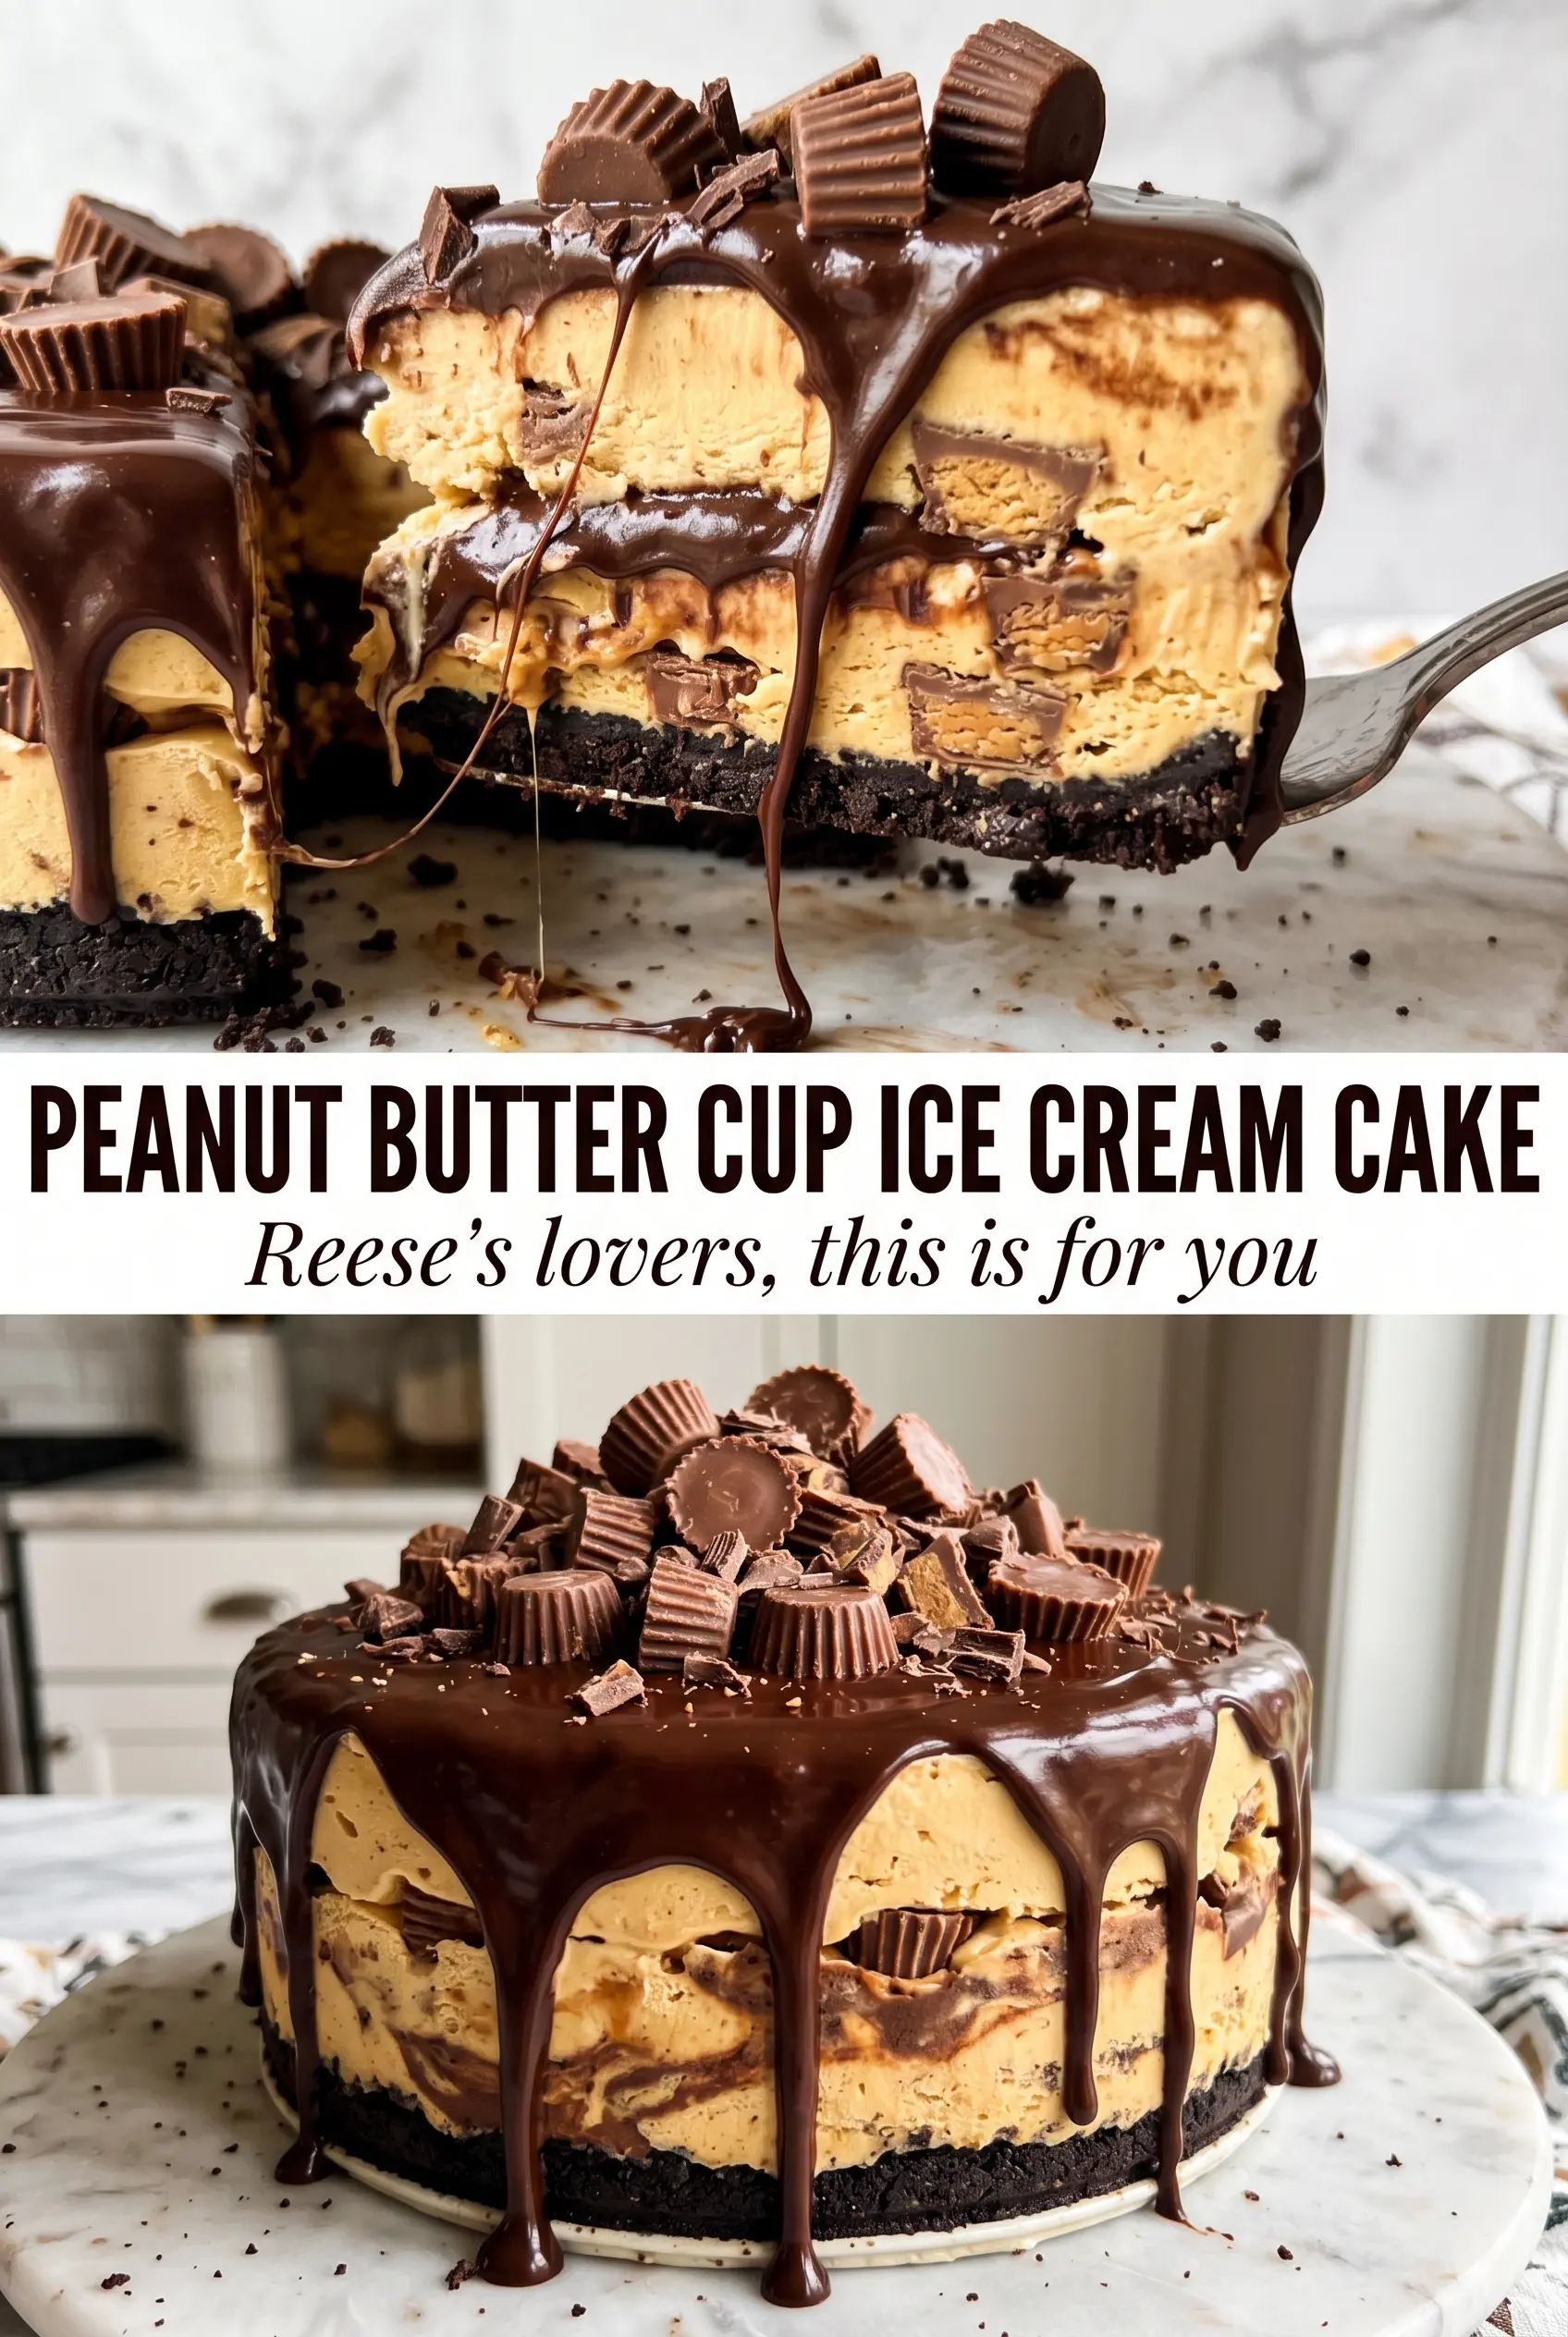
Chocolate ice cream, peanut butter, and Reese’s cups land together in a frozen cake that cuts cleanly, holds its shape, and tastes like the best part of a candy store freezer case. The chocolate Oreo crust gives each bite a little crunch before the soft ice cream and peanut butter swirl take over, and the ganache top adds that glossy finish that makes the whole thing feel celebration-worthy without turning fussy.
The trick here is keeping each layer distinct. Softened ice cream spreads without tearing up the crust, warmed peanut butter drizzles instead of clumping, and the freezing time between layers gives you those clean stripes when you slice. If you rush the middle freeze, the ganache sinks and the candy pieces slide, so the extra time pays off in a better-looking cake and a better texture.
Below, I’ve included the small details that matter most: how warm the peanut butter should be, when to add the candy pieces so they stay noticeable, and a few variations if you want to change the flavor without losing the structure.
The peanut butter swirl stayed creamy instead of freezing hard, and the Oreo crust sliced cleanly after the full chill. I made it the night before, and the layers looked just as neat the next day.
Pin this peanut butter cup ice cream cake for a make-ahead dessert with crisp Oreo layers, creamy peanut butter swirls, and a clean frozen slice.
The Freeze Time That Keeps the Layers Clean
The biggest mistake with an ice cream cake is treating it like a single assembly job. If the crust isn’t firm before the ice cream goes in, the cookies smear into the filling and the base turns muddy instead of crisp. A short freeze after pressing in the Oreo crumbs gives you a foundation that can hold the weight of the ice cream layer.
The second freeze matters even more. Once the peanut butter swirl is on top, the cake needs enough time to set all the way through before the ganache goes on. If the center is still soft, the topping slides and the chopped peanut butter cups sink instead of sitting on the surface where they belong.
Why These Ingredients Matter More Than the Exact Order
- Oreos — These make a sturdier crust than most graham-based versions because the chocolate flavor matches the filling and the cookie crumbs pack tightly with butter. Use the whole cookie, cream and all; that filling helps the crust bind.
- Unsalted butter — Just enough melted butter turns the crumbs into a sliceable base. If the mixture looks sandy and won’t hold together when squeezed, it needs a little more butter, but add it slowly so the crust doesn’t turn greasy.
- Chocolate ice cream — This is the body of the cake, so choose a brand that stays creamy after freezing. Let it soften until it’s spreadable but not melty; soupy ice cream will refreeze with ice crystals and make the texture grainy.
- Creamy peanut butter — Warm it just enough to drizzle in ribbons. Natural peanut butter can work, but it needs a good stir and may set a little firmer than standard creamy peanut butter.
- Reese’s peanut butter cups — Chopped pieces give you pockets of candy in the filling and a decorative finish on top. Chop some fine for the center and leave the rest a little larger for the top so you get both texture and visual impact.
- Chocolate ganache — This is the lid that makes the cake feel finished. It should be cool enough to pour but still fluid; if it’s hot, it melts the ice cream surface and can make the top look streaky.
Building the Cake So the Swirl Stays Distinct
Pressing the Oreo Crust
Mix the crushed cookies with the melted butter until every crumb looks damp, then press it into the springform pan with a flat-bottomed cup or measuring cup. You want an even layer that reaches the edges and feels compact under your fingers. If the crust is loose, it breaks apart when you slice; if it’s packed firmly, it cuts like a real cake base. Freeze it for the full 15 minutes so the butter sets and locks everything in place.
Spreading the Ice Cream Layer
Fold 1 cup of the chopped peanut butter cups into the softened chocolate ice cream, then spread it over the chilled crust in an even layer. Work quickly but don’t rush the smoothing step, because ridges and dips show once the cake is frozen. If the ice cream starts melting around the edges while you’re working, the kitchen is too warm or the ice cream got too soft; pop the bowl back in the freezer for a few minutes and continue.
Swirling in the Peanut Butter
Drizzle the warm peanut butter over the ice cream in long ribbons, then drag a knife through the top just enough to marble it. The goal is visible streaks, not a fully mixed layer. If you over-swirl, the peanut butter disappears into the chocolate and you lose that rich ribbon in each slice. Freeze the cake before adding the ganache so the swirl stays in place.
Finishing with Ganache and Candy
Pour the ganache over the set cake and tilt the pan gently so it spreads to the edges. Arrange the remaining peanut butter cups on top while the ganache is still soft enough to hold them. Return the cake to the freezer for the last two hours, then let it sit at room temperature for a few minutes before slicing so the knife moves through cleanly instead of cracking the top.
Three Ways to Make This Cake Fit the Occasion
Gluten-Free Version
Use certified gluten-free sandwich cookies in place of the Oreos. The crust will still pack and slice well, and the rest of the cake stays naturally gluten-free as long as your ice cream and ganache are made without gluten-containing add-ins.
Dairy-Free Swap
Use dairy-free chocolate ice cream, plant-based butter for the crust, and a dairy-free chocolate ganache. The texture will still be rich, but the peanut butter layer may freeze a little firmer if you use a natural nut butter, so warm it well before drizzling.
Extra Peanut Butter Layer
If you want the peanut butter to stand out even more, add a thin second drizzle after the ganache has partially set. It gives you sharper peanut butter lines on top, but don’t pour it on too soon or it will blend into the chocolate.
Storage and Reheating
- Refrigerator: Not ideal for long storage. Keep leftovers in the freezer instead, since the cake softens quickly in the fridge and the layers lose their clean edges.
- Freezer: Freeze tightly covered for up to 2 weeks for the best texture. After that, the crust can start to take on freezer flavor and the ice cream may get icy around the edges.
- Reheating: No reheating needed. For the cleanest slice, let the cake sit at room temperature for 5 to 10 minutes before cutting, and wipe the knife between slices so the ganache doesn’t drag.
Questions I Get Asked About This Recipe
Peanut Butter Cup Ice Cream Cake
Ingredients
Equipment
Method
- Mix the crushed Oreo cookies with melted unsalted butter until the crumbs are evenly coated. Press the mixture firmly into a 9-inch springform pan and pack it flat, then freeze for 15 minutes until set and cold.
- Fold 1 cup of the chopped Reese's peanut butter cups into the softened chocolate ice cream. Spread the ice cream over the crust in an even layer so it reaches the edges.
- Drizzle the warmed creamy peanut butter over the ice cream in ribbons. Swirl through the top with a knife to create thick, marbled streaks visible on the surface.
- Freeze the cake for 4 hours until firm. Look for a matte, solid surface that holds shape when gently pressed.
- Pour the chocolate ganache over the frozen top and smooth it so it covers the ice cream. Arrange the remaining peanut butter cups on top in a decorative pattern for visible pops of color.
- Freeze for 2 more hours, then pipe whipped cream around the edge and serve. Slice cleanly to reveal the chocolate ice cream base with the peanut butter swirl and chopped cup pieces inside.