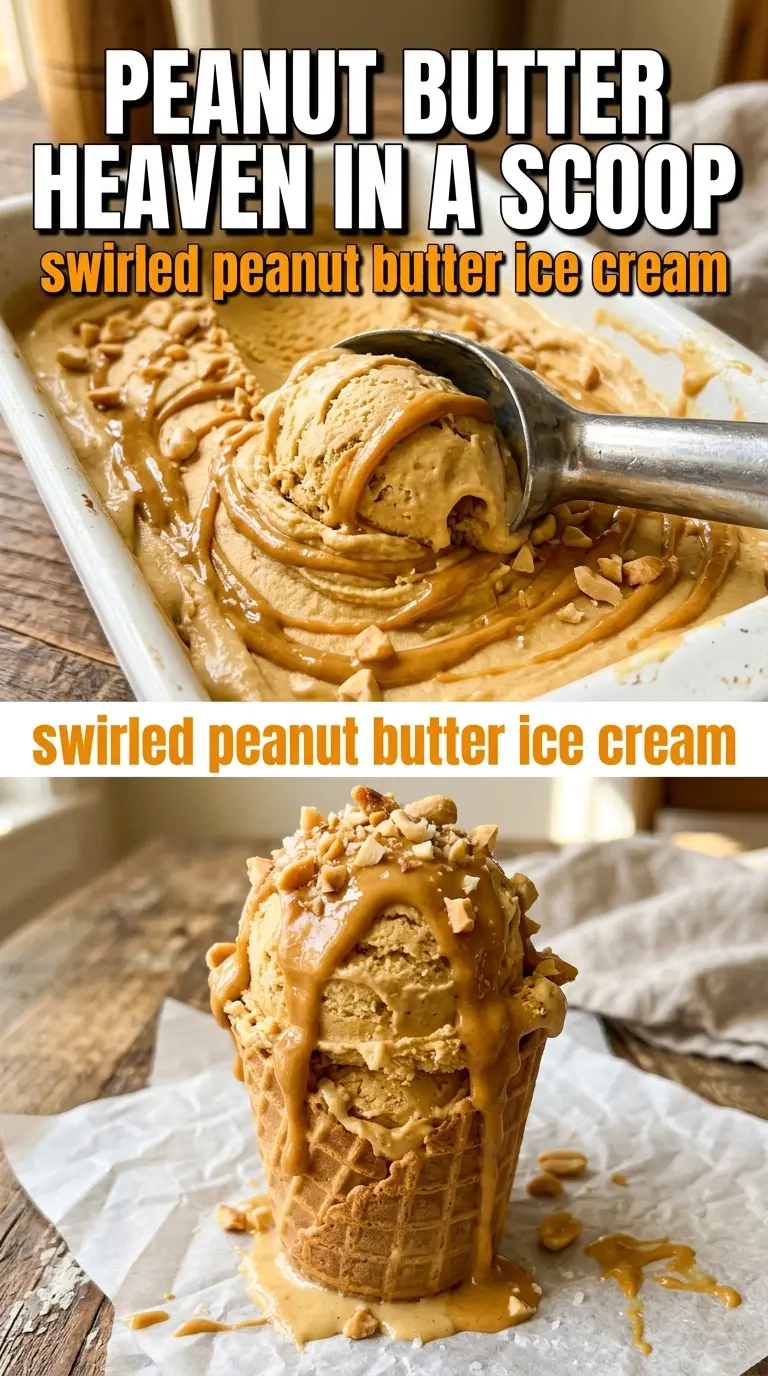
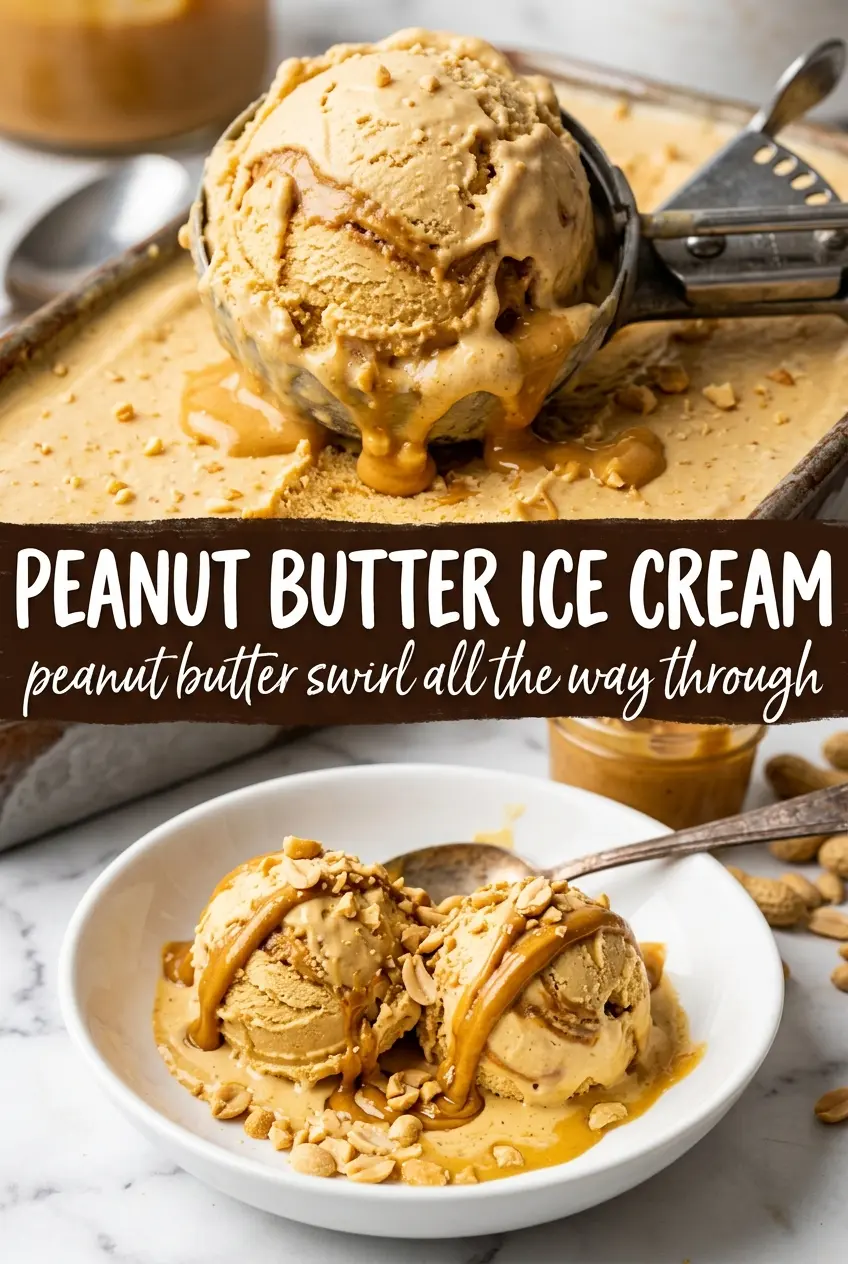
Peanut butter ice cream should taste dense, plush, and unmistakably nutty, with a creamy body that holds its shape on the spoon instead of melting into a puddle the second it leaves the bowl. This version gives you that thick custard texture and a deep roasted peanut flavor that lingers after each bite. It’s rich, but not heavy in a cloying way, which is what keeps it from tasting flat once it’s frozen.
The key is treating it like a custard first and an ice cream second. Egg yolks give the base its smooth, scoopable structure, while the peanut butter gets whisked in off the heat so it stays silky instead of turning grainy or oily. The straining step matters here, too, because it catches any little bits of cooked egg and keeps the finished texture clean and velvety.
Below, I’ll walk you through the small details that make a big difference: how to keep the custard from scrambling, how to get the peanut butter fully incorporated, and what to expect if you want to use this base for mix-ins or a peanut butter swirl.
The custard turned out so smooth, and the peanut butter flavor was bold without tasting greasy. I chilled it overnight and it churned into the creamiest ice cream I’ve made at home.
Save this peanut butter ice cream for the nights when you want a rich churned dessert with real custard body and deep peanut flavor.
The Custard Step Is What Makes This Ice Cream Scoopable
Peanut butter ice cream gets grainy or icy when the base is rushed or overheated. The custard here needs slow heat and constant stirring so the yolks thicken the mixture gently instead of turning into little bits of scrambled egg. If the custard can coat the back of a spoon and hold a clean line when you drag your finger through it, you’re in the right zone.
The other place people get into trouble is adding the peanut butter too early. Peanut butter melts in beautifully once the pan is off the heat, but it can separate if it cooks hard for too long. Removing the pan before whisking it in keeps the fat and solids emulsified, which is what gives the finished ice cream that smooth, dense body.
What Each Ingredient Is Doing in the Bowl
- Heavy cream — This brings the plush, full-fat texture that makes the ice cream taste rich instead of icy. Don’t swap in half-and-half here; the finished scoop won’t hold the same body.
- Whole milk — Milk lightens the base just enough so the peanut butter doesn’t turn it into a brick. Lower-fat milk will work in a pinch, but the texture will be less creamy and a little more brittle after freezing.
- Egg yolks — The yolks are what give you that custard-style thickness and a softer set in the freezer. Whisk them with the sugar before adding hot dairy so they temper evenly instead of cooking on contact.
- Creamy peanut butter — Use a smooth, standard peanut butter for the most reliable emulsion. Natural peanut butter can work, but it’s more likely to separate and may leave tiny oily streaks unless you stir it very well before measuring.
- Vanilla and salt — Vanilla rounds out the peanut flavor, and salt keeps the sweetness from flattening. The salt is small but important here; it makes the peanut note taste deeper and more roasted.
How to Build the Base Without Scrambling the Custard
Warming the Dairy
Heat the cream and milk until they’re steaming and small bubbles form around the edge, but don’t let them boil. If the dairy gets too hot, it narrows the margin for error when you temper the yolks. Steaming is enough to thicken the custard later without shocking the eggs.
Tempering the Yolks
Whisk the sugar into the yolks until they look lighter and a little thicker, then stream in the hot dairy slowly while whisking constantly. That gradual addition raises the yolks’ temperature without cooking them into curds. If you dump in the hot liquid all at once, the mixture can seize into little eggy bits before it ever reaches the pan.
Cooking to the Right Thickness
Return everything to the saucepan and cook over medium-low heat, stirring constantly and scraping the bottom and corners. The custard is ready at 175°F, when it coats a spoon and feels slightly thickened, not pudding-thick. Pull it too late and the eggs tighten up; pull it too early and the ice cream base can freeze with a thin, watery texture.
Blending in the Peanut Butter
Take the pan off the heat before whisking in the peanut butter. It should melt in completely, leaving the custard smooth and glossy, with no streaks or grainy pockets. If the peanut butter resists, keep whisking for another minute off the burner rather than putting the pan back on high heat, which can split the fat.
Chilling Before Churning
Strain the base through a fine mesh sieve, then add the vanilla and salt, and cool it over an ice bath before refrigerating. The ice bath stops the cooking fast, which protects the texture and keeps the peanut flavor fresh. Churning a warm base is one of the fastest ways to end up with soft, slushy ice cream that never sets properly.
How to Adapt This Peanut Butter Ice Cream Without Losing the Creamy Texture
Peanut Butter Cup Swirl
Layer in chopped peanut butter cups or a thick ribbon of fudge during the last minute of churning. Add them near the end so they stay distinct instead of dissolving into the base, and keep the add-ins small enough that they don’t freeze into hard chunks.
Dairy-Free Version
Use full-fat canned coconut milk in place of the cream and milk, and keep the peanut butter smooth. You’ll lose a little of the classic custard richness, but the coconut fat helps the ice cream stay scoopable instead of icy. Skip natural peanut butter here unless it’s well stirred and very smooth.
Extra-Roasted Peanut Flavor
Stir in 2 to 3 tablespoons of finely ground toasted peanuts after churning, or sprinkle them on top when serving. This adds crunch and pushes the peanut flavor further without changing the custard base. The tradeoff is a slightly less smooth scoop, so keep the amount modest.
Storage and Reheating
- Refrigerator: The churned ice cream should be eaten from the freezer, not the fridge. Once churned, keep it frozen in an airtight container for up to 2 weeks for the best texture.
- Freezer: It freezes well, but press parchment or wax paper directly onto the surface before sealing the container to limit ice crystals.
- Reheating: Not applicable. For the cleanest scoop, let the container sit at room temperature for 5 to 10 minutes before serving instead of microwaving, which melts the outside before the center loosens.
Answers to the Questions Worth Asking
Peanut Butter Ice Cream
Ingredients
Equipment
Method
- In a saucepan, heat the heavy cream and whole milk until steaming, not boiling.
- In a bowl, whisk the egg yolks with the granulated sugar until smooth, then slowly whisk the steaming cream-milk mixture into the yolks.
- Return the mixture to the saucepan and cook over medium-low heat, stirring constantly, until the custard reaches 175°F.
- Remove from heat and whisk in the creamy peanut butter until completely smooth.
- Strain the custard through a fine mesh sieve, then whisk in the vanilla and salt.
- Cool the custard over an ice bath until it is cold.
- Refrigerate the custard at least 4 hours or overnight until thoroughly chilled.
- Churn the chilled custard in an ice cream maker according to the manufacturer’s instructions until it thickens like soft-serve.
- Transfer to a freezer-safe container and freeze until firm.