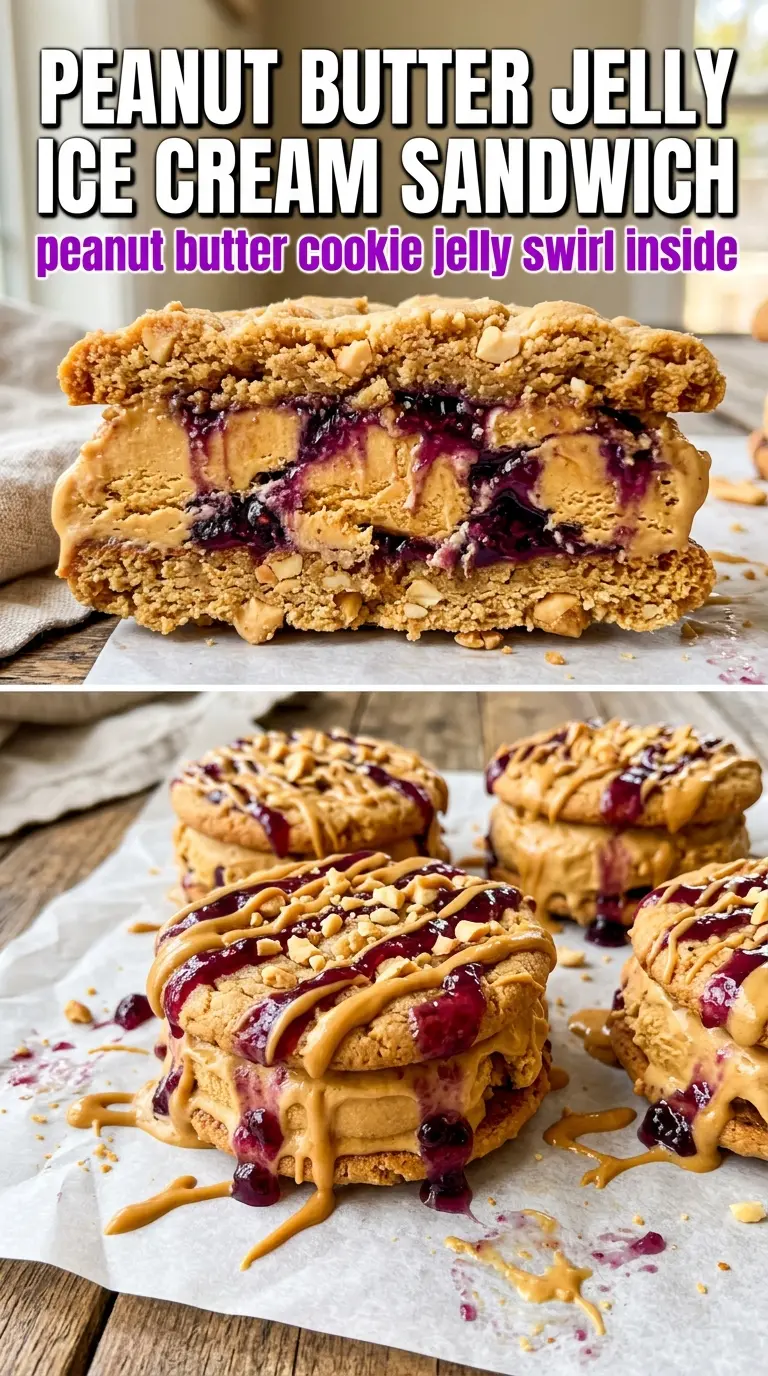
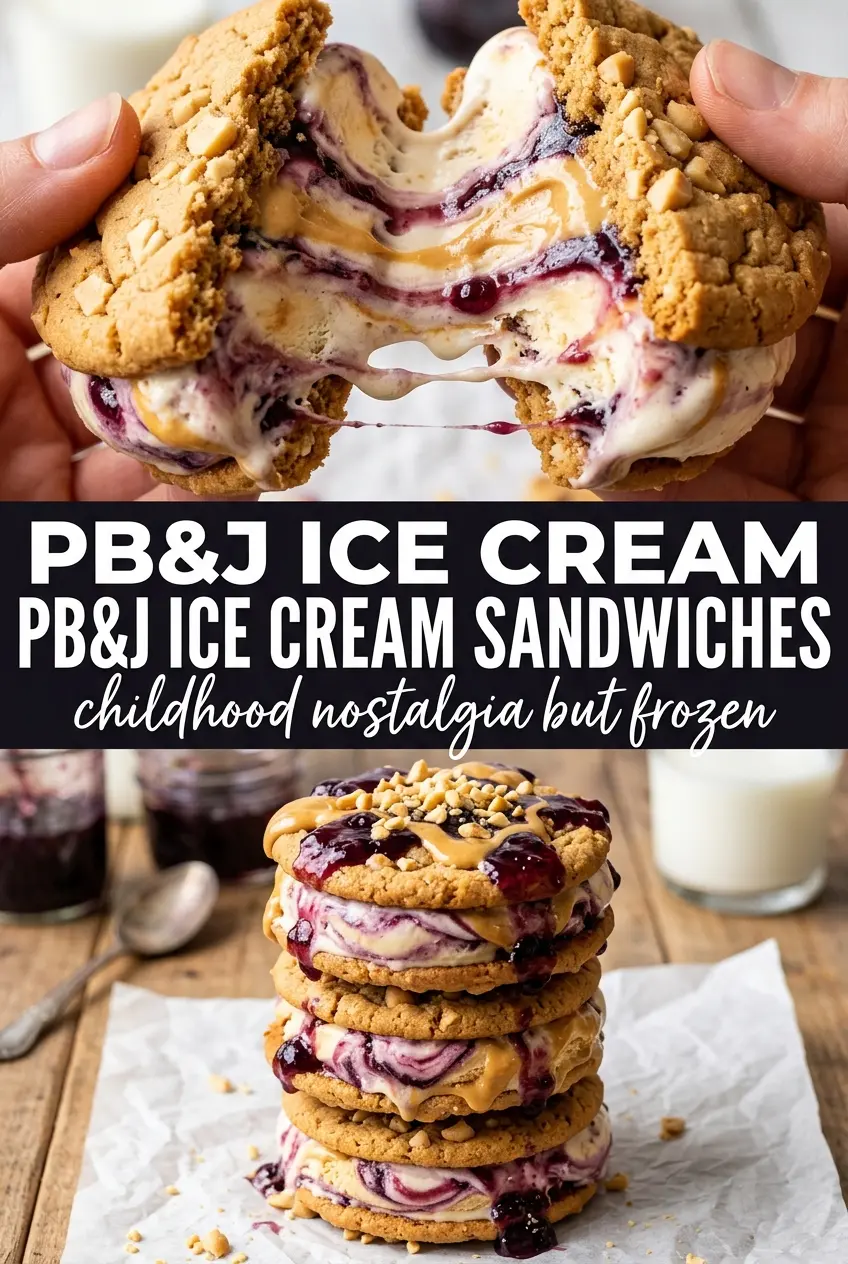
Thick peanut butter cookies and strawberry-jam swirled vanilla ice cream make these ice cream sandwiches feel like the childhood lunchbox classic grew up and landed in the freezer. The cookies bake up soft in the center with crisp edges, which matters here because a brittle cookie shatters the second you bite into a frozen sandwich. This version keeps the cookies substantial enough to hold the filling, but not so hard that the whole thing turns into a jaw workout.
The trick is starting with softened ice cream, then swirling in the jam instead of fully stirring it through. That gives you little ribbons of fruit in every bite without thinning the ice cream or muddying the flavor. A quick freeze after assembling helps the cookies set around the filling, and the peanut coating on the edges adds just enough crunch to keep each bite interesting.
Below you’ll find the best way to keep the cookies sturdy, how to work fast with softened ice cream, and a few smart swaps if you want to use grape jelly instead of strawberry or make these ahead for a crowd.
The cookies stayed soft even after freezing, and the jam swirls kept the filling from tasting flat. I used grape jelly and the peanut coating on the edges was the best part.
Peanut Butter and Jelly Ice Cream Sandwiches with jam swirls and peanut edges are worth keeping on hand for a make-ahead summer dessert.
The Cookie Texture That Keeps Frozen Sandwiches From Falling Apart
The biggest mistake with ice cream sandwiches is using a cookie that bakes up too crisp. Once frozen, that kind of cookie cracks instead of yielding, and the filling squishes out the sides before you get a clean bite. These peanut butter cookies need to be fully cooled, but they should still have enough chew to stay friendly after a trip to the freezer.
The other thing that matters is size. Scoop the dough into evenly sized rounds so each sandwich seals at the same pace. If one cookie is much thicker than the other, the ice cream slides when you press them together, and the edges never line up well enough for a neat finish.
- Creamy peanut butter — Use the standard shelf-stable kind here, not natural peanut butter. Natural styles can separate and make the dough greasy, which changes how the cookies spread.
- Brown sugar — This adds moisture and a little chew, which helps the cookies stay pleasant after freezing. All white sugar will make them crisper.
- Vanilla ice cream — Choose a sturdy, good-quality ice cream with enough body to hold the jam swirl. Very airy ice cream softens too fast and gets messy during assembly.
- Strawberry or grape jam — Jam gives you concentrated fruit flavor without adding extra water the way fresh fruit would. Seedless grape jelly gives a smoother, more classic PB&J flavor, while strawberry looks prettier and tastes brighter.
What Each Component Is Actually Doing in the Freezer
The flour gives the cookies enough structure to support the filling, but the peanut butter and butter keep them tender. That balance is what keeps the sandwich from turning into a frozen brick. If the dough feels sticky, that’s normal; extra flour can make the cookies dry and brittle.
The jam doesn’t need to be fully mixed into the ice cream. In fact, leaving visible streaks is better. You get pockets of sweet fruit against the cool vanilla, and the contrast keeps every bite from tasting one-note.
Crushed salted peanuts around the edges are optional in theory, but they do a lot of work here. They add crunch, help with grip, and sharpen the sweet filling with a little salt. Chop them fairly fine so they stick instead of falling off in a cloud.
Building the Sandwich Before the Ice Cream Melts
Baking the Cookies Evenly
Beat the butter, sugars, and peanut butter until the mixture looks fluffy and lighter in color. That air helps the cookies spread in a controlled way instead of puddling out. When the flour goes in, stop mixing as soon as no dry streaks remain. Overmixing makes the cookies tougher, and tough cookies are the last thing you want once they’re frozen.
Swirling the Jam Into Soft Ice Cream
Let the ice cream soften just enough that a spoon can move through it cleanly, but don’t let it turn soupy. Stir the jam in a few times with a butter knife or spatula so it ribbons through the ice cream instead of disappearing. If the ice cream gets too soft, put it back in the freezer for 10 minutes before assembling; otherwise it slides around and leaks out the sides.
Filling, Pressing, and Freezing
Pair cookies by similar size and turn one of each pair upside down. Scoop the jammed ice cream onto the flat side, press gently with the second cookie, then roll the edges in peanuts right away before the ice cream firms up. Freeze the sandwiches on a parchment-lined tray for at least an hour so the filling sets and the cookies lock together. If you wrap them before that first freeze, they tend to stick to the wrapper and lose their shape.
How to Adapt These for Different Freezers, Jelly Jars, and Crowd Sizes
Swap the Jam Flavor
Strawberry gives a brighter, fruitier sandwich, while grape jelly leans into the classic PB&J taste. Apricot works too if you want something a little sharper, but use a smooth jam so it swirls cleanly through the ice cream.
Make It Gluten-Free
A good 1:1 gluten-free flour blend will work here because the cookies need structure more than delicacy. Expect a slightly more tender, less chewy cookie, so keep an eye on the bake time and pull them when the edges are set.
Make It Dairy-Free
Use a plant-based butter that bakes well and a dairy-free vanilla ice cream with a dense texture. The flavor will still land, but softer frozen desserts may melt faster during assembly, so work with smaller batches and refreeze between steps if needed.
Store Them for Later
Freeze the assembled sandwiches on a tray until solid, then wrap each one tightly in parchment and store them in an airtight container. They keep for about 2 weeks before the cookies start to pick up freezer flavor. Eat them straight from the freezer; letting them sit too long makes the ice cream melt before the cookie softens.
Answers to the Questions Worth Asking
Peanut Butter and Jelly Ice Cream Sandwiches
Ingredients
Equipment
Method
- Preheat oven to 350F, then whisk all-purpose flour, baking soda, and salt in a bowl until evenly combined.
- In a stand mixer, beat unsalted butter, granulated sugar, brown sugar, and creamy peanut butter until fluffy.
- Add eggs and vanilla extract, then mix until smooth and fully incorporated.
- Stir the flour mixture into the peanut butter mixture until a thick dough forms.
- Scoop dough into large rounds and place on a sheet pan, then press a crosshatch with a fork on each cookie.
- Bake for 10-12 minutes at 350F, then cool completely.
- Stir strawberry or grape jam through softened vanilla ice cream just until pink swirls form.
- Sandwich the jam ice cream between two peanut butter cookies.
- Roll the edges in crushed salted peanuts so the filling is coated on the sides.
- Freeze the assembled sandwiches for at least 1 hour to firm up before serving.