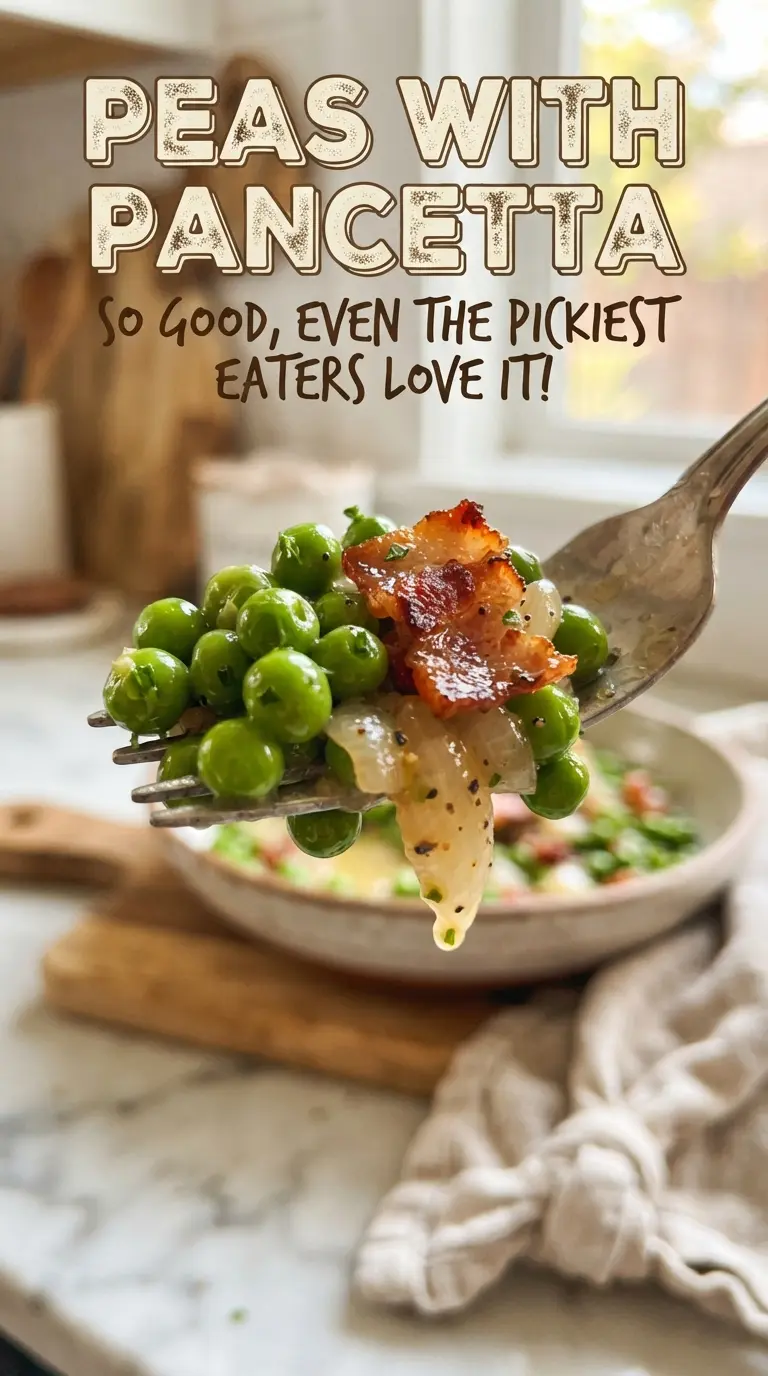
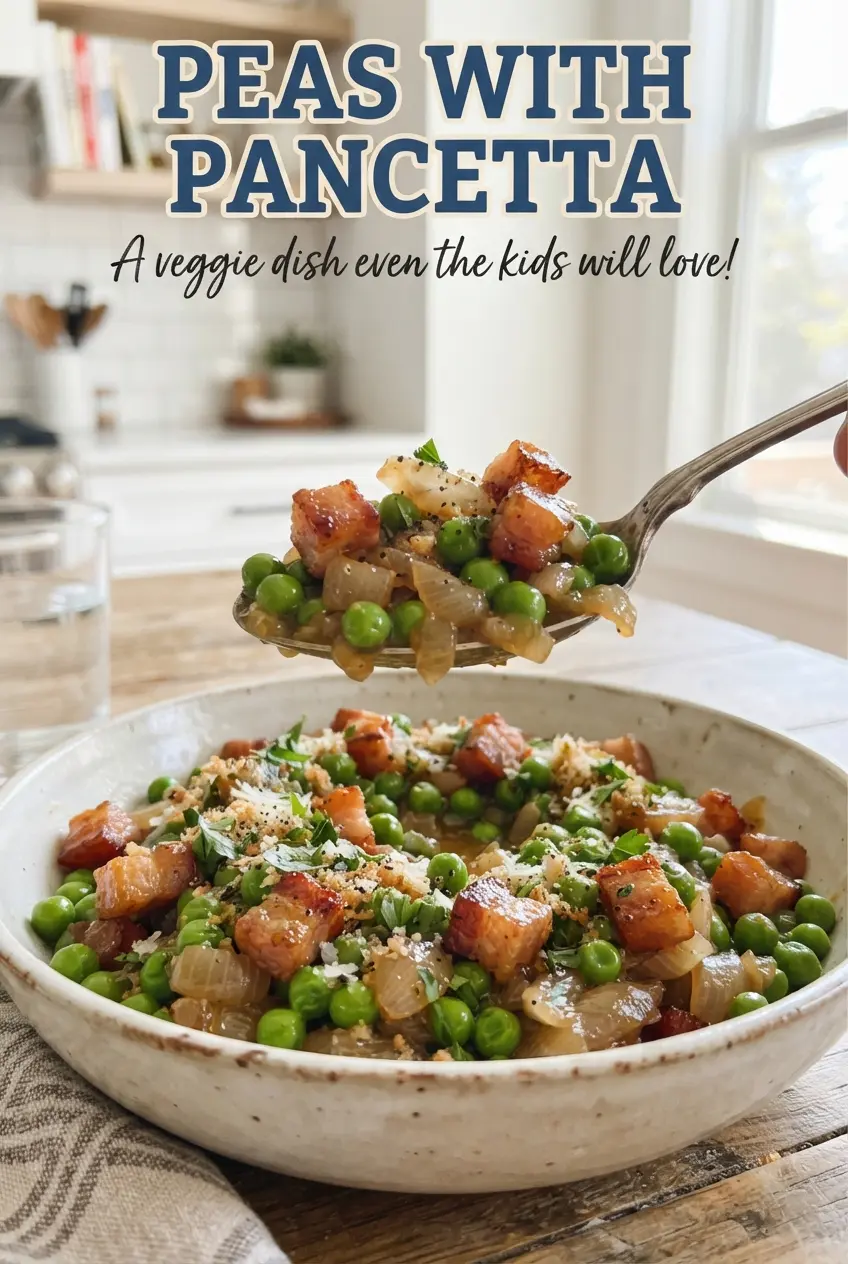
Peas with pancetta is the kind of side dish that disappears before the main course gets a fair shot. The peas stay sweet and tender, the pancetta turns crisp and salty, and the whole pan gets finished with butter and lemon zest so it tastes far more polished than the short ingredient list suggests. It’s the balance that makes it work: enough richness to feel special, enough brightness to keep it from going heavy.
The trick is giving the pancetta time to render before anything else goes in. That fat becomes the cooking base for the shallot and garlic, which means every layer picks up a little savory depth instead of tasting separately added at the end. Frozen peas are the right choice here because they go from freezer to bright green in minutes, and they keep a clean snap if you stop cooking as soon as they’re hot.
Below, you’ll find the small timing details that keep the peas sweet, plus a few smart swaps and serving notes if you want to make this side dish fit what’s already in your kitchen.
The pancetta got crisp, the peas stayed bright, and the butter with lemon zest made it taste like a restaurant side. I served it with roast chicken and there wasn’t a spoonful left.
Save this peas with pancetta recipe for a fast Italian side with crisp pancetta, sweet peas, and lemony butter.
The Reason the Peas Stay Sweet Instead of Going Flat
The biggest mistake with peas is cooking them like they need time. They don’t. Frozen sweet peas only need enough heat to lose their chill and turn bright green, and if you leave them in the pan too long, they go dull and starchy fast. The other trap is starting with butter instead of pancetta fat. Pancetta gives you a savory base with enough salt and depth that the peas taste seasoned all the way through, not just coated on top.
- Pancetta — Dice it small so it renders evenly and crisps in the time it takes to prep the shallot. Thick chunks can stay chewy when what you want here is little golden edges.
- Shallot — It softens into the fat and adds sweetness without the sharper bite of onion. Mince it finely so it melts into the pan instead of standing out.
- Frozen sweet peas — These are the right peas for this dish because they hold their shape and color. Fresh peas can work if you have them, but they need only a brief warm-up, not a long simmer.
- Chicken broth — Use it to create a little steam and help the peas heat through without drying out. Water will work in a pinch, but the broth adds a roundness that keeps the dish from tasting lean.
- Lemon zest and mint — These go in at the end for lift. If you add them too early, the lemon fades and the mint loses its clean, fresh edge.
What Each Ingredient Is Actually Doing in This Recipe
- Primary ingredient (the star) — Quality matters most. Choose the best you can find.
- Cooking medium (oil, butter, or broth) — This carries flavors and prevents dryness.
- Seasonings (salt, pepper, spices, herbs) — Layer flavors so nothing overpowers. Build depth gradually.
- Aromatics (garlic, onion, herbs) — Cook with fat to bloom flavors. Become the foundation.
- Supporting ingredients — Complement the main ingredient without overpowering it.
- Sauce or liquid (if applicable) — Brings flavors together. Balance richness with acid.
- Acid (lemon, vinegar, wine, or other) — Brightens and prevents flat-tasting results.
- Final finish (garnish, glaze, or sauce) — Prevents one-dimensional taste and adds visual appeal.
Building the Pan in the Right Order
Rendering the Pancetta
Start the pancetta in olive oil over medium heat and give it time to release its fat and turn crisp around the edges. If the pan is too hot, the outside browns before the fat has a chance to render, and you lose both texture and flavor. When it’s ready, scoop out about half for topping later; that reserved pancetta keeps the final dish from tasting one-note.
Softening the Shallot and Garlic
Add the shallot to the same pan and cook just until it turns glossy and softened. Then stir in the garlic for about 30 seconds, long enough to smell fragrant but not long enough for it to brown. Garlic burns quickly in pancetta fat, and once it turns bitter, there’s no fixing it.
Warming the Peas Without Overcooking Them
Tip in the frozen peas and broth and cook until the peas are bright green and heated through. The broth should mostly disappear, leaving just enough moisture to glaze the pan. If the pan looks dry before the peas are hot, add a splash more broth instead of raising the heat; high heat is what turns peas wrinkled and dull.
Finishing With Butter and Zest
Take the pan off the heat and stir in the butter and lemon zest. Off heat is where the dish goes from good to polished, because the butter melts into a light coating instead of separating in the pan. Season with salt and pepper, then top with the reserved pancetta and fresh mint right before serving so the crisp bits stay crisp.
How to Adapt Peas with Pancetta Without Losing the Point
Make it dairy-free
Skip the butter and finish with a little extra olive oil. You’ll lose some of the rounded richness, but the pancetta fat and lemon zest still carry the dish well. If you want a slightly fuller finish, add an extra teaspoon of olive oil at the end instead of trying to replace butter with a plant-based spread.
Use bacon instead of pancetta
Bacon works, but it brings a smokier, more assertive flavor and usually more rendered fat. Cut it small and taste before adding extra salt, because bacon can push this dish over the line fast. Pancetta stays a little cleaner and more savory, which is why it’s my first choice.
Make it vegetarian
Leave out the pancetta and start with olive oil plus a tablespoon of finely chopped shallot cooked a little longer for sweetness. Add a pinch of smoked salt or a few drops of soy sauce if you want that savory depth back. The texture will be lighter, but the lemon and mint still keep it lively.
Use fresh herbs for a brighter finish
Mint gives a fresher, cooler finish, while parsley keeps the flavor more neutral and savory. Chop either one just before serving so it stays vivid. If you use dried herbs here, they’ll taste dusty and out of place.
Storage and Reheating
- Refrigerator: Store leftovers in an airtight container for up to 3 days. The peas will soften a bit, but the flavor stays good.
- Freezer: I don’t recommend freezing this dish. The peas lose their pleasant texture and the pancetta goes chewy after thawing.
- Reheating: Warm it in a skillet over low heat with a small splash of broth or water. Don’t blast it in the microwave for long intervals or the peas can split and the pancetta turns rubbery.
Answers to the Questions Worth Asking
Peas with Pancetta
Ingredients
Equipment
Method
- Heat olive oil in a cast iron skillet over medium heat and cook diced pancetta for 6-8 minutes until crisp; remove half of the pancetta to use as topping.
- Add minced shallot to the skillet and cook for 2 minutes until softened; stir in minced garlic and cook for 30 seconds.
- Add frozen sweet peas and chicken broth to the skillet, then cook for 4-5 minutes until the peas are bright green and hot.
- Stir in butter and lemon zest, then season with salt and pepper to taste.
- Top with the reserved pancetta and chopped fresh mint or parsley, then serve immediately.