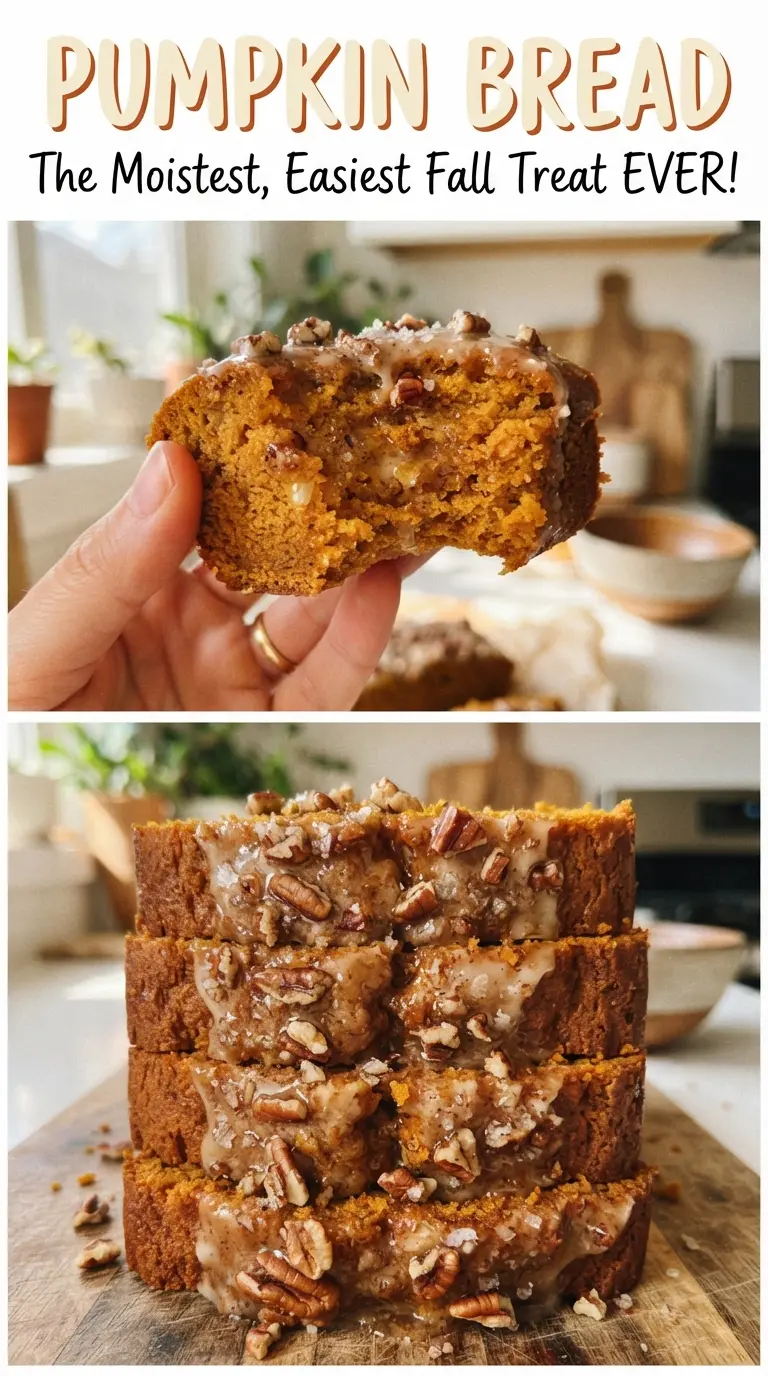
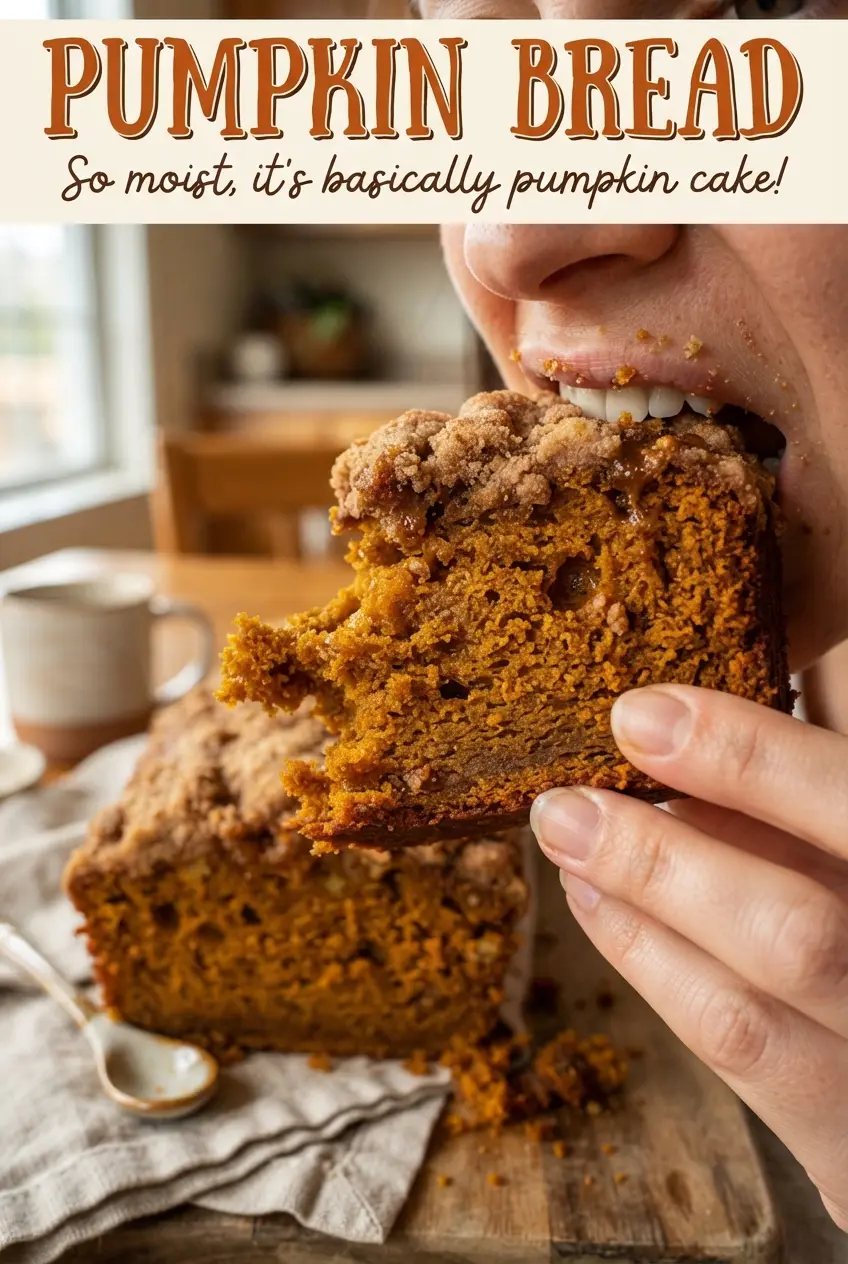
Pumpkin bread should slice cleanly, stay tender for days, and taste like warm spice without turning cakey or heavy. The best loaves have a moist, almost custardy crumb in the center and a thin crackly top that shatters a little when you cut into it. That balance is what keeps this loaf worth making again and again.
This version gets there with a straightforward batter and a light hand. Pumpkin puree brings moisture and body, brown sugar adds depth, and the mix of pumpkin pie spice plus cinnamon keeps the flavor rounded instead of flat. The sugar sprinkled on top bakes into a crisp little lid, which is a small detail that makes a big difference in both texture and appearance.
Below, I’ll walk through the one mixing step that matters most, what each ingredient is doing in the loaf, and the easiest way to keep the center from sinking or turning dense. If you’ve ever had pumpkin bread come out gummy, this method fixes the usual trouble spots.
The loaf came out unbelievably moist and the sugar top gave it that little crackly finish I usually only get from bakery pumpkin bread. I baked it for 58 minutes and it sliced beautifully once it cooled.
Save this pumpkin bread for the loaf with the crackly sugar top and soft, spiced crumb.
The Stirring Mistake That Makes Pumpkin Bread Dense
Pumpkin bread turns heavy when the flour gets overworked. Once the dry ingredients hit the wet bowl, stop as soon as the last streaks disappear. The batter should look thick and a little lumpy, not silky smooth. That rough-looking finish is what keeps the crumb tender after baking.
The other trap is overbaking. Pumpkin puree holds a lot of moisture, so the loaf can look done before the center is actually set. Pull it when a toothpick comes out clean or with a few moist crumbs, then let it sit in the pan for 15 minutes before moving it to a rack. That short rest helps the middle finish setting without drying out the edges.
- Pumpkin puree — Use canned puree, not pumpkin pie filling. Pie filling already has sugar and spice mixed in, and that throws off both the sweetness and the texture of the loaf.
- Brown sugar — This adds a deeper, almost caramel note and helps keep the bread moist. If you only have white sugar, the loaf will still work, but the flavor will be flatter.
- Vegetable oil — Oil keeps the crumb soft even after the bread cools. Melted butter gives a richer taste, but it also sets firmer, so the loaf won’t stay quite as plush.
- Milk — This loosens the batter just enough for an even bake. Any plain milk works here, and a dairy-free milk swap is fine as long as it’s unsweetened.
What Each Ingredient Is Actually Doing in This Loaf
- All-purpose flour — This gives the loaf structure without making it bready. Don’t swap in a heavier flour blend unless you know it behaves well in quick breads, or the crumb can turn tight.
- Baking soda — It reacts with the brown sugar and pumpkin to help the bread rise. If yours is old, the loaf will bake up flatter and denser.
- Pumpkin pie spice and cinnamon — Together, they give the bread its warm backbone. Pumpkin puree tastes mild on its own, so the spices need to do real work here.
- Eggs — They bind the batter and help the center set. Room-temperature eggs blend faster and keep the batter more even, but cold eggs will still work.
- Granulated sugar on top — This is the small detail that makes the crust crackly instead of soft. One tablespoon is enough; any more and the top can turn hard instead of crisp.
Keeping the Loaf Tender from Batter to Slice
Mixing the Wet Base
Whisk the pumpkin, oil, eggs, sugars, milk, and vanilla until the mixture looks smooth and glossy. You want the sugar mostly dissolved and the oil fully dispersed so the batter bakes evenly. If the mixture looks separated at this stage, keep whisking a little longer before adding the flour. That prevents little oily pockets in the finished loaf.
Bringing in the Dry Ingredients
Fold the flour mixture into the wet ingredients just until no dry streaks remain. The batter should still look thick, and a few small lumps are fine. If you keep stirring after that point, the gluten tightens and the loaf bakes up rubbery instead of soft. A spatula works better than a whisk here because it lets you stop at the right moment.
Baking to the Right Center
Scrape the batter into the prepared pan and level it gently, then sprinkle the top with the remaining sugar. Bake until the top is domed, deeply golden, and a toothpick inserted in the center comes out clean. If the top browns too quickly before the middle is done, tent it loosely with foil for the last 10 to 15 minutes. Letting the loaf cool in the pan for 15 minutes keeps it from tearing when you lift it out.
Chocolate Chip Pumpkin Bread
Fold 3/4 cup chocolate chips into the batter at the very end. The chips melt into little pockets that make the loaf taste more dessert-like, but they also add a bit of richness, so the pumpkin spice reads softer. Keep the sugar topping in place if you want the same crackly top.
Gluten-Free Pumpkin Bread
Use a 1:1 gluten-free baking blend that already includes xanthan gum. The texture will be a little more delicate and the loaf may need an extra few minutes in the oven, but it should still slice well once fully cooled. Don’t swap in almond flour alone or the structure will fall apart.
Dairy-Free Version
Use any plain unsweetened non-dairy milk in place of the milk. Since the recipe already uses oil instead of butter, there’s no other change needed. The crumb stays just as tender, and the flavor stays centered on pumpkin and spice.
Storage and Reheating
- Refrigerator: Store tightly wrapped for up to 5 days. The loaf stays moist, though the top will soften after the first day.
- Freezer: Pumpkin bread freezes well. Wrap the cooled loaf or individual slices tightly, then freeze for up to 3 months.
- Reheating: Thaw at room temperature, then warm slices briefly in the microwave or a low oven. Don’t blast it on high heat or the edges dry out before the center warms through.
Answers to the Questions Worth Asking
Pumpkin Bread
Ingredients
Equipment
Method
- Preheat the oven to 350F, then grease and line a 9x5-inch loaf pan. Use a lined loaf pan so the bread releases cleanly.
- Whisk all-purpose flour, baking soda, salt, pumpkin pie spice, and ground cinnamon in a bowl until evenly combined. The dry mix should look uniformly speckled with spices.
- Whisk pumpkin puree, vegetable oil, eggs, brown sugar, granulated sugar, milk, and vanilla extract until smooth. Stop mixing once the batter looks glossy and free of streaks.
- Fold the dry ingredients into the wet just until no flour streaks remain. Overmixing will make the loaf tougher, so mix only until combined.
- Pour the batter into the loaf pan and sprinkle the remaining granulated sugar (1 tablespoon) over the top for a crackly finish. Aim for an even layer.
- Bake at 350F for 55-65 minutes, until a toothpick comes out clean. The top should look domed and set.
- Cool the loaf for 15 minutes in the pan, then transfer to a rack before slicing. Letting it cool helps the crumb firm up for clean slices.