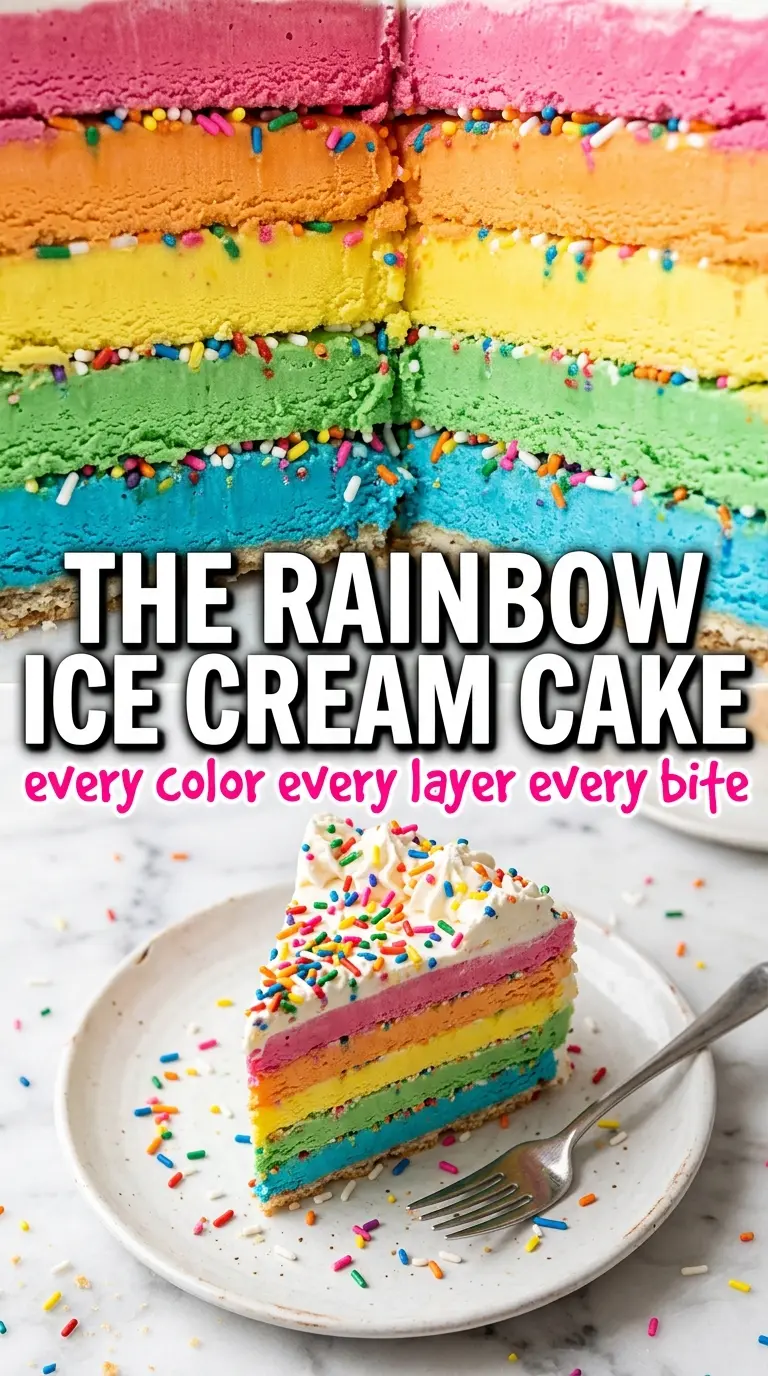
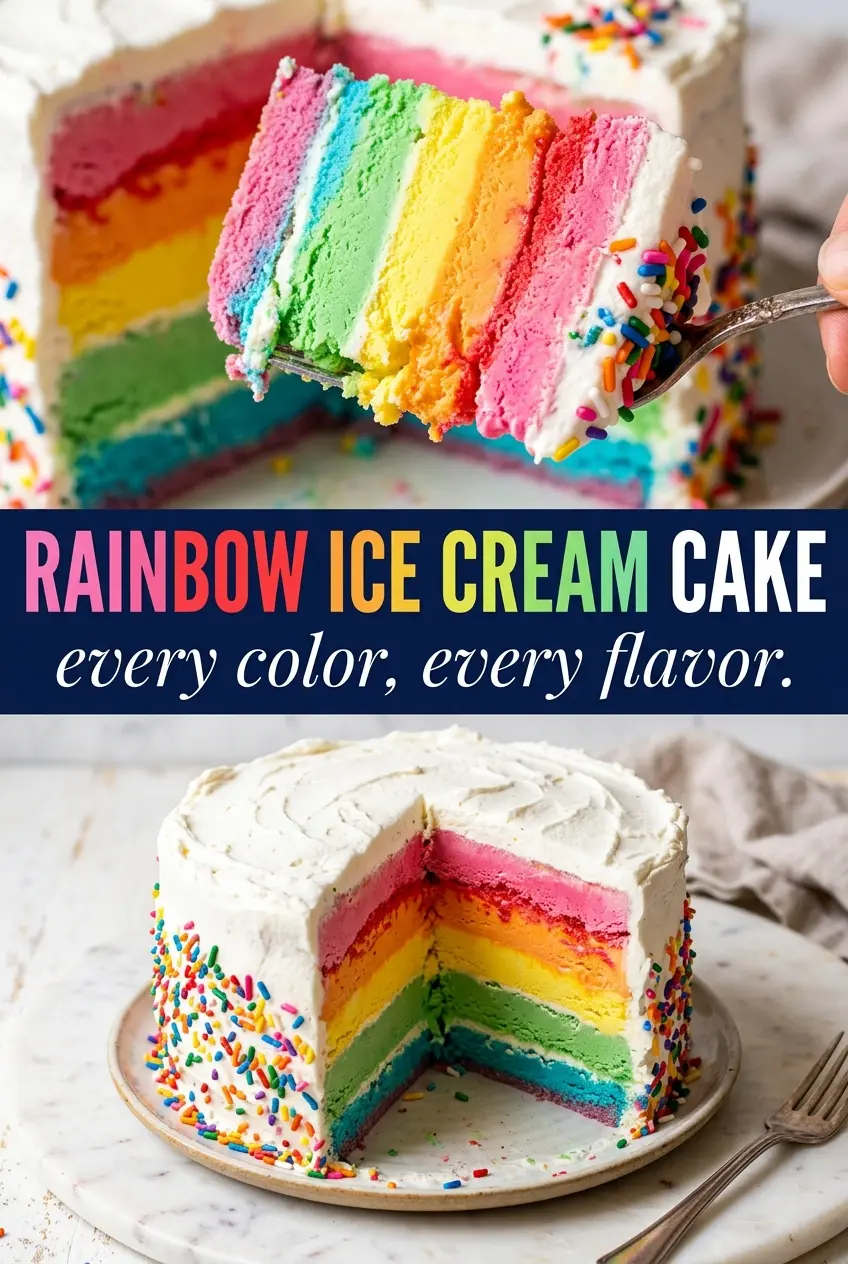
Rainbow ice cream cake lands right where a birthday dessert should: cold, creamy, bright, and a little bit dramatic when you cut into it. The layers stay clean if you build them slowly, and each slice gives you that striped reveal that makes people stop talking for a second. It looks like a bakery cake, but the whole thing is built from a simple cookie crust, soft sherbets, and whipped topping.
The trick is firmness. Each sherbet layer needs time in the freezer before the next one goes on, or the colors will bleed together and the cake will slump instead of stacking neatly. I like to let the first few layers set until they’re just firm to the touch, not rock hard, because that gives you enough time to spread the next color without tearing the one underneath. The whipped topping goes on at the end and acts like a clean white frame around all that color.
Below you’ll find the layering order that keeps the stripes sharp, the one place where rushing causes the most trouble, and a few smart swaps if you want to change the flavor mix without losing the rainbow effect.
The layers froze up cleanly and the cake sliced with those bright stripes still intact. I used a warm knife like you suggested, and every piece came out neat instead of dragging the sherbet around.
Save this rainbow ice cream cake for the birthday when you want those vivid sherbet stripes to stay clean and picture-perfect.
The Freezer Timing That Keeps the Stripes Separate
The biggest risk with a layered sherbet cake is treating it like one soft filling. Each flavor needs enough freeze time to hold its shape before the next one goes in, or the layers melt into each other and you lose that sharp rainbow look. Thin layers work best here because they freeze faster and give you cleaner lines when you slice the cake later.
The other thing that matters is working in the right order and moving fast once a layer comes out of the freezer. If the sherbet sits on the counter while you’re smoothing it, it softens at the edges first and the layers start to smear. A small offset spatula helps, but the real secret is stopping when the surface is level and getting the pan back into the freezer immediately.
What Each Ingredient Is Actually Doing in the Cake
- Oreo cookies — These make the crust sturdy enough to support the frozen layers without turning soggy. Crushing them finely helps the crust pack tightly, which matters because loose crumbs will break apart when you remove the springform ring.
- Melted butter — This is what binds the crust. You need enough to make the crumbs hold together when pressed, but not so much that the base turns greasy or brittle after freezing.
- Raspberry sorbet, orange sherbet, lemon sorbet, and lime sherbet — The flavor and color come from these layers, and the firmness of each one controls how clean the finished cake looks. Store-bought tubs are the easiest route because they’re already smooth, but let them soften just enough to spread without being runny.
- Whipped topping — This creates the white outer coat that hides the seams and gives the cake that birthday-cake finish. Thawed whipped topping spreads more evenly than homemade whipped cream here because it holds its shape better in the freezer.
- Rainbow sprinkles — They add the final birthday-cake look and help cover any small imperfections in the whipped topping. Add them right after frosting the cake so they stick before the surface firms up.
Building the Cake One Frozen Layer at a Time
Pressing the Crust
Mix the crushed cookies with melted butter until every crumb looks damp, then press the mixture firmly into the bottom of a 9-inch springform pan. Use the bottom of a measuring cup to pack it down in an even layer, because a loose crust will crumble when you slice the cake. Freeze it for 15 minutes so it sets before the first sherbet goes in.
Spreading Each Sherbet Layer
Work with one flavor at a time and keep the others in the freezer until you need them. Spread each softened sherbet into a thin, even layer, then freeze it until firm before adding the next color. If a layer starts to drag or lift the one below it, stop and chill longer; that means it’s too soft to support the next stripe.
Frosting and Finishing the Top
Once the layered cake is completely solid, remove the springform ring and cover the top and sides with whipped topping. Start with a thin coat to lock in crumbs and smooth out the shape, then add the rest in even swipes. Sprinkle generously while the topping is still soft, or the sprinkles won’t stick and the finish will look patchy.
The Final Freeze Before Slicing
Return the decorated cake to the freezer for at least 2 more hours so the outer layer firms up. This last freeze is what lets you cut clean slices without the whipped topping smearing into the sherbet. A warm knife wiped clean between cuts gives the best slices, especially if the cake has been frozen overnight.
How to Adapt the Rainbow Without Losing the Wow Factor
Swap the sherbet flavors for different colors
You can switch the fruit flavors around as long as you keep the colors distinct and the textures similar. Mango, blackberry, pineapple, and green apple work well if you want a different rainbow, but avoid anything too icy or too soft, since those freeze differently and can make uneven layers.
Make it gluten-free
Use gluten-free chocolate sandwich cookies for the crust and check that your sherbet and whipped topping are certified gluten-free. The texture stays nearly the same, and this is the easiest adjustment because the filling is naturally gluten-free once the crust is swapped.
Use homemade whipped cream instead of whipped topping
You can use stabilized whipped cream if you want a less processed finish, but it won’t hold as long in the freezer as whipped topping. If you go this route, pipe or spread it close to serving time for the cleanest look, since homemade cream can get a little rough on the surface after a long freeze.
Build it in advance for a party
This cake is ideal for making a day ahead, and it actually slices better after a long freeze. If you need more lead time, decorate it with sprinkles just before serving so they stay bright and don’t bleed color into the topping.
Storage and Reheating
- Refrigerator: Don’t store this in the refrigerator. It melts fast and the layers collapse.
- Freezer: Wrap tightly and freeze up to 1 week for the best texture. After that, the sherbet can pick up freezer flavor and the crust gets harder.
- Reheating: Not applicable. Let slices sit at room temperature for 5 to 8 minutes before serving so the knife goes through cleanly without shattering the crust.
Answers to the Questions Worth Asking
Rainbow Ice Cream Cake
Ingredients
Equipment
Method
- Press the crushed Oreo cookies and melted butter into a 9-inch springform pan to form an even crust layer, then smooth the top.
- Freeze the crust for 15 minutes until firm.
- Work quickly to spread the raspberry sorbet in a thin, even layer over the crust, keeping the surface flat.
- Freeze for 30 minutes until firm, with a clear separation from the crust.
- Spread the orange sherbet in a thin, even layer over the firm raspberry layer, then smooth to the edges.
- Freeze for 30 minutes until firm.
- Spread the lemon sorbet in a thin, even layer over the firm orange layer, then smooth again.
- Freeze for 30 minutes until firm.
- Spread the lime sherbet in a thin, even layer over the firm lemon layer, then smooth to create the final stripe.
- Freeze the completed layered cake for 4 hours until completely solid.
- Cover the top and sides with whipped topping to form a white exterior layer.
- Decorate generously with rainbow sprinkles and return the cake to the freezer.
- Freeze for 2 more hours until the whipped topping is set.
- Slice the cake to reveal the vivid rainbow sherbet layers inside the whipped topping exterior.