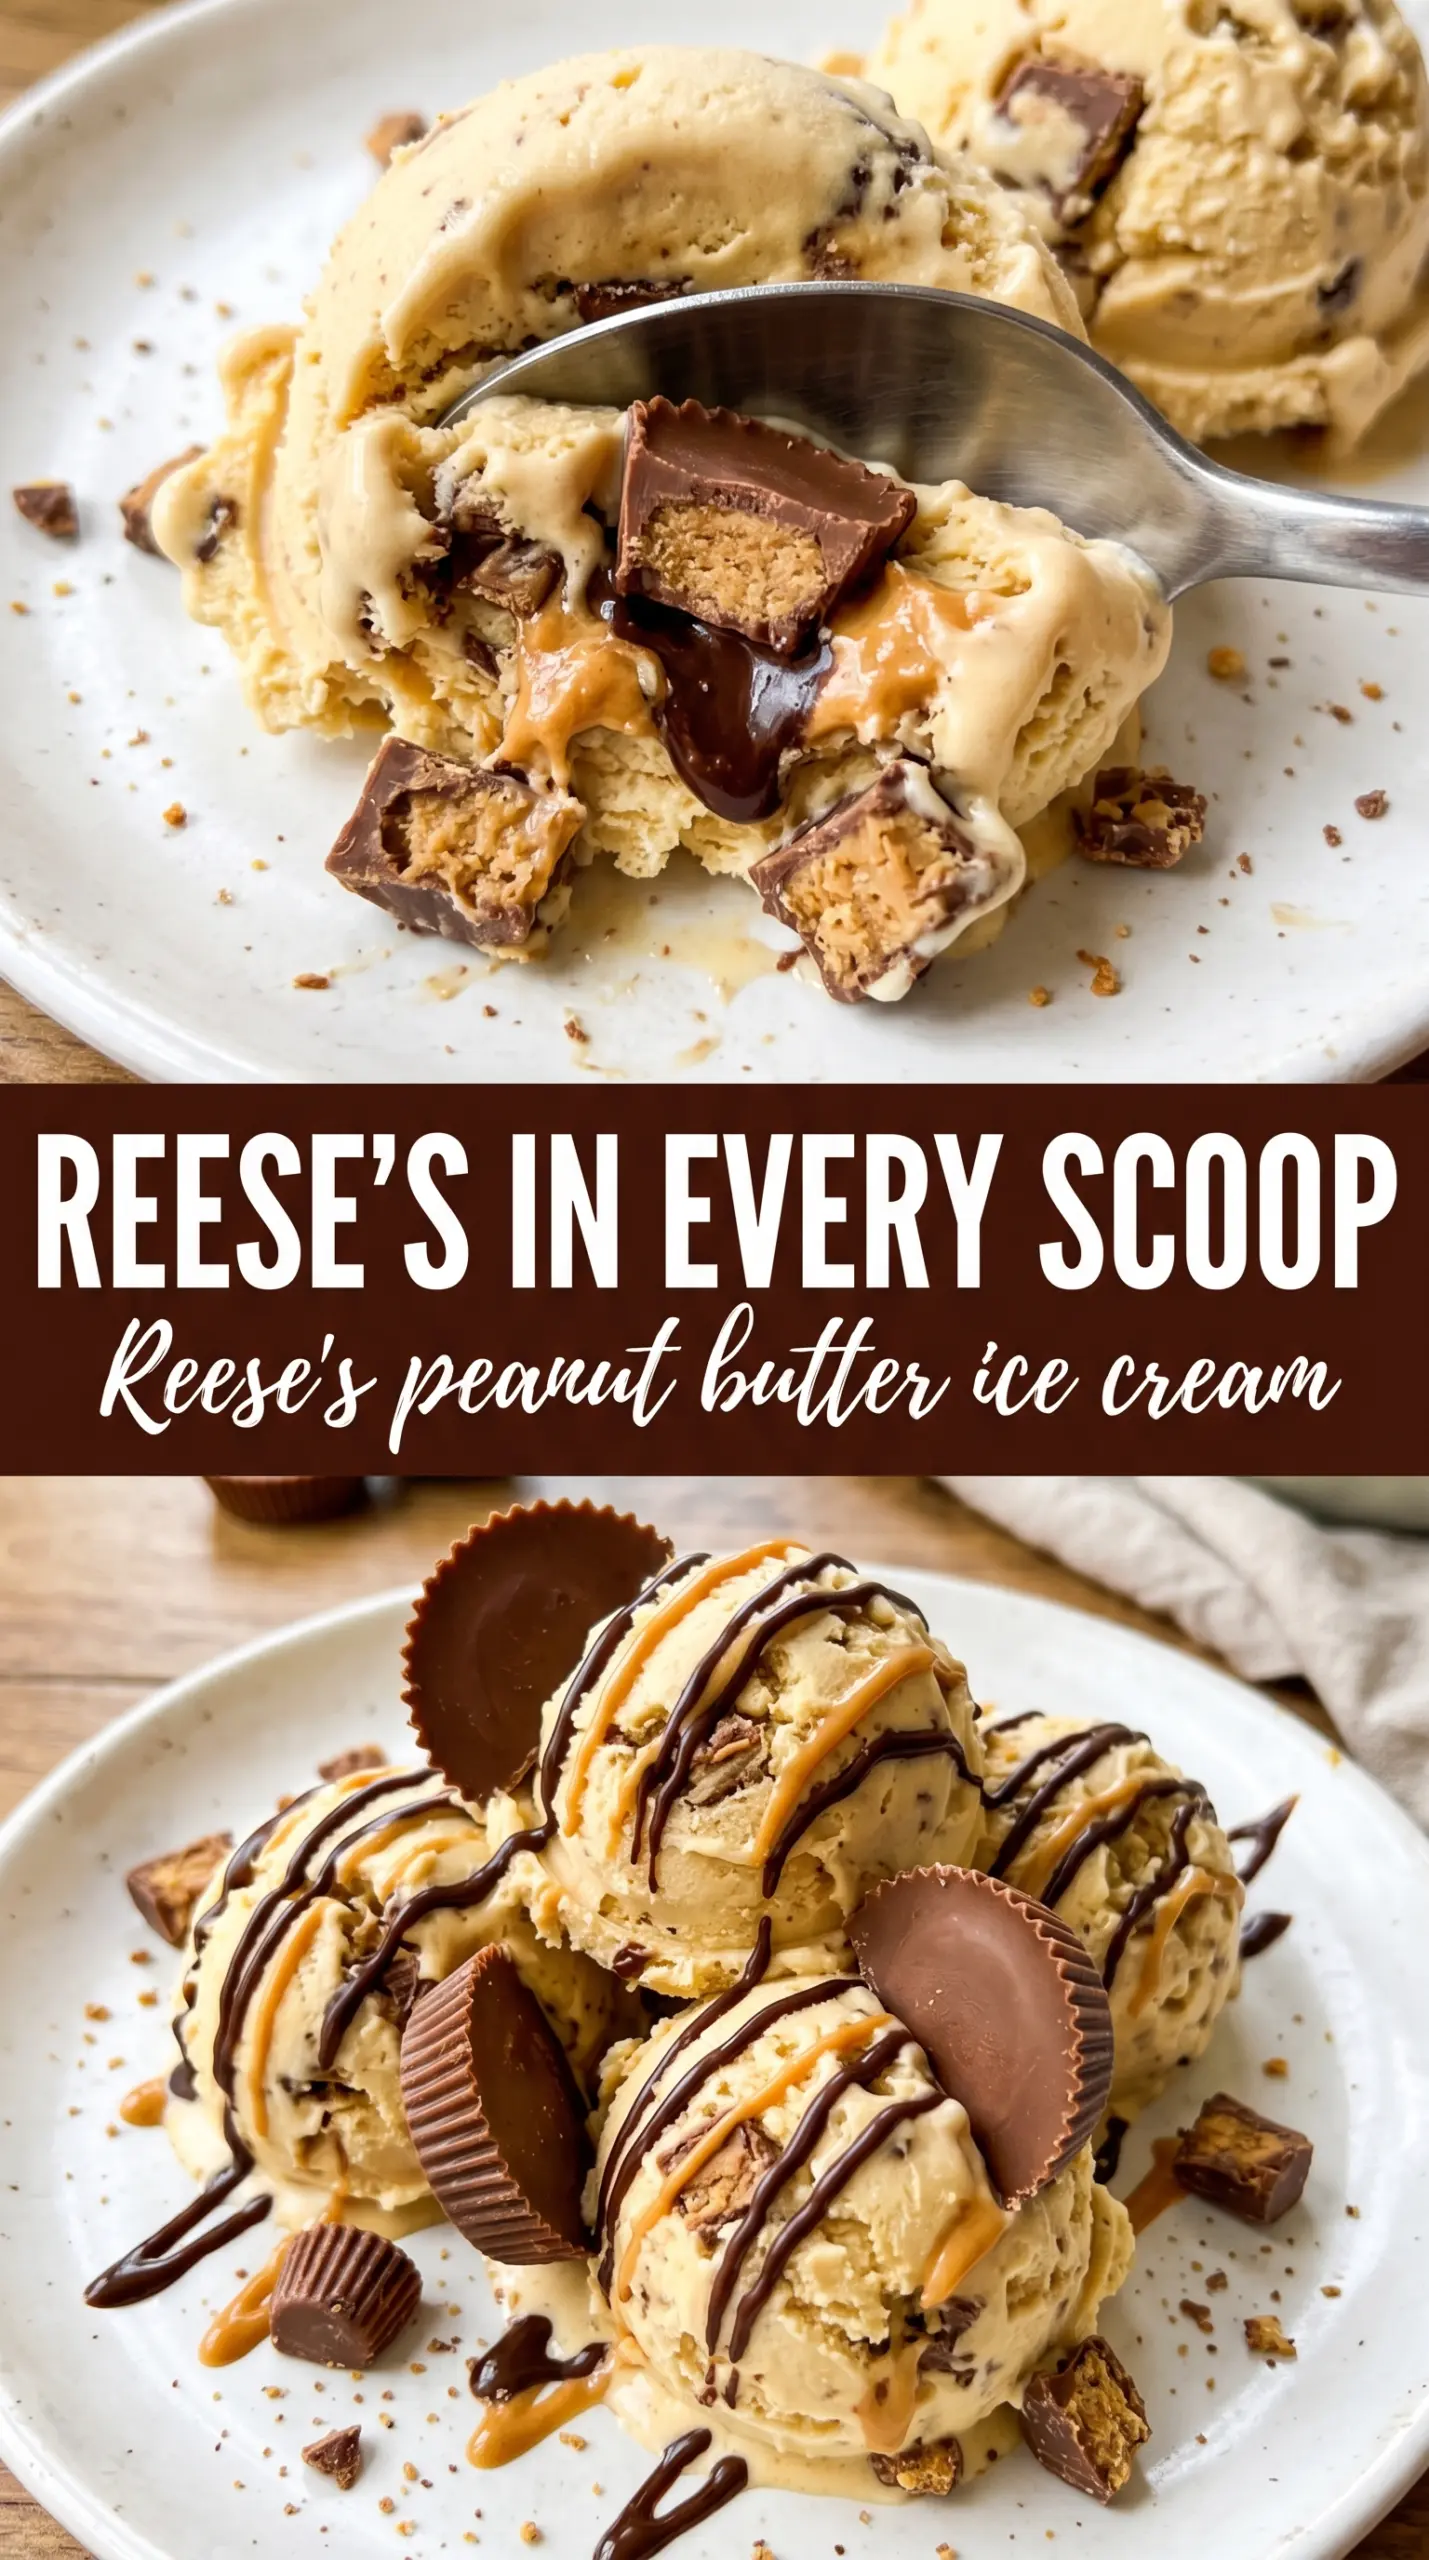
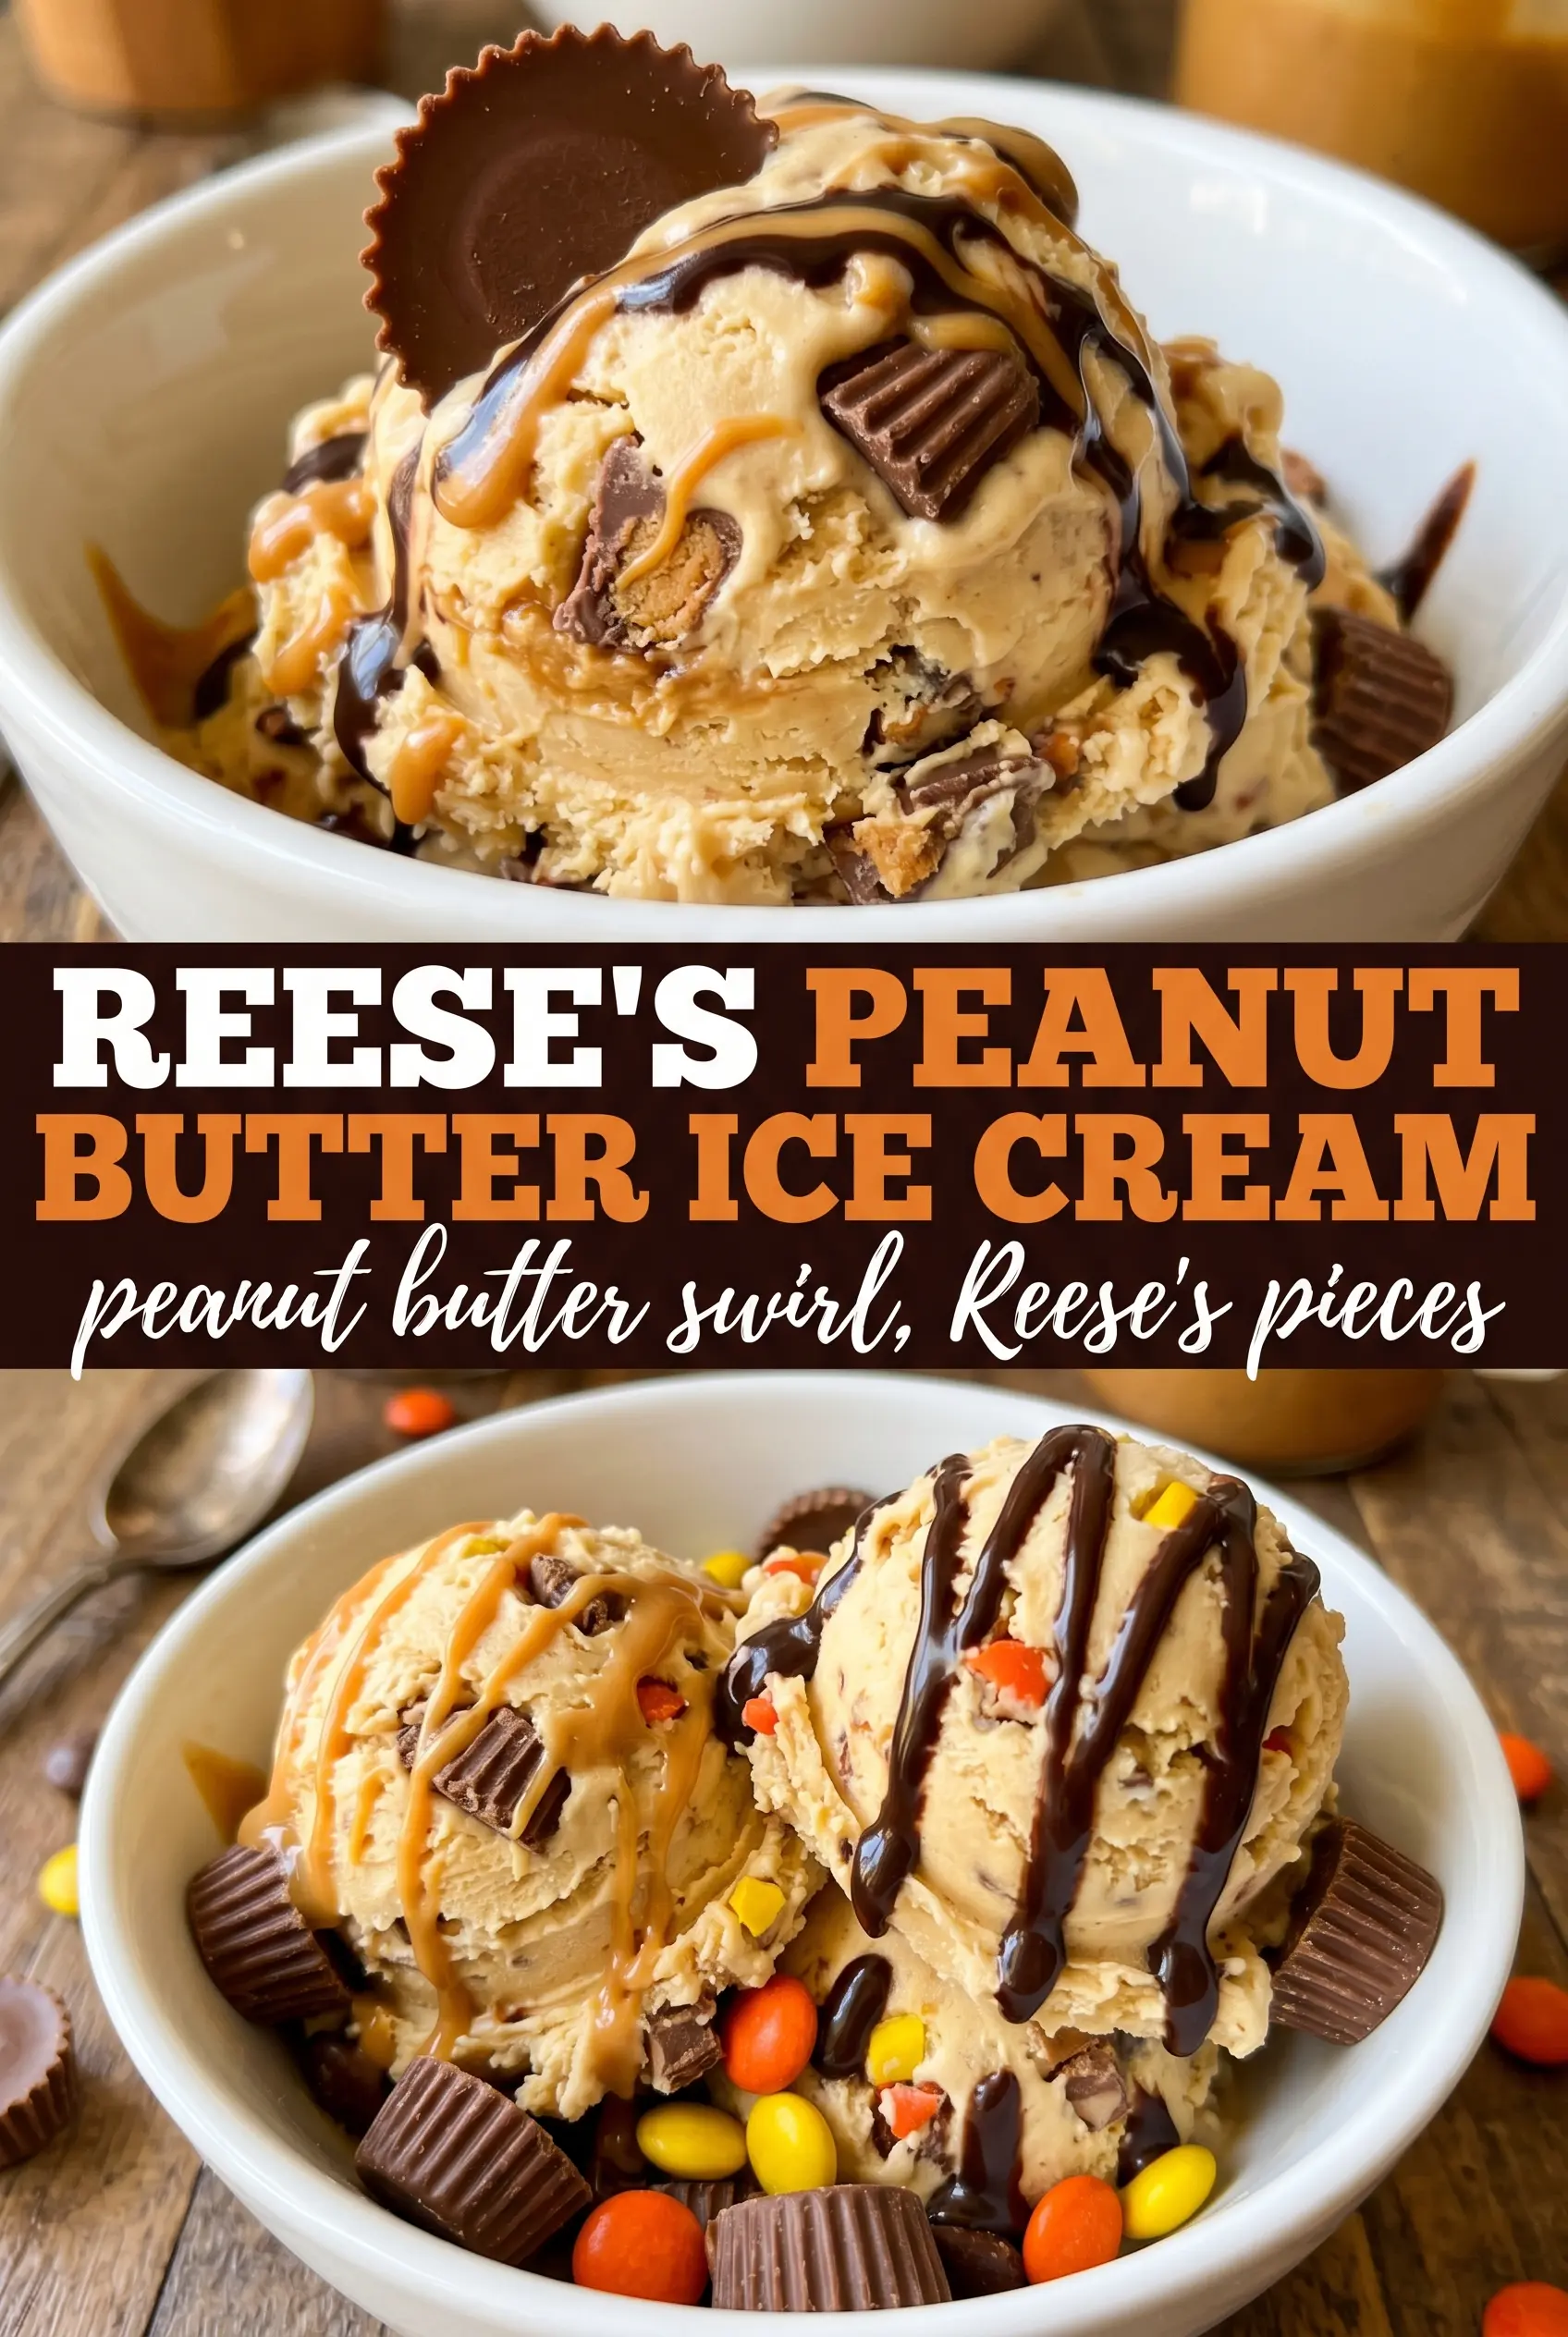
Cold, creamy peanut butter ice cream with big chunks of Reese’s tucked through every scoop is the kind of dessert that disappears fast. The base stays plush and scoopable, not icy, and the candy pieces give you those little hits of chocolate and salty peanut butter that make each bite feel complete. A drizzle of chocolate sauce on top pushes it straight into dessert territory without making the whole thing overly sweet.
What makes this version work is the no-churn method. Sweetened condensed milk keeps the texture smooth without an ice cream machine, and whipping the cream to stiff peaks gives the base enough air to freeze soft instead of dense. The peanut butter goes into the condensed milk mixture first so it blends evenly; if you stir it into the cream alone, it clumps and you lose that clean, creamy finish. Fold the candy in at the end so the chunks stay visible and don’t get crushed into the base.
Below, I’ve included the one folding mistake that can make this feel heavy instead of light, plus a few smart swaps and storage notes for keeping it scoopable after it freezes.
The ice cream froze up smooth and creamy, and the Reese’s pieces stayed in big chunks instead of disappearing into the base. I let it sit out for 10 minutes and it scooped like a dream.
Save this Reese’s Peanut Butter Ice Cream for the nights when you want a no-churn dessert with creamy peanut butter and big chocolate cup chunks.
The Freeze That Keeps It Creamy Instead of Icy
The biggest difference between good no-churn ice cream and a grainy, hard block is how much air you hold onto before it goes into the freezer. Stiff whipped cream gives this recipe its body, and the folding step matters more than people think. If you stir hard, you knock out the air and the finished ice cream freezes dense and chewy instead of light.
The other thing that protects the texture is the sweetened condensed milk. It doesn’t just sweeten the base; it keeps water from freezing into sharp ice crystals. That’s why this ice cream stays scoopable even after a long freeze. The chopped Reese’s also help here because the pieces break up the base just enough to make each bite feel softer as it melts on your tongue.
What Each Ingredient Is Doing in the Bowl
- Heavy cream — This is what gives the ice cream its airy, scoopable texture. You need the full-fat version here; lighter cream won’t whip as firmly and the finished ice cream turns flatter and icier.
- Sweetened condensed milk — This is the backbone of the no-churn base. It adds sweetness and keeps the texture smooth after freezing, and there isn’t a true substitute that does both jobs as well.
- Creamy peanut butter — Peanut butter gives the whole dessert its name and its flavor, but texture matters too. Creamy peanut butter blends cleanly; natural peanut butter can work if it’s well stirred, but it can separate and leave tiny oily streaks.
- Reese’s peanut butter cups — Chop them roughly so you get chunks instead of crumbs. If they’re too fine, they melt into the base and you lose the best part of the ice cream.
- Chocolate sauce — This is the finishing move, not a required ingredient for the base. A little drizzle sharpens the chocolate flavor in the candy and makes each bowl taste more complete.
Building the Base Without Deflating It
Whipping the Cream to the Right Peak
Start with cold heavy cream and whip it until stiff peaks hold their shape when you lift the beaters. If it’s soft or barely holding, the ice cream won’t freeze with enough structure. Stop before it turns dry or grainy; overwhipped cream can make the base feel sandy once it freezes. You want glossy, pillowy cream that stands up but still looks smooth.
Mixing the Peanut Butter Layer
Whisk the condensed milk, peanut butter, vanilla, and salt together until the mixture is completely smooth before it ever meets the whipped cream. This is the part that prevents little peanut butter streaks from showing up later. If your peanut butter is thick or stubborn, warm it slightly for a few seconds so it loosens, then whisk again. The mixture should pour thickly, not sit in clumps.
Folding, Not Stirring
Add the peanut butter mixture to the whipped cream in two or three additions and fold gently with a spatula. Scrape from the bottom and turn the bowl as you go, stopping as soon as you no longer see white streaks. If you keep going after that point, the cream collapses and the texture gets heavy. Fold in the chopped Reese’s last so they stay chunky and don’t disappear into the base.
Freezing Until Firm
Spoon the mixture into a loaf pan and smooth the top, then freeze it at least 6 hours or overnight. Cover the surface with plastic wrap or parchment pressed close to the top if your freezer tends to give off strong odors. The ice cream is ready when it’s firm around the edges and the center has lost its softness but still scoops without shattering. If it freezes rock hard, let it sit at room temperature for 8 to 10 minutes before serving.
Three Ways to Make This Reese’s Ice Cream Your Own
Dairy-Free Version
Use full-fat coconut cream instead of heavy cream and a dairy-free sweetened condensed milk if you can find one. The result will still be rich and scoopable, but it will pick up a light coconut note. Keep the Reese’s swap in mind too, since standard Reese’s cups contain dairy.
Extra Chocolate Swirl
Drizzle a few spoonfuls of chocolate sauce between layers as you transfer the mixture to the pan. Don’t fully stir it in or you’ll lose the contrast; the goal is ribbons of chocolate running through the peanut butter base. This makes the dessert taste closer to a peanut butter cup sundae in frozen form.
Lower-Sweetness Twist
Use slightly less chocolate sauce on serving and chop the candy a little larger so the peanut butter flavor comes through more clearly. You can also swap half the Reese’s for salted roasted peanuts if you want more crunch and a less candy-heavy bite. The texture stays the same, but the flavor leans more savory-sweet.
Storage and Reheating
- Refrigerator: Not a refrigerator dessert; it melts fast and won’t hold its texture there.
- Freezer: Keeps well for up to 2 weeks in a covered loaf pan or airtight container. After that, it can start picking up freezer flavor and the candy pieces get a little harder.
- Reheating: No reheating needed. For the best scoop, let it sit at room temperature for 8 to 10 minutes before serving; if you try to dig in straight from the freezer, the edges crack and the base feels too hard.
Answers to the Questions Worth Asking
Reese's Peanut Butter Ice Cream
Ingredients
Equipment
Method
- Whip the heavy cream to stiff peaks using a stand mixer, stopping when peaks stand straight up and look fluffy and thick.
- Keep the whipped cream cold while you prepare the peanut butter mixture.
- Whisk the sweetened condensed milk, creamy peanut butter, vanilla extract, and salt together until smooth and glossy, with no peanut butter streaks.
- Gently fold the peanut butter mixture into the whipped cream until just combined, keeping the texture airy with minimal stirring.
- Fold in the roughly chopped Reese's peanut butter cups so they’re evenly distributed without overmixing.
- Transfer the mixture to a 9x5 loaf pan, level the top, and freeze at -18°C for at least 6 hours or overnight until firm.
- Scoop the ice cream into bowls and drizzle with extra chocolate sauce when serving, so the chocolate streaks are visible on top.