Roasted brown sugar carrots come out glossy, tender, and just sweet enough to make people reach for a second helping. The edges caramelize against the sheet pan while the centers stay soft with a little bite, and that mix of buttery glaze, cinnamon, and deep roasted carrot flavor is what keeps this side dish in regular rotation.
The trick is giving the carrots enough space to roast instead of steam. A hot oven, a single layer, and a toss halfway through are what build those sticky browned edges. The brown sugar melts into the butter and clings to the carrots, then thickens in the pan juices as they finish, which is what gives you that lacquered look without turning the whole pan into soup.
Below, I’ve included the small details that matter most: the cut that roasts evenly, the point where the glaze goes from shiny to caramelized, and a few easy variations if you want to adjust the sweetness or make them dairy-free.
The carrots came out caramelized at the edges and the glaze thickened right on the pan. I tossed them halfway through like you said, and that kept the brown sugar from burning.
Save these roasted brown sugar carrots for the nights when you want a glossy, caramelized side dish with almost no fuss.
The Trick to Caramelized Carrots Without a Burnt Sugar Mess
Brown sugar carrots can go from glossy to scorched fast if the pan is crowded or the oven runs hot. The sugar needs enough butter and surface space to melt, coat, and thicken gradually. If the carrots are piled on top of one another, they steam first, then the sugar syrup collects in the bottom of the pan and darkens too quickly before the carrots have time to soften.
The other thing that matters is tossing them halfway through. That movement redistributes the glaze, exposes new sides to the heat, and keeps the sugars from hardening into a brittle patch on the pan. You’re looking for tender carrots with browned edges and a syrup that clings instead of pooling.
What the Butter, Brown Sugar, and Cinnamon Are Each Doing Here
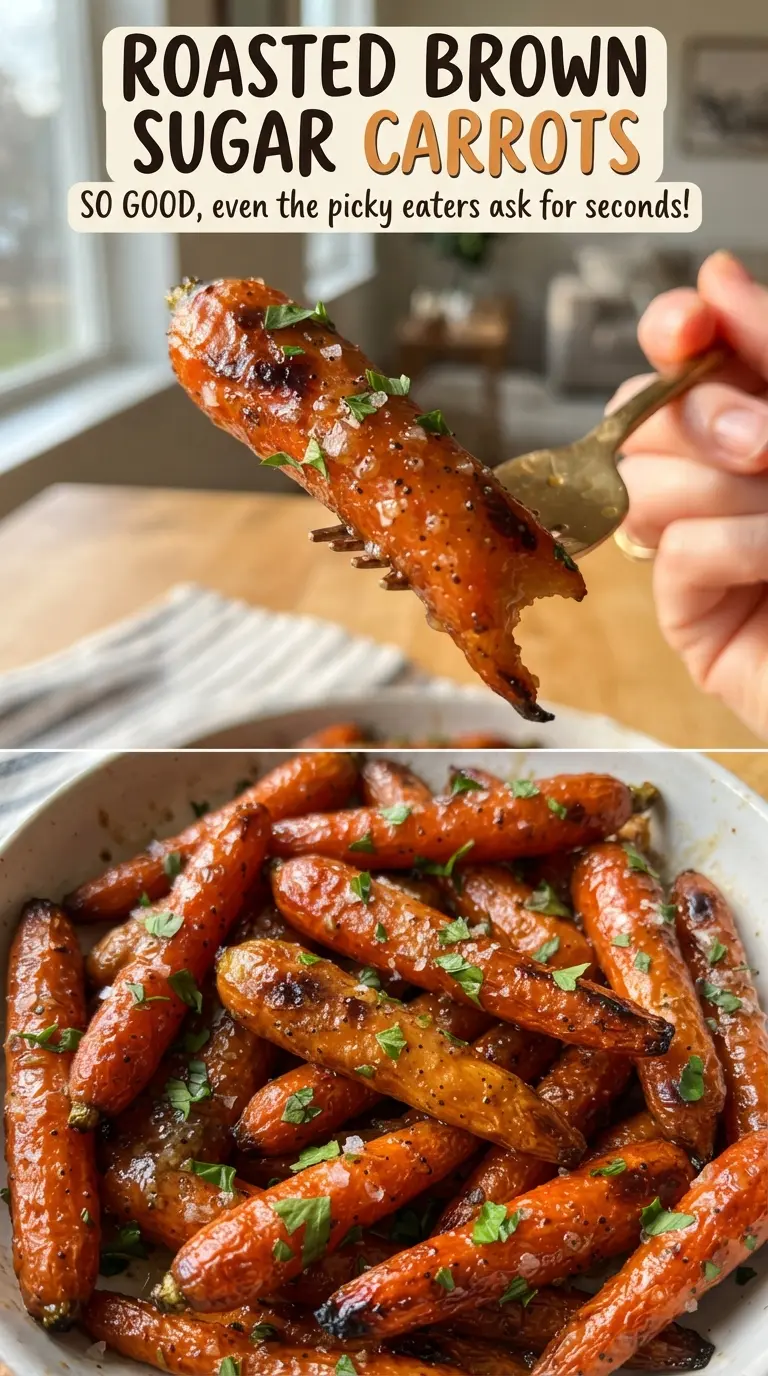
- Carrots — Cutting them on the bias gives you more surface area, which means more places for the glaze to cling and more edges to brown. Keep the pieces close to the same size so they finish at the same time. Thick coins can work, but the bias cut gives a nicer roasted shape and better texture.
- Butter — This is the base of the glaze. It carries the brown sugar, helps it coat evenly, and encourages browning on the pan. Melted butter works best here; olive oil can be used in a pinch, but you’ll lose some of the rich finish that makes the carrots taste rounded instead of sharp.
- Brown sugar — Packed brown sugar melts into a sticky glaze and caramelizes as the carrots roast. Light brown sugar is fine, and dark brown sugar will give you a deeper molasses note. Granulated sugar won’t give the same syrupy coating.
- Cinnamon — Just enough to warm the carrots without making them taste like dessert. It plays well with the brown sugar and makes the glaze smell like it’s already done before the carrots come out of the oven.
Getting the Glaze to Stick in the Oven
Coating the Carrots Evenly
Mix the carrots with the melted butter, brown sugar, salt, pepper, and cinnamon until every piece looks lightly coated. If the sugar clumps at the bottom of the bowl, keep tossing until it starts to dissolve into the butter. That first even coating matters because any dry spots can roast pale while the sugared spots burn.
Roasting in a Single Layer
Spread the carrots out on a foil-lined sheet pan with a little breathing room between them. Crowding is the fastest way to lose the caramelized edges and end up with soft, wet carrots. If your pan looks full, use two pans instead of stacking them together.
Finishing Until Tender and Sticky
Roast at 400°F for 25 to 30 minutes, tossing halfway through, until the carrots are tender when pierced and the glaze looks thick and shiny. The pan juices should bubble around the edges, not smoke. If the sugar looks dark too early, the oven is running hot or the pan is too close to the heating element, so move it down a rack for the last few minutes.
Maple Syrup Instead of Brown Sugar
Use the same amount of maple syrup and cut the butter back just a touch if the glaze seems too loose. The carrots will still caramelize, but the finish tastes a little cleaner and less molasses-heavy. This swap is best when you want a softer sweetness and a thinner glaze.
Dairy-Free Version
Replace the butter with melted vegan butter or refined coconut oil. Vegan butter gives the closest result, while coconut oil adds a faint coconut note and browns a little differently. The carrots still roast beautifully as long as the pan isn’t crowded.
Less Sweet, More Savory
Cut the brown sugar back to 2 tablespoons and add a pinch more salt plus a little extra black pepper. You’ll get a glaze that still caramelizes, but the carrots taste more like a roasted vegetable side than a candied one. This version works well next to poultry, pork, or a rich holiday main.
Storage and Reheating
- Refrigerator: Store leftovers in an airtight container for up to 4 days. The glaze will thicken and set as it chills.
- Freezer: They freeze, but the texture turns softer after thawing, so I only freeze them if I’m using them later in a soup, hash, or mash.
- Reheating: Warm them on a sheet pan in a 375°F oven until hot, about 8 to 10 minutes. The microwave works, but it softens the glaze and makes the carrots lose the roasted edges that matter most.
Questions I Get Asked About This Recipe
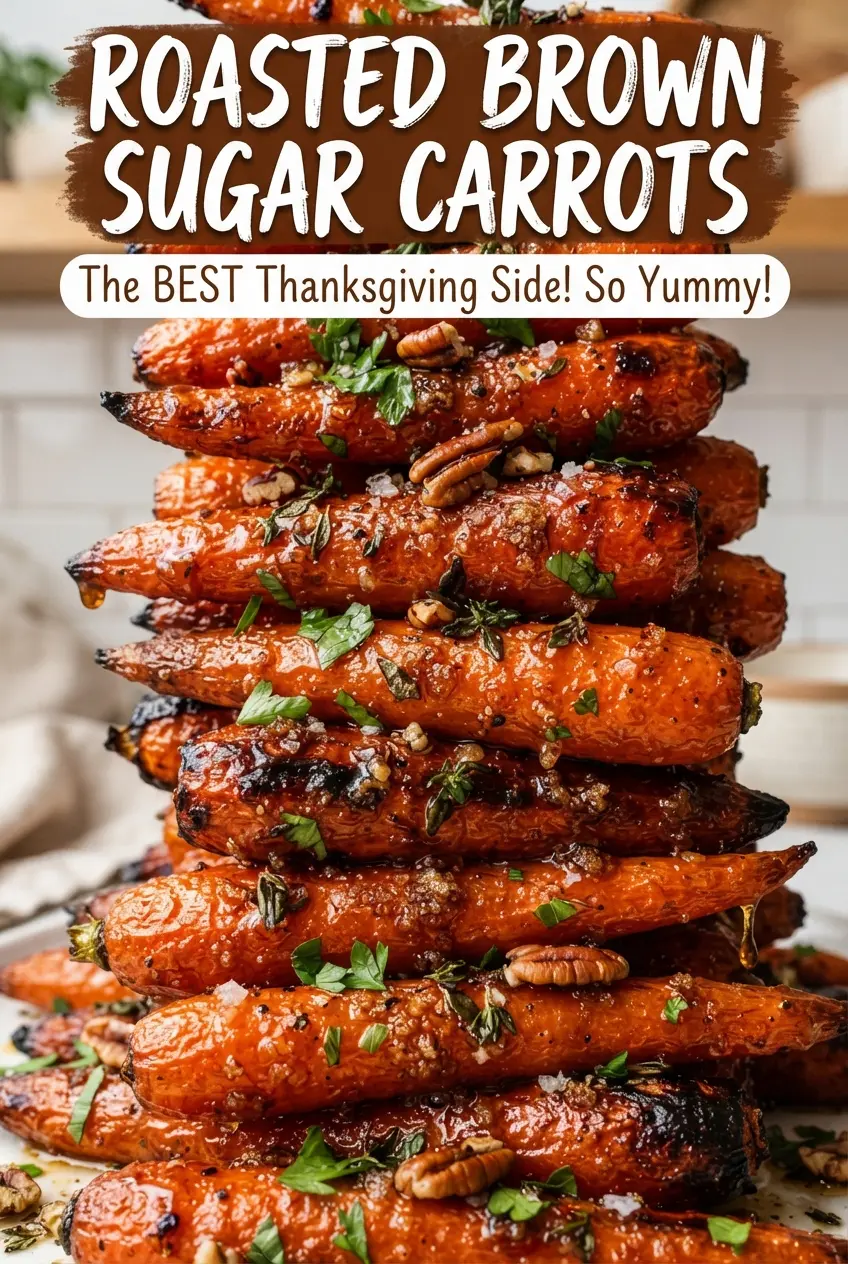
Roasted Brown Sugar Carrots
Ingredients
Equipment
Method
- Preheat the oven to 400°F and line a sheet pan with foil. Heat until the oven fully reaches temperature for consistent caramelization.
- Toss carrots with melted butter, brown sugar, salt, black pepper, and ground cinnamon. Mix until every piece looks evenly coated.
- Spread the carrots in a single layer on the sheet pan. Leave space between pieces so they roast instead of steam.
- Roast for 25-30 minutes, tossing halfway, until tender and caramelized. Look for darkened edges and a glossy, sticky glaze.
- Toss the carrots in the pan juices. This helps the glaze cling and turn glossy as it cools slightly.
- Garnish with chopped fresh parsley and serve. Scatter the parsley right at the end so it stays bright green.