Salted honey ice cream turns plain custard into something with depth. The honey doesn’t just sweeten the base; it brings floral notes, a little warmth, and a finish that tastes different from scoop to scoop depending on the honey you use. Then the salt steps in and keeps the whole thing from reading flat or one-note. The result is creamy, fragrant, and clean at the end, with a little sparkle of salt that makes the honey taste even bigger.
The trick is treating the custard gently so the honey stays front and center. Honey can get muted if you overwhelm it with too much vanilla or overcook the base, and egg yolks can turn grainy if you rush the heat. I cook this low and slow, strain it for a smooth finish, and chill it completely before it ever hits the churn. That extra patience is what gives you a dense, silky scoop instead of an icy one.
Below, I’m walking through the part that matters most: how to keep the custard smooth, which honey gives the best flavor, and a few variations if you want to make it dairy-free or adjust the salt level without losing that sweet-salty balance.
The custard turned out incredibly smooth, and the salted honey flavor stayed bright even after freezing. That little pinch of flaky salt on top made it taste like a fancy ice cream shop scoop.
Save this salted honey ice cream for the nights when you want a custard base that’s floral, creamy, and finished with just enough flaky salt to wake up the honey.
The Reason Honey Ice Cream Stays Flat Without Salt
Honey is softer and rounder than plain sugar, which sounds like a good thing until the ice cream tastes a little dull after freezing. Salt fixes that by sharpening the floral notes and keeping the custard from tasting heavy. The other place people run into trouble is heat: honey can mask a slightly overcooked base, so the custard may taste fine while the texture has already gone grainy. Pull it at 175F and strain it immediately. That gives you the smoothest possible base before the churn.
- Egg yolks build the custard body. They’re what give this ice cream that dense, scoopable texture instead of an airy, icy one.
- Good-quality honey matters here because it’s the main flavor, not just a sweetener. Wildflower gives a deeper, more layered taste; clover is milder and cleaner.
- Sea salt doesn’t just add saltiness. It keeps the honey flavor vivid after the ice cream is frozen.
- Heavy cream and whole milk work together for richness without making the base greasy. Swapping in lower-fat milk will make the final texture thinner and more brittle.
What Each Ingredient Is Actually Doing in the Custard
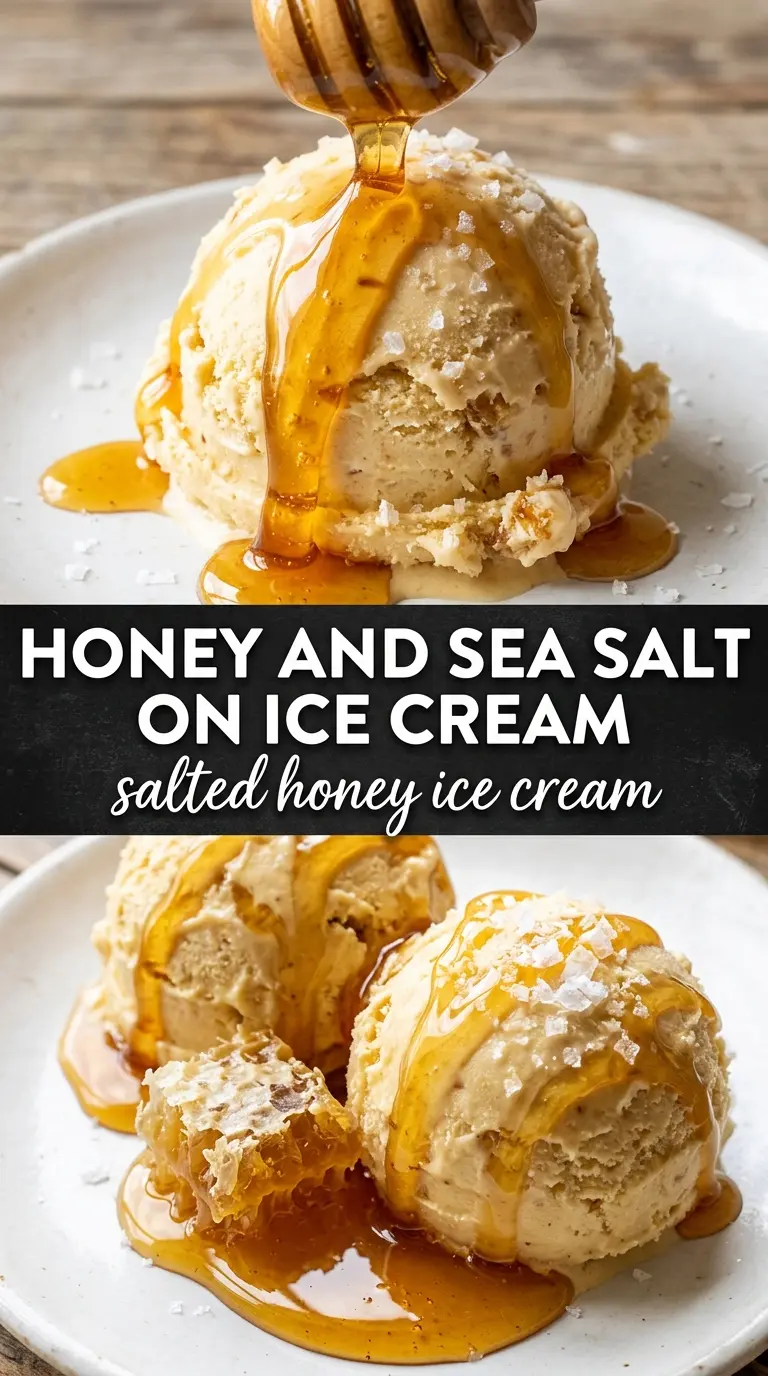
- Heavy cream gives the base its lush mouthfeel. Don’t replace all of it with milk or the ice cream will freeze harder and taste less rich.
- Whole milk loosens the custard just enough so it churns cleanly. If you only use cream, the finished ice cream can feel heavy instead of silky.
- Honey should taste good enough to eat by the spoonful. If your honey is bland, the ice cream will be bland too, because there’s nowhere for the flavor to hide.
- Egg yolks thicken the mixture and help it emulsify. Temper them slowly, or they’ll scramble instead of turning into custard.
- Vanilla extract rounds out the honey without taking over. Too much vanilla muddies the floral notes, so keep it restrained.
- Flaky sea salt goes on at the end, not in the churn. That final crunch is what makes each spoonful pop.
Building the Custard Without Scrambling the Yolks
Warming the Dairy and Honey
Set the cream, milk, and honey in a saucepan over medium heat and stir until the honey dissolves completely. You want steam and a few small bubbles at the edge, not a boil. If the mixture boils hard, the dairy can pick up a cooked taste before the custard even starts. Stir once or twice while it heats so the honey doesn’t sink and scorch on the bottom.
Tempering the Yolks
Whisk the hot dairy into the yolks in a slow stream, a little at a time, until the mixture is warm and loose. This step protects the yolks from seizing, which is the usual reason custards turn lumpy. If you dump the hot liquid in all at once, the yolks will curdle before they ever have a chance to thicken the base. Once the eggs are warmed through, return everything to the saucepan.
Cooking to the Right Thickness
Cook over medium-low heat and stir constantly with a spatula, scraping the bottom and corners of the pan. The custard is ready at 175F, but the visual cue matters too: it should lightly coat the spatula and leave a clear line when you run a finger through it. If the heat is too high, the bottom will thicken faster than the rest and you’ll get tiny scrambled bits. Pull it as soon as it reaches temperature, then strain it right away.
Cooling Before the Churn
Stir in the vanilla and sea salt, then chill the custard over an ice bath before moving it to the refrigerator. The base needs to be fully cold before churning or it won’t freeze as smoothly, and the ice cream maker will have to work too hard. After that, give it at least four hours in the fridge. That rest lets the honey flavor settle in and gives you a denser final texture.
How to Adapt This Ice Cream for Different Kitchens and Tastes
Make it dairy-free with full-fat coconut milk
Use two cans of full-fat coconut milk in place of the cream and milk. The texture will be a touch softer and the flavor will pick up a subtle coconut note, which works well with honey, but it won’t taste exactly like the original custard.
Choose honey by the flavor you want to taste
Wildflower honey gives a deeper, more complex finish, while clover honey tastes cleaner and a little lighter. If your honey is very bold, reduce the vanilla slightly so the floral notes stay clear.
Cut the salt back for a softer finish
Use 1/2 teaspoon fine sea salt in the custard if you want the honey to read sweeter and gentler. You’ll lose some of the sharp contrast, but the ice cream will still taste balanced if you finish each scoop with just a few flakes on top.
Storage and Reheating
- Refrigerator: Churned ice cream doesn’t belong in the fridge, but the custard base can hold up for 2 days before churning if it’s tightly covered. The flavor actually improves after a long chill.
- Freezer: Freeze the churned ice cream in a shallow, airtight container for up to 2 weeks for the best texture. After that, it can pick up ice crystals and lose some of the honey aroma.
- Reheating: Not applicable for ice cream. If it gets too hard in the freezer, let it sit on the counter for 5 to 10 minutes before scooping so you don’t tear the surface and compact the texture.
Answers to the Questions Worth Asking
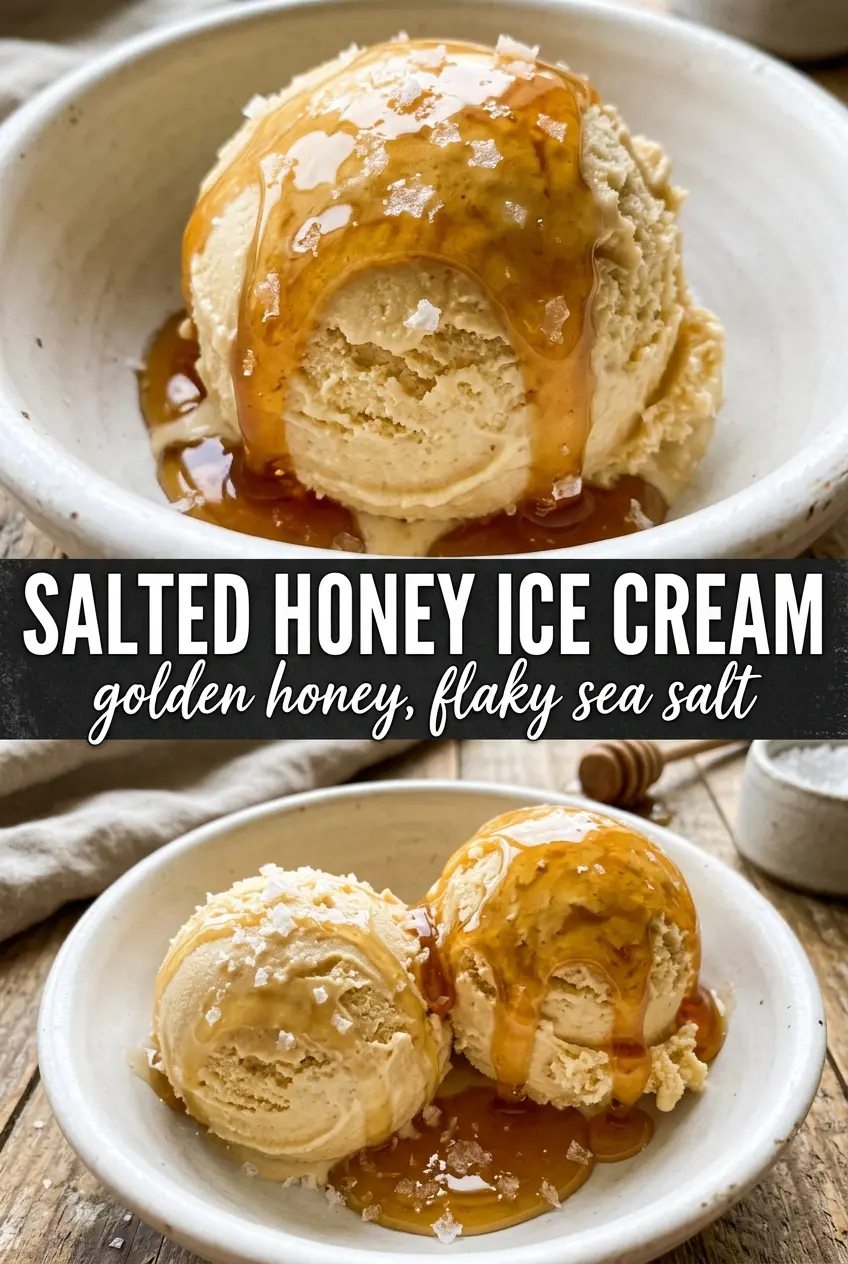
Salted Honey Ice Cream
Ingredients
Equipment
Method
- Heat the heavy cream, whole milk, and good-quality honey in a saucepan until steaming and the honey dissolves completely, about 5 minutes. Visual cue: the mixture should look glossy and uniform, with no honey streaks.
- Slowly whisk the hot cream mixture into the egg yolks until smooth, then return everything to the saucepan. Visual cue: the custard base thickens slightly as you whisk and stays silky without streaks.
- Cook over medium-low heat, stirring constantly, until the custard reaches 175F, about 8–10 minutes. Visual cue: it coats the back of a spoon and you can draw a line through it with a finger.
- Strain the custard into a clean container, then stir in the vanilla extract and sea salt. Visual cue: the mixture turns glossy and looks evenly speckled from the salt.
- Cool the custard completely over an ice bath, stirring occasionally until room temperature. Visual cue: the surface stops steaming and the container feels cool to the touch.
- Refrigerate the custard at least 4 hours. Visual cue: it becomes cold and thick enough to hold a spoon track briefly.
- Churn in an ice cream maker according to the manufacturer’s instructions, until it reaches a soft-serve consistency. Visual cue: the churned ice cream looks aerated and pale golden.
- Freeze until firm, then serve and finish each scoop with a pinch of flaky sea salt. Visual cue: the top shows tiny salt flakes and the golden color looks dense.