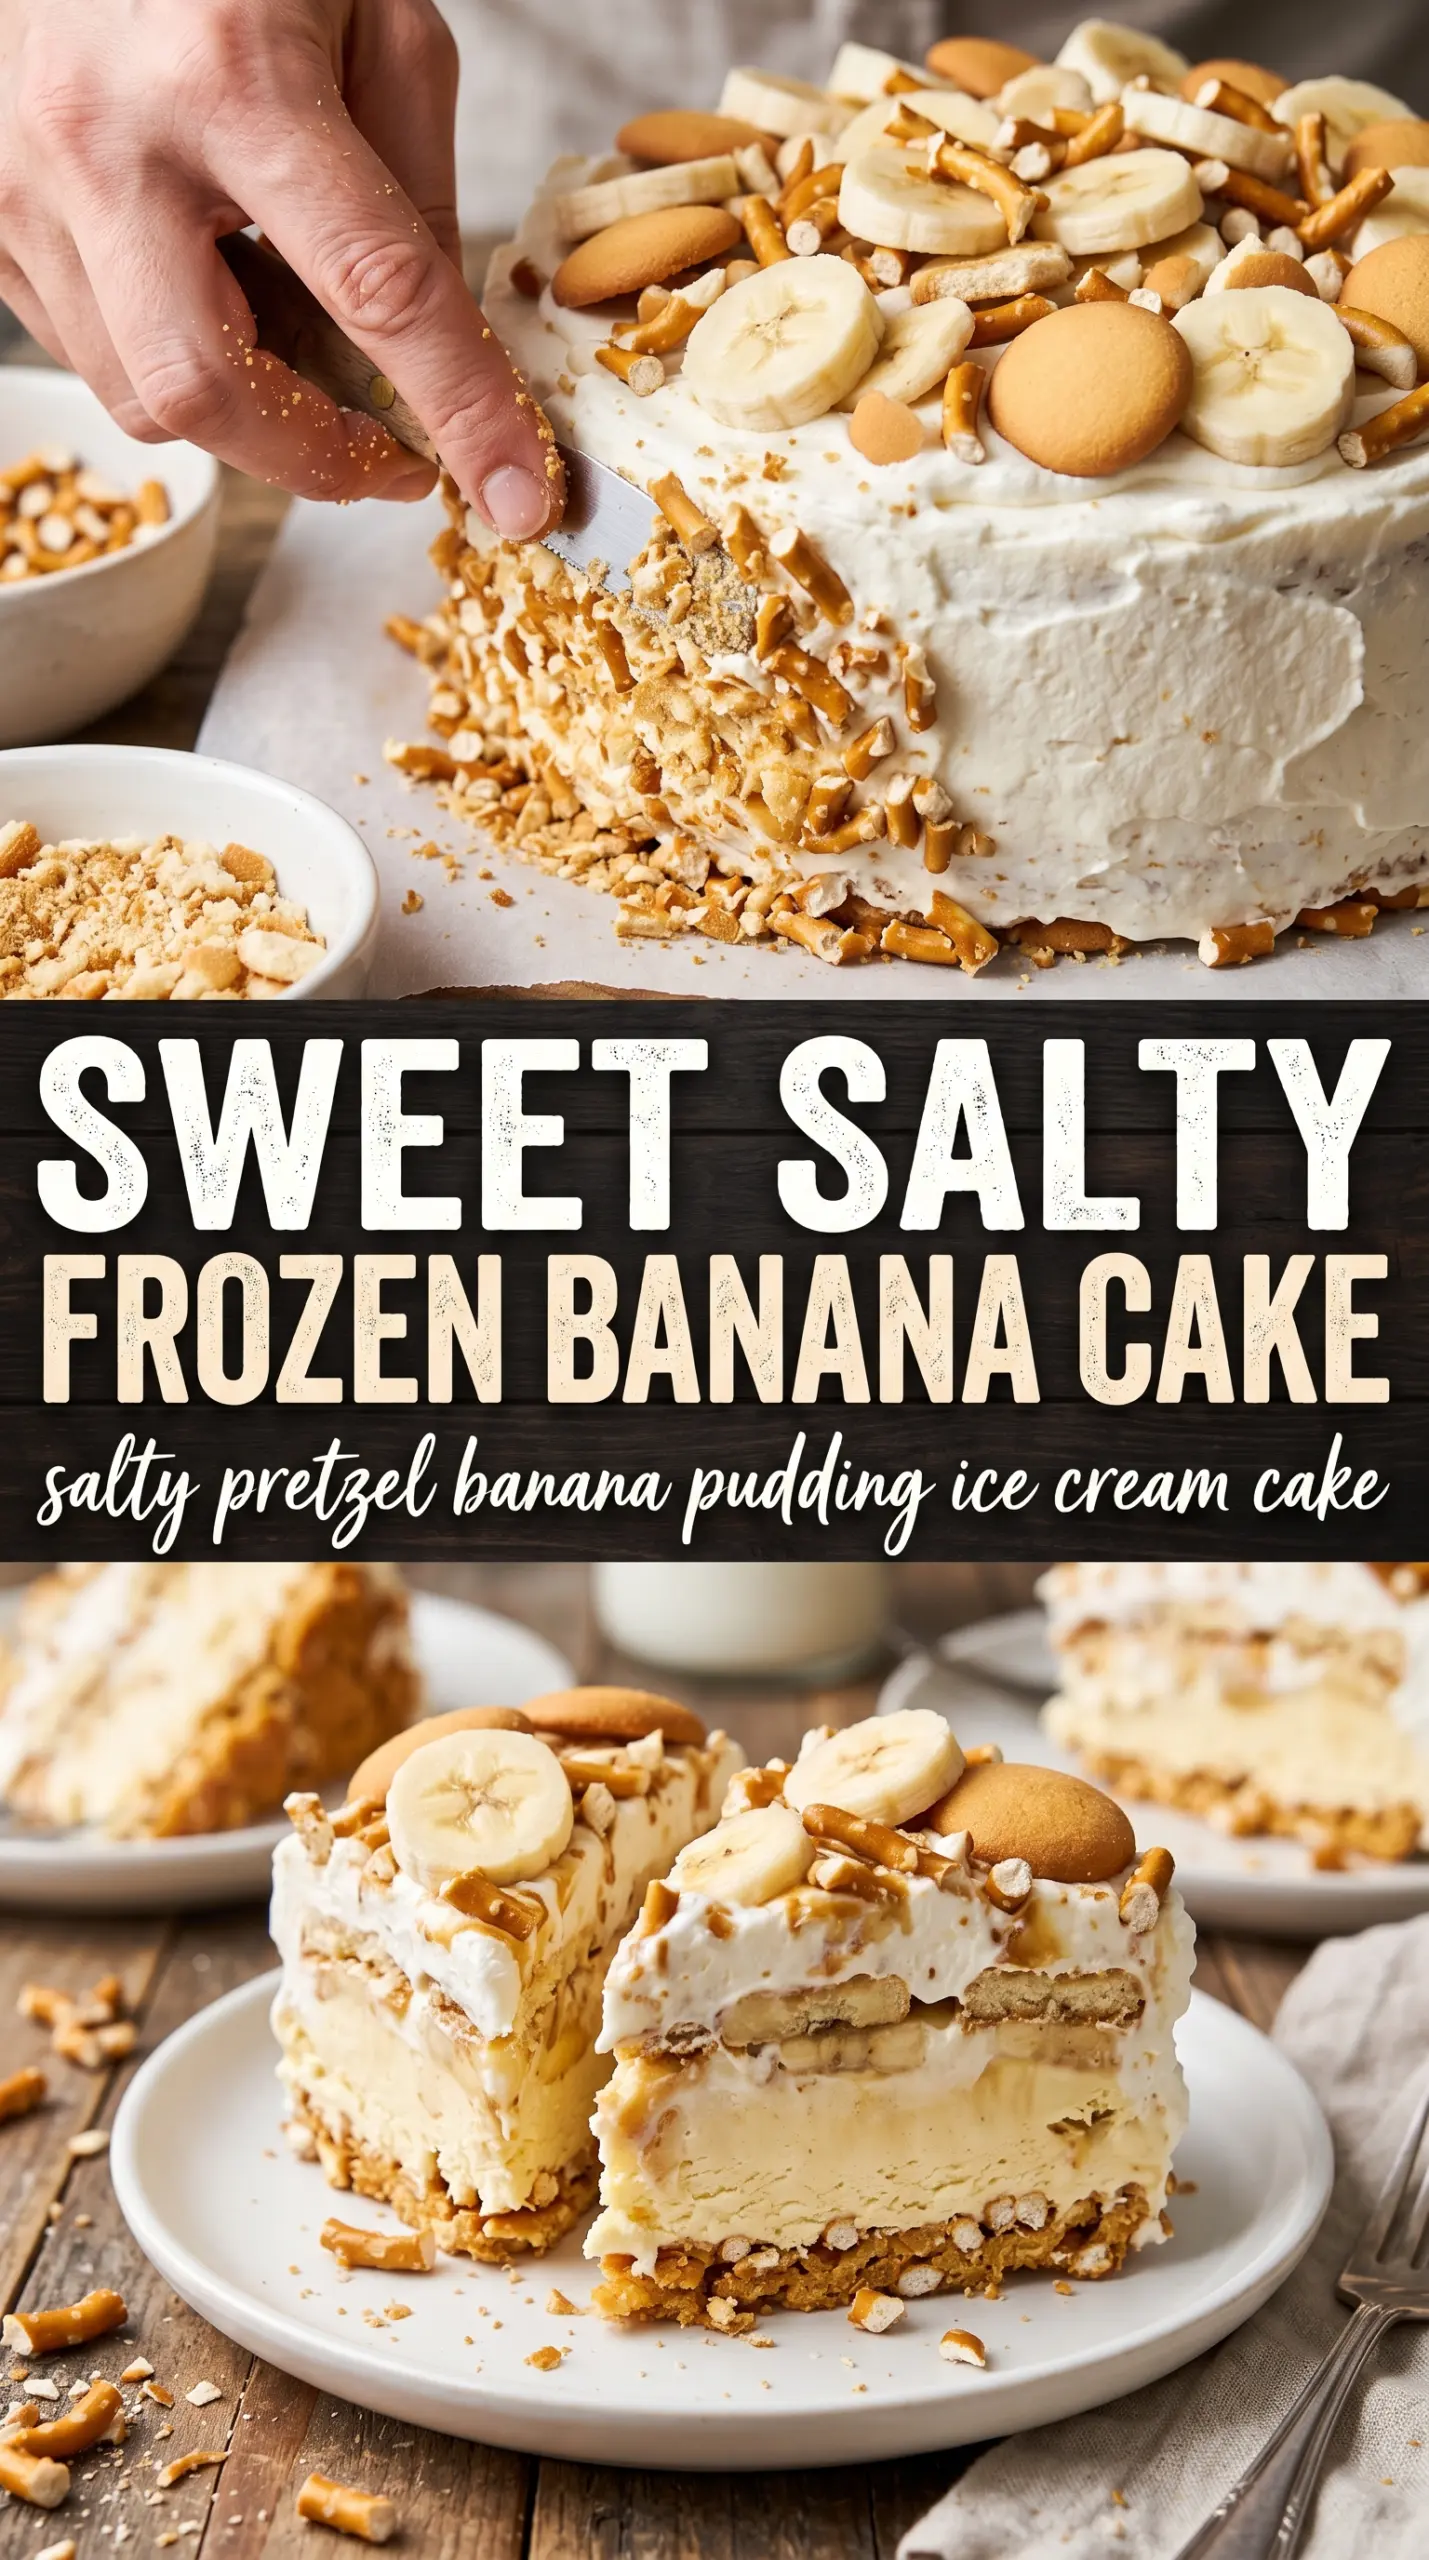
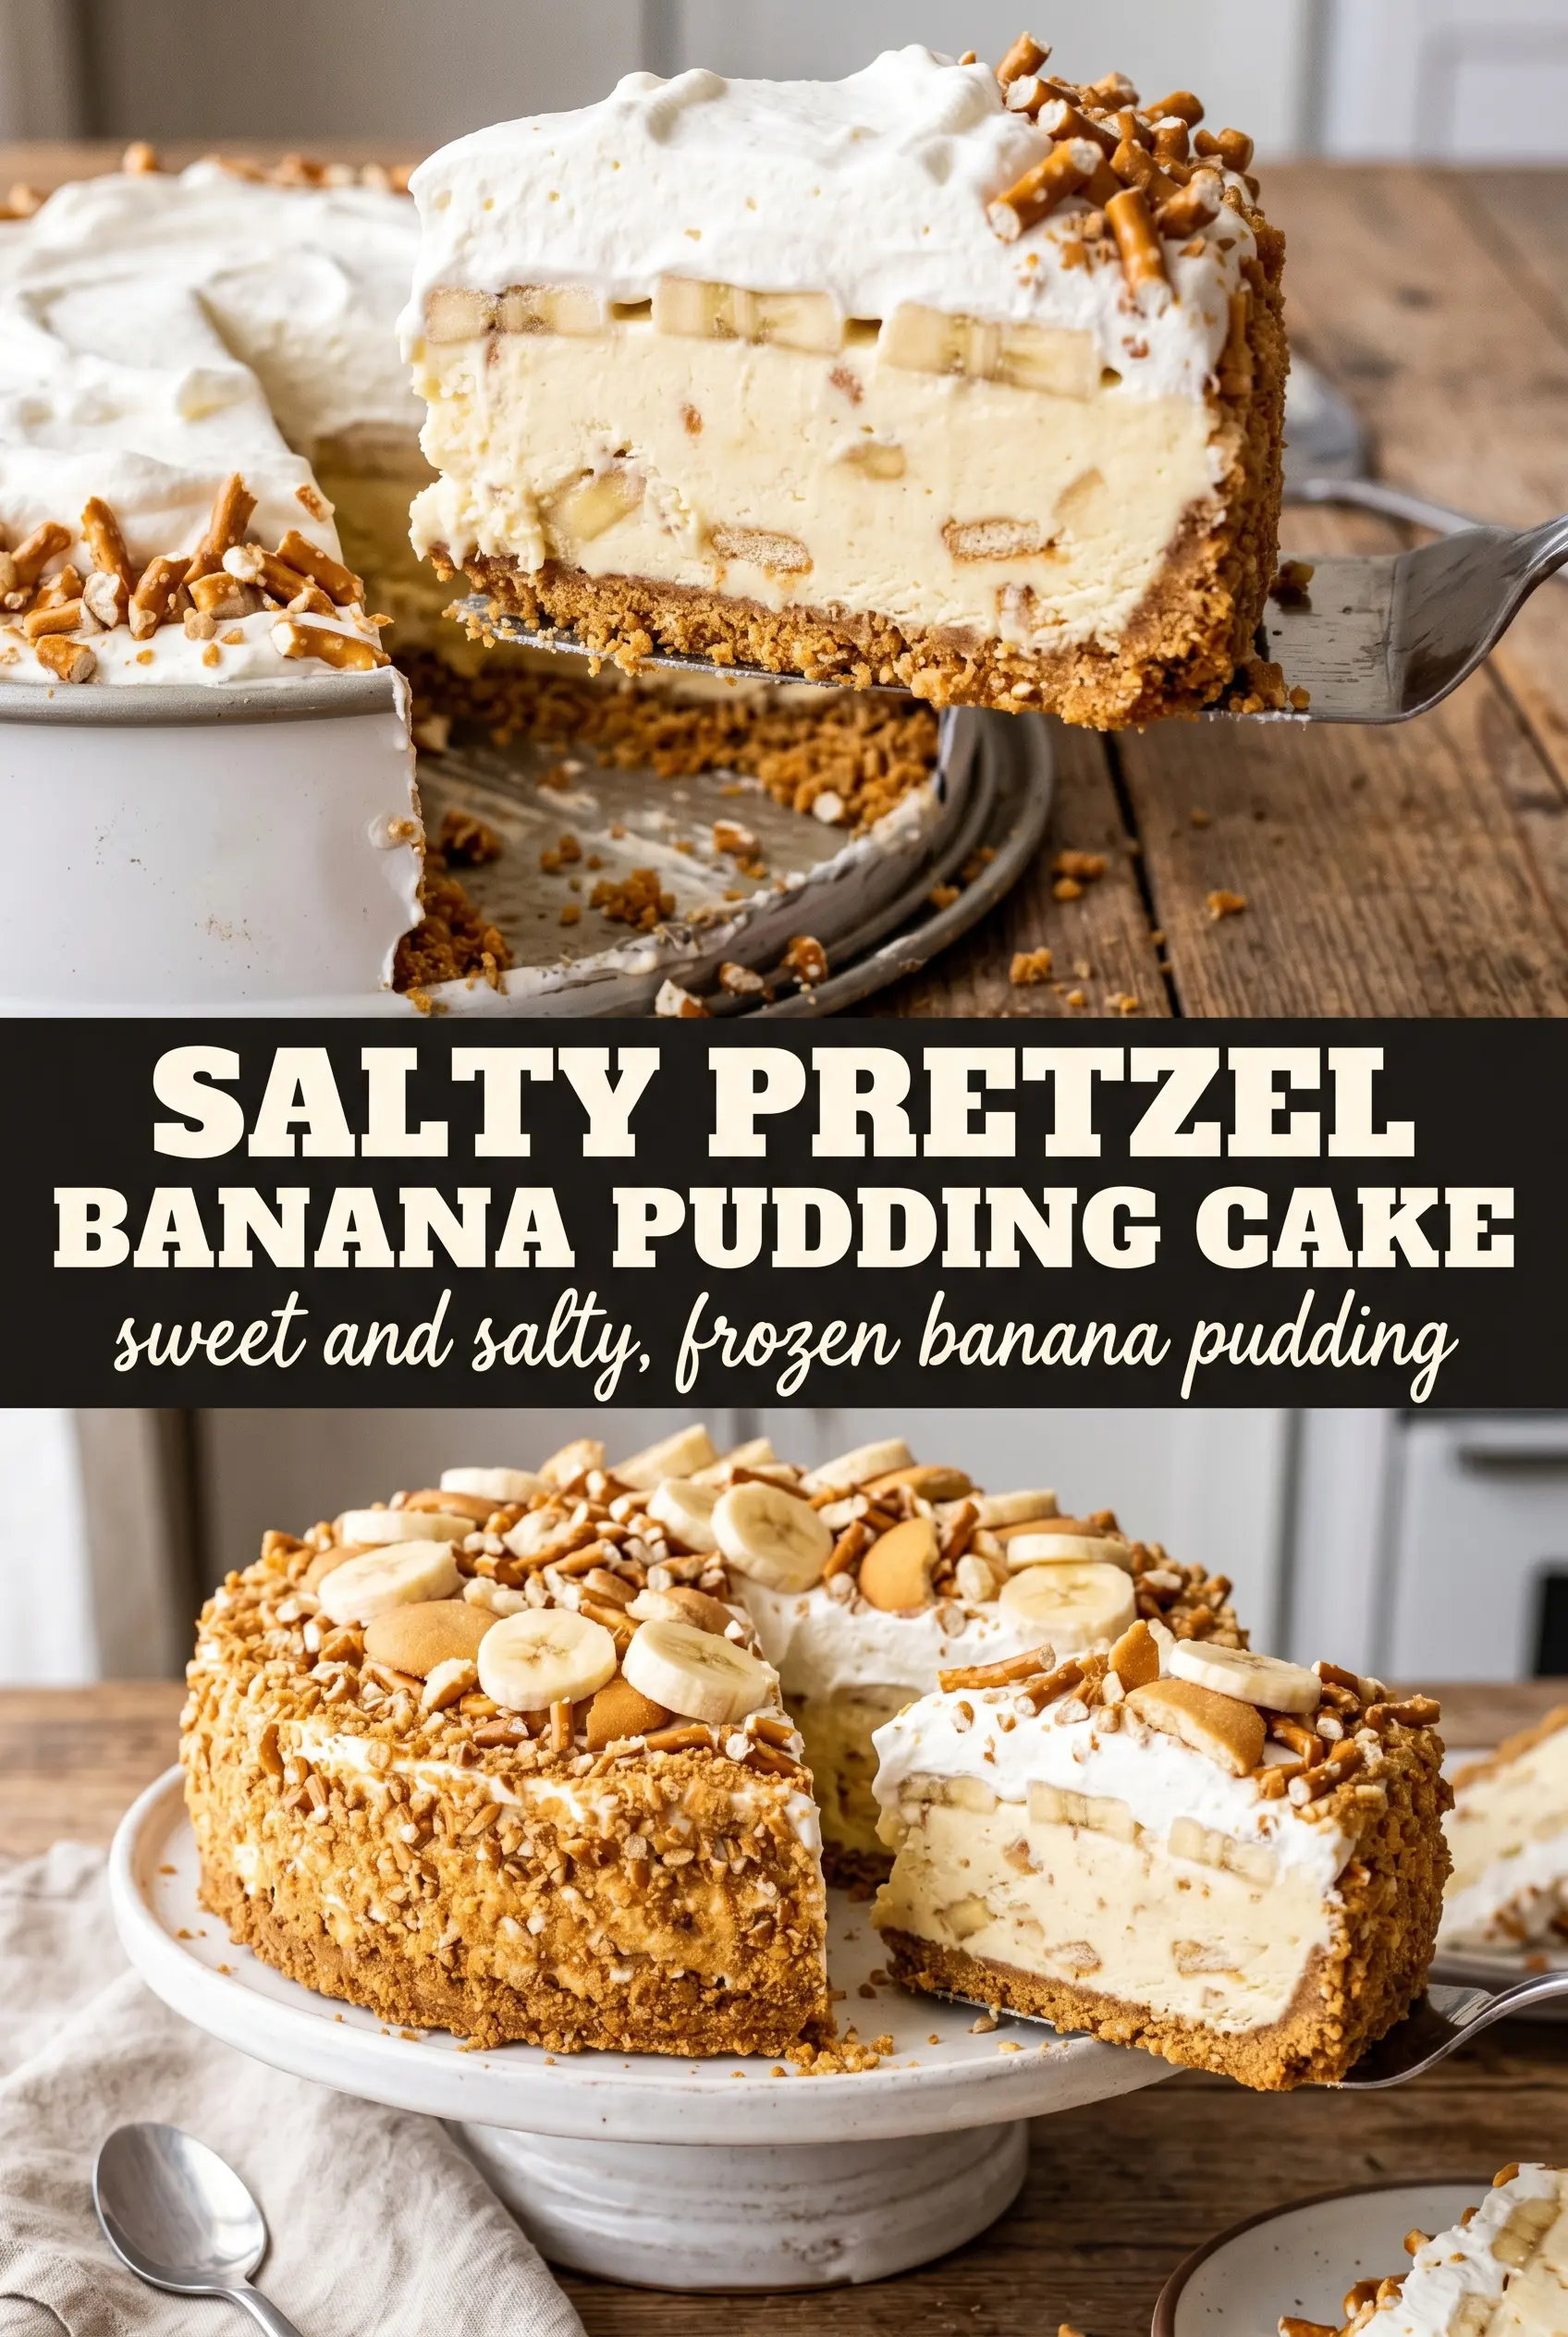
Salty pretzel banana pudding ice cream cake lands with that rare combination of crunchy, creamy, and cool that keeps people coming back for a second slice before the pan has even left the counter. The crust bakes up toasty and a little caramelized, the banana pudding ice cream layer stays soft enough to scoop cleanly, and the whipped topping gives each bite a finish that tastes like banana cream pie met an ice cream shop dessert.
What makes this version work is the balance in the base. Pretzels bring salt and structure, while crushed Nilla wafers add that classic banana pudding sweetness and a softer, cookie-like crumb. A short bake sets the crust so it holds up under the ice cream, and the pudding gets whisked with milk before folding into softened ice cream, which keeps the filling smooth instead of icy or streaked.
Below, I’ve included the one crust detail that keeps the slices neat, plus a few ways to swap the ice cream or make it ahead without losing that salty-sweet bite.
The pretzel crust stayed crisp even after freezing, and the banana pudding layer was smooth instead of icy. My husband kept sneaking slices straight from the pan.
Pin this salty pretzel banana pudding ice cream cake for the next time you want a frozen dessert with a crunchy base, creamy banana filling, and that sweet-salty finish.
The Crust Has to Bake First, or the Whole Cake Slumps
The crust is doing more than adding crunch here. It’s the backbone of the dessert, and because pretzels and vanilla wafers both absorb moisture, a quick bake is what keeps the bottom layer from turning sandy or soft once the ice cream goes on. If you skip that step, the first few slices might still look fine, but by day two the base starts tasting damp.
Press the mixture firmly into the pan, especially into the corners. You want an even layer that feels packed, not loose crumbs sitting on top of melted butter. The brown sugar isn’t there for sweetness alone; it helps the crust set with a little extra depth and gives the baked edges a lightly caramelized finish that plays well with banana pudding.
- Mini pretzels — They bring the salt that makes the banana flavor pop. Crush them fine enough that they hold together with the wafer crumbs, but don’t powder them completely or the crust loses its texture.
- Nilla wafers — These soften into a familiar banana pudding flavor and help the crust taste more like dessert than snack mix. If you need a swap, shortbread cookies work, but you’ll lose the classic pudding note.
- Butter — This is what binds the crust after baking. Melted butter is fine here; just work it in until every crumb looks evenly coated, or you’ll get dry patches that fall apart when sliced.
What the Banana Pudding Layer Needs to Stay Creamy After Freezing
- Instant banana pudding mix — Instant pudding thickens fast and stays stable in the freezer better than cooked pudding. If you use cook-and-serve by mistake, the texture usually gets grainy after freezing.
- Whole milk — The pudding needs enough fat to stay smooth, so whole milk gives you the best result. Lower-fat milk works, but the layer freezes a little harder and the banana flavor reads flatter.
- Vanilla or banana ice cream — Banana ice cream makes the flavor louder, while vanilla keeps the dessert balanced and lets the pudding lead. Soften it just until scoopable; if it melts too much, the finished layer freezes icy instead of creamy.
- Ripe bananas — Use bananas with plenty of freckles for the best flavor. Slice them just before layering so they don’t brown too much before the cake goes into the freezer.
- Whipped topping — This gives you a clean, stable top layer that slices neatly after freezing. Homemade whipped cream can work, but it won’t hold as long and tends to weep once the cake sits at room temperature.
Building the Layers So the Cake Slices Cleanly
Mixing the Crust Evenly
Combine the crushed pretzels, crushed wafers, melted butter, and brown sugar until every crumb looks damp. You’re aiming for something that clumps when pressed, not a loose pile that shifts in the pan. Spread it into a 9×13 pan and press hard with the bottom of a measuring cup so the base is tight and level. Bake it just until fragrant and lightly golden at the edges, then cool it completely before adding the ice cream layer.
Folding the Pudding Into the Ice Cream
Whisk the pudding mix with the milk first and let it thicken before it goes into the ice cream. That keeps the pudding from clumping in streaks through the filling. Fold it into softened ice cream with a spatula, not a whisk, so you don’t overmix and lose the airy texture. Stop as soon as the color looks even.
Freezing in Two Stages
Spread the filling over the cooled crust and lay the banana slices over the top before the first freeze. The first freeze firms the base and sets the fruit in place, which helps the whipped topping sit neatly instead of sinking. After that, add the whipped topping and decorative pretzels and wafers, then freeze again until the cake is firm enough to cut without dragging through the layers. If the center still feels soft, give it more time; slicing too early is the fastest way to get a messy pan.
Make It Extra Banana-Forward
Use banana ice cream instead of vanilla and add an extra layer of sliced bananas right under the whipped topping. The flavor gets more intense and the dessert tastes closer to banana pudding, but the bananas soften faster during freezing, so the cake is best eaten within a couple of days.
Gluten-Free Version
Swap in gluten-free pretzels and gluten-free vanilla wafers. The texture will be a touch more fragile, so press the crust especially firmly and let it cool all the way before layering. The salty-sweet balance still works the same.
Dairy-Free Swap
Use dairy-free vanilla frozen dessert, plant-based whipped topping, and a pudding mix that sets with your chosen milk alternative. Oat milk gives the smoothest texture; almond milk works too, but the filling freezes a little harder and tastes less rich.
Storage and Reheating
- Refrigerator: This cake is meant to stay frozen, not refrigerated. In the fridge, the crust softens fast and the ice cream layer turns loose.
- Freezer: Keep it covered and frozen for up to 1 week for the best texture. After that, the bananas can darken and the crust starts to lose its crunch.
- Reheating: No reheating needed. For clean slices, let the pan sit at room temperature for 8 to 10 minutes before cutting with a sharp knife wiped clean between slices.
Questions I Get Asked About This Recipe
Salty Pretzel Banana Pudding Ice Cream Cake
Ingredients
Equipment
Method
- Preheat the oven to 350°F, then combine the crushed mini pretzels, crushed Nilla wafers, melted butter, and brown sugar. Press the mixture firmly into a 9x13 pan to form an even base.
- Bake at 350°F for 8 minutes, until the crust looks lightly golden at the edges. Cool completely so the crust stays crisp when frozen.
- Whisk the instant banana pudding mix with the whole milk until thickened and smooth. Fold the thickened pudding into the softened vanilla or banana ice cream until evenly combined.
- Spread the banana pudding ice cream over the cooled crust, then layer the sliced bananas on top. Aim for an even banana layer so each slice shows fruit.
- Freeze for 4 hours, until firm to the touch. This first freeze sets the layers for easier topping and clean slicing.
- Top with whipped topping, then press whole pretzels and Nilla wafers decoratively into the cream. Use a gentle hand so the decorations stick without sinking.
- Freeze for 2 more hours until fully firm, then slice and serve straight from the freezer.