Bright, blistered sauteed green beans have a way of disappearing fast, especially when they’re finished with golden garlic, a little lemon, and toasted almonds. The beans stay crisp-tender in the center with just enough char on the outside to give them real depth, and the butter carries all that flavor without weighing the dish down. This is the kind of side that feels polished enough for company but still easy enough for a Tuesday night.
The trick is cooking the beans hot enough to blister before the garlic goes in. If you add the garlic too early, it burns before the beans are tender, and burnt garlic turns the whole skillet bitter. A little olive oil keeps the butter from scorching, then the lemon goes in at the end to wake everything up instead of cooking flat and dull.
Below, I’ll show you how to keep the beans crisp, why the garlic should be added later, and a few simple swaps that still keep the dish tasting fresh and balanced.
The beans stayed crisp and the garlic turned golden, not bitter. I served them with roast chicken and my husband asked if I could make them again the next night.
Save these sauteed green beans with garlic, lemon, and almonds for an easy side that stays crisp and bright.
The Reason These Green Beans Stay Crisp Instead of Going Limp
Most sauteed green beans fail because the pan isn’t hot enough at the start, so the beans steam before they ever brown. You want that first contact with the skillet to be aggressive enough to blister the skin while the inside stays snappy. That’s what gives you a side dish with texture instead of a soft, olive-drab pile.
The other mistake is adding butter and garlic too soon. Butter adds great flavor, but it also lowers the pan temperature; garlic added over high heat burns before the beans are done. By letting the beans get their color first, then finishing with butter and garlic, you get sweetness, fragrance, and a clean finish instead of bitterness.
What Each Ingredient Is Actually Doing in This Skillet
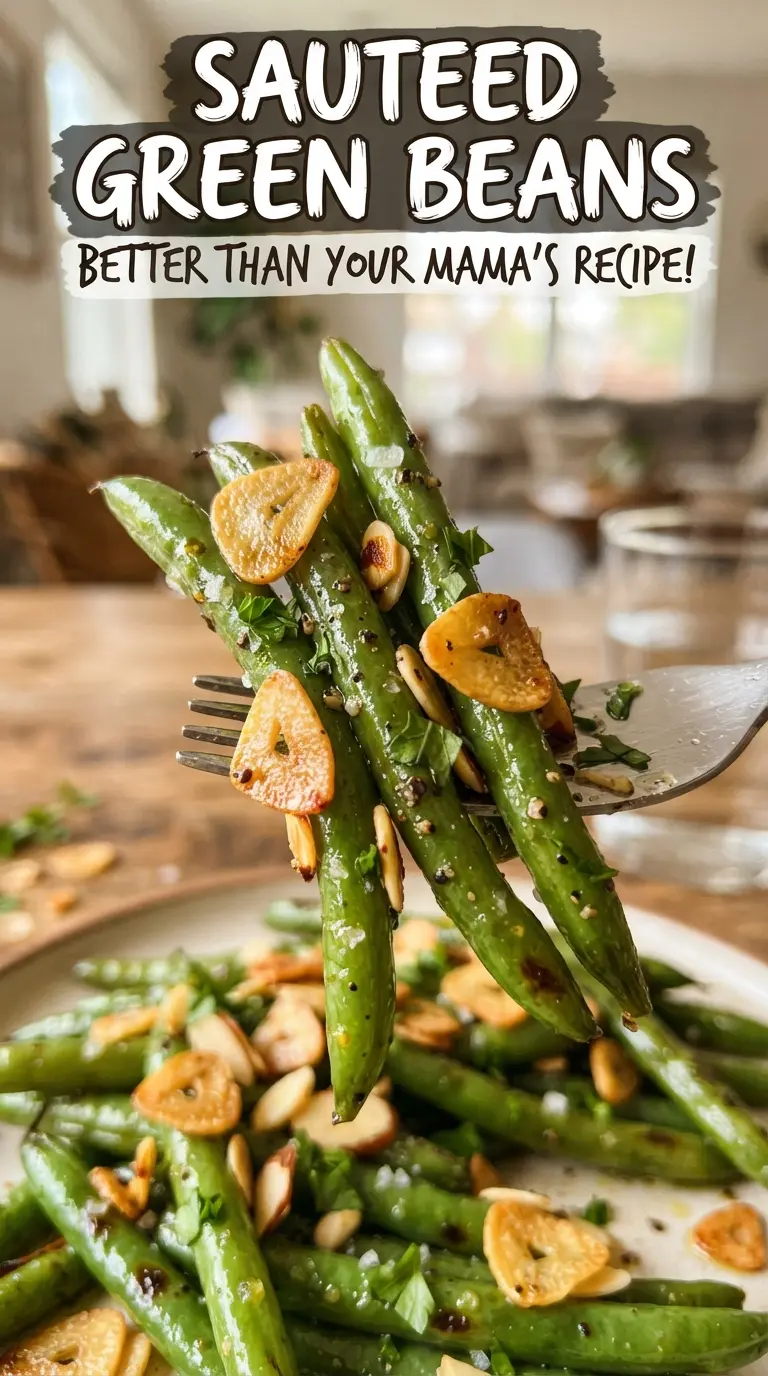
- Fresh green beans — Fresh beans hold their snap and blister well. Frozen beans turn soft fast here, so save those for soup or casserole.
- Olive oil and butter — The oil keeps the butter from scorching while the beans sear; the butter adds richness at the end. You need both for the best balance.
- Garlic — Thin slices turn golden and sweet faster than minced garlic, which can burn before the beans finish. If you only have minced garlic, add it for the final 30 seconds and keep the heat lower.
- Lemon zest and juice — Zest gives the dish perfume; juice brightens the butter and cuts through the richness. Skip one and the beans taste flatter.
- Toasted almonds — They add crunch and a little nutty depth right at the end. Toast them first so they stay crisp instead of tasting raw.
How to Build the Blister Without Burning the Garlic
Start Hot and Leave the Beans Alone Long Enough to Color
Heat the skillet before the beans go in, then keep them moving just enough so they don’t scorch in one spot. You’re looking for bright green beans with a few browned blisters, not a full softening at this stage. If the pan is crowded, they’ll steam; use the largest skillet you have and spread them out in as close to a single layer as possible.
Let the Butter and Garlic Work at the End
Once the beans are crisp-tender, drop the heat to medium before adding the butter and garlic. The butter should foam and the garlic should turn pale gold, not brown; once garlic goes deep brown, the flavor turns sharp and bitter. This final minute is where the dish gets its aroma and gloss, so don’t rush it.
Finish with Lemon and Almonds While the Pan Is Still Warm
Add the lemon zest and juice off the heat or with the burner turned off. That keeps the lemon bright instead of cooking away. Toss in the almonds last so they stay crunchy, then serve right away while the beans still have a little bite.
How to Adapt These Sauteed Green Beans for Different Tables
Dairy-Free Version
Swap the butter for another tablespoon of olive oil. You’ll lose a little richness, but the beans stay bright and the lemon comes forward more clearly. If you want a little roundness back, add an extra pinch of salt at the end.
No Almonds, No Problem
Use toasted sliced walnuts, pine nuts, or even pumpkin seeds. You’re replacing crunch and a little nutty flavor, so the key is to toast the substitute first; raw nuts won’t give you the same finish.
Spicier Green Beans
Increase the red pepper flakes to 1/2 teaspoon, or add a pinch of cayenne with the salt and pepper. The heat lands best at the end here because it stays sharper and more noticeable against the butter and lemon.
Storage and Reheating
- Refrigerator: Store leftovers in an airtight container for up to 3 days. The beans soften a bit, but they still hold up well.
- Freezer: I don’t recommend freezing these. The beans lose their snap and the garlic gets muddy after thawing.
- Reheating: Warm them in a skillet over medium heat with a tiny splash of water or olive oil. The mistake to avoid is the microwave, which tends to make the beans limp and the almonds soft.
Questions I Get Asked About This Recipe
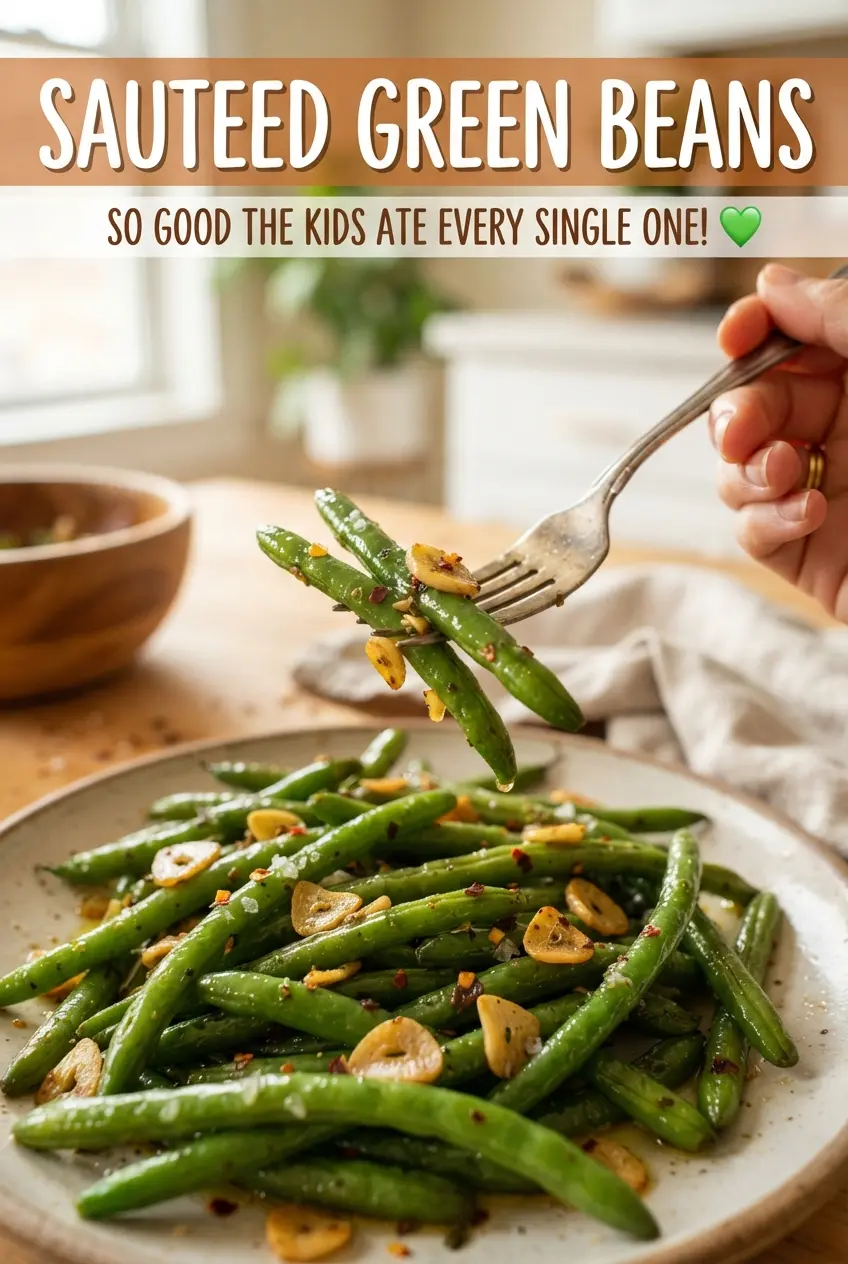
Sauteed Green Beans with Garlic and Lemon
Ingredients
Equipment
Method
- Heat olive oil in a large skillet over medium-high heat until shimmering. The surface should look slick and ready to sizzle.
- Add green beans and cook 6-8 minutes, tossing, until blistered and crisp-tender. You should see charred-looking spots and bright green color.
- Reduce heat to medium, then add butter and garlic and cook 1-2 minutes until golden. Keep tossing so the garlic browns without burning.
- Season with salt, black pepper, and red pepper flakes. Stir until the seasonings evenly coat the beans.
- Toss with lemon zest, lemon juice, and toasted sliced almonds, then serve. The almonds should stay lightly crisp and the lemon should look glossy on the beans.