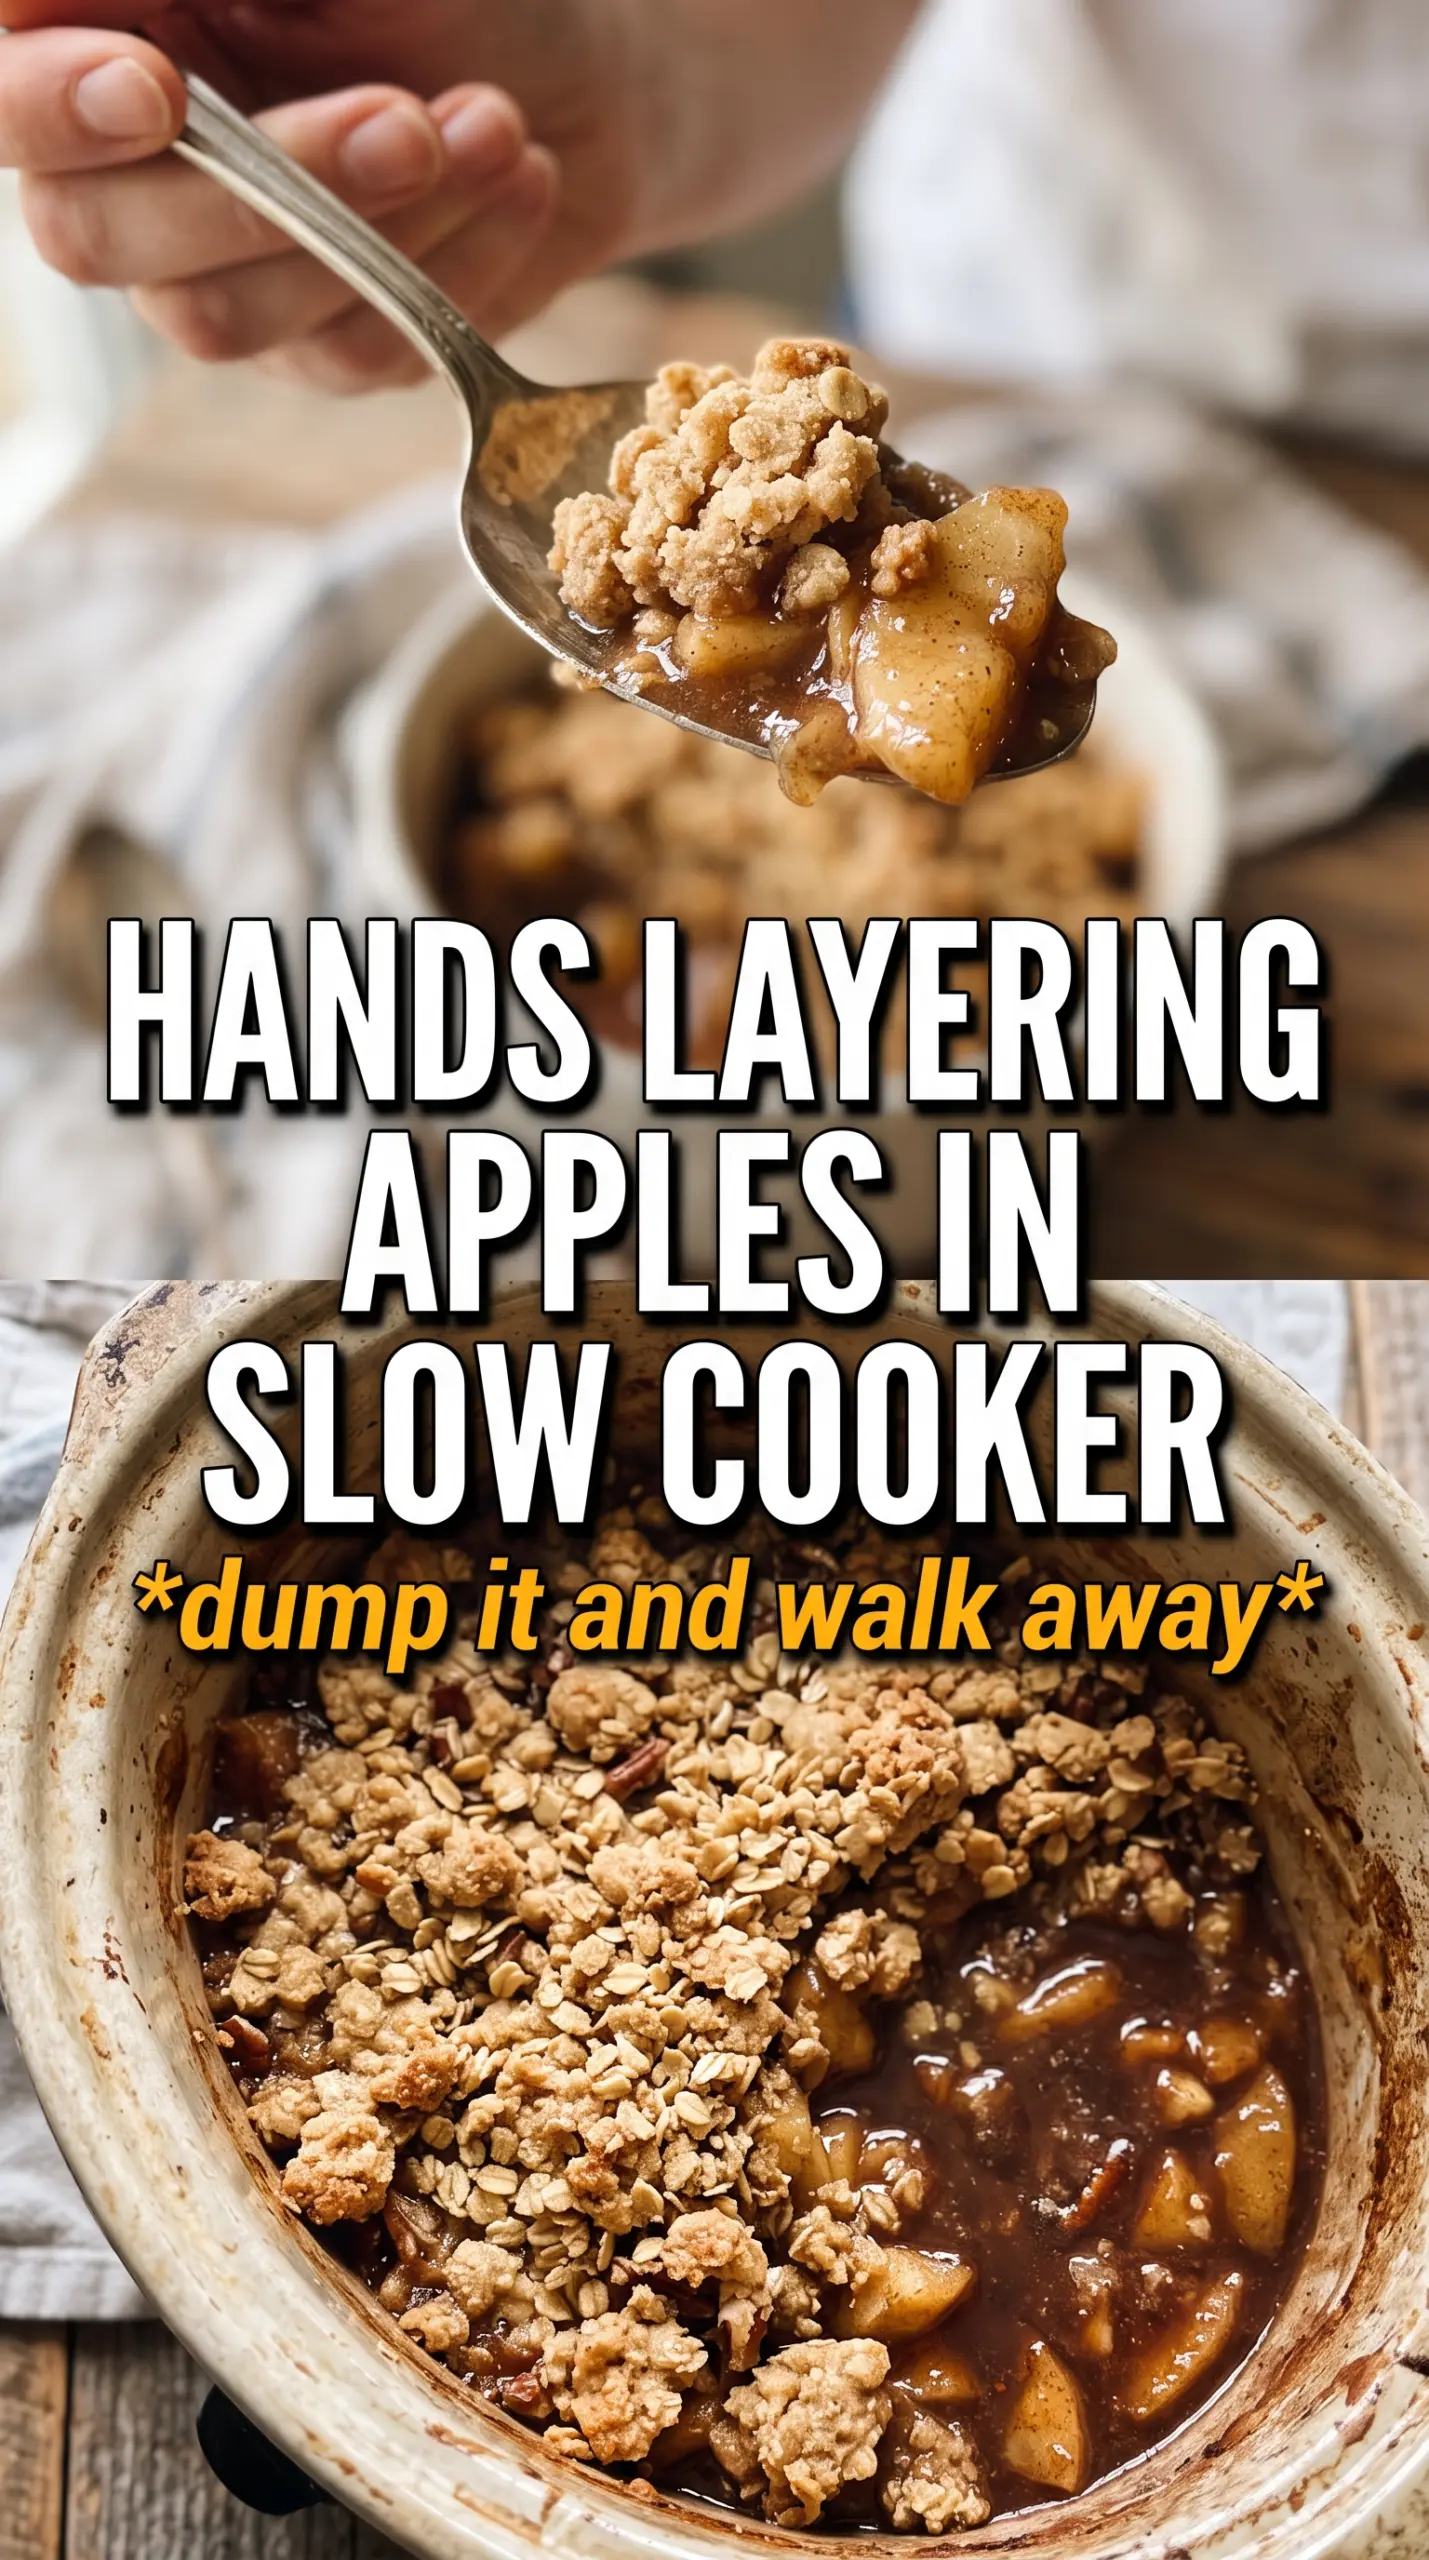
Slow cooker apple crisp lands with the same comforting contrast every good crisp should have: tender cinnamon apples underneath and a golden oat topping that holds just enough crunch to stay interesting under a spoonful of ice cream. The slow cooker handles the apples beautifully here. They soften into their own syrup without turning to mush, and the topping cooks through with less risk of scorching than in the oven.
The trick is in the moisture control. Apples release a lot of juice as they cook, so the crumble needs enough fat to clump and enough dry ingredients to stay structured. That folded towel or layer of paper towels under the lid isn’t a fussy extra step; it keeps condensation from dripping back onto the topping and turning the whole dessert soft on top.
Below, I’ll show you how to keep the topping crispier, when to broil for extra color, and what kind of apples give you the best texture after a few hours in the slow cooker.
The apples turned perfectly tender and the topping stayed set instead of getting soggy. I broiled it for a couple minutes at the end and it came out with that crisp edge I was hoping for.
Save this slow cooker apple crisp for the nights when you want a tender apple filling and a toasted oat topping without turning on the oven.
The Part That Keeps the Topping Crisp Instead of Damp
A slow cooker is great for softening apples evenly, but it also traps moisture. That means the biggest risk here isn’t undercooked fruit — it’s a crumble that tastes good but loses its texture before it reaches the table. The towel under the lid gives the steam somewhere to go, which matters more than people expect.
The other piece that helps is starting with apples that can stand up to long cooking. A mix with some tart fruit keeps the dessert from tasting flat, and the apples should be sliced evenly so the pieces finish at the same time. If the slices are too thin, they collapse; if they’re too thick, the filling can stay a little too firm in the center.
- Apples — Peel them for the softest filling. I like a mix of sweet and tart apples because one-note apples can taste dull after a long cook.
- Rolled oats — Old-fashioned oats give the topping the best chew and structure. Quick oats work in a pinch, but the crumble comes out denser and less nubby.
- Brown sugar — This does more than sweeten. It helps the crumble brown and gives the topping that caramel note that plays so well with apples.
- Melted butter — This is what turns the dry oat mixture into clumps instead of sandy crumbs. If the topping looks too floury after tossing, keep mixing until you see moist, shaggy clusters.
- Lemon juice — You don’t taste it directly, but it keeps the filling bright and stops the apples from tasting heavy.
What Each Ingredient Is Actually Doing in This Recipe
- Primary ingredient (the star) — Quality matters most. Choose the best you can find.
- Cooking medium (oil, butter, or broth) — This carries flavors and prevents dryness.
- Seasonings (salt, pepper, spices, herbs) — Layer flavors so nothing overpowers. Build depth gradually.
- Aromatics (garlic, onion, herbs) — Cook with fat to bloom flavors. Become the foundation.
- Supporting ingredients — Complement the main ingredient without overpowering it.
- Sauce or liquid (if applicable) — Brings flavors together. Balance richness with acid.
- Acid (lemon, vinegar, wine, or other) — Brightens and prevents flat-tasting results.
- Final finish (garnish, glaze, or sauce) — Prevents one-dimensional taste and adds visual appeal.
How to Build the Crisp Without Ending Up With Apple Soup
Coating the Apples
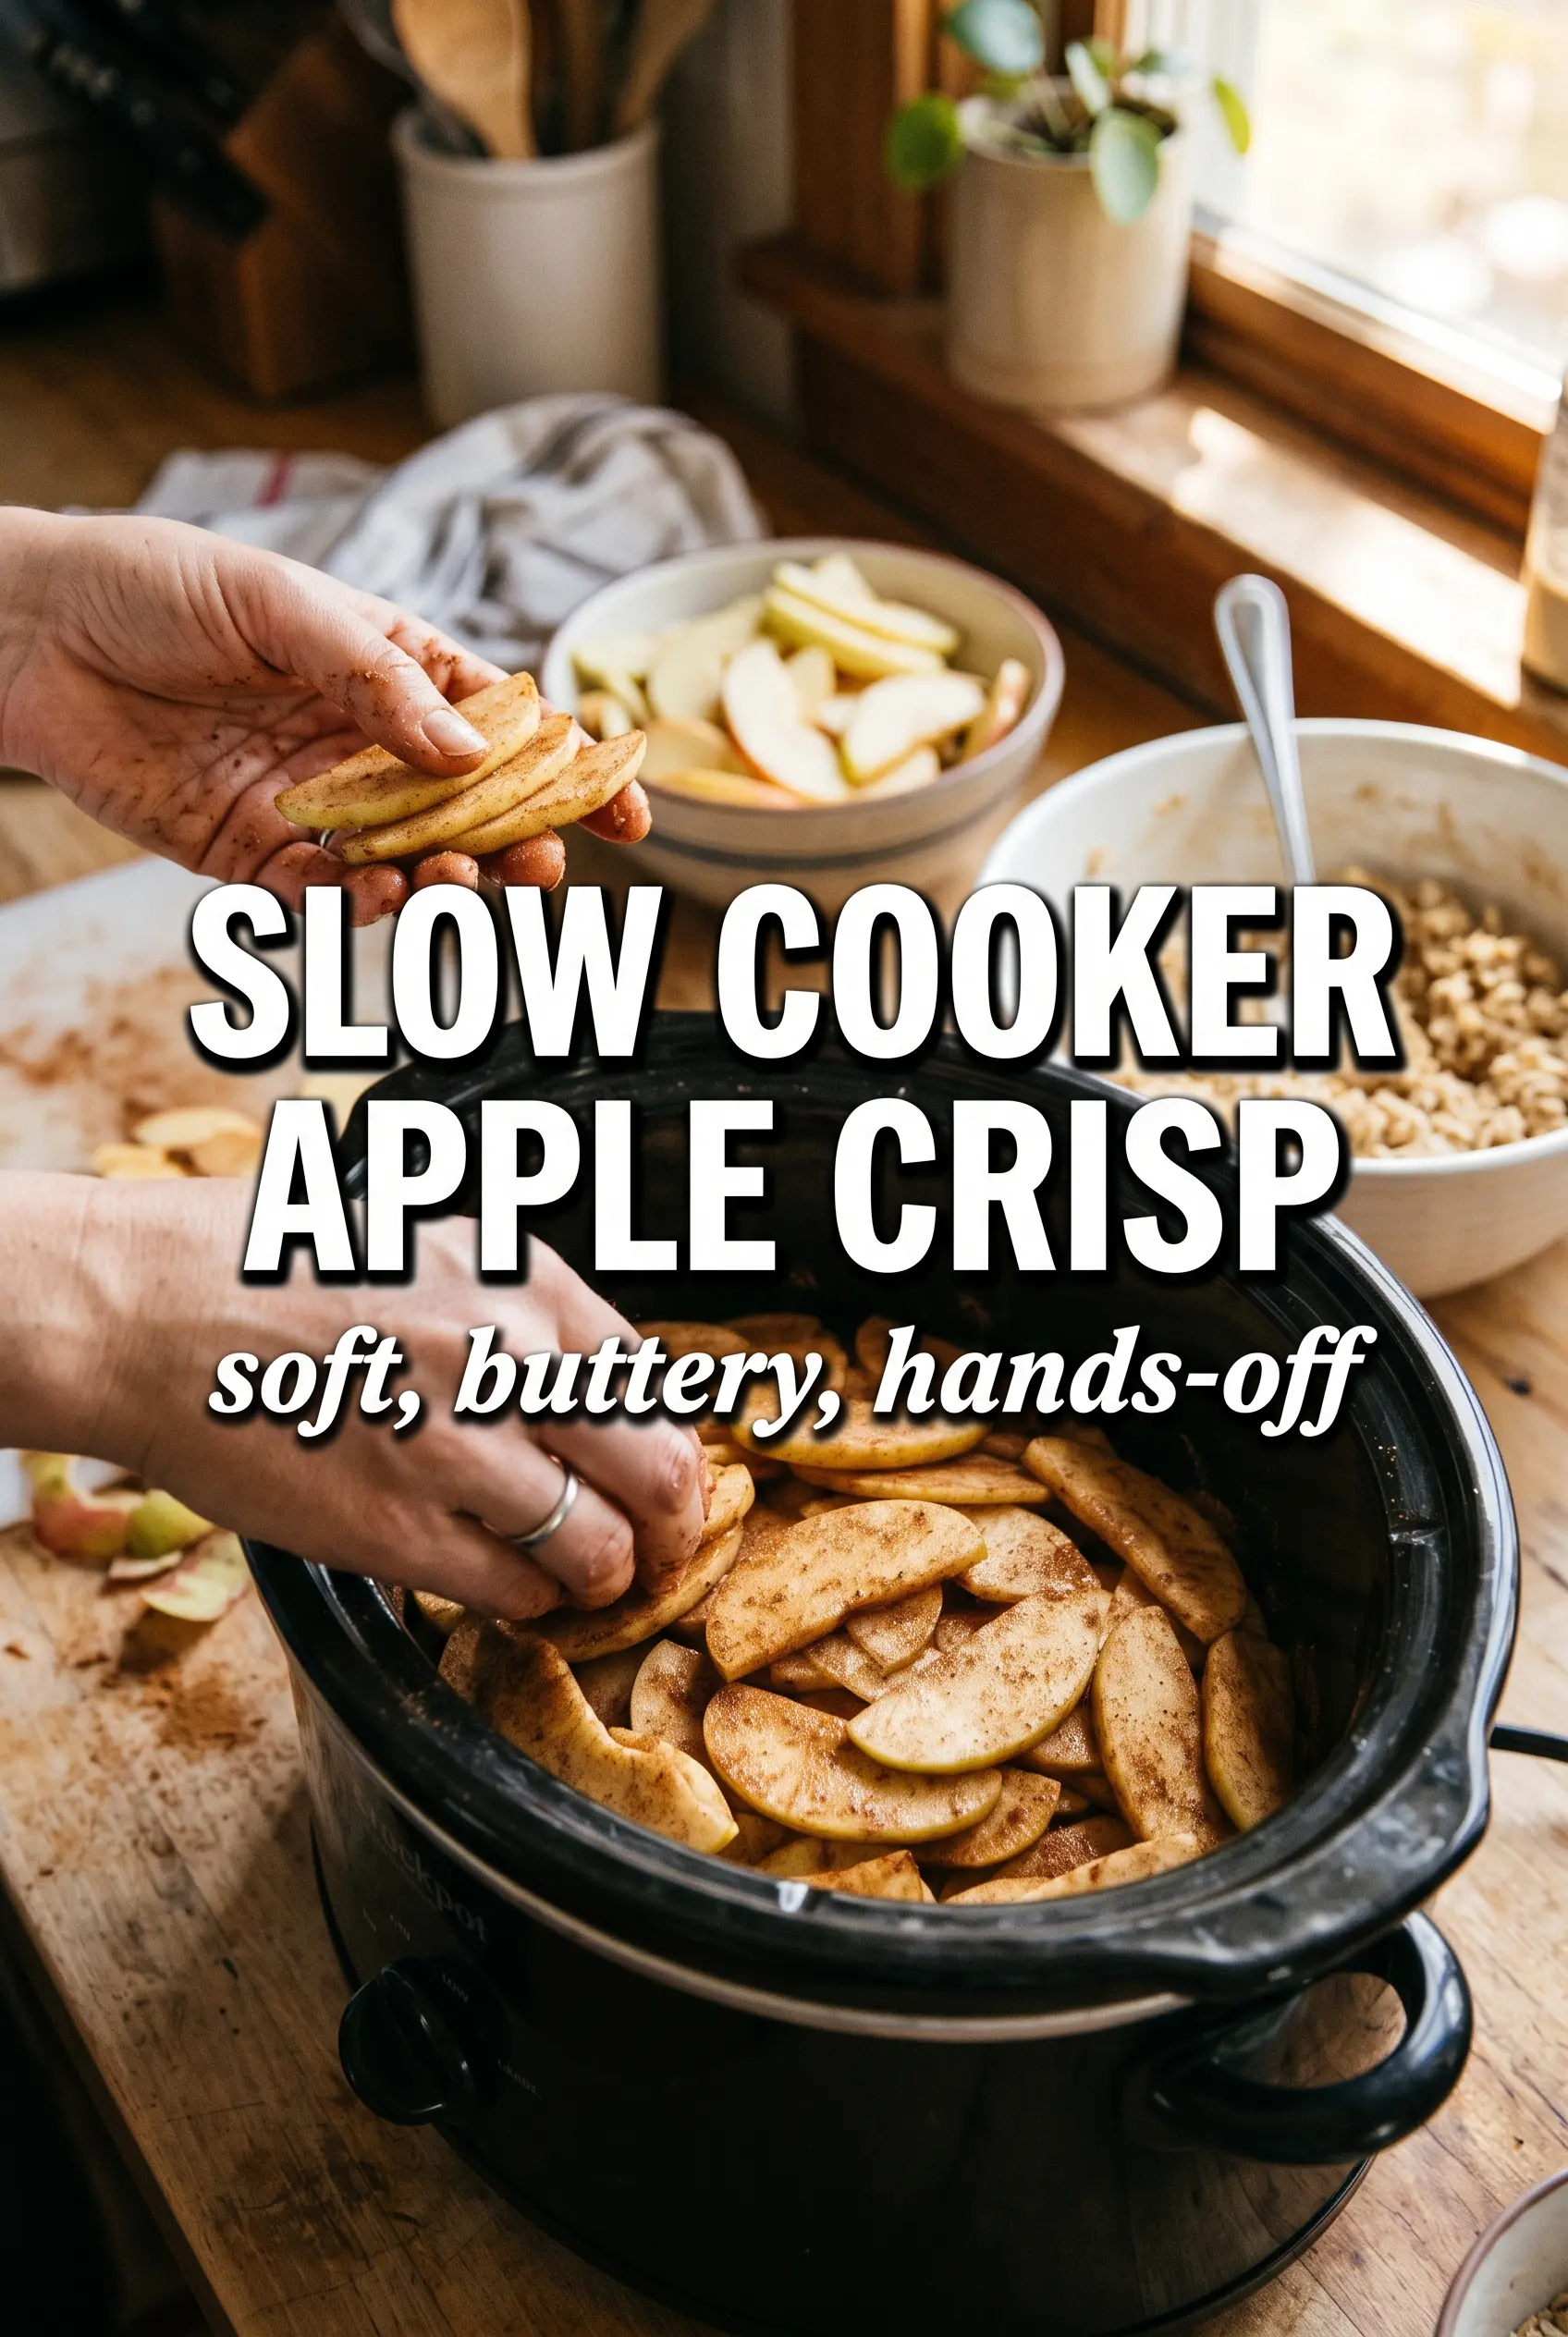
Toss the sliced apples with the sugars, cinnamon, nutmeg, and lemon juice until every piece is coated, then spread them in an even layer in the slow cooker. You want a generous, even mound, not a tightly packed brick, because the apples need room to soften and release steam. If you skip this seasoning step or dump the dry spices on top, you’ll get pockets of bland apple underneath and oversweet spots on top.
Making the Crumble
Combine the oats, flour, brown sugar, cinnamon, and salt, then drizzle in the melted butter while tossing with a fork or your hands. The finished mixture should look like damp sand with clumps the size of peas and walnuts. If it looks powdery, it needs a little more mixing, not more butter; too much butter makes the topping greasy instead of crisp.
Managing the Steam
Scatter the crumble over the apples, then place a folded kitchen towel or several paper towels under the lid before you cook. That step catches the condensation that would otherwise drip back onto the top and soften it. Keep the towel clear of the heating element and the edges of the cooker, and don’t lift the lid early unless you need to check doneness — every peek releases heat and slows the process.
Knowing When It’s Done
Cook on Low until the apples are tender when pierced and the topping looks set on top, usually around 2.5 to 3 hours. The filling should be bubbling at the edges and the apples should hold their shape without crunching in the center. If the fruit is tender but the top still looks pale, a brief broil at the end gives it the color and texture you want.
What to Change When You Need a Different Kind of Crisp
Dairy-Free Version
Use melted coconut oil or a good plant-based butter in place of the unsalted butter. Coconut oil gives the topping a slightly different aroma and a firmer set, while vegan butter keeps the flavor closer to the original. The crumble should still clump when pressed, so add the fat gradually if your substitute is softer than standard butter.
Gluten-Free Crisp
Swap the all-purpose flour for a 1:1 gluten-free baking blend that includes xanthan gum, or use almond flour for a softer, nuttier topping. Almond flour browns faster and gives a more delicate crumble, while a gluten-free flour blend stays closer to the original texture. Don’t use only oats and butter; the topping turns greasy and loose.
A More Tart Filling
Use more Granny Smith apples or another tart baking apple if you want the filling to cut through the sweetness of the crumble and caramel. This gives you a brighter, more classic apple crisp flavor, but it can taste sharper if you don’t balance it with the serving sauce. Caramel sauce or ice cream helps mellow that edge.
Storage and Reheating
- Refrigerator: Store leftovers covered for up to 4 days. The topping softens as it sits, but the flavor stays good.
- Freezer: It freezes well after baking. Cool completely, portion into airtight containers, and freeze for up to 2 months.
- Reheating: Reheat in the oven at 325°F until warmed through if you want the best texture. The microwave works for speed, but it softens the topping further, so use short bursts and expect a softer crisp.
Answers to the Questions Worth Asking
Slow Cooker Apple Crisp
Ingredients
Equipment
Method
- Toss the sliced apples with granulated sugar, brown sugar, cinnamon, nutmeg, and lemon juice, then spread them evenly in the slow cooker.
- Set the slow cooker aside while you make the crumble topping.
- Combine rolled oats, all-purpose flour, brown sugar, cinnamon, and salt, then drizzle in melted butter and toss until evenly moistened and clumps form.
- Scatter the oat crumble over the apples in an even layer.
- Place a folded kitchen towel or several paper towels under the slow cooker lid to catch condensation.
- Cook on Low for 2.5 to 3 hours, until the apples are tender and the topping is set.
- For a crispier result, broil for 3 to 4 minutes until the topping looks lightly browned.
- Serve warm with vanilla ice cream and caramel sauce.