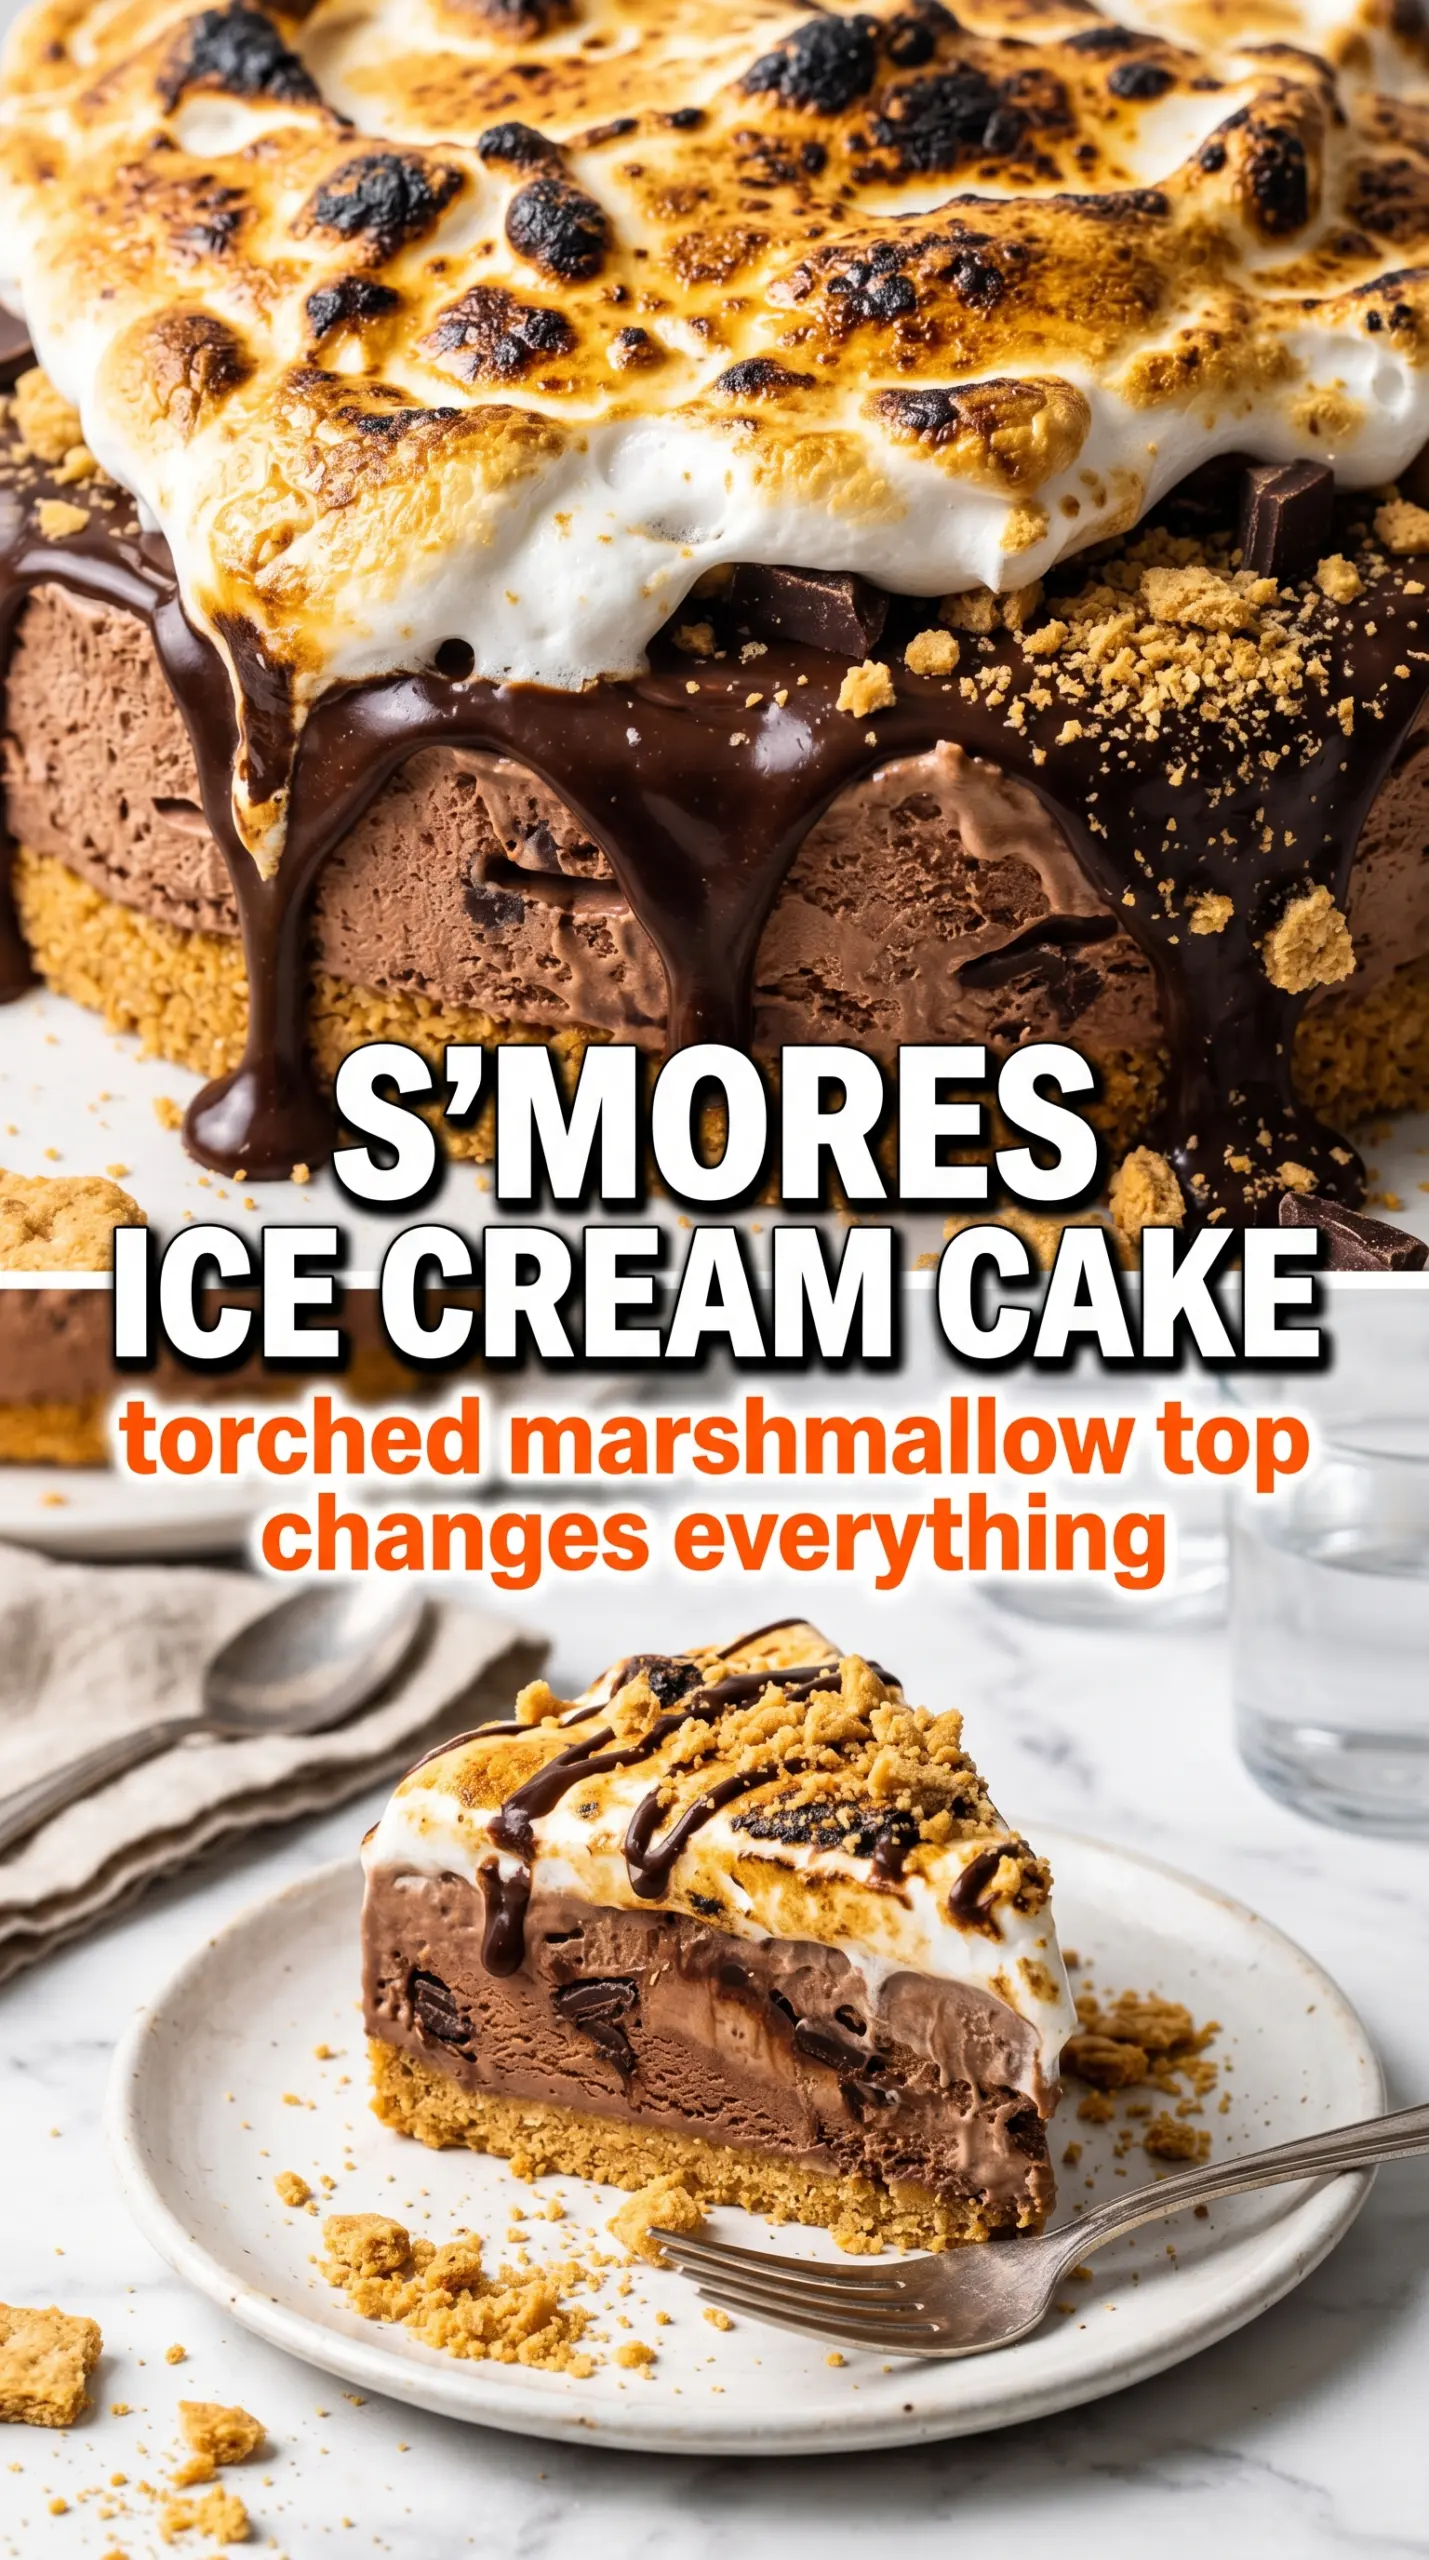
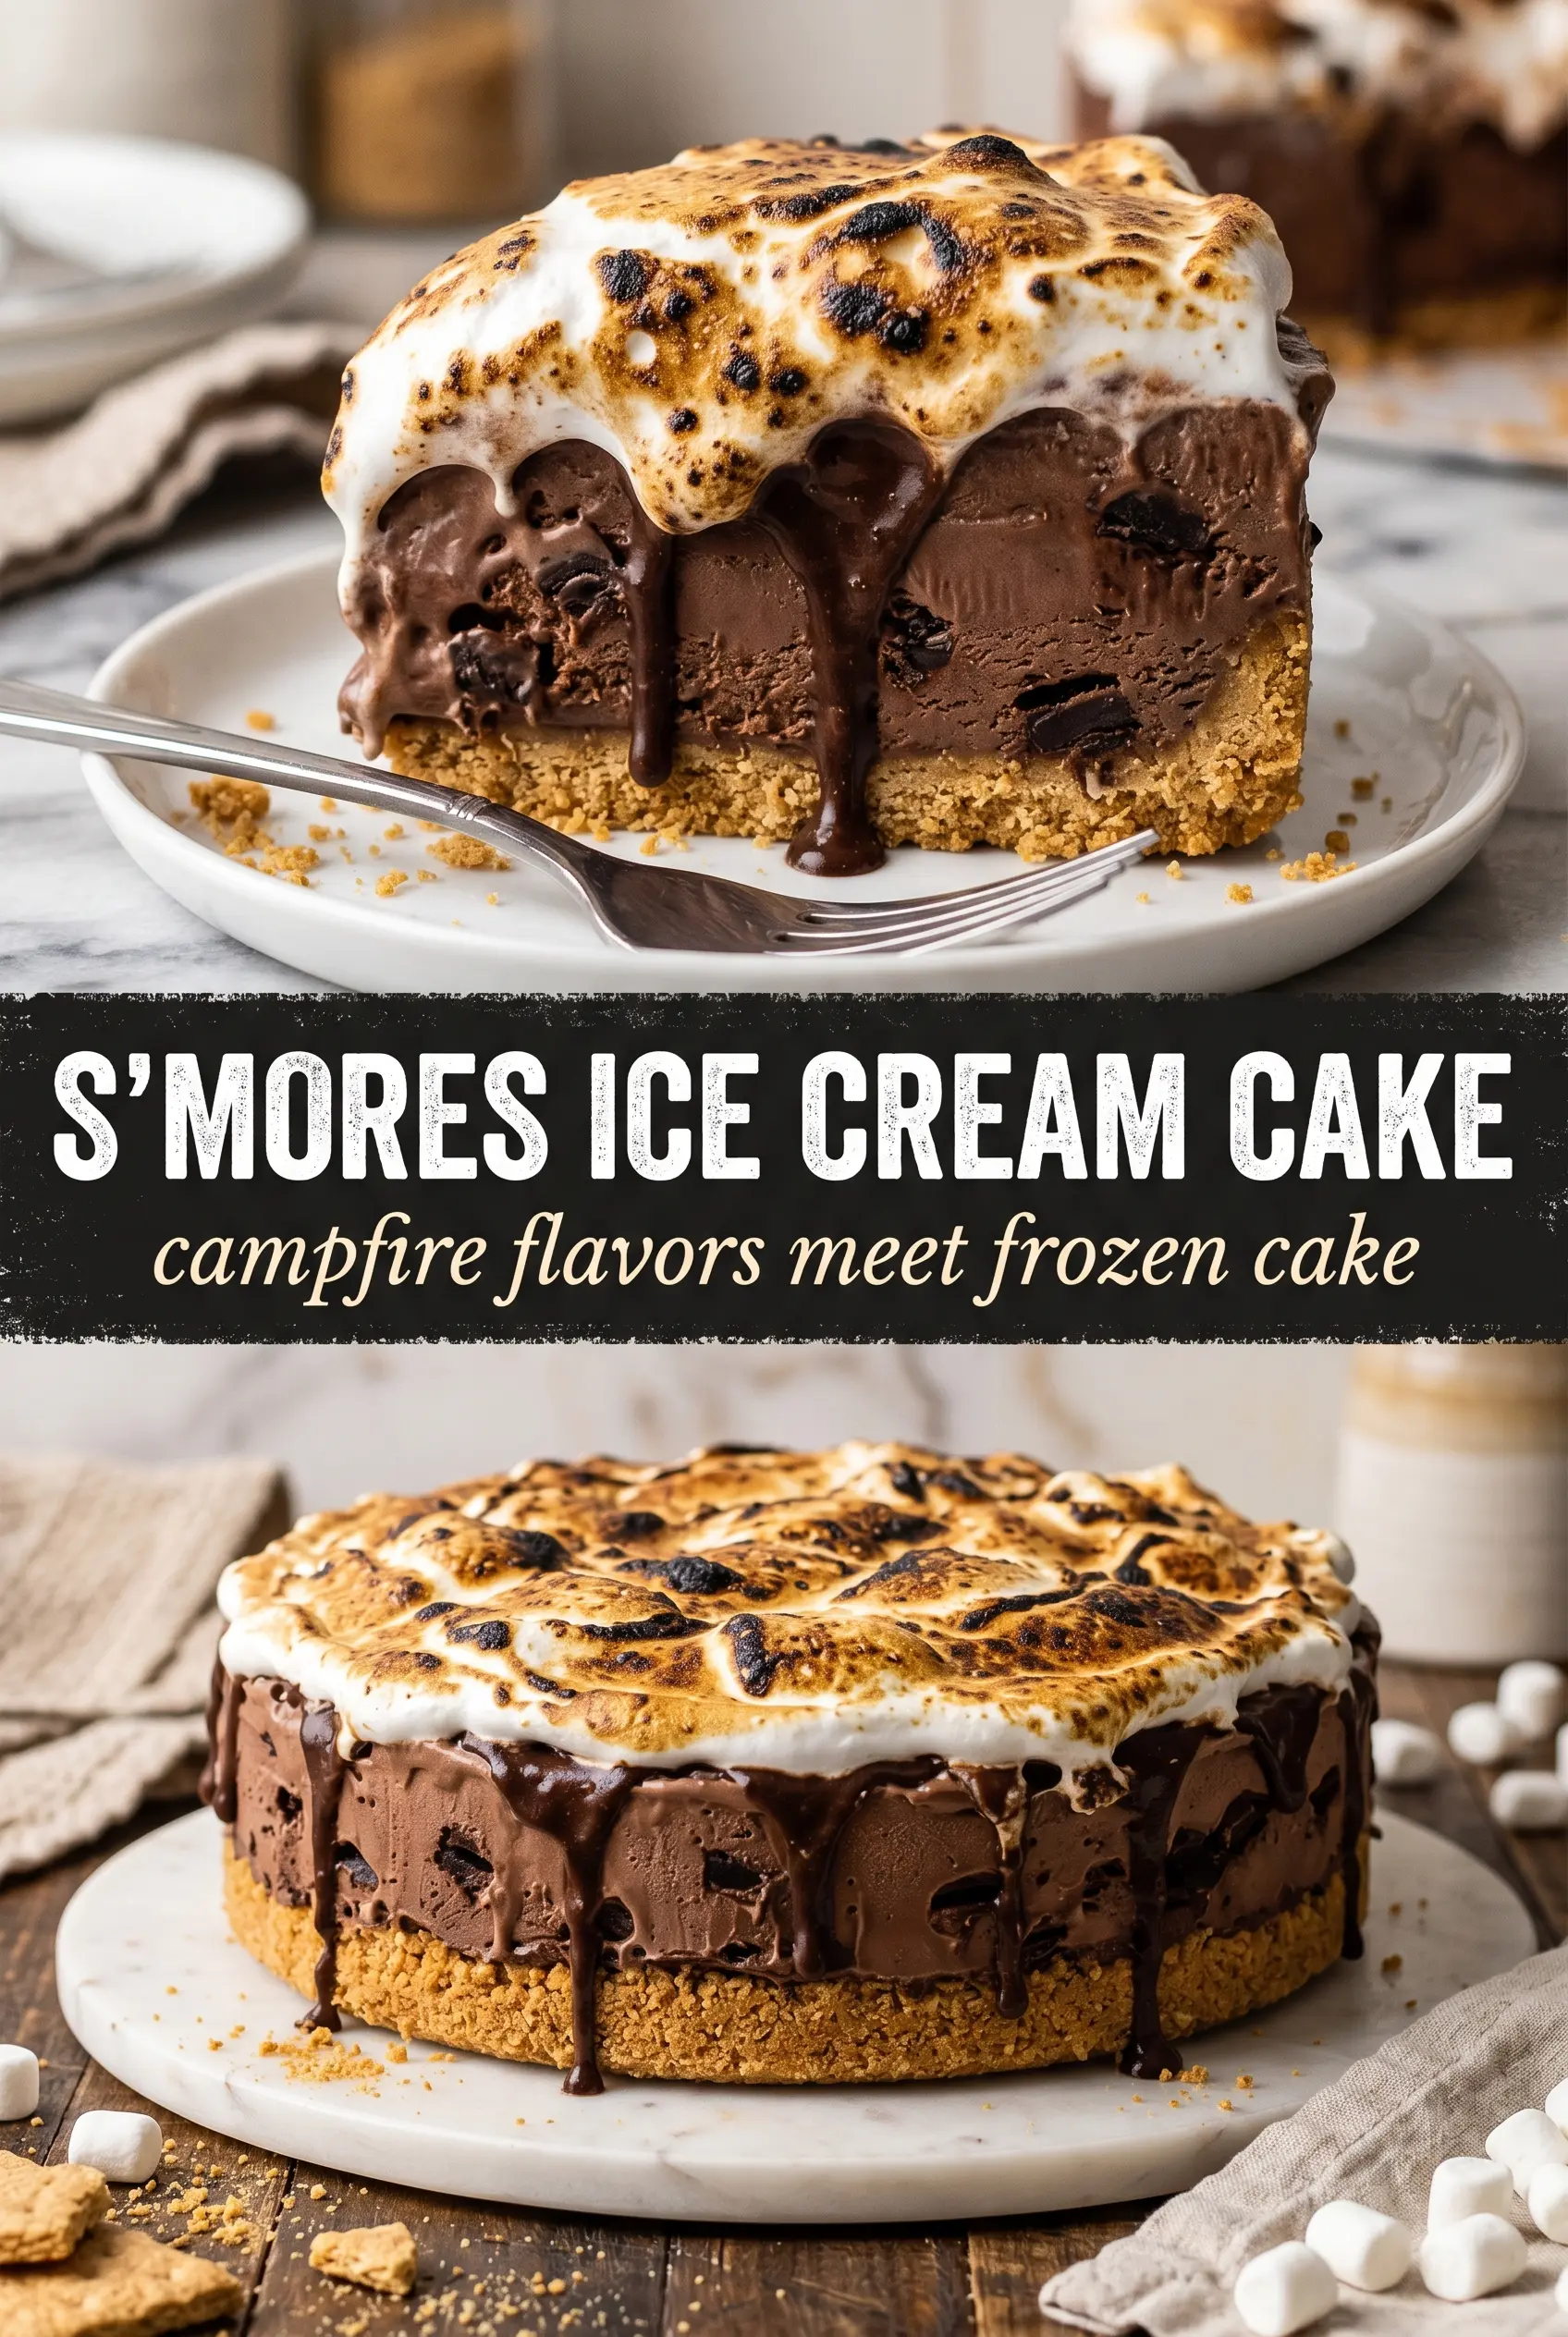
S’mores Ice Cream Cake hits the sweet spot between nostalgic and practical: a buttery graham cracker crust, a dense layer of chocolate ice cream, and a marshmallow top that gets torched right before serving. The first slice looks dramatic, but what makes it worth repeating is the texture contrast. Cold and creamy in the middle, crunchy at the base, sticky and toasted on top.
The trick is keeping each layer cold enough to stay distinct. The crust gets a short freeze so it sets before the ice cream goes in, and the fudge gets swirled into softened ice cream instead of poured on top, which keeps it from sinking into one heavy stripe. The marshmallow topping goes on after the ice cream is firm, so you can toast it without melting the whole cake into a puddle.
Below, I’ve included the timing that matters, the swap that works if you don’t have a springform pan, and a few variations for changing up the chocolate or making the cake a little easier to slice.
The crust held together beautifully and the hot fudge stayed swirled through the ice cream instead of sinking to the bottom. I torched the marshmallow topping right before serving and it looked like a bakery cake.
Save this S’mores Ice Cream Cake for a make-ahead dessert with a graham crust, chocolate swirl, and torch-toasted marshmallow top.
The Part Where the Layers Stay Separate Instead of Turning to Soup
The biggest mistake with an ice cream cake like this is building it too warm. If the crust isn’t fully chilled before the ice cream goes in, the bottom turns sandy instead of compact. If the chocolate ice cream is too soft, it will melt down into the crust and blur the layers before the cake has a chance to set.
That short freeze between layers matters more than extra decoration on top. You’re giving each layer enough structure to support the next one, which is what keeps the slices clean. The marshmallow topping is the last thing to go on because it needs to be toasted fast and served while the cake is still frozen solid.
What Each Ingredient Is Actually Doing in This Cake
- Graham cracker crumbs — These give you the closest thing to a real s’mores base. Freshly crushed crumbs hold together a little better than dusty pre-crushed ones, but either works as long as the texture is even.
- Butter — This is what turns the crumbs into a sliceable crust. Melted butter needs to coat every crumb, so stir until the mixture looks like wet sand and presses together in your hand.
- Chocolate ice cream — Use a brand you actually like eating plain, because the flavor sits front and center. The softening step matters here; if it’s too hard, you’ll tear up the crust trying to spread it.
- Hot fudge sauce — A thick fudge sauce gives you pockets of rich chocolate without turning the center muddy. Warm it just enough to swirl easily, not so much that it thins out and disappears into the ice cream.
- Marshmallow fluff — This is the easiest way to get that sticky, gooey s’mores top without fighting melted marshmallows. Spread it gently over the frozen ice cream layer so you don’t drag crumbs through the surface.
- Mini marshmallows — These toast fast and give you those browned, blistered peaks that make the cake look like it came from a campfire. Larger marshmallows take longer and can melt before they brown properly.
Building the Cake So the Slices Hold Their Shape
Pressing the Crust Hard Enough
Mix the graham crumbs, melted butter, and sugar until every crumb looks coated, then press the mixture firmly into a 9-inch springform pan. Use the bottom of a measuring cup to pack it down, especially around the edges, or the crust will crumble when you cut into it. A 15-minute freeze is enough to lock it in place before the filling goes on.
Swirling the Chocolate Without Melting It
Let the chocolate ice cream soften at room temperature just until it spreads easily, then fold in the hot fudge. The goal is a marbled look, not a fully blended chocolate base. If the fudge is too hot, it will melt the ice cream and turn the whole layer loose, so let it cool slightly if needed before mixing.
Freezing the Middle Layer Completely
Spread the chocolate mixture over the crust and smooth the top, then freeze it until firm, about 4 hours. This layer needs to be solid before the marshmallow fluff goes on, or the topping will slide around and pick up crumbs. If the center still gives when you press it lightly, give it more time.
Toasting the Top at the Last Minute
Spread the marshmallow fluff over the frozen cake, scatter the mini marshmallows on top, and torch them until the tops are golden-brown with a few charred spots. The best color comes fast, so keep the torch moving instead of holding it in one place. Freeze the finished cake for about an hour, then slice it right away while the marshmallow layer is still set but not icy hard.
Three Ways to Make This More Your Own
Use a Different Ice Cream Base
Chocolate is the classic move, but coffee or cookies-and-cream ice cream works if you want a sharper or sweeter middle. Keep the fudge swirl, because that deepens the flavor and keeps the cake from tasting flat.
Make It Gluten-Free
Swap in gluten-free graham-style crackers and keep the rest of the recipe the same. The crust still sets well as long as the crumbs are fine and the butter is evenly mixed through.
Skip the Torch and Use the Broiler
If you don’t have a kitchen torch, pop the marshmallow layer under a very hot broiler for just a few seconds. Watch it the entire time, because the line between toasted and burnt is tiny, and the ice cream cake underneath can soften fast.
Cut a Cleaner Slice
Run a sharp knife under hot water, wipe it dry, and slice while the cake is still very cold. Warming the knife prevents the marshmallow top from dragging, which is the main reason frozen cakes lose their neat edges.
Storage and Reheating
- Refrigerator: Not ideal. This is a frozen dessert, and it softens fast in the fridge.
- Freezer: Wrap the cake tightly and freeze up to 1 week for the best texture. After that, the marshmallow top can get icy and the crust starts to lose flavor.
- Reheating: No reheating needed. Let slices sit at room temperature for 5 to 10 minutes so the knife goes through cleanly, but don’t leave the whole cake out long enough for the ice cream to slump.
Answers to the Questions Worth Asking
S'mores Ice Cream Cake
Ingredients
Equipment
Method
- Combine graham crumbs, melted butter, and sugar, then press firmly into a 9-inch springform pan. You should see a tight, even layer with no loose crumbs.
- Freeze the crust for 15 minutes until solid and set to the touch. The surface should look dry and stay packed when lightly tapped.
- Swirl hot fudge into softened chocolate ice cream, then spread over the frozen crust. Make sure the layer is smooth and reaches the edges.
- Freeze for 4 hours until firm. When you gently press the center, it should feel dense and hold shape.
- Spread marshmallow fluff over the frozen chocolate layer in an even dome. The fluff should fully cover the surface without gaps.
- Scatter mini marshmallows over the fluff so they cling and form a bubbly top. Aim for an even distribution with some overlapping for charred spots.
- Use a kitchen torch to toast the marshmallows until golden-brown with charred spots, moving the flame continuously. The tops should blister and darken, then look glossy.
- Freeze for 1 more hour, then serve immediately after slicing. The cake should cut cleanly with visible layers and a set marshmallow top.