Spiced apple butter cooks down into something deeper than applesauce and smoother than jam, with a thick, spreadable texture that clings to toast and biscuits instead of sliding off. The long, slow cook turns a pile of chopped apples into a dark, glossy spread with concentrated apple flavor, warm spice, and just enough tang to keep it from tasting flat.
The trick is patience at two points: first when the apples break down until they’re fall-apart soft, and again after blending when the puree goes back on the heat to shed moisture. That second cook is what gives apple butter its velvety body and deep mahogany color. Without it, you end up with something thin and one-note.
Below you’ll find the exact cues I watch for, plus the apple mix and spice balance that keep this version from tasting overly sweet or muddy. If you’ve ever had apple butter turn grainy, loose, or bland, this method fixes all three.
I finally got apple butter that tasted like the ones from the farm stand. The slow cooker made the apples break down evenly, and the last hour uncovered gave it that thick, spoonable texture I’ve never managed before.
Spiced apple butter gets its deep color and velvety finish from that uncovered final cook — save this one for toast, biscuits, and gifting jars.
The Final Cook Is What Turns Apples Into Butter
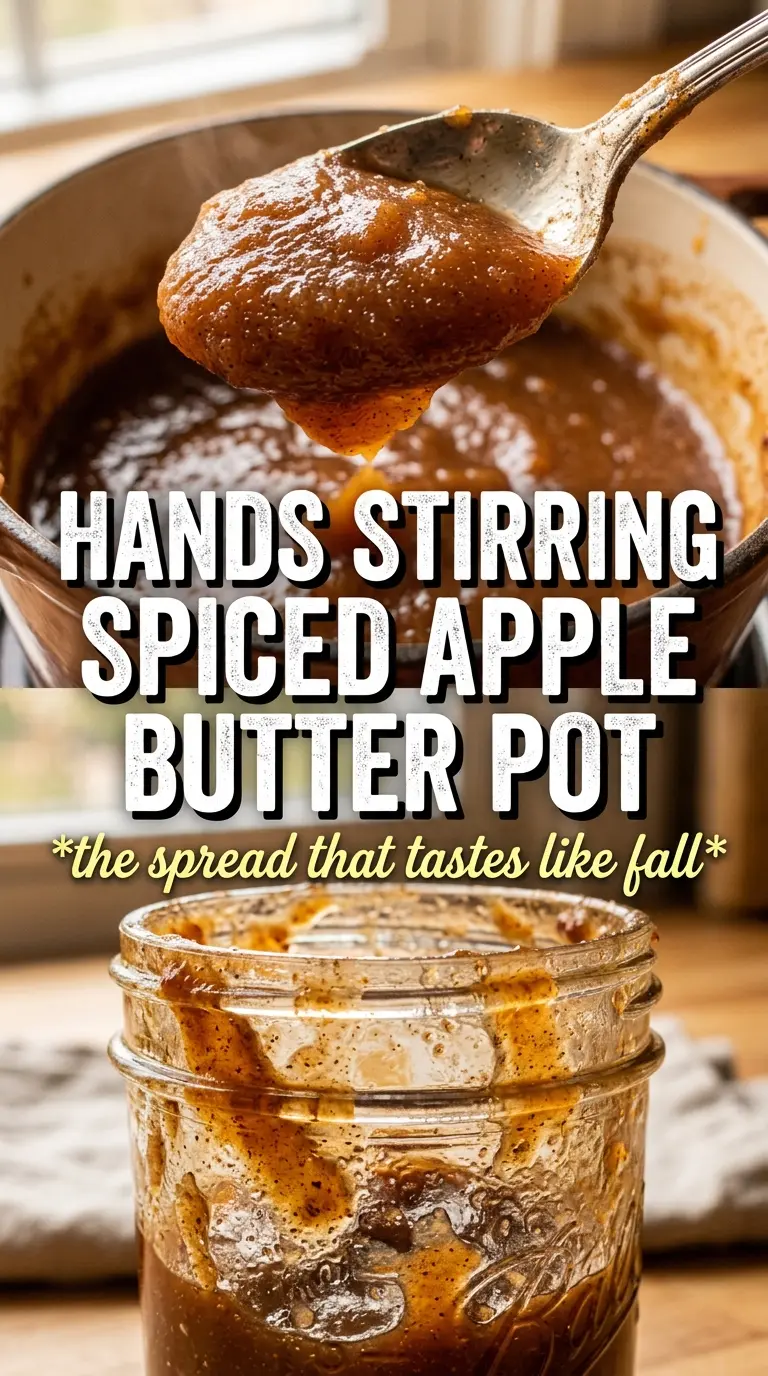
Apple butter fails when people rush the last stage. The apples can be soft and fully blended, but if the puree still holds too much water, the finished spread will taste thin and stay pale. That uncovered simmer after blending is where the flavor concentrates, the sugar deepens, and the texture turns from sauce-like to spoonable.
Watch the surface, not the clock. You want slow bubbles, occasional sputtering, and a puree that mounds briefly on a spoon before settling. If the bottom starts to catch, the heat is too high. Lower it and keep stirring often, especially near the end when the mixture is thick enough to burn in spots.
- Mixed apples — A blend of tart and sweet apples gives the best balance and keeps the butter from tasting flat. If all you have are sweeter apples, the vinegar matters even more because it adds the brightness this spread needs.
- Brown sugar and granulated sugar — Brown sugar brings depth, while white sugar keeps the sweetness clean instead of molasses-heavy. You can trim the total a little if your apples are very sweet, but don’t cut it too far or the apple flavor won’t concentrate the same way.
- Apple cider vinegar — This isn’t enough to make the butter taste sharp; it sharpens the apple flavor and prevents the finished spread from tasting dull. Lemon juice can work in a pinch, but cider vinegar fits the flavor better here.
- Vanilla — Stir it in at the end so it stays fragrant. If it goes in too early, some of that warm, round note cooks off before the apple butter is done.
What Each Ingredient Is Actually Doing in This Recipe
- Primary ingredient (the star) — Quality matters most. Choose the best you can find.
- Cooking medium (oil, butter, or broth) — This carries flavors and prevents dryness.
- Seasonings (salt, pepper, spices, herbs) — Layer flavors so nothing overpowers. Build depth gradually.
- Aromatics (garlic, onion, herbs) — Cook with fat to bloom flavors. Become the foundation.
- Supporting ingredients — Complement the main ingredient without overpowering it.
- Sauce or liquid (if applicable) — Brings flavors together. Balance richness with acid.
- Acid (lemon, vinegar, wine, or other) — Brightens and prevents flat-tasting results.
- Final finish (garnish, glaze, or sauce) — Prevents one-dimensional taste and adds visual appeal.
Building the Puree So It Stays Smooth and Glossy
Cooking the Apples Down
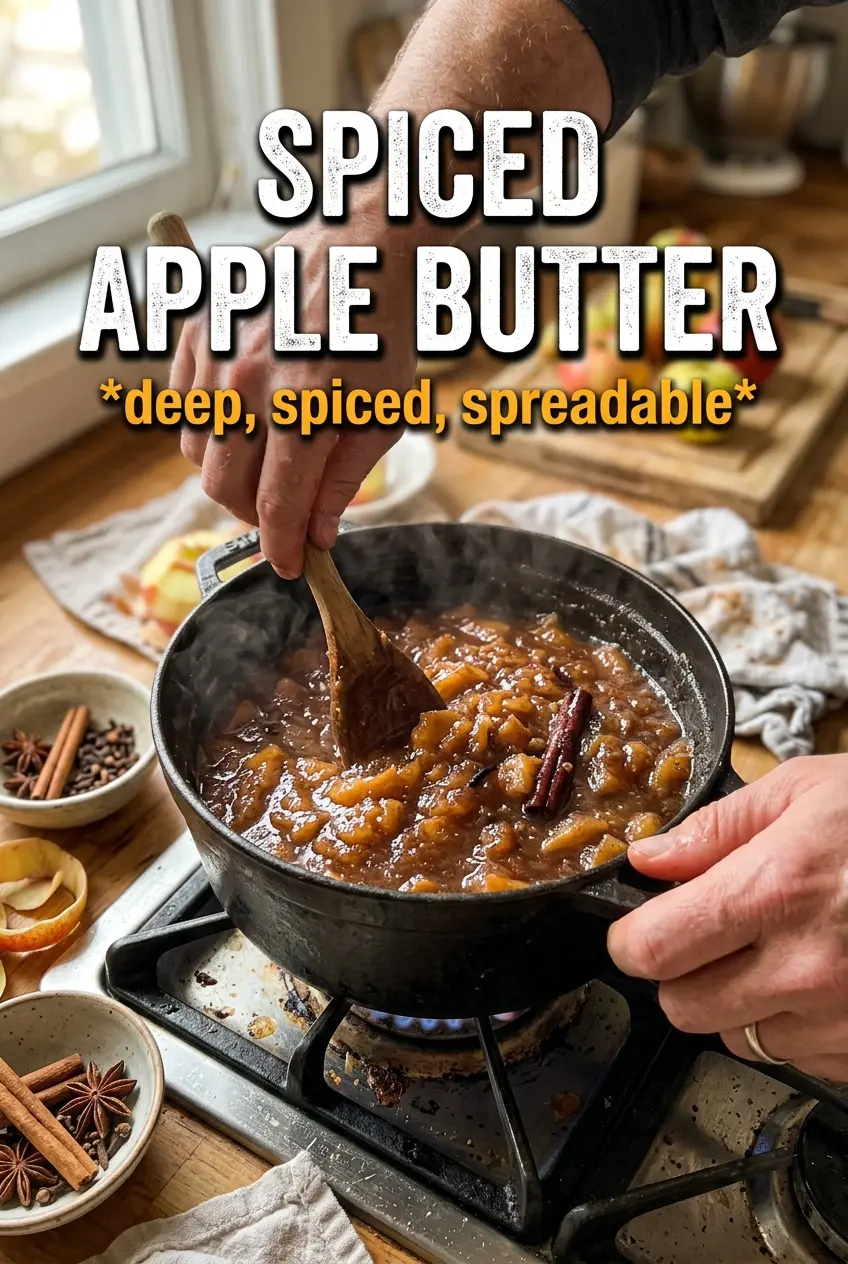
Combine the chopped apples, both sugars, spices, and vinegar in a slow cooker or heavy pot and let them cook until they collapse completely. In the slow cooker, the apples should turn very soft and almost jammy after 8 to 10 hours on low. On the stovetop, keep the heat at medium-low and stir often so the bottom doesn’t scorch before the fruit has time to break down. If the apples still look chunky, they need more time; blending too soon leaves you with a grainy finish.
Blending Without Adding Air
Blend the cooked apples until completely smooth with an immersion blender or food processor. You’re looking for a silkier texture than applesauce, with no visible pieces or fibrous bits. If using a blender or food processor, work in batches and let the mixture cool slightly first so steam doesn’t build up. A smooth puree here matters because any chunks left behind won’t disappear later.
Reducing to the Right Thickness
Return the puree to the heat and cook uncovered until it turns thick, glossy, and deep brown. Stir frequently and scrape the bottom and corners of the pot, because that’s where it tends to catch once the water evaporates. The finished apple butter should hold a line for a few seconds when you drag a spoon through it. If it still looks loose when hot, it will seem even thinner once it cools in the jar.
Finishing and Jarring
Stir in the vanilla after the apple butter has reached its final thickness, then taste and adjust the spices if needed. Ladle it into sterilized jars while it’s still hot for the cleanest transfer. Refrigerate for short-term storage, or water-bath can it if you want shelf-stable jars. Don’t seal the jars until you’ve followed the proper canning process for your setup.
Use Honey Instead of Some of the Sugar
You can replace part of the granulated sugar with honey for a rounder, slightly floral sweetness. Keep some of the brown sugar in place so the butter still has that deep caramel note, and expect the final texture to be a touch looser because honey adds moisture.
Make It Dairy-Free and Naturally Gluten-Free
This recipe is already dairy-free and gluten-free as written, which is part of why it’s such an easy jar to keep on hand. Just pair it with gluten-free toast, biscuits, or oatmeal, and you’ve got the same thick, spiced spread with no extra adjustments.
Make It More Tart
If your apples are very sweet, add another tablespoon of cider vinegar after blending and before the final simmer. That extra acidity doesn’t make it sour; it just wakes up the apple flavor and keeps the spices from feeling heavy.
Storage and Reheating
- Refrigerator: Keeps up to 3 weeks in sterilized jars. The texture firms up as it chills, which is exactly what you want.
- Freezer: Freezes well in freezer-safe containers with a little headspace. Thaw overnight in the refrigerator and stir before using.
- Reheating: You usually don’t need to reheat it, but if you want it looser for serving, warm only the amount you need over low heat. High heat can make it stick and darken too fast.
Questions I Get Asked About This Recipe
Spiced Apple Butter
Ingredients
Equipment
Method
- Place the chopped apples in a large slow cooker or heavy pot, then stir in granulated sugar, brown sugar, cinnamon, allspice, cloves, nutmeg, ginger, and apple cider vinegar until evenly coated. Cook on Low for 8-10 hours, or cover and simmer over medium-low heat for 45-60 minutes, stirring frequently, until the apples are very soft.
- Blend the cooked mixture until completely smooth using an immersion blender or food processor, until no chunks remain. Return to heat and continue cooking uncovered over low heat for 30-60 minutes, stirring frequently, until noticeably thickened and deep brown.
- Stir in vanilla extract, then taste and adjust spices if needed for balance. Ladle into sterilized jars and refrigerate up to 3 weeks, or water-bath can for 10 minutes for shelf stability.