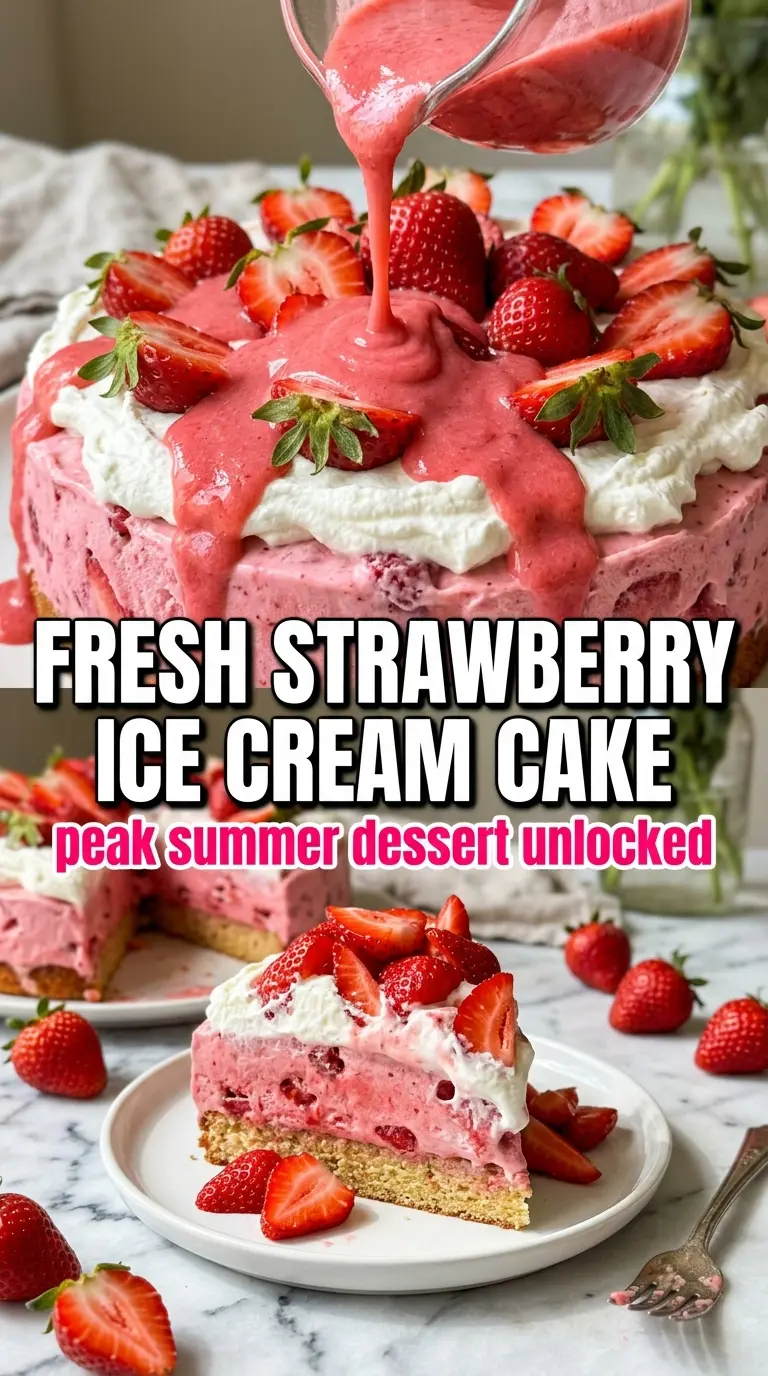
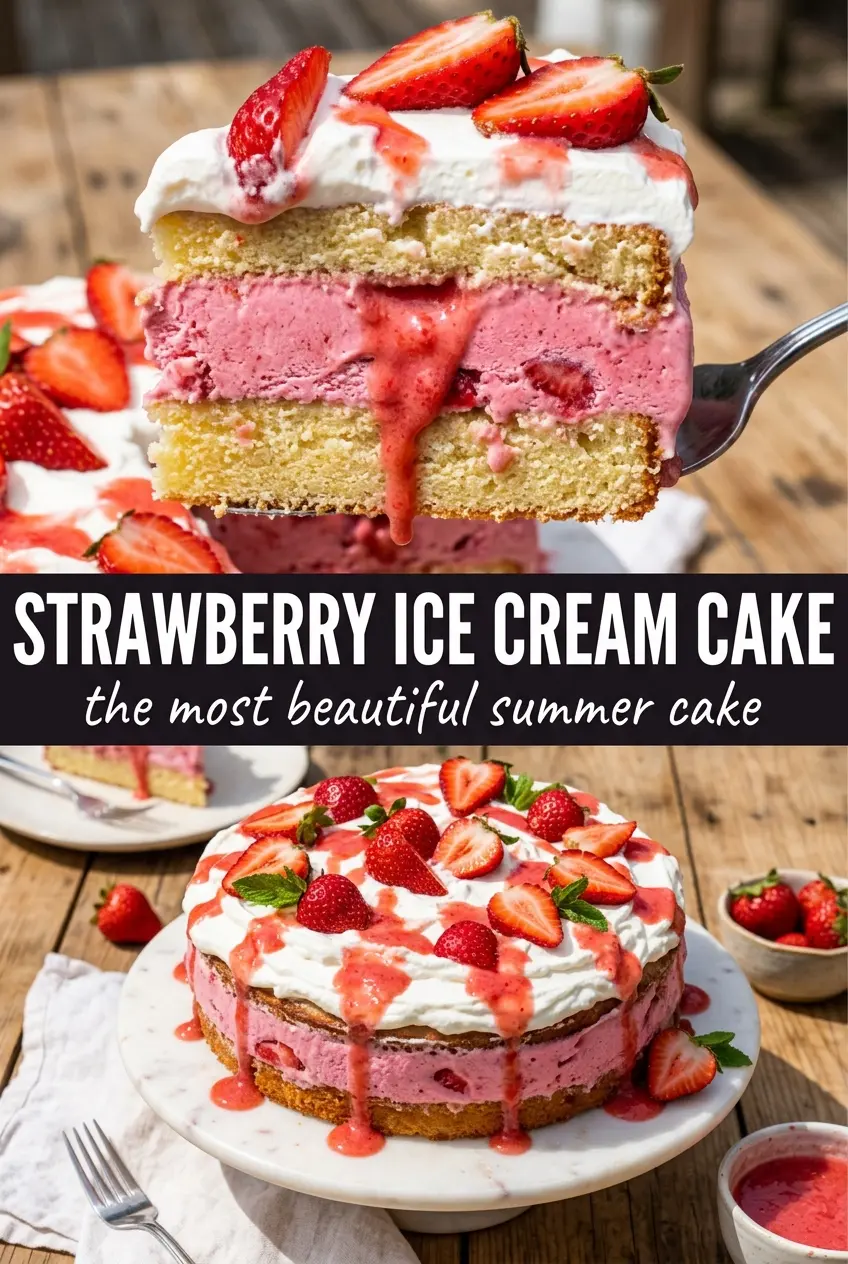
Strawberry ice cream cake lands in that sweet spot between nostalgic and festive. The crust stays buttery and crisp enough to slice cleanly, the strawberry ice cream turns creamy and pale pink as it softens with fresh berries, and the whipped cream on top gives every bite a cool, airy finish. It looks like the kind of cake that took more effort than it did, which is exactly why it earns repeat requests.
The trick is treating each layer like it has a job. The wafer crust needs enough butter to hold together after freezing, but not so much that it turns greasy. The ice cream layer works best when it’s softened just enough to spread without melting, and folding in fresh strawberries adds little pockets of brightness instead of a flat, one-note filling. Whipping the cream to stiff peaks matters here too, because a loose topping slides around once the cake starts to soften at the table.
Below you’ll find the small timing details that keep the layers neat, plus a few swaps for changing up the crust or making this ahead for a birthday party.
The crust stayed crunchy even after freezing, and the strawberry ice cream layer sliced cleanly after the full chill time. I loved that the fresh berries kept it from tasting one-dimensional.
Save this strawberry ice cream cake for birthdays when you want a pretty pink dessert with a crisp vanilla wafer crust.
The Part That Keeps the Cake From Slumping When You Slice It
An ice cream cake only looks effortless if the layers are frozen in the right order. The crust needs a short freeze before the filling goes in, or the warm butter can seep upward and turn the bottom soft. The biggest mistake is rushing the final freeze. If the cake comes out before the center has firmed all the way through, the slices lean, the whipped cream smears, and the whole thing loses its shape at the table.
Let the softened ice cream bend under a spoon, not melt into soup. That texture spreads evenly and traps the strawberry pieces without making the crust soggy. After the whipped cream goes on, the cake still needs that last stretch in the freezer so the top sets enough to release cleanly from the pan.
What Each Layer Is Doing in This Strawberry Ice Cream Cake
- Nilla wafers or Golden Oreos — Either one makes a sturdy no-bake crust, but they behave a little differently. Nilla wafers give you a lighter vanilla flavor, while Golden Oreos make the base sweeter and a touch firmer. Crush them finely so the crust packs evenly and doesn’t crumble when you lift a slice.
- Butter — This is what turns the crumbs into a sliceable crust after freezing. Melt it fully and mix until every crumb looks damp, because dry patches never set into a solid base. If the mixture looks greasy, you’ve gone too far on the butter.
- Strawberry ice cream — The ice cream is the main body of the cake, so use a brand you’d happily eat on its own. Softening it just enough to fold keeps the texture creamy instead of icy. If it gets too loose, it melts around the berries and freezes with a rough, grainy finish.
- Fresh strawberries — These add brightness and keep the filling from tasting flat. Slice them thin so they fold in cleanly and don’t make big icy pockets. For the topping, choose the prettiest berries you have since they sit right on top.
- Heavy whipping cream — This needs to whip to stiff peaks so the top holds its shape when the cake softens slightly after slicing. Lower-fat cream won’t give you the same structure. Chill the bowl first if your kitchen runs warm.
- Powdered sugar and vanilla — The sugar sweetens and stabilizes the whipped cream, while the vanilla rounds out the dairy flavor. Don’t swap in granulated sugar here; it doesn’t dissolve the same way and can leave the topping gritty.
How to Build the Layers Without Melting the Cake
Pressing the Crust
Mix the crushed wafers with the melted butter until every crumb is coated, then press the mixture firmly into the bottom of a 9-inch springform pan. A flat-bottomed measuring cup helps you pack it into an even layer, which matters when you go to slice. Freeze it for the full 15 minutes so it sets before the ice cream goes on. If the crust is loose now, it will fall apart later.
Folding in the Strawberries
Stir the sliced strawberries into the softened ice cream gently, just until they’re spread through the mixture. You want streaks of berry and pale pink ice cream, not a fully mashed blend. If the berries are too juicy, pat them dry first or the filling can ice up around them. Spread the mixture over the chilled crust and smooth the top with an offset spatula.
Whipping the Topping
Beat the heavy cream, powdered sugar, and vanilla until stiff peaks stand up straight when you lift the beaters. Soft peaks won’t hold the weight of the berries, and the top can slump as the cake warms up at the table. Stop as soon as the cream is thick and pillowy; if you push it past that point, it turns grainy. Spread it over the frozen ice cream layer in an even blanket.
Finishing and Freezing
Arrange the whole and sliced strawberries over the whipped cream in a pattern that looks finished before you move the cake back to the freezer. That last 2-hour freeze is what locks in the shape and makes the springform release cleanly. Run a thin knife around the edge before unclasping the pan if anything looks stuck. Serve the cake straight from the freezer, then let the slices sit for a few minutes so the knife glides through the crust.
How to Adapt This for Different Pans, Crusts, and Diets
Gluten-Free Crust Swap
Use a gluten-free vanilla cookie or sandwich cookie in place of the wafers. The method stays the same, but some gluten-free cookies are drier, so check the texture after mixing with butter and add a teaspoon more if the crumbs won’t hold together when pressed.
Dairy-Free Version
Choose a dairy-free strawberry frozen dessert and use coconut whipping cream or another stable non-dairy whip for the topping. The flavor stays bright and strawberry-forward, but the texture is a little softer, so give it a few extra minutes in the freezer before slicing.
Golden Oreo Crust for a Sweeter Finish
Swap the Nilla wafers for Golden Oreos if you want a sweeter crust with a slightly firmer bite. It pairs well with tart berries on top, and the cookie filling helps the base set into a tighter layer. You won’t need to change the butter amount.
Make-Ahead Birthday Cake Timing
This cake can be made a full day ahead, and it’s actually easier to release cleanly after an overnight freeze. Hold back the fresh strawberry garnish if you want the top to look especially sharp, then add it just before serving so the berries stay glossy.
Storage and Reheating
- Refrigerator: Not recommended for long storage; the cake softens fast and the crust loses its structure after a short time out.
- Freezer: Keep tightly covered for up to 1 week. The whipped cream stays best when the surface is protected from ice crystals with plastic wrap pressed gently over the top.
- Reheating: No reheating needed. For cleaner slices, let the cake sit at room temperature for 5 to 10 minutes before cutting, but don’t leave it out long enough for the filling to slump.
Answers to the Questions Worth Asking
Strawberry Ice Cream Cake
Ingredients
Equipment
Method
- Combine the crushed Nilla wafers or Golden Oreos with melted butter, then press the mixture into a 9-inch springform pan. Freeze for 15 minutes.
- Fold 1 cup of sliced fresh strawberries into softened strawberry ice cream. Spread the mixture over the frozen crust and freeze for 4 hours.
- Whip the heavy whipping cream with powdered sugar and vanilla extract until stiff peaks form. Cover the entire frozen cake with whipped cream.
- Arrange whole and sliced fresh strawberries over the whipped cream in a beautiful pattern. Freeze for 2 more hours, then release from the springform pan.