Strawberry nice cream lands somewhere between soft-serve and a fruit sorbet, with the kind of creamy spoonable texture that makes you forget it started as frozen bananas. The strawberry flavor stays bright instead of muddy, and the whole bowl tastes clean, cold, and naturally sweet without needing extra sugar.
The trick is keeping the fruit cold enough to stay thick, but not so frozen that the blender has to fight it. A couple minutes at room temperature helps the bananas break down first, which gives the strawberries a smoother ride and keeps the texture from turning icy or chunky. Lemon juice does more than brighten the flavor; it keeps the banana from taking over and makes the strawberries taste louder.
Below, I’ll show you how to get that soft-serve texture on the first blend, what to do if your blender stalls, and the small variation that turns this into a firmer scoop for bowls and cones.
The texture came out silky and scoopable after just a minute or two in the blender, and the lemon kept it tasting fresh instead of overly banana-heavy.
Save this strawberry nice cream for the day you want a creamy frozen dessert made from fruit alone.
The Freeze-and-Blend Timing That Keeps It Creamy
The biggest mistake with nice cream is starting when the fruit is frozen rock-solid. At that point, the blender warms the mixture before it can smooth out, which is how you end up with icy crumbs instead of a creamy swirl. Letting the fruit sit for about 5 minutes gives you just enough give for the blades to catch it without melting it into soup.
Another common problem is overblending once it finally comes together. Stop as soon as the mixture turns glossy and thick. If you keep going after that point, the heat from the blender can soften the fruit too much and knock out the thick, spoonable texture you were aiming for.
What Each Ingredient Is Actually Doing in the Bowl
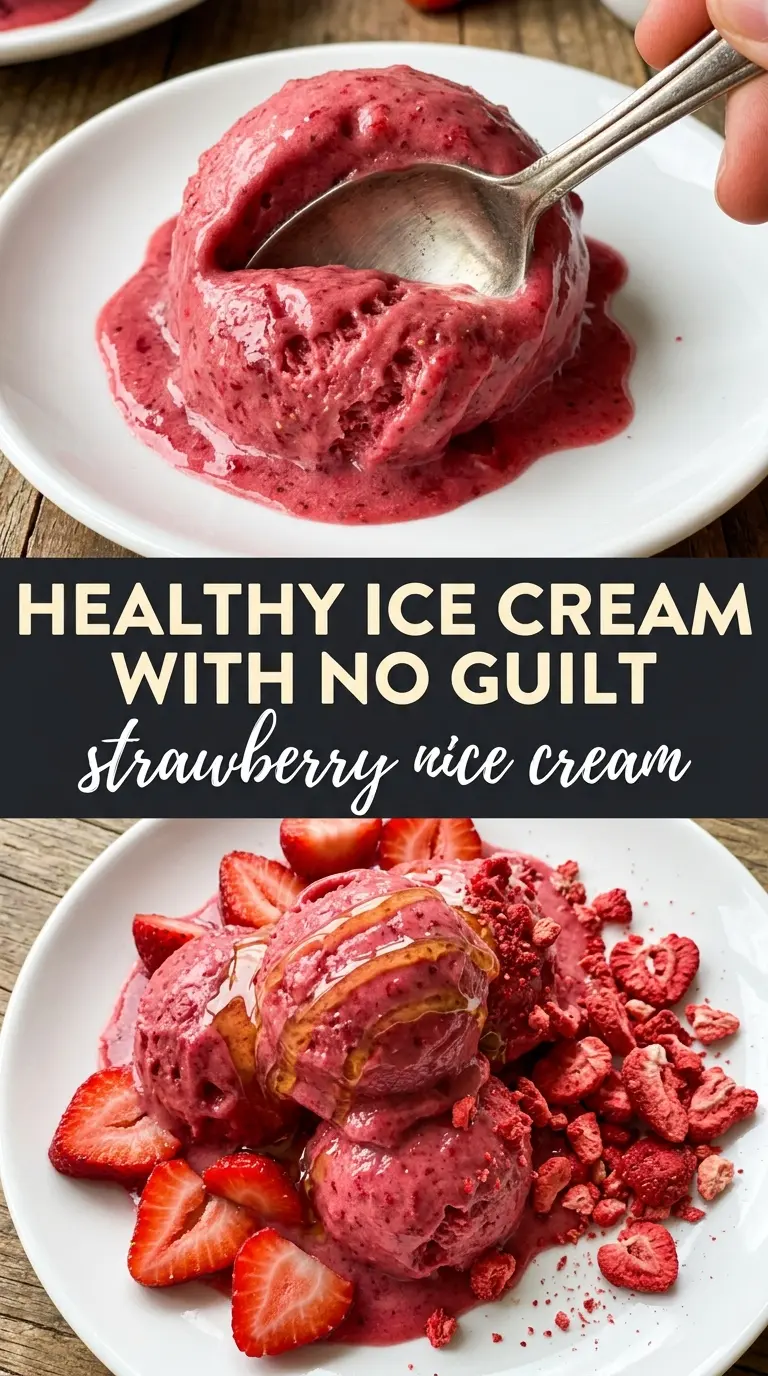
- Frozen bananas — These are what make the dessert taste creamy instead of icy. Riper bananas give you the best sweetness, so freeze them once they’re spotted and fully fragrant. If yours are only lightly ripe, the nice cream will taste flatter and need a little more blending to smooth out.
- Frozen strawberries — They bring the bright pink color and that clean strawberry flavor. Use good frozen berries here, because bland berries make bland nice cream. Fresh strawberries won’t give you the same thick texture, so freeze them first if you need to substitute.
- Lemon juice — This sharpens the fruit and keeps the banana from dominating. It’s a small amount, but it makes the flavor taste fresher and more strawberry-forward. Skip it only if you must; the result will taste softer and less lively.
- Vanilla extract — Vanilla rounds out the fruit and makes the whole bowl taste more like ice cream. Don’t use too much, or it can distract from the strawberries. A little is enough to add warmth without turning the dessert into banana bread territory.
- Pinch of salt — Salt keeps the fruit from tasting flat. It doesn’t make the dessert salty; it just pulls the sweetness into focus. Even this tiny amount matters in a recipe with so few ingredients.
Blending the Fruit Without Turning It Melty
Giving the Fruit a Head Start
Let the frozen bananas and strawberries sit out for about 5 minutes before blending. You want them cold and firm, but not so hard that the blender has to pulverize solid chunks from scratch. If you skip this, the motor works harder and the texture stays rough longer.
Starting the Blend
Add the bananas, strawberries, lemon juice, vanilla, and salt to a high-powered blender. Start on low and use the tamper or stop to scrape the sides as needed so the fruit keeps moving. If the blades spin without catching anything, pause and pack the fruit down before continuing.
Waiting for the Creamy Turn
Blend until the mixture suddenly shifts from crumbly to glossy and thick, which usually takes about 2 minutes. That change happens fast, and it’s the cue to stop. If you blend past that point, the friction can soften the mixture too much and you’ll lose the soft-serve texture.
Serving Soft-Serve or Scooping Later
Scoop it into bowls right away if you want the fluffiest texture. For firmer scoops, freeze it for 1 to 2 hours after blending, but check it before it gets too hard. Once it sits too long, it turns more like frozen dessert brick than nice cream, and you’ll need a few minutes on the counter to bring it back.
Ways to Tweak the Fruit Base Without Losing the Creaminess
Dairy-Free and Vegan As Written
This recipe is already dairy-free and vegan, so there’s nothing to convert. That’s part of why the texture works so well: the bananas provide the creaminess, and the strawberries keep it light instead of heavy.
Make It Sweeter Without Adding Sugar
If your strawberries are tart, use a very ripe banana on the darker side for more natural sweetness. You can also let the fruit thaw another minute before blending, which makes the sweetness read a little stronger on the tongue. The dessert will still taste clean, just rounder.
Turn It Into a Firmer Scoop
Freeze the finished mixture for 1 to 2 hours before serving. That gives you a denser texture that holds a scoop shape better, which is handy for cones or prettier bowls. Leave it too long and it gets hard, so let it stand a few minutes before serving if that happens.
What to Do If Your Blender Struggles
If the mixture won’t move, stop and let it sit for another minute, then break it up with a spoon before blending again. A splash of liquid isn’t usually needed here and can thin the dessert too much. Patience works better than adding more ingredients.
Storage and Serving
- Refrigerator: Not recommended. It melts quickly and loses the thick frozen texture that makes nice cream worth making.
- Freezer: Freeze the blended nice cream for 1 to 2 hours if you want it scoopable. After that, the texture hardens and needs a short thaw before serving.
- Reheating: Not applicable. Let frozen leftovers sit at room temperature for 5 to 10 minutes, then stir or re-blend briefly if needed to bring back the creamy texture.
Answers to the Questions Worth Asking
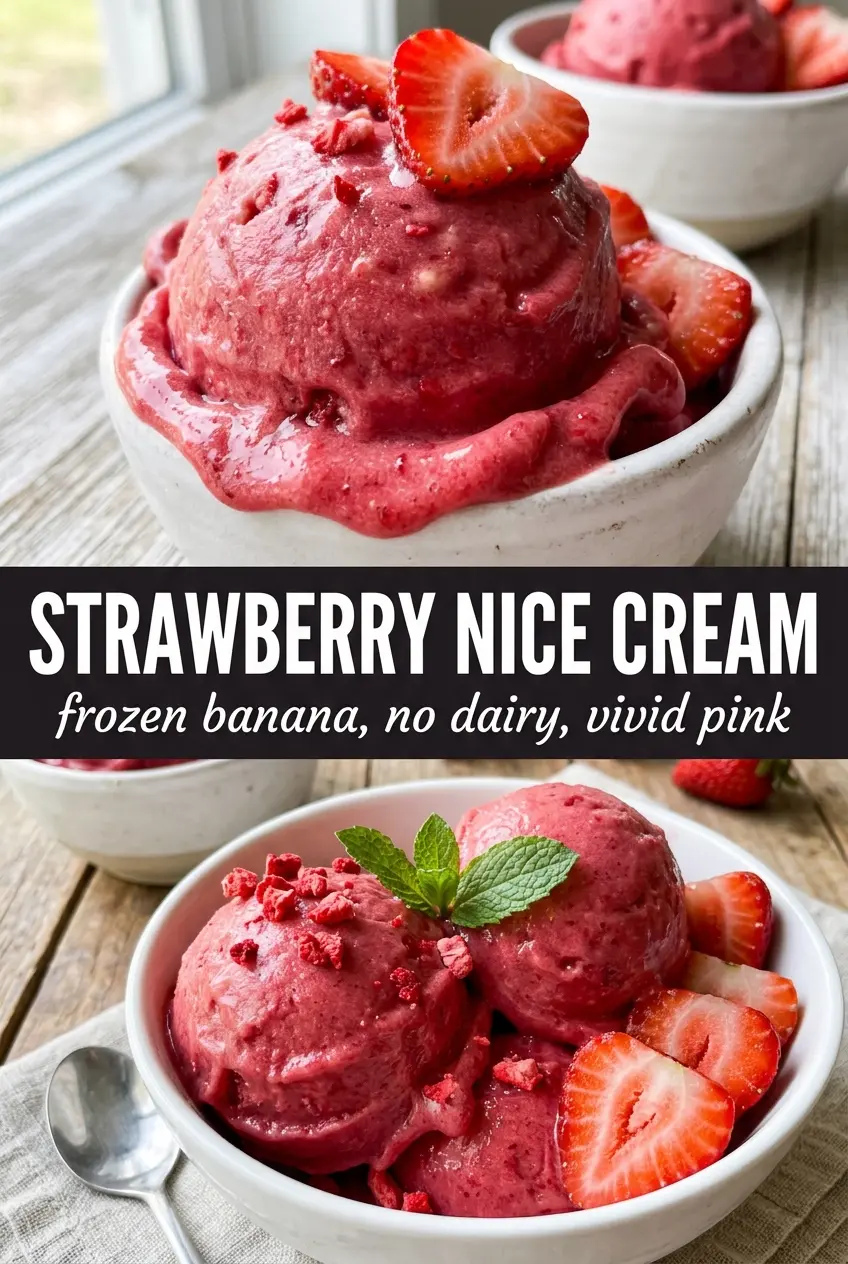
Strawberry Nice Cream
Ingredients
Equipment
Method
- Let the frozen bananas and frozen strawberries sit at room temperature for 5 minutes to slightly soften, so the blender can break them down smoothly.
- Keep the fruit cold enough to stay firm, not thawed—aim for a softening window only during those 5 minutes.
- Add the bananas, frozen strawberries, lemon juice, vanilla extract, and salt to a high-powered blender and blend, stopping to scrape down the sides as needed.
- Blend until completely smooth and creamy, about 2 minutes, and pause only if ingredients are sticking to the sides.
- Serve immediately as soft-serve once the texture is fully smooth and creamy, then top with fresh strawberries while it’s still thick and spoonable.
- For a firmer scoopable texture, freeze the nice cream for 1-2 hours, then serve topped with fresh strawberries.