Cold, creamy slices with a buttery vanilla wafer crust and a glossy berry topping make this the kind of dessert people keep sneaking back to the freezer for. The crust stays firm enough to cut cleanly, the cheesecake layer tastes rich without being heavy, and the mixed berry compote brings that bright, fresh pop that keeps each bite from feeling one-note.
What makes this version work is the balance. The cream cheese gives the ice cream layer structure and a little tang, while the sweetened condensed milk keeps it scoopable instead of icy. On the topping side, the berries get just enough heat to turn jammy and thick, but not so much that they lose their shape or turn dull.
Below, I’ll walk through the one step that keeps the layers distinct, the berry topping trick that prevents a watery freeze, and a few easy swaps if you need to work with what’s already in your kitchen.
The crust stayed crisp enough to hold a clean square, and the berry topping set up glossy instead of sliding off. I let it freeze the full time and it sliced like a dream.
Keep this summer berry frozen dessert handy for the kind of make-ahead dessert that cuts clean and holds its layers.
The Secret to Clean Slices Is Freezing the Layers at the Right Time
This dessert looks like it should be forgiving, but the timing matters more than people expect. If the crust isn’t chilled before the filling goes in, the butter softens too fast and the bottom layer turns crumbly when you cut it. If the berry topping goes on before the cheesecake layer is firm, the juices bleed into the cream layer and you lose that neat, two-tone look.
The fix is simple: give each layer enough time to set before the next one goes down. The crust gets a quick freeze, the cheesecake layer gets the long freeze, and the berry topping gets cooled all the way before it touches the surface. That keeps the dessert from turning slushy or streaked.
What Each Layer Is Doing Here

- Nilla wafers — These give you a sweet, sturdy crust that tastes right with the cheesecake layer. Graham crackers work, but they bring a sharper, less creamy flavor and won’t give quite the same classic vanilla base.
- Butter — This is what binds the crust so it slices instead of scattering. Use melted butter all the way through the crumbs; dry spots turn into loose pockets after freezing.
- Cream cheese — This is the backbone of the filling. It adds tang and structure, and there isn’t a substitute that gives the same dense, creamy texture after freezing.
- Sweetened condensed milk — It sweetens and softens the filling at the same time, which is why the dessert stays creamy straight from the freezer. Don’t swap in regular milk here; it won’t thicken or freeze the same way.
- Mixed fresh berries — A mix of strawberries, blueberries, and raspberries gives the topping a better balance than any one berry on its own. If you use frozen berries, cook them from frozen and expect a looser compote that needs an extra minute or two on the stove.
- Cornstarch slurry — This is what turns the berry juices into a glossy topping instead of a runny sauce. Always dissolve it first in cold water so it thickens evenly and doesn’t leave little lumps.
Building the Layers Without Smearing the Edges
Pressing and Freezing the Crust
Mix the crushed wafers with melted butter until every crumb looks moistened, then press the mixture firmly into the bottom of a 9×13 pan. The goal is an even, compact layer that holds together when you run a knife through it. Freeze it for 15 minutes so the butter firms back up; if you skip that pause, the filling will sink into the crust instead of sitting cleanly on top.
Making the Cheesecake Ice Cream Layer
Beat the cream cheese until it’s completely smooth before anything else goes in. If it still has little lumps now, those lumps will stay in the finished dessert. Beat in the sweetened condensed milk first, then fold in the softened vanilla ice cream gently; aggressive stirring here can deflate the mixture and make it less creamy once frozen.
Cooking the Berry Topping Until It Glosses
Combine the berries, sugar, lemon juice, and cornstarch slurry in a saucepan and cook just until the mixture thickens and the berries start to burst. You’re looking for a spoonable compote, not a loose syrup. Pull it off the heat as soon as it turns shiny and jammy, then let it cool completely before spreading it over the frozen filling, or you’ll melt the layer underneath.
Finishing the Freeze
After the berry topping goes on, freeze the dessert for at least 2 more hours. That final freeze is what gives you slices that stand up on the plate instead of collapsing into a soft mound. For the cleanest cuts, let the pan sit at room temperature for 5 to 10 minutes before serving and use a sharp knife dipped in hot water.
How to Adapt This Summer Berry Frozen Dessert
Make It Gluten-Free Without Losing the Crust
Swap the vanilla wafers for a gluten-free vanilla cookie or gluten-free graham-style crumb. The texture stays close, but you may need an extra teaspoon or two of butter if the crumbs seem dry, because some gluten-free cookies absorb fat differently.
Use Frozen Berries When Fresh Aren’t Great
Frozen berries work well here, especially for the topping, but cook them straight from frozen so they don’t bleed out too much liquid while thawing. The compote may need another minute on the stove to thicken to the same glossy finish.
Swap the Ice Cream Flavor
Vanilla is the cleanest match, but strawberry or cheesecake ice cream will push the dessert in a sweeter direction. If you do that, keep the berry topping a little tart with the full amount of lemon juice so the whole pan doesn’t taste flat.
Storage and Reheating
- Refrigerator: This dessert doesn’t hold well in the fridge for long because the ice cream layer softens fast. Serve it straight from the freezer instead of trying to store leftovers refrigerated.
- Freezer: Freeze tightly covered for up to 2 weeks for the best texture. After that, the crust can pick up freezer flavor and the topping may get icy around the edges.
- Reheating: There’s no reheating here. Let slices stand at room temperature for 5 to 10 minutes before serving so the knife cuts cleanly and the layers don’t crack.
Answers to the Questions Worth Asking
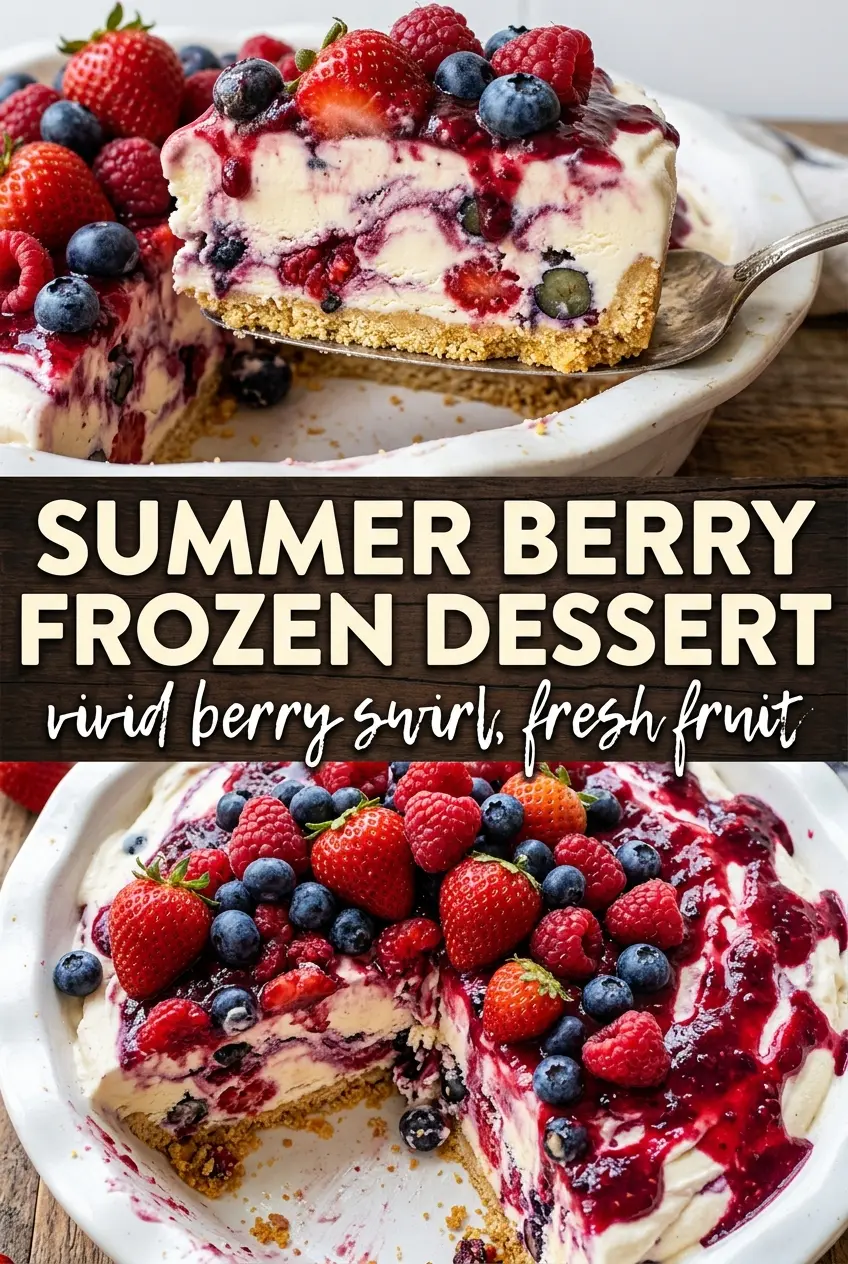
Summer Berry Frozen Dessert
Ingredients
Equipment
Method
- Combine crushed Nilla wafers and melted butter, then press firmly into a 9x13 pan.
- Freeze the pressed crust for 15 minutes, until firm to the touch.
- Beat the cream cheese until smooth, then blend in sweetened condensed milk.
- Fold the condensed milk cream cheese mixture into softened vanilla ice cream until evenly combined.
- Spread the cheesecake ice cream over the crust, then freeze for 4 hours.
- Simmer mixed berries with sugar and lemon juice over medium heat until bubbling.
- Stir in the cornstarch slurry and simmer for 5 minutes until thickened and glossy.
- Cool the berry compote completely at room temperature, until no longer warm.
- Spread the cooled berry compote over the frozen cheesecake layer in an even layer.
- Freeze for 2 more hours before scooping and serving.