Espresso-soaked ladyfingers, coffee ice cream, and a whipped mascarpone top give this tiramisu ice cream layer cake the same layered pull as the classic dessert, but with a frozen finish that slices cleanly and tastes even more dramatic on the plate. The cocoa on top keeps it grounded, while the coffee liqueur adds that familiar tiramisu edge without making the whole dessert taste boozy.
The trick is keeping each layer distinct. The ladyfingers need a fast dip, not a soak, or they collapse before the cake has a chance to freeze. The coffee ice cream should be soft enough to spread but not melted, and the mascarpone cream needs to be whipped to stiff peaks so it holds its shape once the cake is cut.
Below, I’m walking through the part that matters most: how to keep the layers from turning muddy, how long the cake needs in the freezer, and what to change if you want to skip the liqueur or make it ahead for a dinner party.
The espresso dip was just right and the layers froze firm enough to slice cleanly. I used it for a birthday dessert and the mascarpone top held its shape even after sitting out for a few minutes.
Save this tiramisu ice cream layer cake for the nights when you want espresso, mascarpone, and cocoa in one frozen slice.
The Fast Dip That Keeps the Layers Distinct
The biggest mistake with a tiramisu-style frozen cake is treating the ladyfingers like sponge cake. Savoiardi are dry and meant to take on liquid quickly; if they sit in espresso for more than a second or two, they turn pasty and lose the structure that keeps each slice neat. A quick dip gives you that coffee hit without turning the base into mush.
The other place this recipe can go sideways is the ice cream layer. If the coffee ice cream is too soft, it smears into the cookies and the whole cake freezes into one dense block. Softened is the target here, not melted. You want it spreadable, with enough body to sit on top of the ladyfingers and freeze into a clean stripe.
What Each Layer Is Really Doing Here
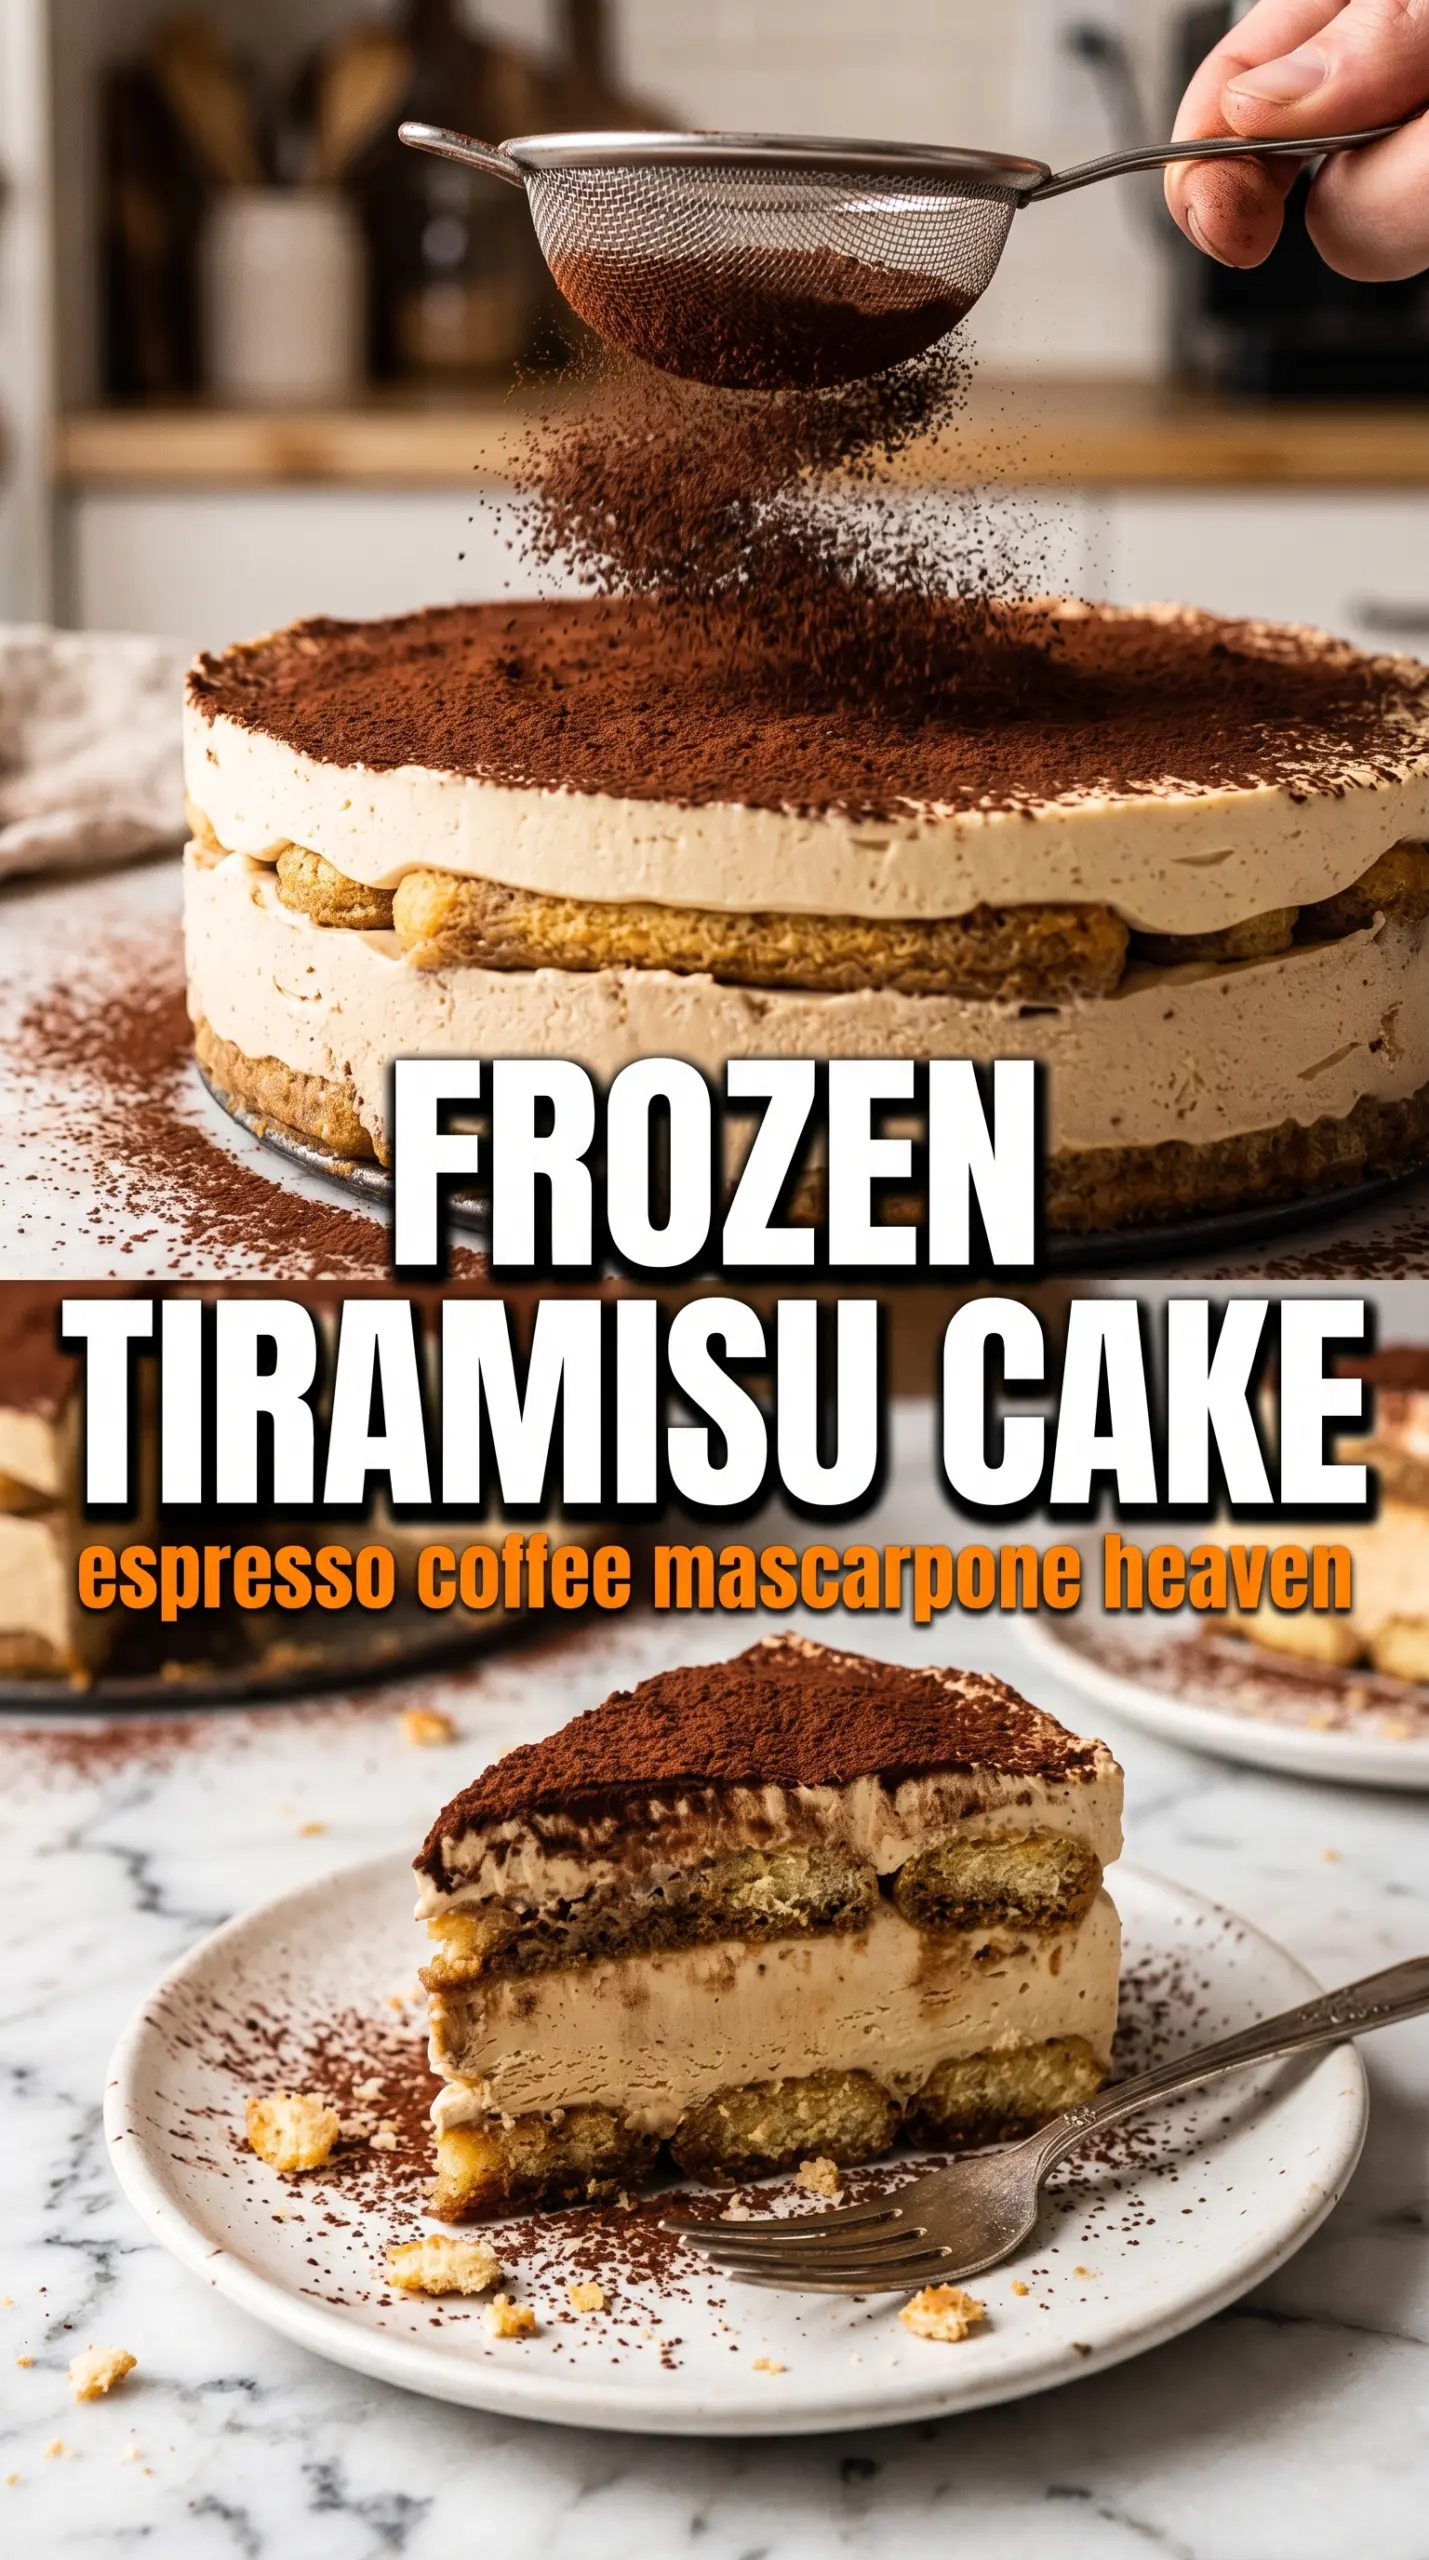
- Ladyfinger cookies — These are the backbone of the cake. Their dry, airy texture drinks in espresso fast and then firms back up in the freezer, which is why they work here better than soft sponge cake or pound cake. If you can only find very crisp ladyfingers, that’s fine; they actually hold the layer shape even better.
- Strong espresso — This gives the dessert its tiramisu character, so use real espresso or a very concentrated coffee. Weak brewed coffee tastes thin once frozen, and the coffee flavor disappears under the ice cream. Cool it completely before dipping, or the cookies start breaking down on contact.
- Coffee liqueur — The liqueur adds depth and a little warmth, but it’s optional. If you skip it, the cake still works; just use all espresso. If you want the flavor without the alcohol, stir in a teaspoon of instant espresso powder.
- Mascarpone — This is what gives the top layer that classic tiramisu richness. Cream cheese can stand in, but it’s tangier and heavier, so the dessert will taste more like a cheesecake topping than tiramisu. Let the mascarpone soften first so it whips smoothly instead of staying grainy.
- Heavy cream — This lightens the mascarpone and makes the topping spreadable. It needs to be whipped to stiff peaks so the top layer doesn’t slump after freezing. Half-and-half won’t whip properly, so don’t use it here.
Building the Cake So It Slices Cleanly
Dip the Cookies, Then Move Fast
Mix the espresso and coffee liqueur in a shallow bowl so you can move quickly. Dip each ladyfinger one at a time, just long enough to coat the outside and pick up color, then lay it straight into the pan. If the cookies absorb too much liquid, they’ll buckle under the ice cream layer later.
Spread the Ice Cream Before It Melts
Take the coffee ice cream out just long enough for it to loosen. It should look soft and scoopable, not sloshy. Spread it over the first cookie layer in an even sheet and work all the way into the corners, because thin spots freeze hard and make the finished cake uneven when you cut it.
Whip the Top Until It Holds
Beat the mascarpone, heavy cream, powdered sugar, and vanilla until stiff peaks form. The topping should look thick, glossy, and able to stand in swoops. If it’s loose, keep whipping; if you stop too early, it will sink into the second layer of ladyfingers instead of sitting neatly on top.
Freeze Long Enough to Set the Center
This cake needs a long freeze, not a quick chill. Six hours is the minimum, but overnight gives you the cleanest slices and the most stable layers. Dust the cocoa over the top only right before serving, because cocoa absorbs moisture fast and can look dull if it sits on the cake too long.
How to Adapt This for Different Needs
Skip the Liqueur
Leave out the coffee liqueur and use plain espresso for every dip. You’ll lose a little warmth and complexity, but the cake still tastes balanced because the mascarpone and cocoa carry the dessert. If you want a deeper coffee note without alcohol, add a pinch of instant espresso powder to the softened ice cream layer.
Use Cream Cheese Instead of Mascarpone
Cream cheese works in a pinch, but the topping will be tangier and a little denser. Beat it until completely smooth before adding the cream, or you’ll end up with tiny lumps that never disappear once frozen. The flavor shifts toward cheesecake, which is fine if that’s the direction you want.
Make It Gluten-Free
Use gluten-free ladyfingers if you can find them. Don’t swap in a soft gluten-free cake here unless you’re ready for a much softer, less structured dessert. The dry cookie texture is what gives the cake its layered slice, so the closest GF cookie you can find will give you the best result.
Storage and Reheating
- Refrigerator: Not recommended for more than 15 to 20 minutes before serving; this cake softens fast and loses its layered structure.
- Freezer: Wrap the pan tightly or transfer slices to an airtight container. It keeps well for up to 1 week, though the cocoa top is best added fresh.
- Reheating: No reheating needed. For clean slices, let the cake sit at room temperature for 8 to 12 minutes, then use a sharp knife dipped in hot water and wiped dry between cuts.
Answers to the Questions Worth Asking
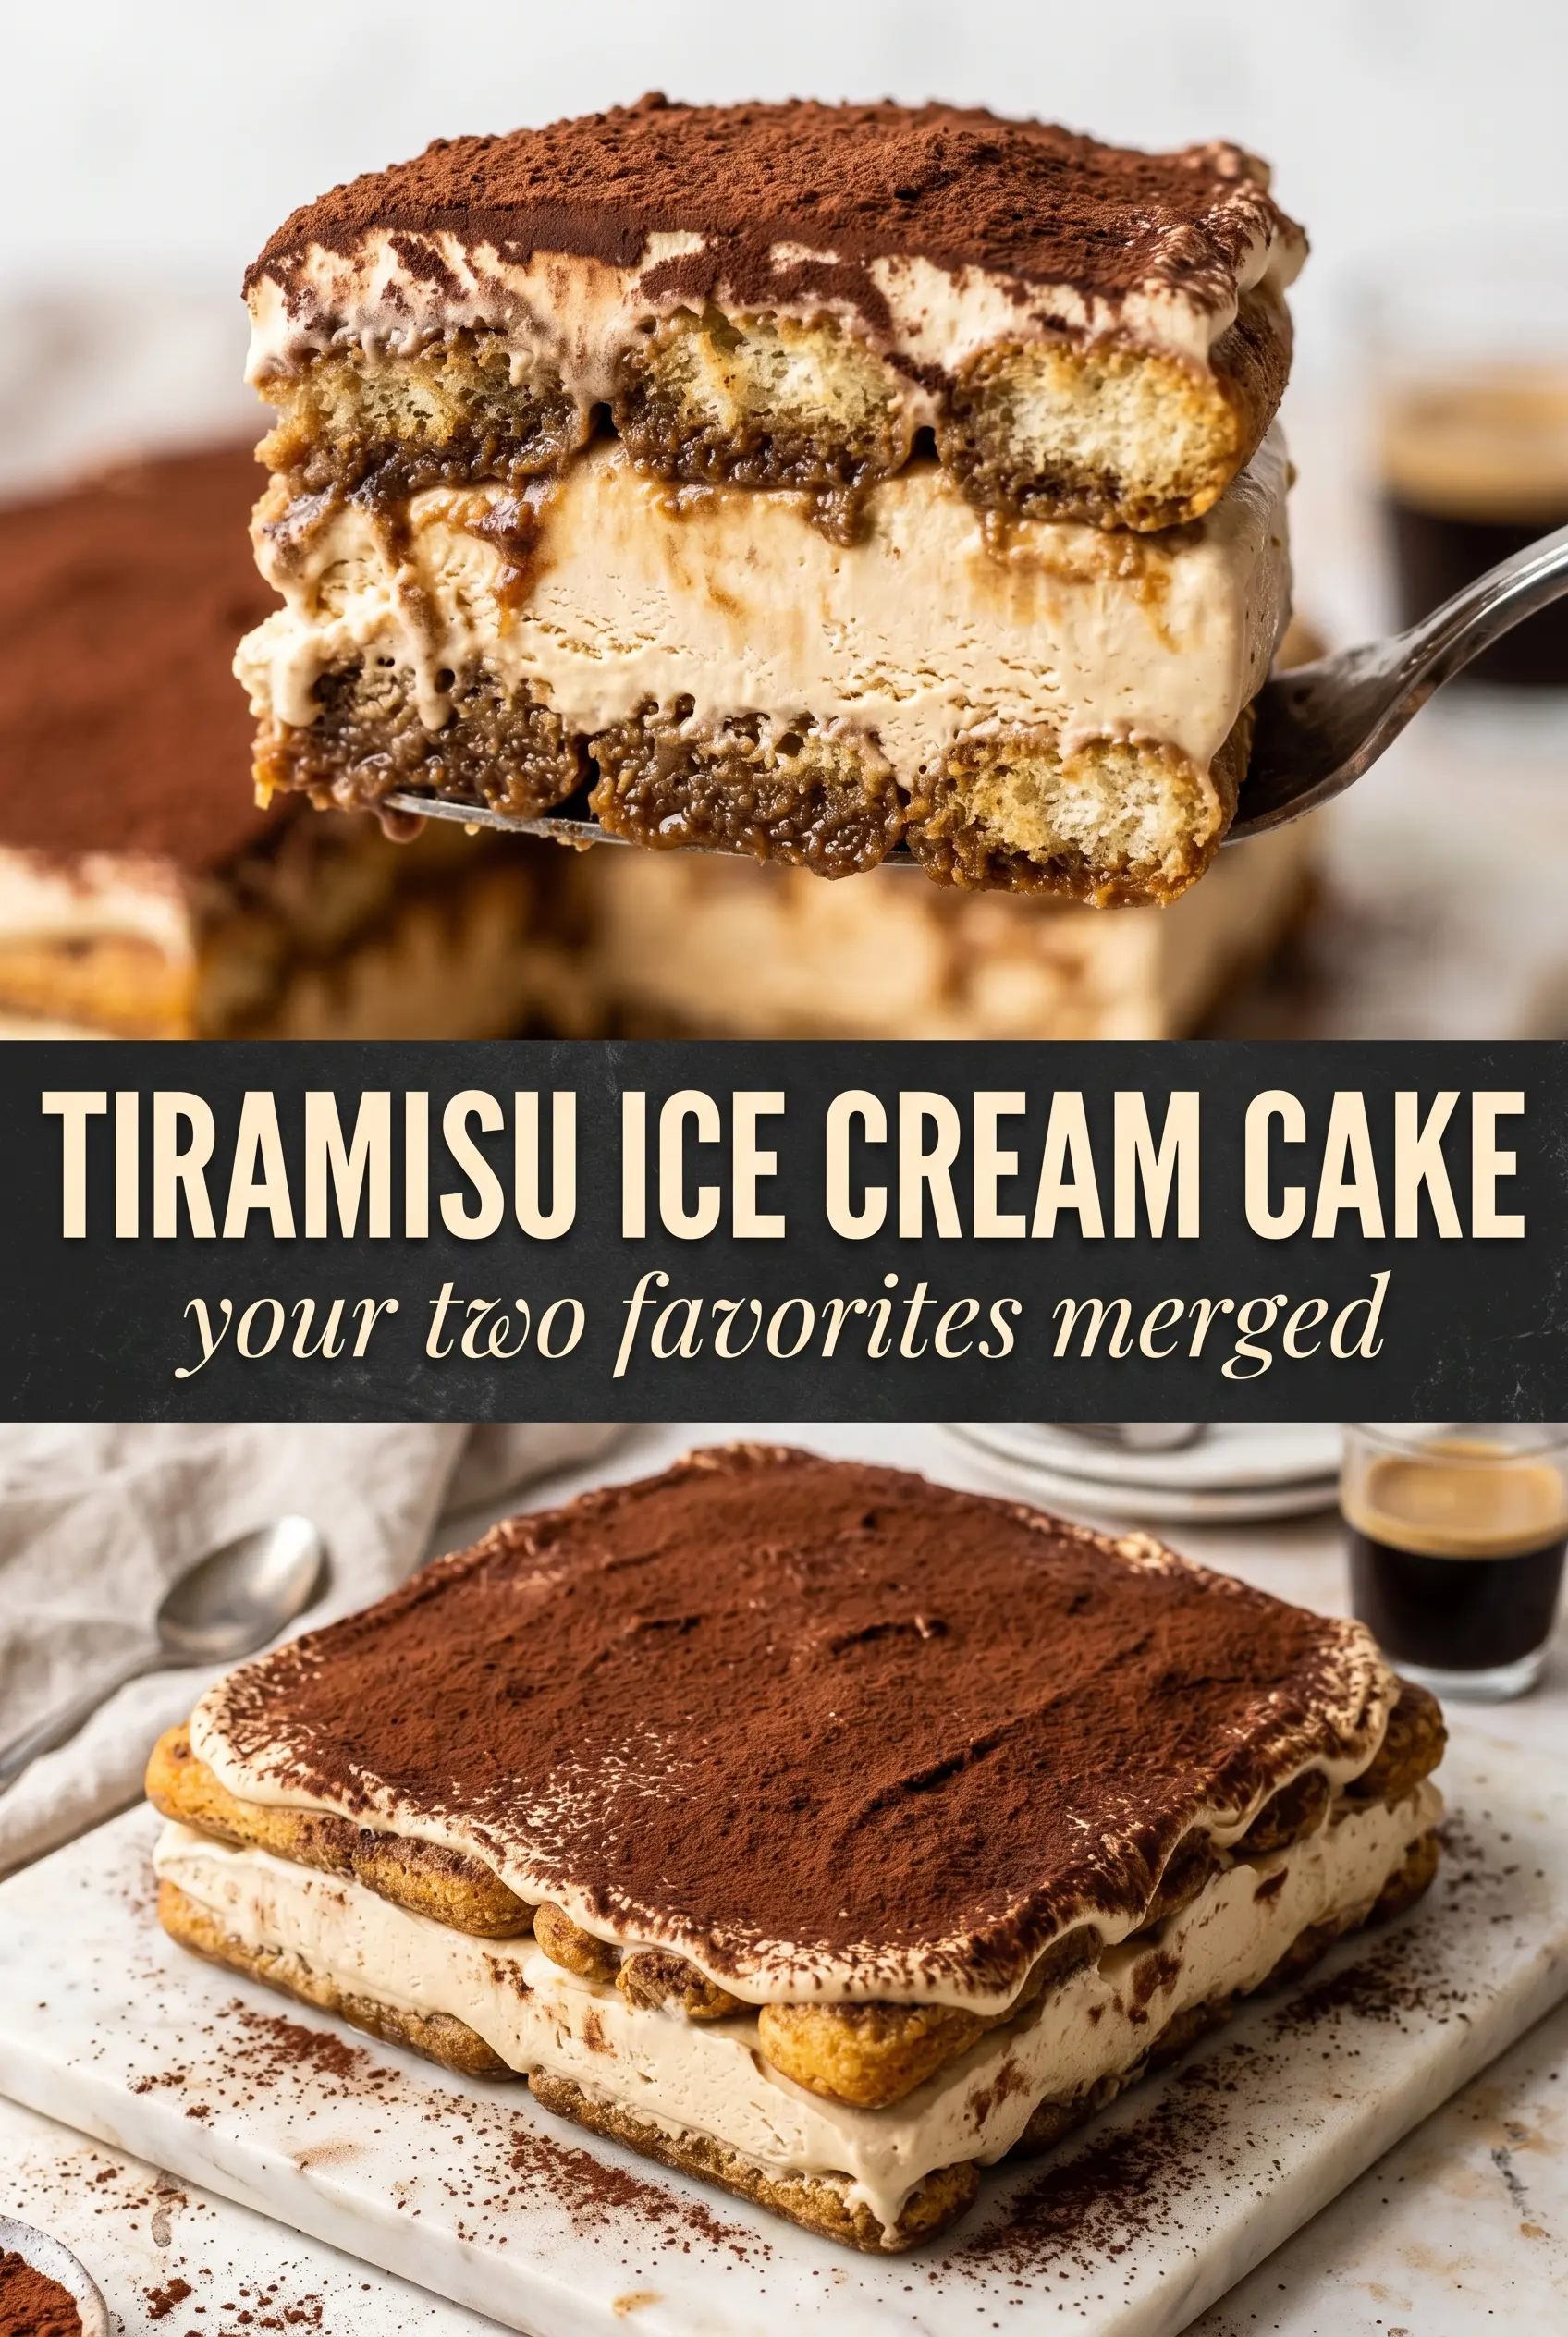
Tiramisu Ice Cream Layer Cake
Ingredients
Equipment
Method
- Mix the cooled espresso with the coffee liqueur, if using.
- Quickly dip each ladyfinger into the espresso mixture and arrange them in a single layer in a 9x13 pan.
- Spread the softened coffee ice cream over the ladyfinger layer in an even coat.
- Freeze for 2 hours to firm the ice cream layer.
- Dip more ladyfingers in the espresso mixture and place them over the frozen ice cream layer.
- Beat the mascarpone, heavy cream, powdered sugar, and vanilla extract until the mixture holds stiff peaks.
- Spread the mascarpone mixture over the second ladyfinger layer to cover evenly.
- Freeze at least 6 hours or overnight until fully set.
- Right before serving, dust the top generously with cocoa powder through a fine sieve.