Fudgy turtle brownies land somewhere between a classic brownie and a candy-shop treat, with dense chocolate, ribbons of caramel, and toasted pecans in every bite. The top bakes into a glossy, crackly layer while the center stays soft and rich, which is exactly what you want when you’re aiming for brownies that taste indulgent without turning heavy or dry.
The trick is keeping the brownie base sturdy enough to hold the caramel swirl without losing that gooey middle. Melted butter and chocolate give you the deep, dense crumb, while a modest amount of flour keeps the texture from crossing into cake territory. The caramel goes on before baking so it sinks just enough to create pockets of sweetness, and the pecans toast on top for a little crunch against all that softness.
Below, I’ll walk through the part that matters most: how to swirl the caramel without overmixing the batter, how to know when the brownies are done, and what to do if you want a cleaner cut for serving.
The caramel stayed swirled instead of disappearing into the batter, and the brownies came out fudgy in the middle with that shiny top I always want. My husband cut himself a second square before they’d even cooled all the way.
Like these turtle brownies? Save them to Pinterest for the nights when you want fudgy chocolate, caramel swirls, and toasted pecans in one pan.
The Trick to Keeping the Caramel Swirl on Top Instead of Losing It
Once the brownie batter is in the pan, the caramel needs to stay thick enough to sit on the surface long enough for a proper swirl. If it’s warmed too much, it thins out and sinks, which gives you sweet spots but not that defined turtle look. A thick caramel sauce gives you better control, and a few deliberate knife swirls are enough to marble the top without blending everything into one uniform layer.
The other thing that matters is how long you bake them. Turtle brownies should come out when the edges are set and the center still has moist crumbs on a tester. If you wait for a clean toothpick, the chocolate base overbakes and the caramel layer can turn sticky in a way that feels heavy instead of gooey.
What the Butter, Chocolate, and Caramel Each Bring to the Pan
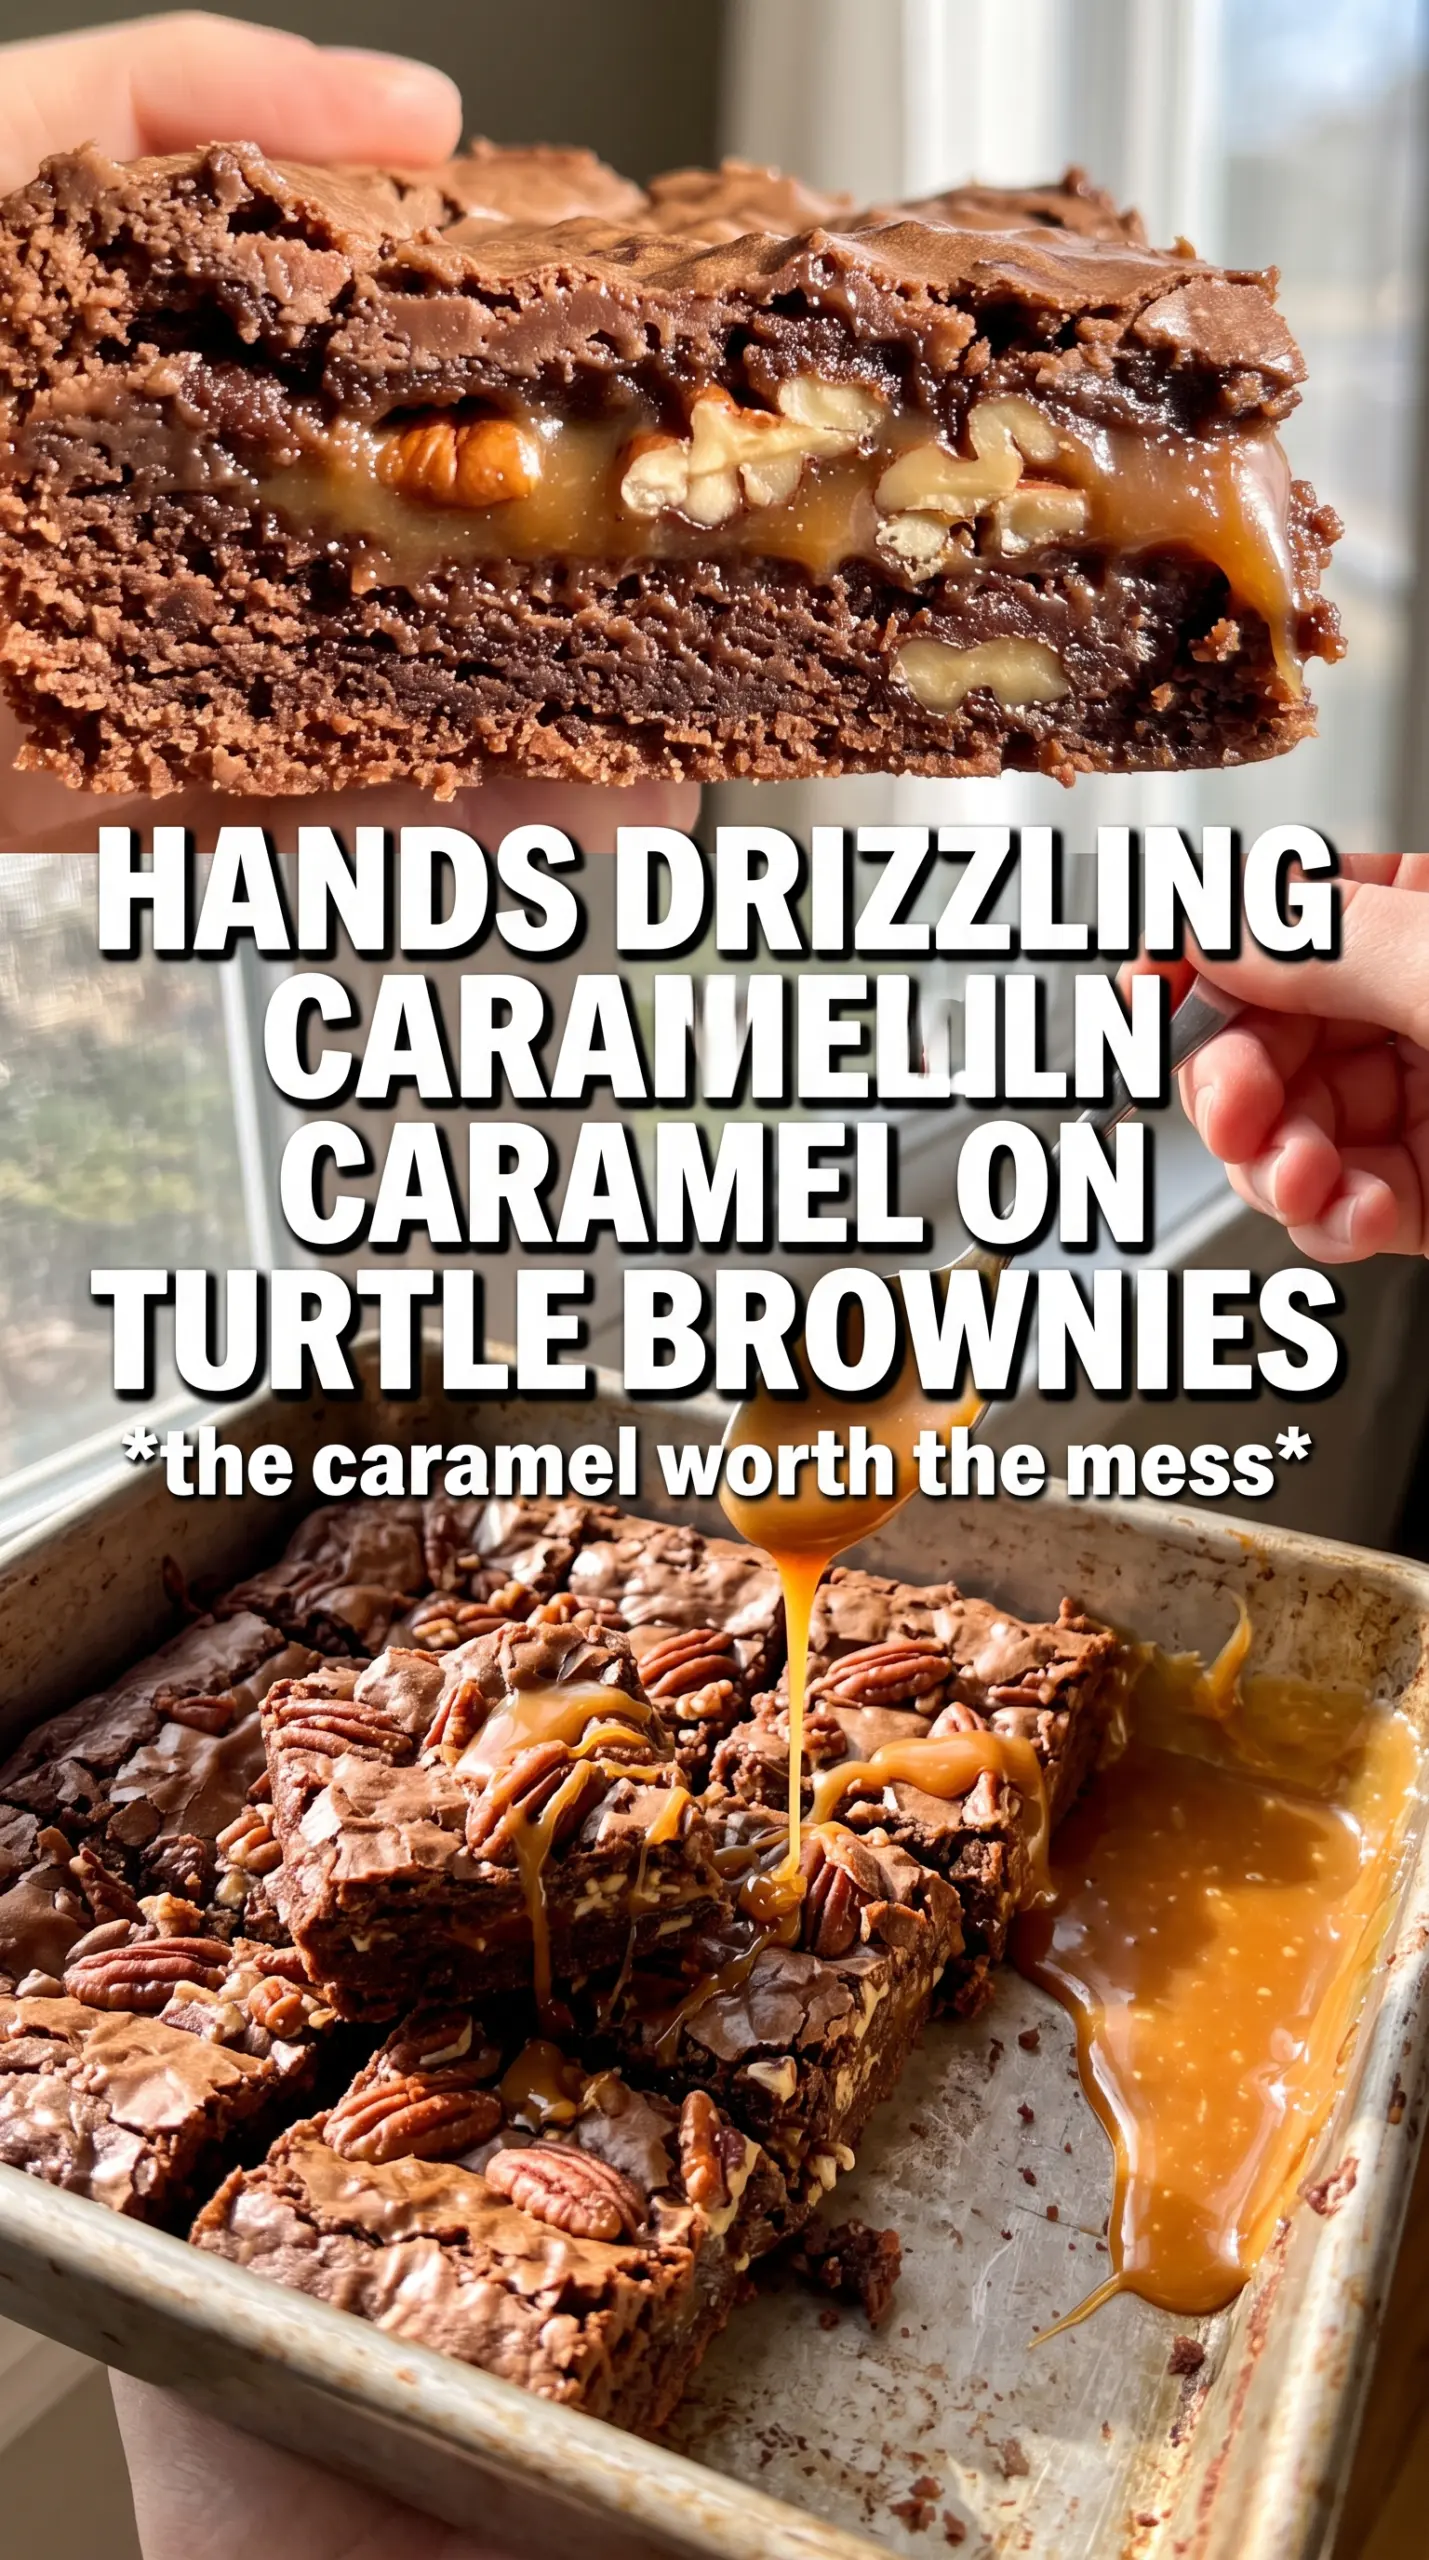
- Unsalted butter — This is part of what gives the brownies their dense, fudgy texture. Salted butter works in a pinch, but it can push the finished brownies slightly salty once you add the flaky salt on top.
- Dark chocolate — Use a chocolate you actually enjoy eating on its own. Better chocolate gives you a deeper base flavor, and that matters here because the caramel and pecans are both strong supporting players.
- Caramel sauce — Thick caramel is what keeps the topping distinct. Thin ice cream topping will melt into the batter too quickly, so if yours is loose, simmer it briefly until it clings to a spoon.
- Pecans — Toast them first. Raw pecans taste flat next to the chocolate and caramel, while toasted pecans bring out the nutty, buttery note that makes this dessert taste like a proper turtle brownie.
- Cocoa powder — This reinforces the chocolate flavor without making the batter too rich or oily. Natural cocoa is fine, but Dutch-process gives a darker, more intense finish if that’s what you like.
Building the Brownie Base Without Overmixing It
Melting the Chocolate and Butter
Melt the butter and dark chocolate together until the mixture is glossy and smooth, then let it cool for a minute or two before adding the eggs. If it’s too hot, the eggs can scramble or the batter can turn greasy. You want the chocolate mixture warm, not steamy.
Whisking in the Eggs and Sugar
Whisk the sugar, eggs, and vanilla into the cooled chocolate base until the batter looks thick and shiny. That shine matters; it tells you the sugar has started dissolving and the brownies will bake up with that classic crackly top. Stop once everything is combined, because aggressive mixing after the eggs go in can make the brownies tighter than they should be.
Folding in the Dry Ingredients
Add the flour, cocoa, and salt and fold just until no dry streaks remain. The batter should look thick and cohesive, not whipped or fluffy. Overmixing at this point is the fastest way to lose the fudgy texture and end up with brownies that bake up more like cake.
Swirling and Topping the Pan
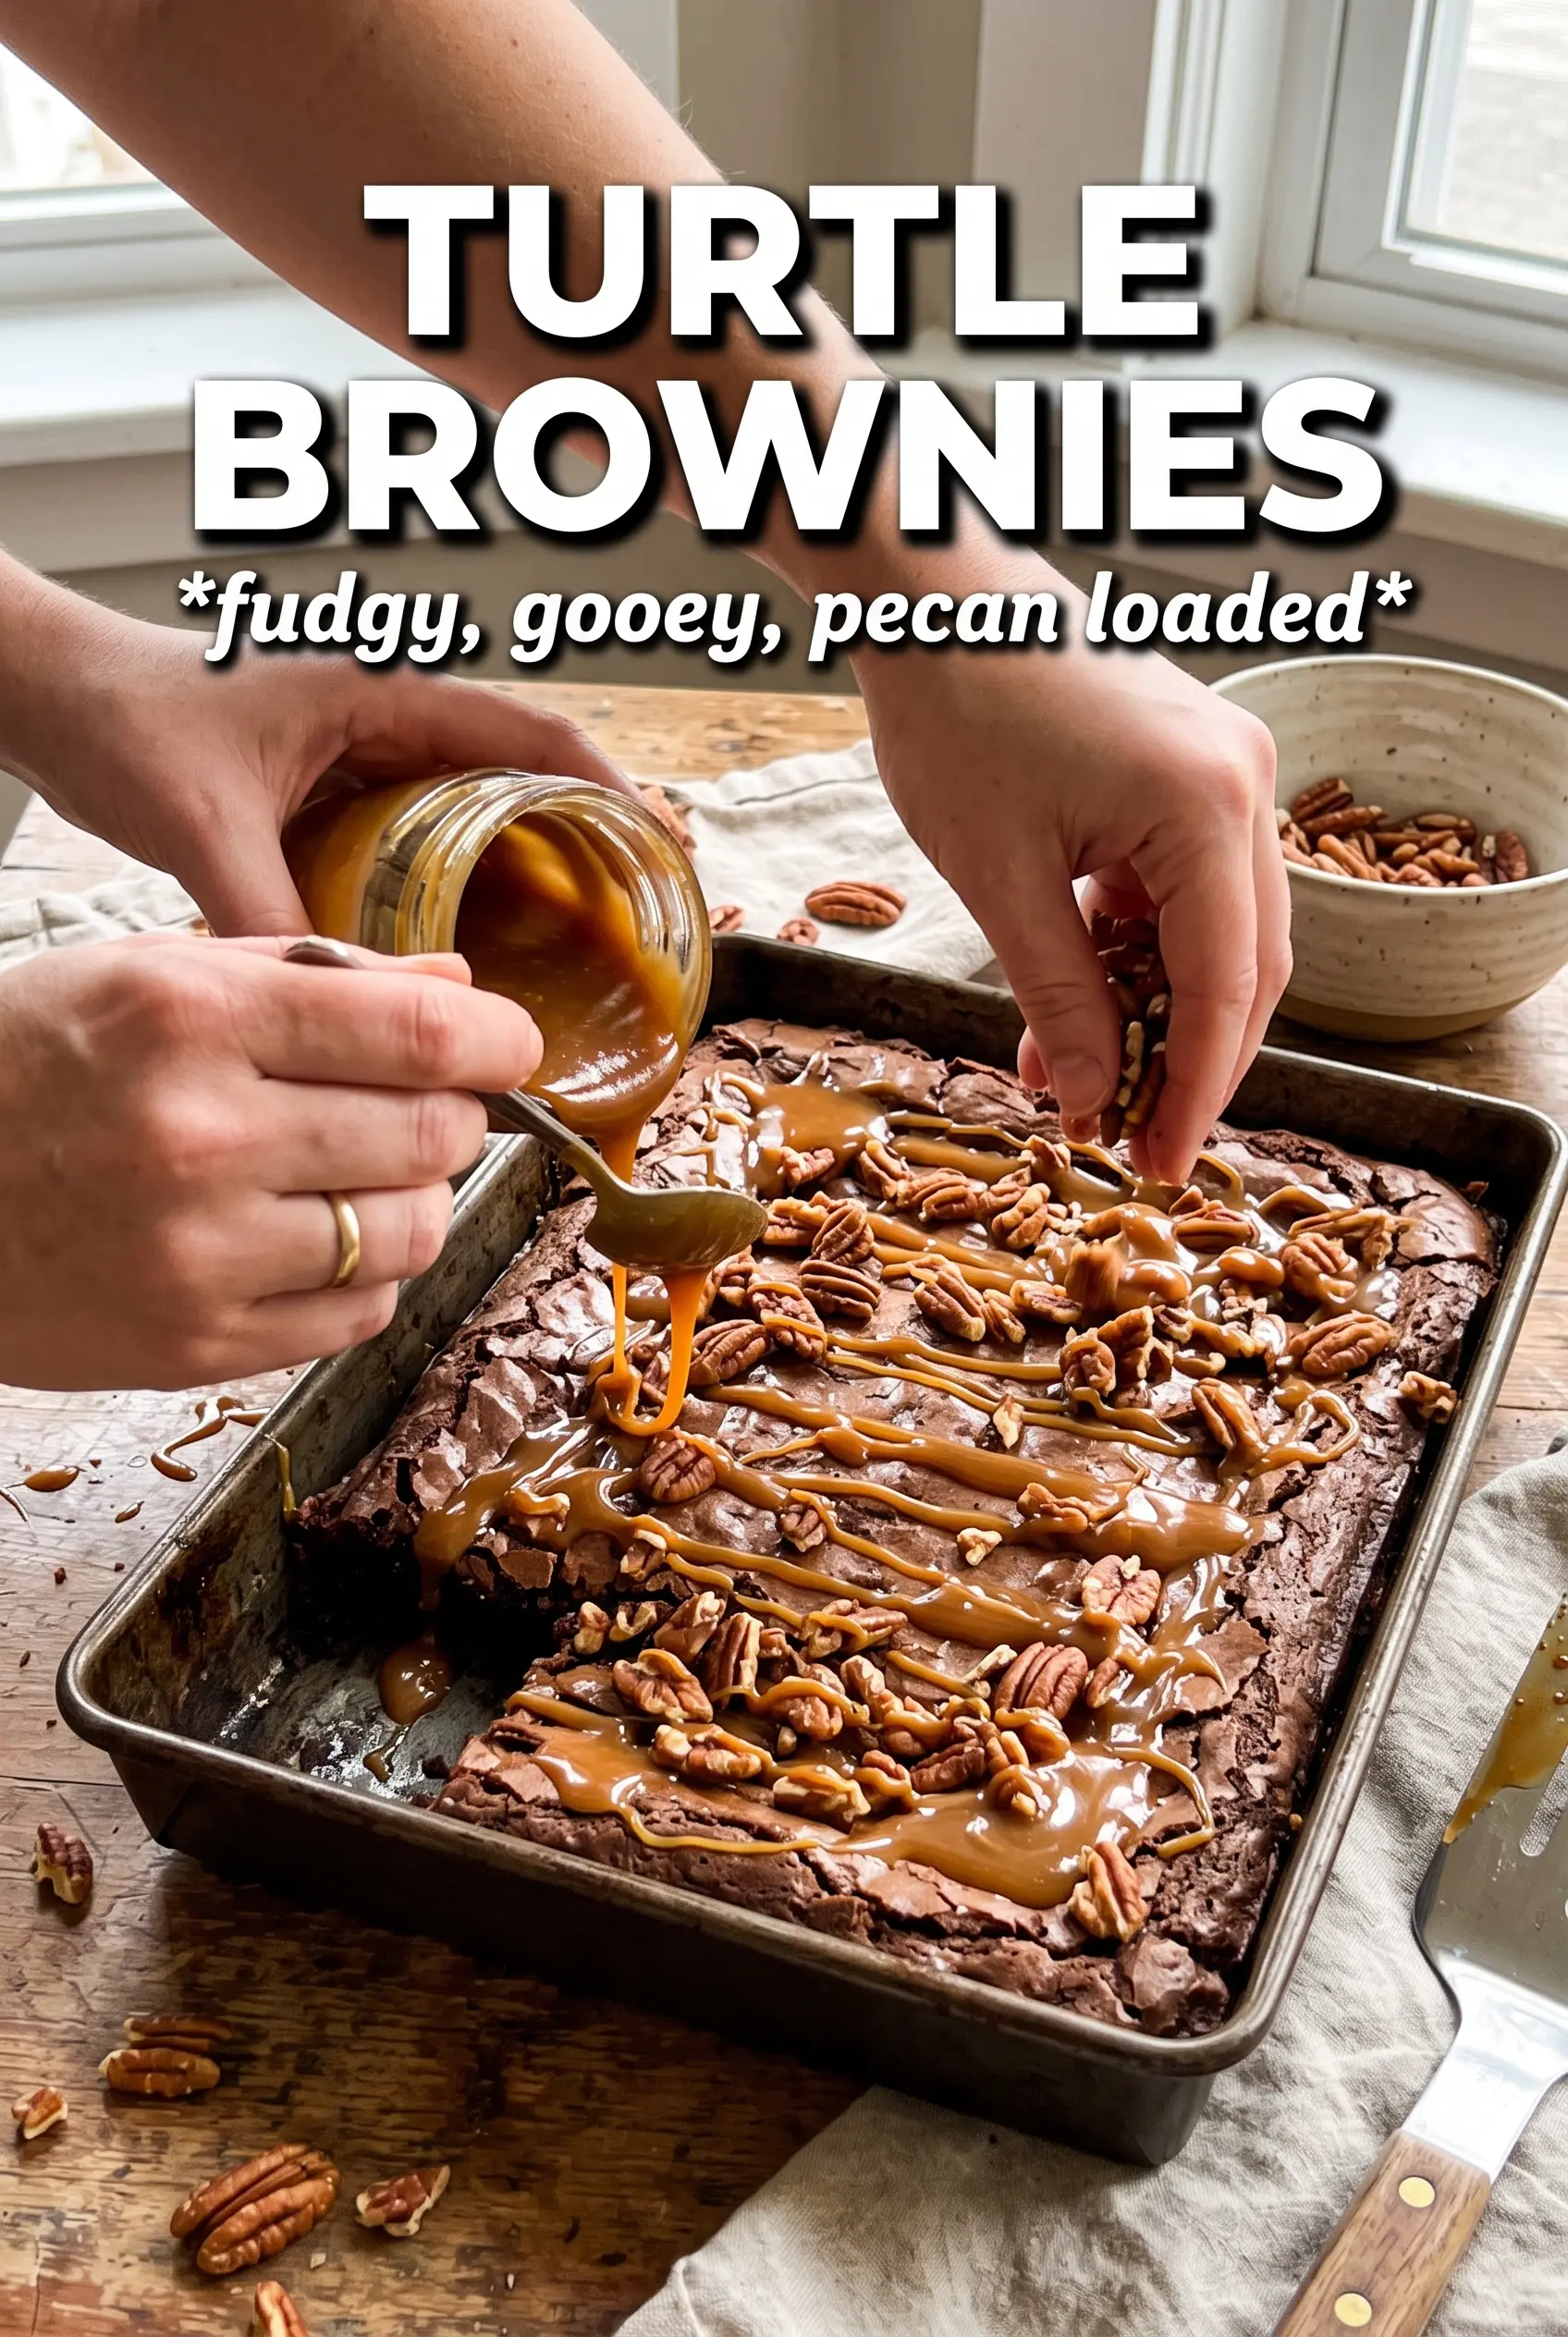
Spread the batter into the lined pan, drizzle the caramel over the surface, and drag a knife through it in broad, shallow swoops. Don’t stir too deeply or you’ll bury the caramel instead of marbling it. Press the toasted pecans lightly into the top so they bake into the surface rather than sitting loose and falling off when you cut the brownies.
Baking Until Just Set
Bake until the edges look firm and the center still has a few moist crumbs on the tester. The pan will continue to set as it cools, so pulling it at the right moment is what keeps the texture fudgy. If the top starts looking dull and the center loses its slight wobble, you’re already close to overbaking.
Cooling and Finishing the Drizzle
Let the brownies cool completely before you drizzle on the melted chocolate. If you add the drizzle too early, it melts into the surface and disappears. A final pinch of flaky sea salt sharpens the caramel and keeps the brownies from tasting one-note sweet.
How to Adapt Turtle Brownies for Different Kitchens and Crowds
Gluten-Free Turtle Brownies
Swap the flour for a good 1:1 gluten-free baking blend. The texture stays fudgy, but the brownies may need a few extra minutes in the oven because GF blends often bake up a little softer in the center.
Dairy-Free Version
Use a dairy-free butter substitute and dairy-free dark chocolate, then check that your caramel sauce is also dairy-free. The result is still rich and chocolatey, but the caramel flavor can be a touch less buttery if you use a store-bought plant-based caramel.
Walnut Swap
Walnuts work if that’s what you have, but they taste a little sharper and less buttery than pecans. Toast them the same way so they still bring crunch and don’t get lost under the caramel.
Storage and Reheating
- Refrigerator: Store in an airtight container for up to 5 days. The caramel firms up a bit in the fridge, so the texture turns denser and more candy-like.
- Freezer: Freeze tightly wrapped squares for up to 2 months. I like to separate layers with parchment so the drizzle and pecans don’t stick together.
- Reheating: Warm a square for 10 to 15 seconds in the microwave if you want the caramel softer. Don’t overheat it or the brownie will turn dry at the edges before the center loosens.
Questions I Get Asked About This Recipe
Turtle Brownies
Ingredients
Equipment
Method
- Preheat oven to 350F and line a 9x13 pan with parchment. Ensure the parchment hangs slightly to lift the brownies out later.
- Melt the butter and dark chocolate, then cool slightly. Stir until smooth and glossy before adding the remaining ingredients.
- Whisk in the sugar, eggs, and vanilla. Mix until the batter looks thick and uniform.
- Fold in the flour, cocoa, and salt. Stop mixing as soon as no dry streaks remain for a fudgy texture.
- Spread the batter evenly in the prepared pan. Use a spatula to reach the corners.
- Drizzle the thick caramel sauce over the top and swirl with a knife. Create marbled ribbons without fully mixing the caramel in.
- Press toasted pecan halves across the surface. Lightly press so they adhere as the brownies bake.
- Bake at 350F for 28-32 minutes, until set with moist crumbs. The center should look slightly underdone but not raw.
- Cool the brownies completely before cutting. This helps the caramel and chocolate drizzle set cleanly.
- Drizzle the melted semi-sweet chocolate chips over the cooled brownies. Add thin lines for the classic turtle look.
- Sprinkle flaky sea salt on top. Finish right before serving so the flakes stay crisp.