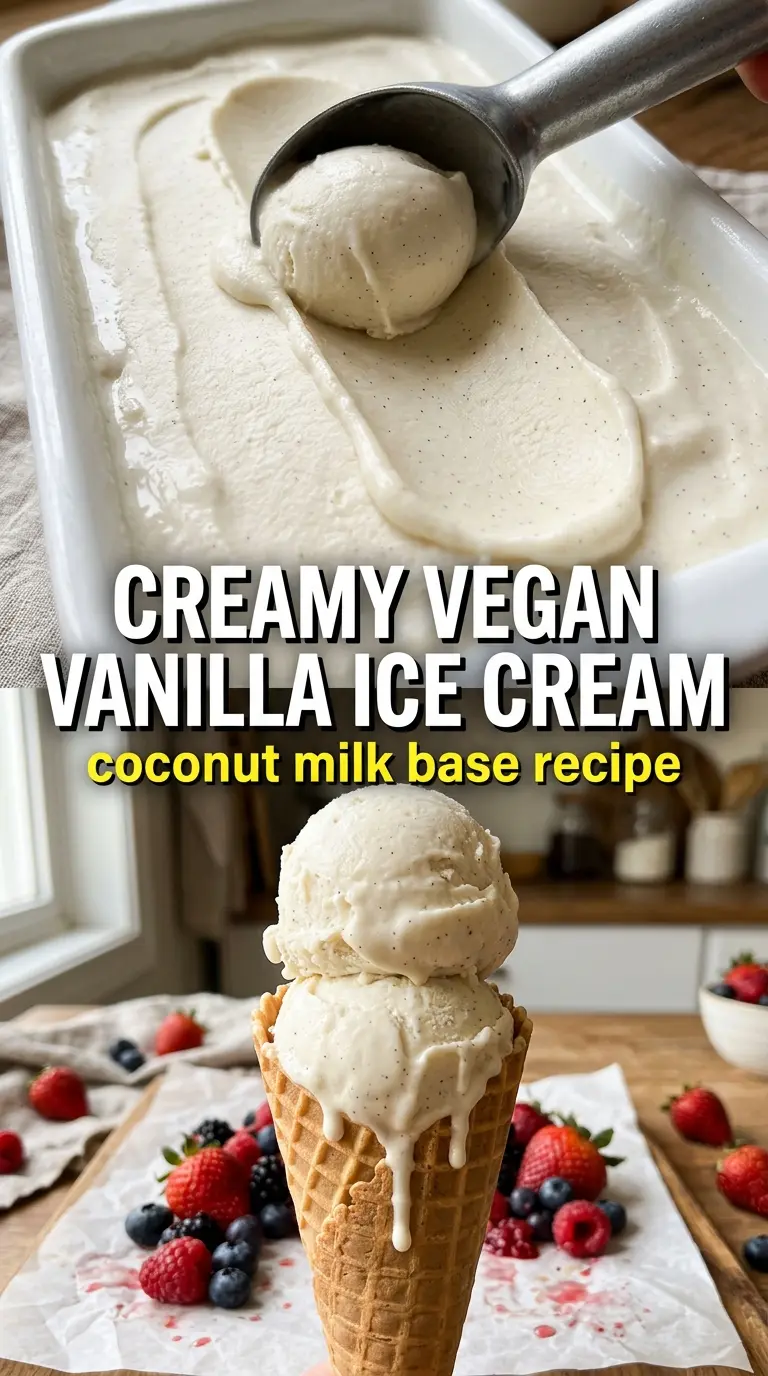
Silky vegan vanilla ice cream has a way of disappearing from the freezer faster than anything else in the house. The texture lands somewhere between classic custard-style ice cream and a soft-scoop sorbet base, but the flavor stays clean and unmistakably vanilla, with just enough coconut richness to make it taste full and rounded instead of icy or thin.
The part that matters here is the coconut milk. Full-fat cans give you the body that non-dairy ice cream usually lacks, and chilling them overnight lets the cream separate so the base starts out thick. A small spoonful of starch helps the mixture tighten on the stove, which gives the churned ice cream a smoother, less watery finish after freezing. The coconut flavor fades back once the vanilla goes in, especially if you use a good extract.
Below, I’ve included the one texture cue that keeps the base from breaking, plus a few swaps and storage notes for the times you want to make it ahead and keep it scoopable.
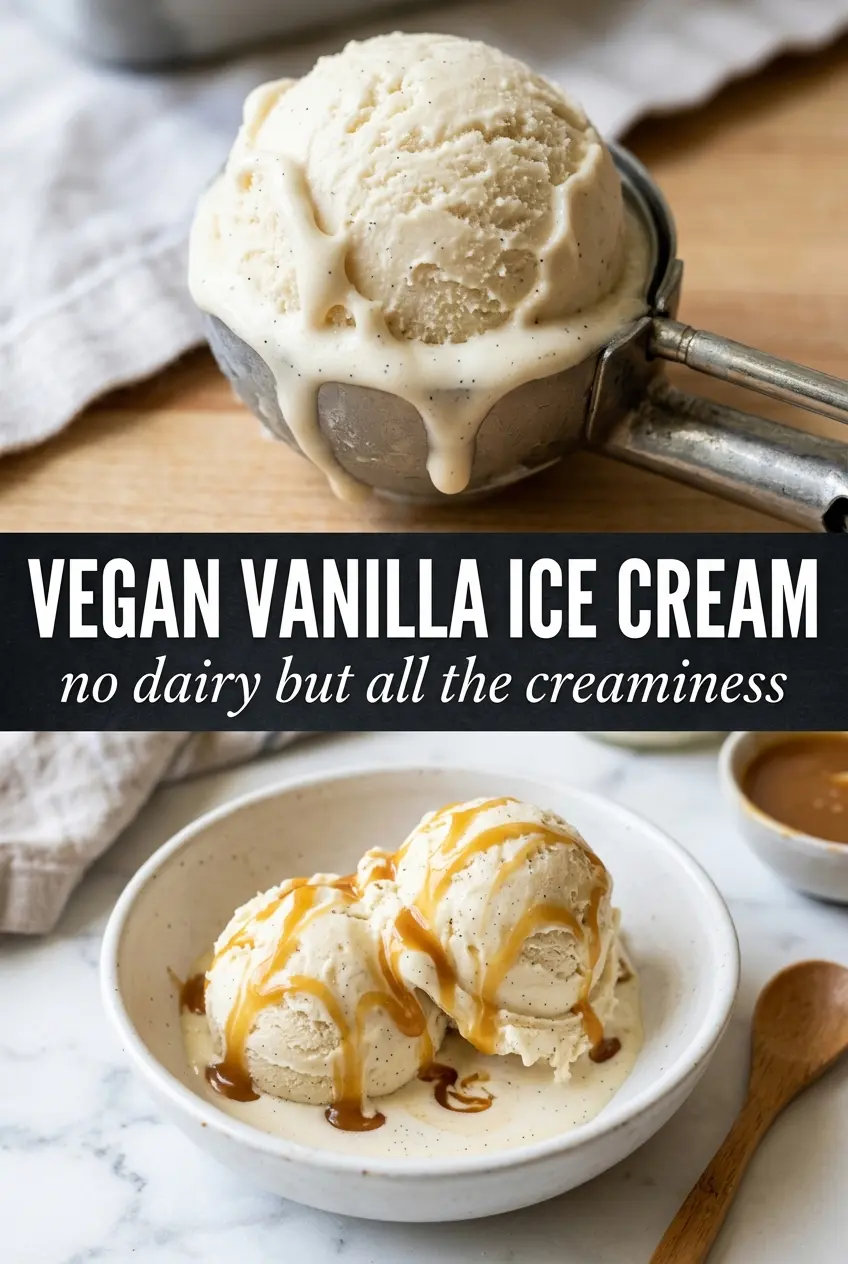
The base thickened just enough on the stove, and after churning it had that dense, creamy scoop I always hope for. Even my kids couldn’t tell it was dairy-free.
Save this creamy vegan vanilla ice cream for the nights when you want a no-dairy dessert with a pure vanilla finish and a scoopable texture.
The Step That Keeps Vegan Ice Cream Creamy Instead of Icy
Most homemade non-dairy ice creams fail in the same place: the base goes into the freezer too thin, then comes out hard and frosty. This recipe avoids that by thickening the coconut mixture on the stove before chilling it. That short cook time doesn’t just warm everything through; it gives the starch a chance to hydrate and the fat a chance to emulsify, which is what helps the finished ice cream stay smooth.
Another mistake is treating coconut milk like a direct stand-in for dairy cream. It isn’t. The solids matter here, which is why refrigerating the cans overnight is not a random extra step. If you skip that rest, you’re more likely to end up with a loose base that churns into a softer, less structured ice cream.
- Chilled full-fat coconut milk — This is the backbone of the recipe. The thick cream on top gives you body; the watery bottom can be saved for smoothies or oatmeal, but it won’t help the ice cream.
- Maple syrup or agave — Both keep the ice cream scoopable because liquid sweeteners lower the freezing point better than granulated sugar alone. Maple adds a faint caramel note; agave stays a little cleaner.
- Arrowroot or cornstarch — Either one helps the base thicken gently without tasting starchy. Arrowroot gives a slightly silkier finish, while cornstarch is the easier pantry swap and works well if you whisk and heat just until the mixture lightly coats the spoon.
- Coconut oil — A small amount boosts richness and helps the texture feel more like classic ice cream. Don’t skip it if you want the creamiest result; it softens the frozen texture in a useful way.
- Pure vanilla extract — Use the good stuff here. Since this recipe has a short ingredient list, the vanilla has room to show, and a flat extract will taste thin once frozen.
What Each Ingredient Is Actually Doing in This Ice Cream
- Base ingredient (cream, milk, or custard) — This provides the foundation and richness. Quality matters.
- Sweetener (sugar, honey, or condensed milk) — This sweetens and prevents ice crystals. The ratio is critical.
- Flavor element (vanilla, fruit, chocolate, coffee, or other) — This defines the ice cream personality. Use quality ingredients.
- Egg yolks (if making custard base) — These create richness and silky texture. Optional but elevates ice cream.
- Churning (if using ice cream maker) — This incorporates air and prevents ice crystals. Critical for smooth texture.
- Freezing temperature and time — Proper freezing prevents rock-hard texture. Store at 0°F or below.
- Mix-ins (chocolate, cookies, fruit, or swirls) — These add texture and prevent one-dimensional flavor. Add near end of churning.
- Serving temperature (slightly soft, not rock hard) — This provides creamy mouthfeel. Remove from freezer 5 minutes before serving.
Building the Base Without Scrambling the Texture
Separating the Coconut Cream
Open the chilled cans and spoon the thick cream from the top into your saucepan, leaving the coconut water behind. If the cream is very firm, that’s exactly what you want. Loose, room-temperature coconut milk won’t give the same body, and the base won’t thicken as well on the stove.
Heating Until It Lightly Thickens
Whisk the coconut cream, sweetener, vanilla, starch, salt, and coconut oil together over medium heat. Keep whisking until the mixture looks smoother, glossy, and just slightly thicker than when you started, about 5 minutes. Don’t let it boil hard; that’s how starches can turn grainy or the mixture can separate around the edges.
Cooling Before Churning
Pour the base into a container and cool it completely before it goes into the refrigerator. Warm custard-style bases churn poorly because the machine has to work against heat, and that often means smaller ice crystals don’t form as well. After at least 4 hours of chilling, the base should feel cold all the way through, not just cooler on top.
Churning and Hardening
Churn until the ice cream looks like thick soft-serve with a matte finish and visible ridges from the paddle. Stop there. If you keep going until it looks frozen-solid in the machine, the texture can turn tight and overworked. Transfer it to a freezer container and let it firm up until scoopable.
How to Adapt the Vanilla Base for Different Pantries and Crowds
Use agave for a cleaner vanilla finish
Agave gives you the same scoopable texture as maple syrup, but with less background flavor. If you want the vanilla to taste a little brighter and less caramel-like, use agave in a one-to-one swap.
Swap in cornstarch when arrowroot isn’t available
Cornstarch works well here and doesn’t change the flavor much. Use the same amount, but whisk constantly and stop the heat as soon as the mixture thickens slightly, because cornstarch can go from smooth to pasty if it cooks too long.
Make it coconut-free? Not in this version
This recipe leans on coconut milk for the fat and structure that make it work. A different plant milk won’t behave the same way, and the ice cream will freeze harder and taste less creamy.
Double it for a larger batch
This recipe scales up well if your saucepan is large enough to whisk comfortably. Keep the heating stage gentle and give the base enough time to cool completely before churning, or the larger batch will take longer to freeze and soften the final texture.
Storage and Reheating
- Refrigerator: Store the cooked base up to 3 days before churning. Whisk before using if it separates a little.
- Freezer: The churned ice cream keeps well for about 2 weeks. After that, it can still taste good, but the texture starts to get icier at the edges.
- Reheating: This recipe isn’t reheated. Let frozen ice cream sit at room temperature for 5 to 10 minutes before scooping. If it’s rock hard, that usually means the freezer was too cold or the base wasn’t thickened enough before churning.
Answers to the Questions Worth Asking
Vegan Vanilla Ice Cream
Ingredients
Equipment
Method
- Scoop the solid coconut cream from the top of the refrigerated coconut milk cans and reserve the coconut water for another use (visual cue: ivory cream, not the thin liquid).
- Add the coconut cream, maple syrup (or agave), vanilla extract, arrowroot (or cornstarch), salt, and coconut oil to a saucepan (visual cue: smooth, off-white mixture).
- Heat over medium heat and whisk constantly until the mixture thickens slightly, about 5 minutes (visual cue: it coats the whisk more readily and looks custard-like).
- Cool completely to room temperature (visual cue: the mixture loses steam and reaches a cool, pourable consistency).
- Refrigerate at least 4 hours until thoroughly chilled (visual cue: cold and slightly thicker).
- Churn the chilled mixture in an ice cream maker until it reaches a soft-serve consistency (visual cue: pale ivory, airy, and thick enough to hold soft peaks).
- Transfer to a freezer-safe container and freeze until scoopable (visual cue: firm but creamy texture when you press a spoon into it).