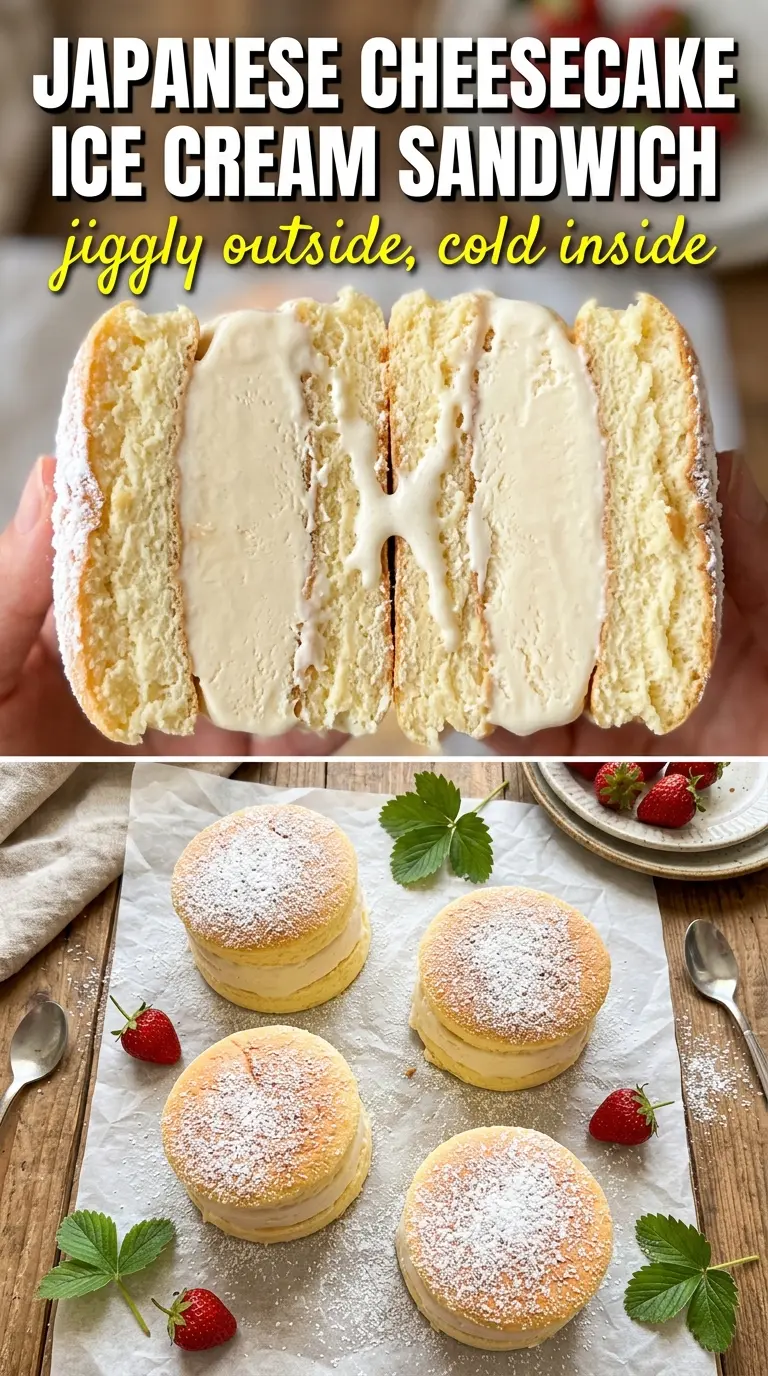
Pillowy Japanese cheesecake turns into something even more irresistible when it’s chilled, sliced, and pressed around a scoop of strawberry or mango ice cream. The outside stays tender and faintly springy, while the center goes cold and creamy in a way that feels playful without being fussy. It’s the kind of dessert that gets quiet at the table for a second, then disappears fast.
What makes these work is the contrast. Japanese cheesecake already has that airy, custardy texture from whipped egg whites, but it still needs a gentle hand in the oven so it doesn’t dry out and lose its signature wobble. The ice cream should be softened just enough to scoop cleanly, not melted into soup, or it will squish out the sides before the sandwiches have a chance to set up in the freezer.
Below, I’ll walk you through the water bath, the folding method, and the one timing detail that keeps the cheesecake soft enough to feel cloud-like straight from the freezer.
The cheesecake baked up with that jiggly center you described, and after freezing the sandwiches for an hour, they sliced cleanly without the ice cream oozing everywhere.
Save these jiggly Japanese cheesecake ice cream sandwiches for the dessert that feels fancy but freezes like a dream.
The Secret Is Keeping the Cheesecake Soft Enough to Sandwich
The biggest mistake with a recipe like this is treating the cheesecake like a firm layer cake. It isn’t one. Japanese cheesecake needs to stay tender and a little jiggly so it compresses around the ice cream instead of cracking when you bite into it. If you bake it until it feels fully set in the center, the sandwiches will taste dry once frozen.
The water bath does the heavy lifting here. It protects the batter from harsh heat, which keeps the crumb fine and even instead of rubbery around the edges. Pull the pan when the center still has a gentle wobble and the top looks pale gold, then cool it all the way before cutting. Warm cheesecake tears. Cold cheesecake slices cleanly.
- Cream cheese — This gives the dessert its classic cheesecake backbone. Full-fat cream cheese works best because low-fat versions can turn watery and won’t set with the same plush texture.
- Cake flour — The low protein keeps the crumb soft and delicate. All-purpose flour will make the cheesecake heavier and a little bouncier, which works against the cloud-like finish you want here.
- Egg whites — These are what make the cake rise and feel airy. Beat them to glossy stiff peaks and fold them in gently; if you stir them in, the batter deflates and bakes up dense.
- Strawberry or mango ice cream — A fruit flavor keeps the sandwich bright and helps it taste like a deliberate dessert instead of just frozen cake. Let it soften on the counter for a few minutes, just until scoopable, because melted ice cream will leak out before you can wrap and freeze the sandwiches.
What Each Ingredient Is Actually Doing in This Ice Cream Cake
- Base layer (cookies, cake, or graham cracker) — This provides structure and stability. Crushed and mixed with butter creates a firm foundation.
- Ice cream (the main star) — Use quality ice cream or make homemade. Softness matters for layering.
- Sauce or topping between layers (fudge, caramel, or fruit) — This adds moisture, flavor, and prevents dryness. Don’t skip this layer.
- Frosting or whipped cream (optional outer layer) — This prevents freezer burn and adds creaminess. Stabilized whipped cream works best.
- Freezing time (at least 4-6 hours) — This sets the layers so cake slices cleanly. Longer freezing prevents melting during serving.
- Room temperature before serving (5-10 minutes) — This softens the cake slightly for better texture. Serve immediately after thawing.
- Toppings (chocolate, nuts, cookies, or sprinkles) — These add visual appeal and texture. Add right before serving.
- Storage (in freezer at 0°F or below) — This prevents ice crystal formation and maintains quality. Cover with plastic wrap.
How to Build the Ice Cream Sandwich Without Crushing the Cake
Melting the Base Smoothly
Start by warming the cream cheese, butter, and milk together until the mixture is completely smooth. Any little lump left here will stay in the batter, and once the eggs go in, you can’t fix it without overmixing. Let the mixture cool slightly before adding the yolks so you don’t accidentally scramble them. The base should feel warm, not hot.
Whipping in the Air
Beat the egg whites to soft peaks first, then add the sugar gradually and keep beating until they’re glossy and stiff. That shine matters. It tells you the foam is stable enough to hold the cake up in the oven. Fold them into the batter in three additions, and stop as soon as no white streaks remain. Overfolding knocks out the air and gives you a flat cake that won’t have the right bounce.
Baking Until It Still Jiggles
Pour the batter into a parchment-lined 9×13 pan set inside a water bath and bake until the top is pale golden and the center still trembles when you nudge the pan. That wobble is the cue. It means the cheesecake is set enough to hold together but still soft enough to freeze into a tender sandwich. Cool it completely in the pan before cutting, or the squares will tear and smear instead of stack neatly.
Assembling and Freezing Fast
Cut the cheesecake into even squares, then sandwich softened ice cream between two pieces and press just enough to seal. Don’t overfill them. A modest scoop is easier to manage and freezes into clean edges. Wrap each sandwich and freeze for about an hour before serving. That short freeze firms the ice cream without turning the cheesecake hard, which is what keeps the whole dessert pleasantly soft when you bite into it.
How to Change the Flavor Without Losing the Texture
Strawberry for mango, or mango for strawberry
Both flavors work because they’re bright and creamy. Strawberry gives you a familiar pink, bakery-style look, while mango leans a little more tropical and fragrant. Use whichever ice cream is better in your freezer section, but choose a brand that stays scoopable when softened instead of turning icy.
Gluten-free version
A 1:1 gluten-free flour blend can work here, but the crumb won’t be quite as fine as cake flour gives you. Look for a blend that includes starches, and sift it well so the batter stays smooth. The finished cheesecake may be a little less elastic, so chill it fully before cutting to keep the squares neat.
Dairy-free adjustment
This one is harder to convert because cream cheese is carrying a lot of the texture, but a dairy-free cream cheese and plant butter can get you close. Use a thicker oat or coconut-based ice cream so the sandwiches still freeze firmly. The result will be a little less plush, but it still works if you keep the batter light and don’t overbake.
Storage and Freezing
- Refrigerator: Store the baked cheesecake slab, tightly covered, for up to 3 days before assembling. The texture softens a little in the fridge, but it still cuts well when fully chilled.
- Freezer: Assembled sandwiches freeze well for up to 2 weeks if wrapped individually. After that, the cheesecake can pick up freezer flavor and the ice cream gets a little icy at the edges.
- Reheating: No reheating needed. Let frozen sandwiches sit at room temperature for 3 to 5 minutes before serving so the cheesecake softens just enough to bite cleanly. If you wait too long, the ice cream melts before the cake reaches that perfect tender texture.
Answers to the Questions Worth Asking
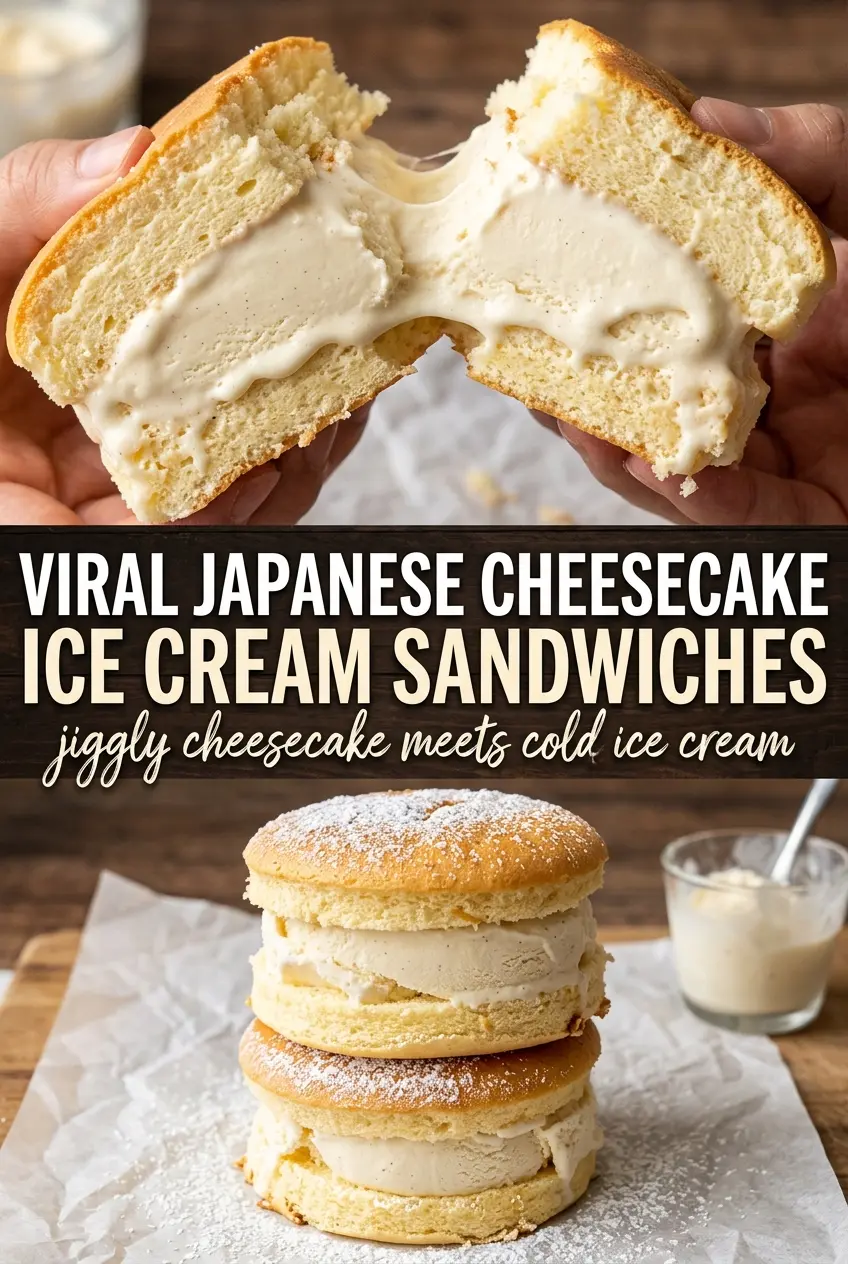
Viral Japanese Cheesecake Ice Cream Sandwiches
Ingredients
Equipment
Method
- Preheat the oven to 325F. Melt the cream cheese, butter, and whole milk together until smooth, then cool slightly.
- Whisk in the egg yolks, cake flour, vanilla, and fresh lemon juice until smooth.
- In a separate bowl, beat the egg whites to soft peaks. Gradually add the sugar and beat to stiff glossy peaks.
- Fold the egg whites into the cream cheese mixture in three additions. Keep folding until the batter is uniform and airy.
- Bake the batter in a parchment-lined 9x13 pan in a water bath for 25-30 minutes. Look for a pale golden top with edges set and the center still gently wobbly.
- Cool the cheesecake completely. Let it cool to room temperature before chilling if needed.
- Cut the cheesecake into squares. Sandwich a scoop of softened strawberry or mango ice cream between two squares.
- Wrap the sandwiches and freeze for 1 hour. Serve when the cheesecake is still slightly jiggly.