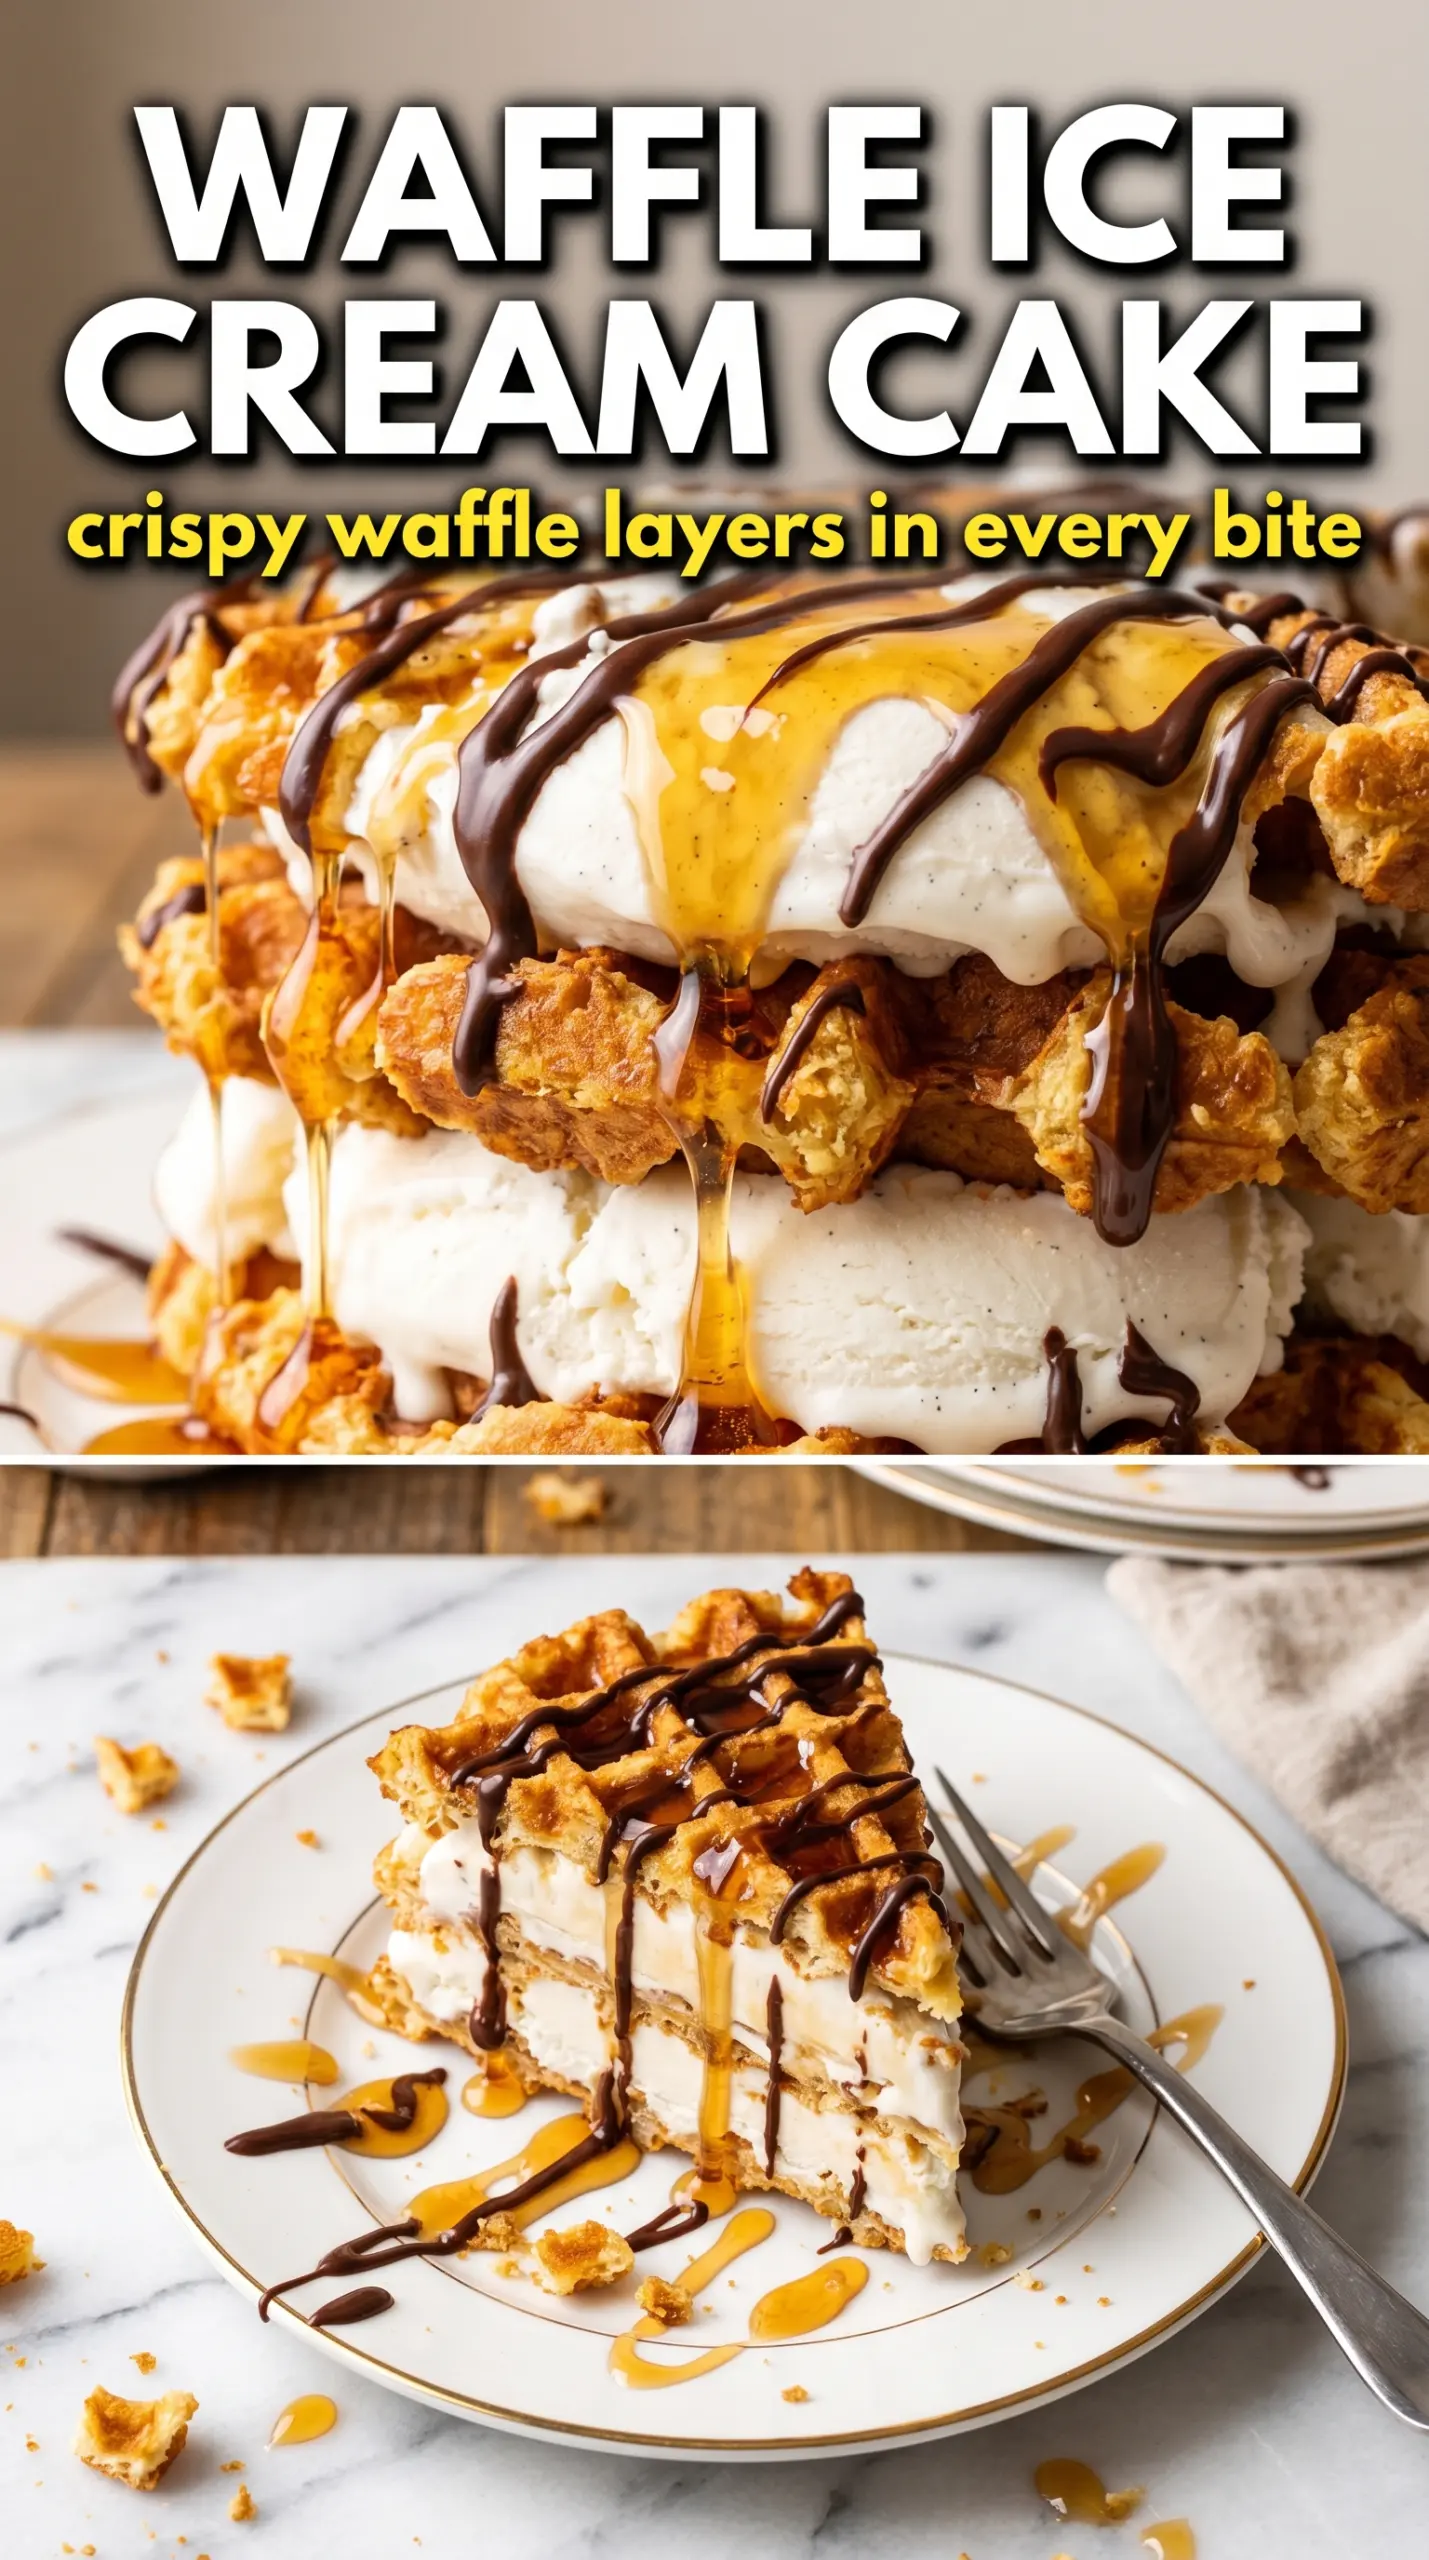
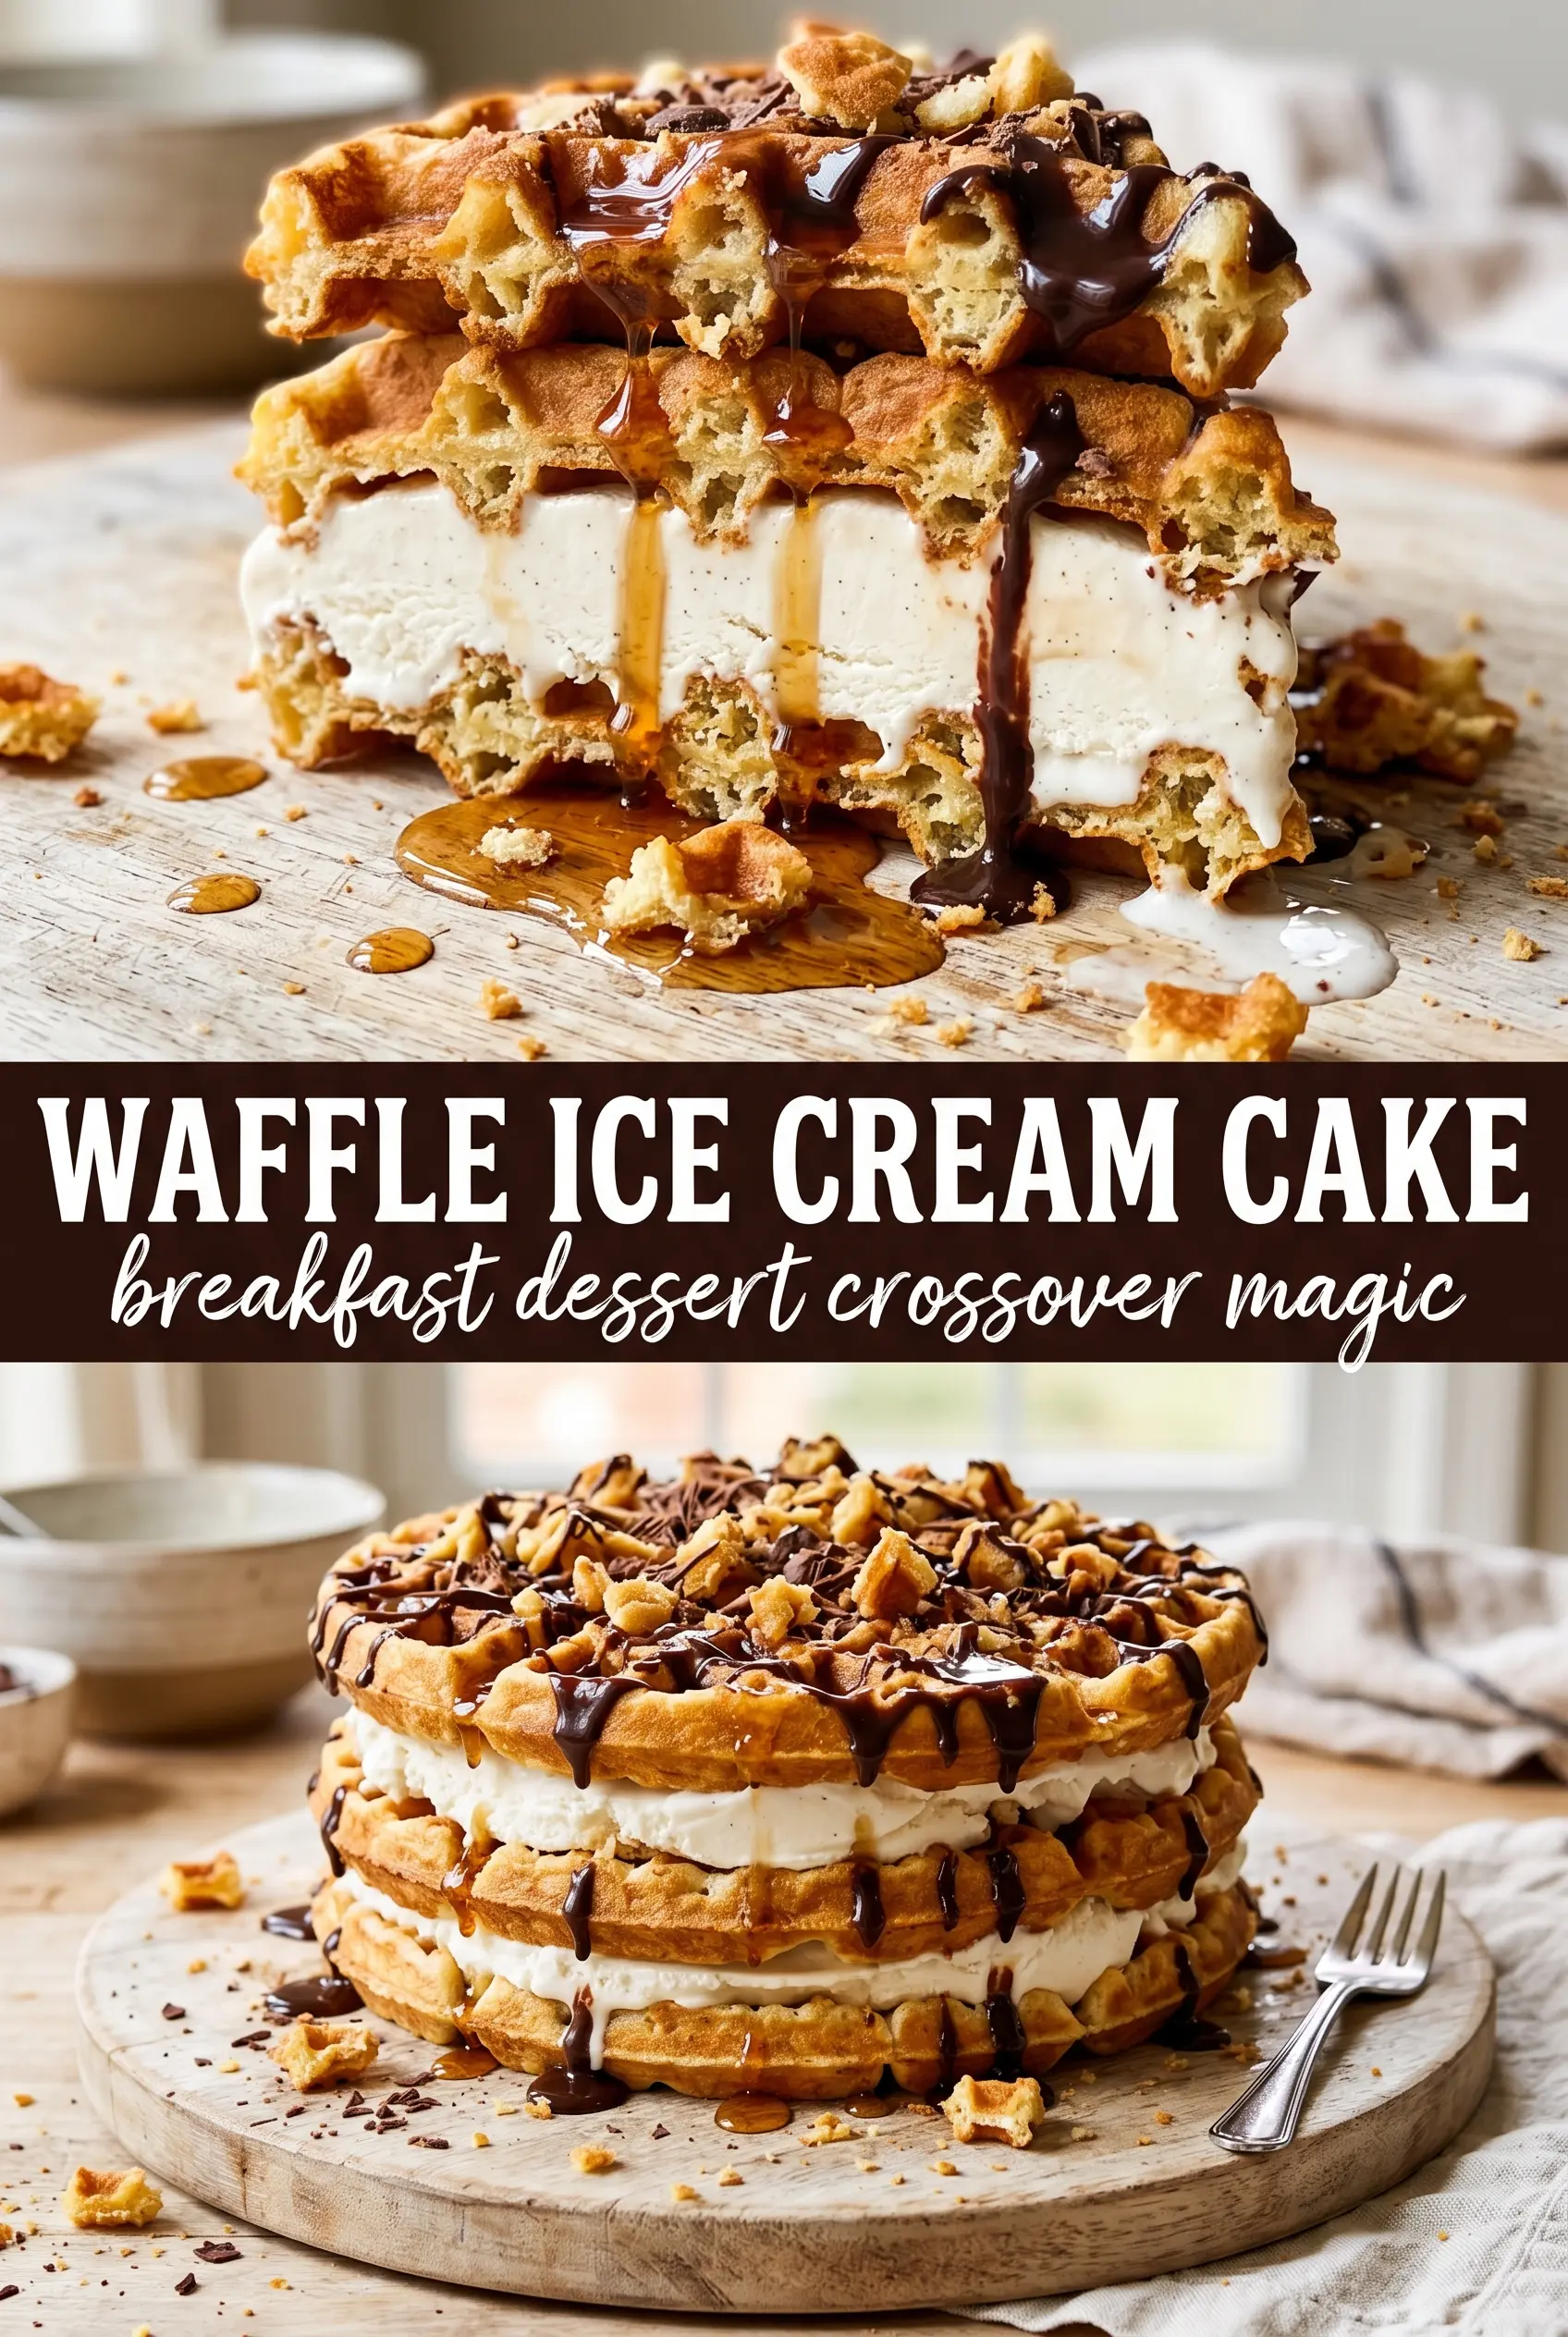
Golden waffles and vanilla ice cream turn into a frozen layer cake that feels playful enough for a birthday and polished enough to slice at the table. The contrast is what makes it work: crisp-edged waffles soften just enough in the freezer to cut cleanly, while the maple syrup in each layer keeps the cake from tasting flat or one-note. Every slice gives you cold creaminess, a little chew from the waffles, and a caramel finish that ties the whole thing together.
The trick is to start with waffles that are completely cool so they don’t melt the ice cream on contact, then soften the ice cream just enough to spread without tearing the layers underneath. A springform pan keeps the stack neat and gives you straight sides, which matters when the whole dessert depends on those visible layers looking sharp once it comes out of the freezer. The maple syrup brushed onto each waffle adds flavor and helps the layers stay moist without turning soggy.
Below you’ll find the detail that matters most for clean slices, plus a few smart variations if you want to swap the waffles, change the finish, or make this ahead for a crowd.
The waffles held their shape in the freezer and the maple syrup gave every layer this subtle flavor that kept it from tasting like plain ice cream cake. I sliced it after the extra hour and the layers were perfect.
Save this waffle ice cream cake for the birthday when you want a crisp, creamy frozen dessert with a maple-caramel finish.
The Layer That Stays Neat Instead of Sliding
The biggest mistake with a waffle ice cream cake is building it before the waffles are cool enough. Warm waffles melt the ice cream fast, and once that starts, the layers drift and the whole cake turns sloppy before it ever gets to the freezer. Cold waffles give you structure right away, which is why this works as a stacked cake instead of a puddle in a pan.
Another thing that matters here is thickness. Spread the ice cream in a thick, even layer, but don’t overwork it until it’s soupy. You want it soft enough to press into the waffle’s nooks, not run off the sides. If the ice cream gets too melty, the layers won’t freeze with clean edges and you’ll lose that striped look when you slice into it.
- Waffles — Store-bought waffles work fine, and they save time. Homemade waffles bring a deeper buttery flavor, but either way they need to be fully cooled so they don’t soften the ice cream on contact.
- Vanilla ice cream — Choose a dense, good-quality ice cream if you can. Cheap ice cream tends to freeze icier and spread less smoothly, while a richer brand stays creamy and slices better.
- Maple syrup — This is more than a sweetener. It adds the breakfast note that makes the dessert taste intentional, and it helps each waffle layer stay flavorful after freezing.
- Caramel sauce — Use a sauce that pours cleanly for drizzling. Thick jarred caramel is fine, but if it’s too stiff straight from the fridge, warm it for a few seconds so it ribbons instead of clumping.
- Whipped cream — Pipe it on after the first freeze so it holds its shape. Soft whipped cream melts into the top if you add it too early.
What Each Ingredient Is Actually Doing in This Ice Cream Cake
- Base layer (cookies, cake, or graham cracker) — This provides structure and stability. Crushed and mixed with butter creates a firm foundation.
- Ice cream (the main star) — Use quality ice cream or make homemade. Softness matters for layering.
- Sauce or topping between layers (fudge, caramel, or fruit) — This adds moisture, flavor, and prevents dryness. Don’t skip this layer.
- Frosting or whipped cream (optional outer layer) — This prevents freezer burn and adds creaminess. Stabilized whipped cream works best.
- Freezing time (at least 4-6 hours) — This sets the layers so cake slices cleanly. Longer freezing prevents melting during serving.
- Room temperature before serving (5-10 minutes) — This softens the cake slightly for better texture. Serve immediately after thawing.
- Toppings (chocolate, nuts, cookies, or sprinkles) — These add visual appeal and texture. Add right before serving.
- Storage (in freezer at 0°F or below) — This prevents ice crystal formation and maintains quality. Cover with plastic wrap.
Building the Stack So It Freezes Cleanly
Starting with a Stable Base
Set one waffle in the bottom of a springform pan and brush it lightly with maple syrup. That first brush matters because it gives the bottom layer flavor without flooding the waffle. If the syrup pools, blot the excess with the corner of a paper towel before adding ice cream. You want the waffle touched with sweetness, not soaked through.
Spreading the Ice Cream Evenly
Spoon on softened vanilla ice cream and nudge it into an even layer with an offset spatula or the back of a spoon. Work quickly, but don’t smash it flat; that just pushes the ice cream out the sides. If the pan starts to look messy at the edges, chill it for 10 minutes before continuing. A brief pause beats fighting with melting layers.
Repeating the Layers Without Losing the Shape
Keep alternating waffles, maple syrup, and ice cream until the pan is full, then finish with a waffle on top. Press down gently after each waffle so the stack settles into the pan and any small gaps close up. If one waffle breaks, tuck the pieces back together in the pan and cover the seam with ice cream. Once frozen, nobody will know.
Finishing After the First Freeze
Freeze the cake until it’s completely firm before removing the springform ring, then pipe the whipped cream, drizzle with caramel, and add berries. The extra hour in the freezer after decorating helps the topping set, which is the difference between a neat slice and a melted drizzle sliding down the plate. If you want the sharpest slices, dip your knife in hot water and wipe it dry between cuts.
Use Chocolate Waffles for a Deeper Dessert Feel
Chocolate waffles bring a darker, more bakery-style flavor and make the whole cake taste less like breakfast and more like a plated dessert. Keep the same maple syrup and caramel, or the chocolate can take over and taste a little flat.
Swap in Dairy-Free Ice Cream for a Lactose-Free Version
Use a full-fat dairy-free vanilla ice cream so the layers stay creamy after freezing. Lower-fat versions can freeze harder and make the cake harder to slice cleanly.
Make It a Summer Berry Cake
Fold a thin layer of sliced strawberries or raspberries between one or two of the ice cream layers, but keep the amount modest. Too much fruit adds water and can make the waffle layers icy instead of tender.
Storage and Reheating
- Refrigerator: This cake doesn’t belong in the fridge; it will soften and collapse. Keep it frozen until serving.
- Freezer: Wrap leftovers tightly and freeze for up to 5 days. After that, the waffles start to pick up freezer flavor and the texture goes dry around the edges.
- Reheating: Don’t reheat it. Let slices sit at room temperature for 5 to 10 minutes so the knife goes through cleanly. If it sits too long, the ice cream will slump before the center is soft enough to cut.
Questions I Get Asked About This Recipe
Waffle Ice Cream Cake
Ingredients
Equipment
Method
- Line up a springform pan and place one waffle on the bottom, then brush it generously with maple syrup so the surface looks glossy and wet.
- Spread a thick layer of softened vanilla ice cream over the syrup-brushed waffle, aiming for even coverage with no bare waffle spots.
- Add a second waffle layer and brush it with maple syrup, then spread another thick layer of vanilla ice cream over it.
- Repeat layering waffles and vanilla ice cream until the pan is full, finishing with a waffle layer on top that looks level and evenly coated with syrup.
- Freeze for 6 hours, until the layers are completely firm; it should slice cleanly with no wobble when pressed lightly at the edges.
- Pipe or spread whipped cream over the top so it forms soft peaks, then drizzle caramel sauce in thin lines over the cream.
- Top with fresh berries and finish with a maple drizzle, then return the cake to the freezer for 1 more hour until the topping is set.
- Release the cake from the springform pan and serve immediately so the waffle edges stay crisp and the ice cream layers hold their shape.