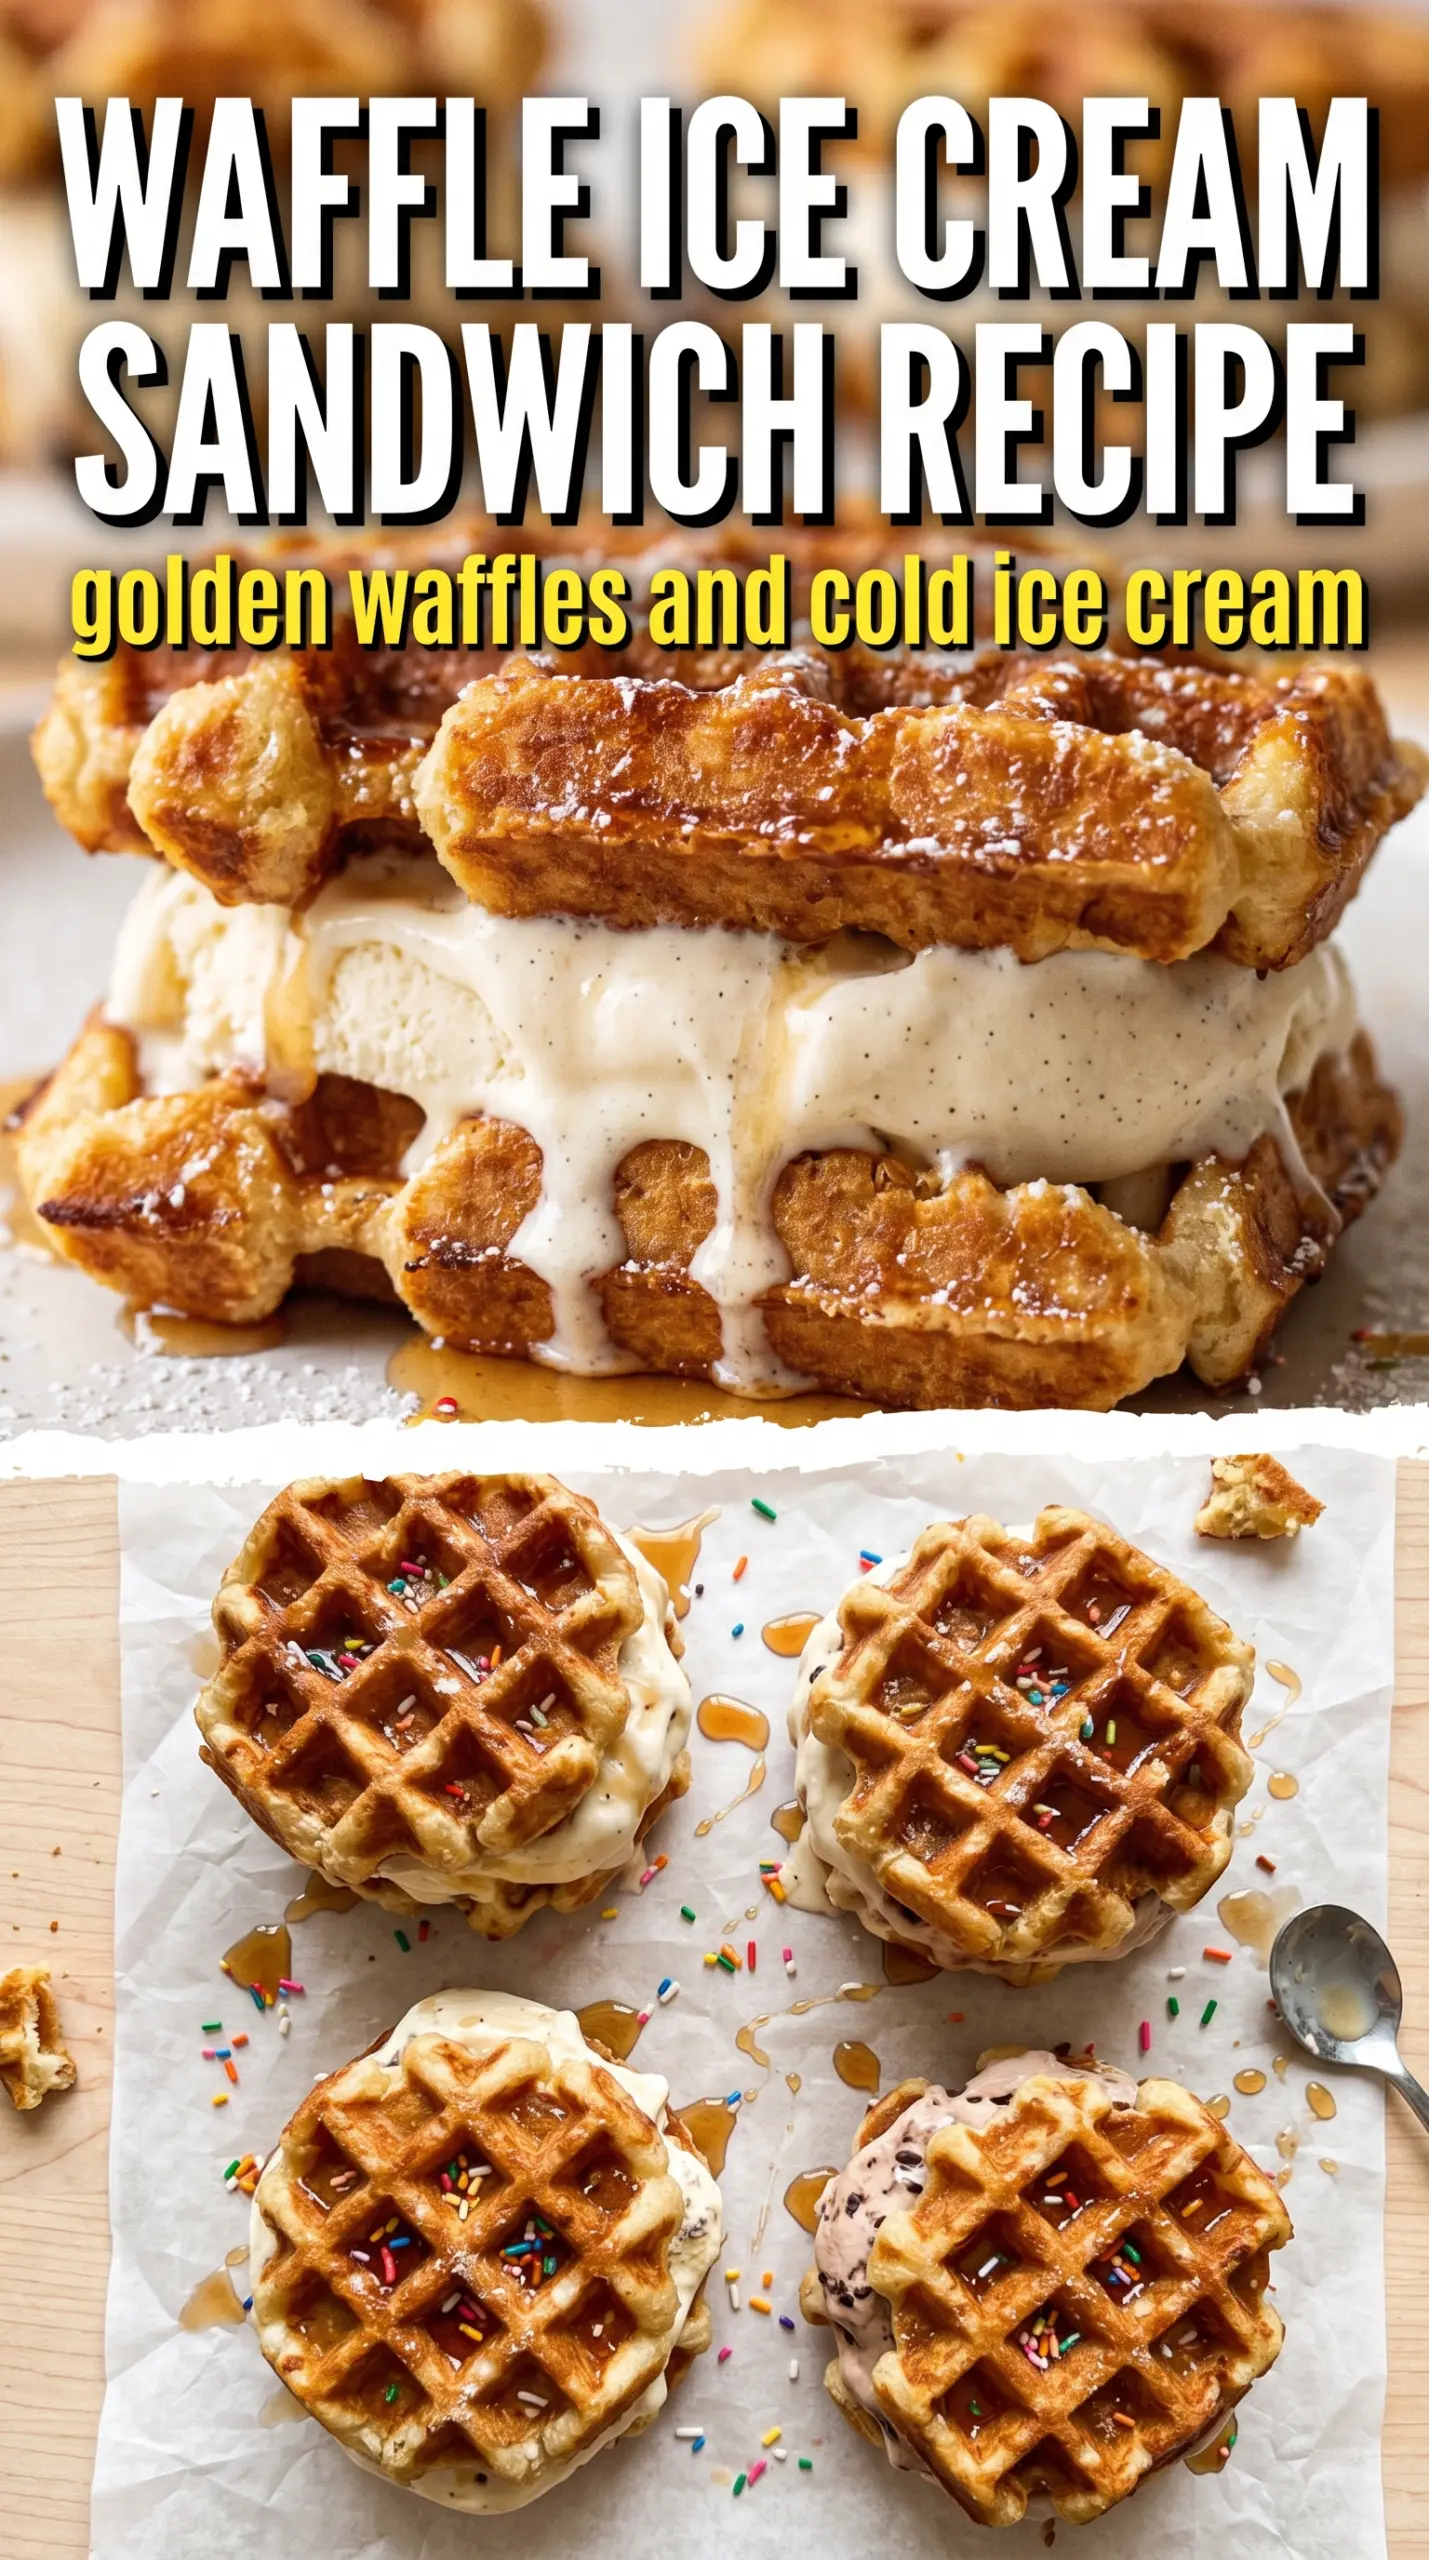
Golden, crispy-edged waffles and cold vanilla bean ice cream belong together in a way that makes the first bite stop the table for a second. The waffle stays sturdy enough to hold its shape, but the heat from the maple-scented squares softens the ice cream just enough to make the center creamy instead of icy. That mix of crunch, melt, and syrup is what turns these from a fun dessert into something people start asking for again.
The trick is treating the waffles like the structure, not just the delivery system. A soft waffle collapses as soon as the ice cream goes in, so the batter needs enough lift to cook up crisp at the edges, and the waffles need to cool all the way before you build the sandwiches. Slightly softened ice cream spreads more evenly than rock-hard ice cream, which keeps the sandwiches from cracking apart when you press them together.
Below, I’m walking through the part that matters most: how to get the waffles crisp enough to freeze well, how to keep the filling neat, and how to make these ahead without ending up with soggy edges.
The waffles stayed crisp even after freezing, and the vanilla bean ice cream didn’t squeeze out the sides when I cut them in half. My kids asked for the maple drizzle on top and called them “breakfast ice cream sandwiches.”
Waffle Ice Cream Sandwiches bring together crisp maple waffles, vanilla bean ice cream, and a quick freeze for the cleanest bite.
The Part That Keeps the Sandwich From Turning Soft
The mistake with waffle ice cream sandwiches is building them from waffles that are still warm or too tender. Heat melts the ice cream before the sandwich has a chance to set, and a soft waffle turns gummy in the freezer. You want a waffle with enough structure to stay crisp at the edges and enough surface texture to grab onto the ice cream instead of sliding around.
- Buttermilk gives the waffles their tang and helps the baking soda work, which means a lighter crumb and better browning. Regular milk works in a pinch, but you’ll lose some of that classic waffle flavor and lift.
- Vegetable oil keeps the waffles crisp after cooling. Butter tastes great, but it firms up more in the freezer and can make the waffle feel a little denser.
- Vanilla bean ice cream matters because the filling is simple. Use a good one here; the waffle already brings the syrupy flavor, so the ice cream needs to taste clean and rich.
- Maple syrup is best drizzled right before serving. If you freeze it onto the sandwich, it can become sticky in an awkward way instead of glossy and pourable.
What Each Ingredient Is Actually Doing in This Ice Cream Sandwich
- Cookies or wafers (the structure) — These need to be sturdy enough to hold ice cream. Soft or brittle cookies crumble or break.
- Ice cream (the filling and star) — Use quality ice cream or make homemade. Slightly softened makes assembly easier.
- Optional coating (chocolate, sprinkles, nuts, or coconut) — This adds flavor and prevents the sandwich from slipping out of hands.
- Speed of assembly — Work quickly so ice cream doesn’t melt. Have everything prepared before you start.
- Temperature control (keep ice cream cold) — Work with ice cream straight from the freezer for best results.
- Pressing technique (gentle pressure) — Don’t squash the ice cream out. Just enough pressure to adhere the cookies.
- Freezing after assembly (at least 2 hours) — This sets the sandwich so it stays together. Longer is better for stability.
- Serving immediately after freezing — Cold ice cream sandwiches taste best. They melt quickly at room temperature.
Building Crisp Waffles for a Cold Fillings Job
Mix the batter gently
Whisk the dry ingredients first so the baking powder and baking soda are evenly distributed, then add the wet mixture and fold just until the flour disappears. If you beat it smooth, the waffles turn tight and bready instead of airy. A few small lumps are fine and usually mean you’ve stopped at the right moment.
Cook until the steam drops off
Pour the batter into the preheated waffle iron and cook until the waffles are deeply golden and the steam has mostly stopped escaping. That steam is a useful cue: when it slows down, moisture has cooked out and the waffle is better equipped to stay crisp. Pull them early and they’ll soften fast under the ice cream.
Cool on a rack, not a plate
Set the waffles on a wire rack in a single layer as soon as they come out of the iron. A plate traps steam underneath and softens the bottoms almost immediately. Let them cool all the way before cutting, or the edges can tear instead of slicing cleanly into squares.
Assemble with softened ice cream
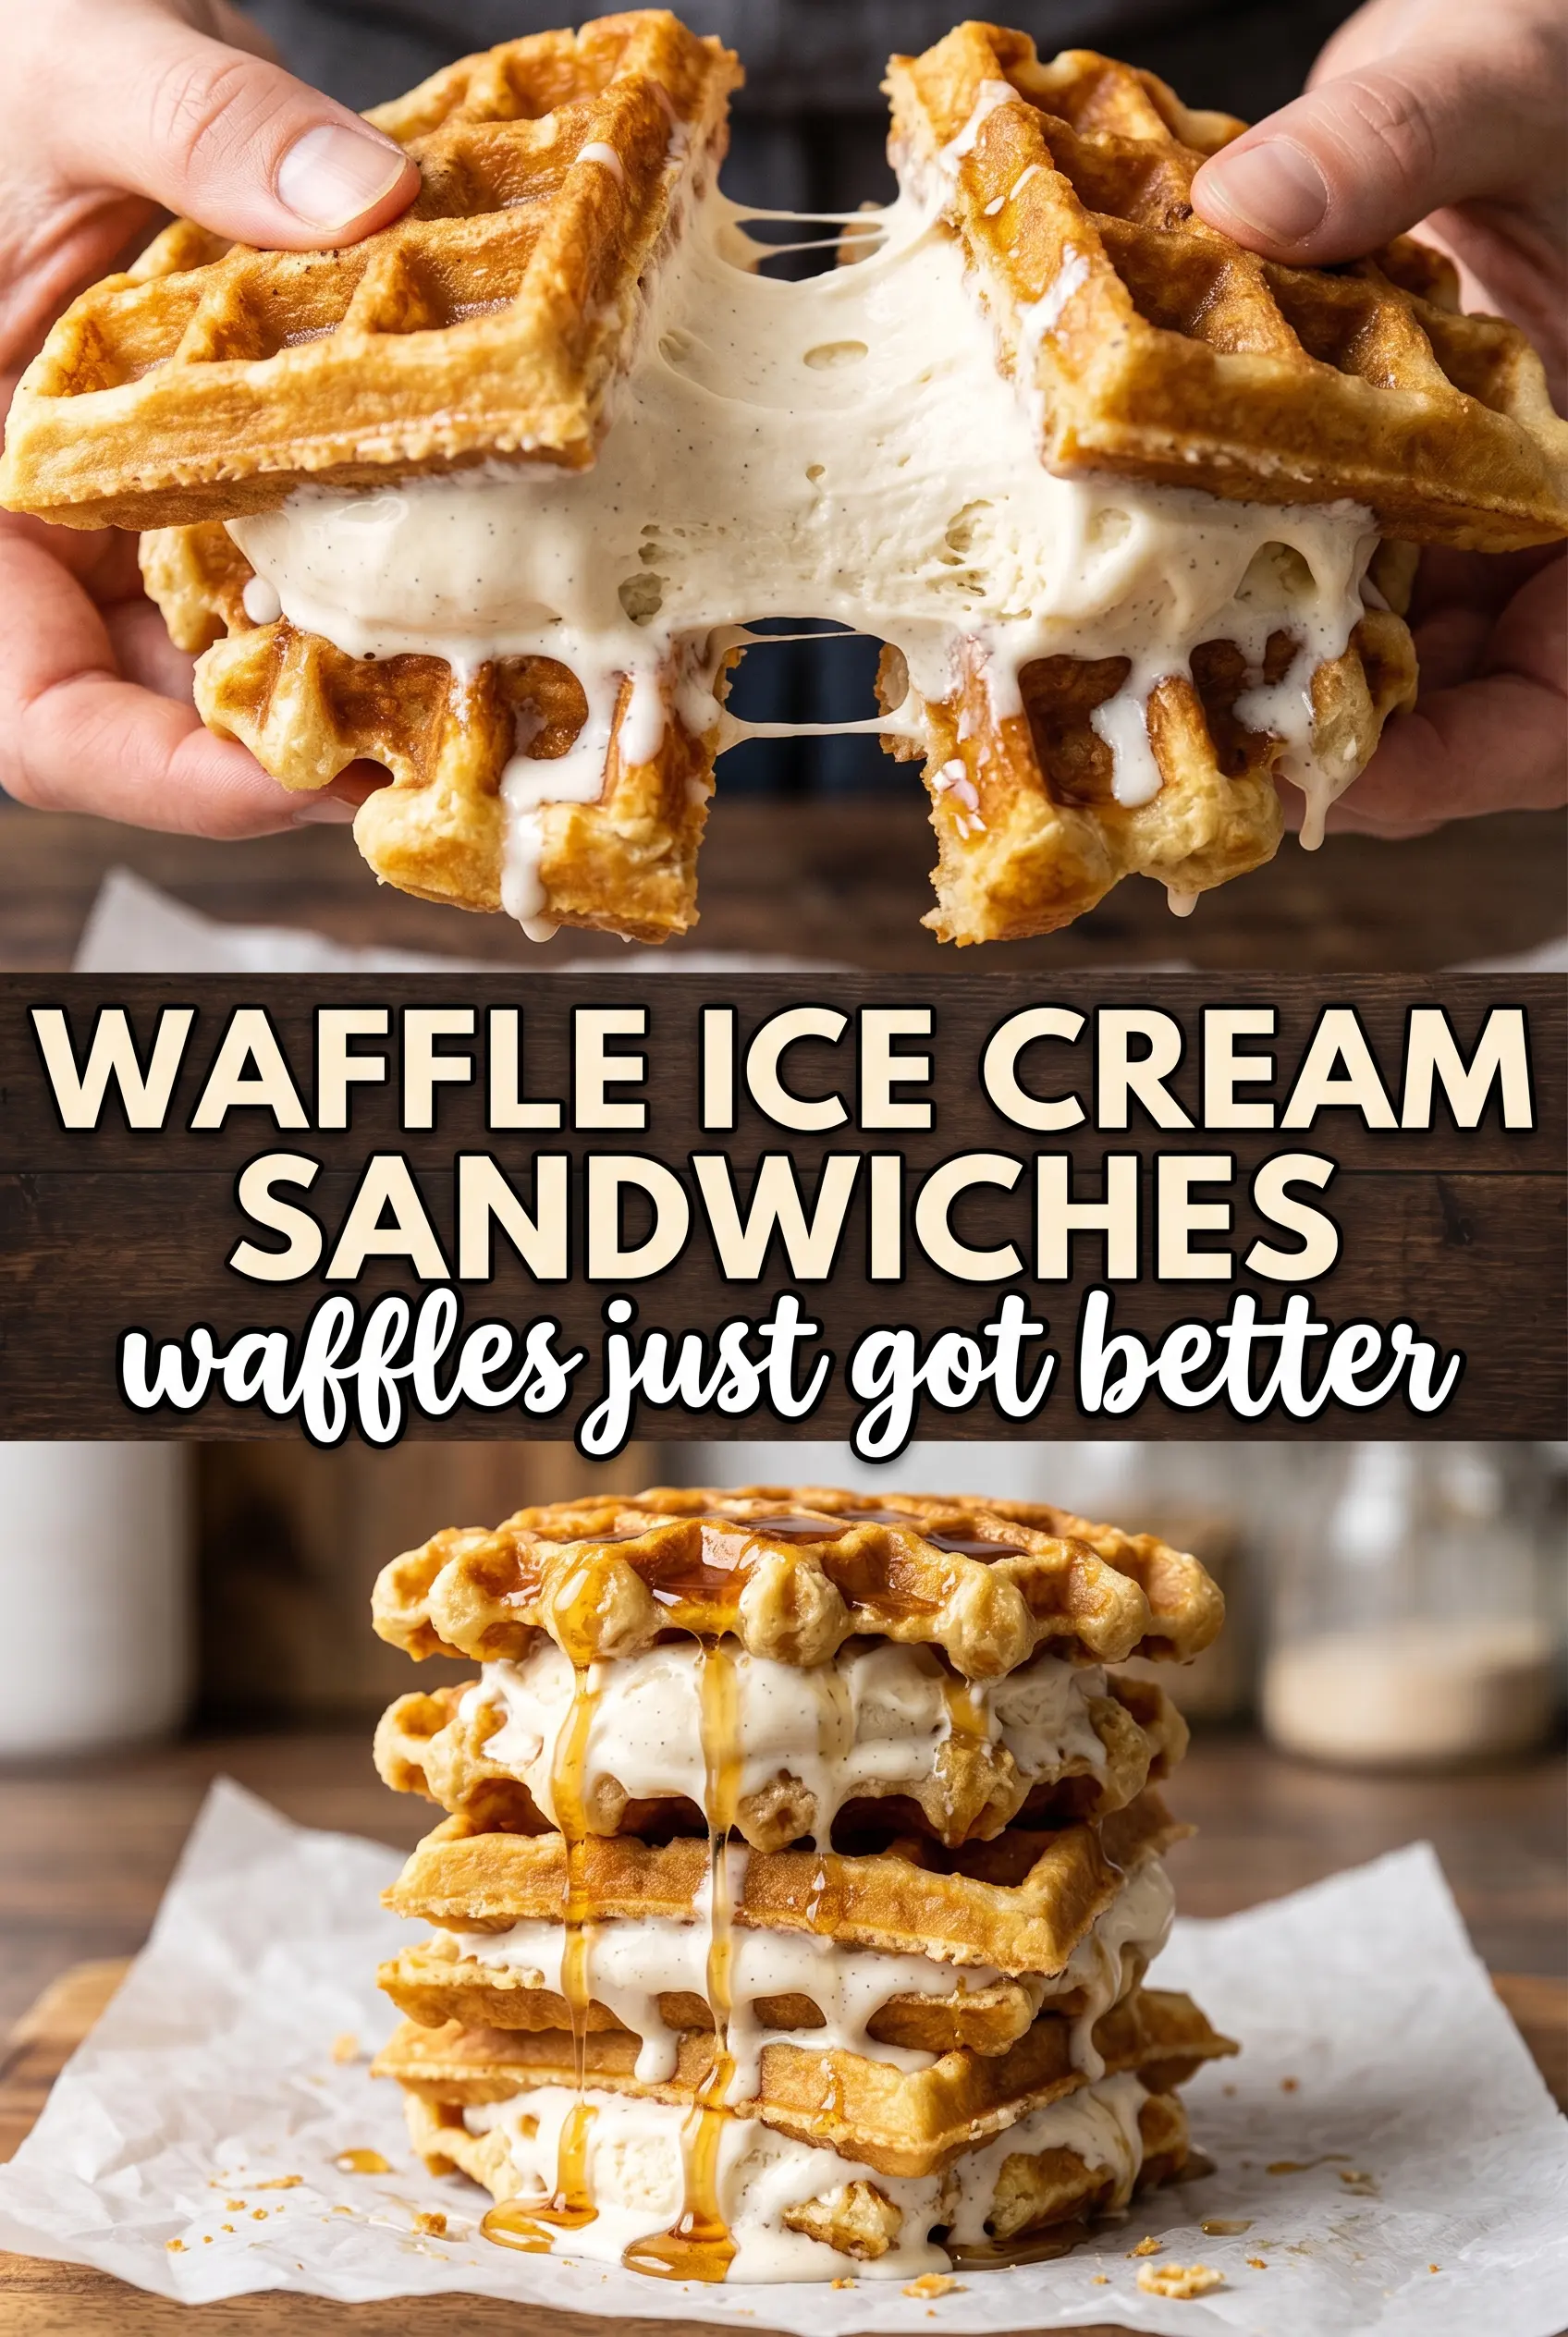
Cut each waffle into squares, then add a thick scoop of slightly softened ice cream to one square and top with a second square. Press just enough to spread the filling to the corners; if you press harder, the ice cream squeezes out and the waffle cracks. Work fast here, because the warmer your hands are, the quicker the sandwich starts to melt.
Finish with the quick freeze
Drizzle with maple syrup and serve right away, or wrap and freeze for about an hour for a firmer sandwich. That short freeze gives the ice cream time to reset without turning the waffles into bricks. If you freeze them much longer uncovered, the waffles can dry out and pick up freezer smell, so wrap them well if you’re making them ahead.
How to Adapt These Sandwiches Without Losing the Good Texture
Make them dairy-free
Use a thick dairy-free vanilla ice cream and swap in a rich non-dairy milk with a teaspoon of lemon juice in place of the buttermilk. The waffles won’t have quite the same tang, but they’ll still cook up crisp if you don’t overmix the batter and you let them cool completely.
Use a different ice cream flavor
Chocolate, coffee, or butter pecan all work well, but keep the waffle plain if you go that route. Strongly flavored ice cream needs a neutral base so the sandwich doesn’t taste crowded.
Make them gluten-free
Use a 1:1 gluten-free flour blend that includes xanthan gum. The texture will be a little more delicate, so cook the waffles until they’re firmly browned and handle them with a thin spatula once they’re cool.
Storage and Reheating
- Refrigerator: Not recommended. The waffles lose their crispness fast and the ice cream softens unevenly.
- Freezer: Freeze wrapped sandwiches for up to 2 weeks. Wrap each one tightly in parchment, then plastic wrap or foil to keep the waffles from drying out.
- Reheating: Don’t reheat these. Let a frozen sandwich sit at room temperature for 3 to 5 minutes so the center turns creamy again. If you warm it, the ice cream melts before the waffle softens in a good way.
Answers to the Questions Worth Asking
Waffle Ice Cream Sandwiches
Ingredients
Equipment
Method
- Preheat the waffle iron until hot, following your manufacturer’s instructions. Visually confirm it’s ready by the indicator light (or steam/heat) before cooking.
- Whisk the all-purpose flour, granulated sugar, baking powder, baking soda, and salt in a large bowl until evenly distributed. The dry mix should look uniform in color with no clumps.
- Whisk the buttermilk, eggs, vegetable oil, and vanilla extract together until smooth. Then pour into the dry ingredients and fold until just combined, with a few small lumps allowed.
- Cook the waffles in the preheated waffle iron according to its instructions until golden with crisp edges. The surface should look set and lightly browned.
- Transfer the cooked waffles to a wire rack and cool completely. Coolness prevents the ice cream from melting too fast and keeps the waffle squares crisp.
- Cut each waffle into 4 even squares. Aim for consistent sizes so the sandwiches stack neatly.
- Sandwich a thick scoop of vanilla bean ice cream between two waffle squares and press gently to adhere. The ice cream should peek slightly at the edges.
- Drizzle with maple syrup and serve immediately for maximum crispness. For a firmer sandwich, wrap and freeze for 1 hour, until the centers are set.