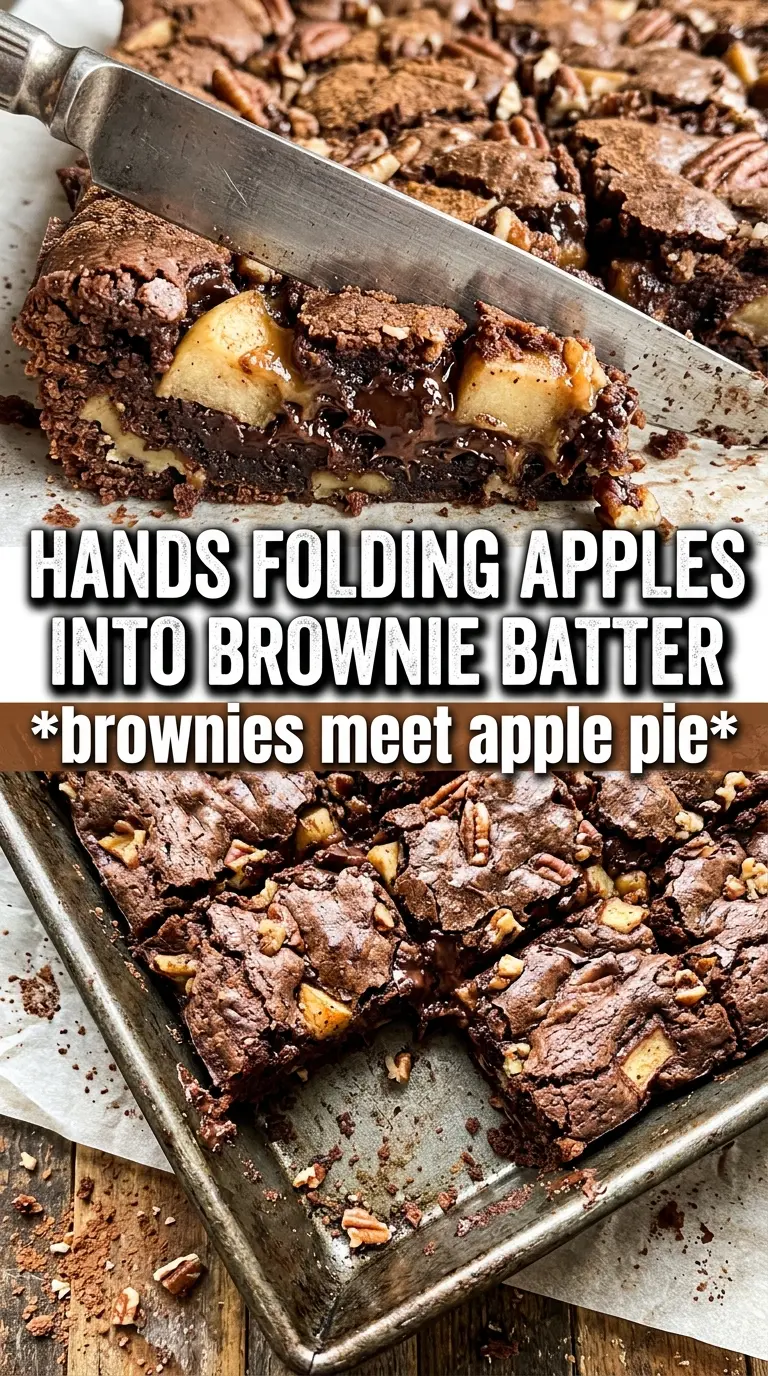
Apple brownies bake up like the best kind of in-between dessert: dense and fudgy at the center, chewy at the edges, and packed with tender apple pieces that soften just enough to melt into the crumb. The caramel drizzle on top pulls everything together and gives each square a little sticky finish that makes people reach for a second piece before they finish the first.
What makes this version work is the balance. Melted butter keeps the bars rich without making them cakey, while the mix of granulated and brown sugar gives you both structure and a deeper, almost butterscotch-like sweetness. The apples go in diced small so they bake evenly and stay distributed through every bite instead of sinking into one layer at the bottom.
Below, I’ll show you how to keep the batter from turning tough, which apples hold up best, and how to tell when the pan is done without overbaking the center.
I loved how the apples stayed tender without disappearing into the bars. Mine baked in 33 minutes, and the caramel drizzle soaked into the top just enough to make the edges extra chewy.
Like these apple brownies? Save them to Pinterest for that fudgy, cinnamon-spiced bar with a caramel finish.
The Reason Apple Bars Turn Gummy Instead of Fudgy
The difference comes down to moisture control. Apples release juice as they bake, and if you use chunks that are too large or stir the batter too long, that extra liquid can make the bars dense in the wrong way. Finely diced apples distribute better, bake through faster, and keep the crumb from turning wet in isolated pockets.
Just as important, stop mixing as soon as the flour disappears. Brownies of any kind get tough when the gluten starts building, and these are no exception. The batter should look thick and a little rough before the apples go in; that’s what gives you a bar that slices cleanly after cooling instead of crumbling apart.
- Finely diced apples — Small pieces soften evenly and keep the texture balanced. Bigger chunks release more juice and can leave the center underbaked around the fruit.
- Melted butter — This gives a denser, chewier crumb than creamed butter. It also helps the sugar dissolve more fully, which keeps the top from feeling grainy.
- Brown sugar — Packed brown sugar brings moisture and a deeper caramel note. You can swap in more granulated sugar in a pinch, but the bars will lose some chew and depth.
- Walnuts or pecans — Optional, but they add welcome crunch against the soft interior. If you use them, toast them first if you have the time; it sharpens the nutty flavor without changing the texture of the batter.
What Each Ingredient Is Actually Doing in This Recipe
- Primary ingredient (the star) — Quality matters most. Choose the best you can find.
- Cooking medium (oil, butter, or broth) — This carries flavors and prevents dryness.
- Seasonings (salt, pepper, spices, herbs) — Layer flavors so nothing overpowers. Build depth gradually.
- Aromatics (garlic, onion, herbs) — Cook with fat to bloom flavors. Become the foundation.
- Supporting ingredients — Complement the main ingredient without overpowering it.
- Sauce or liquid (if applicable) — Brings flavors together. Balance richness with acid.
- Acid (lemon, vinegar, wine, or other) — Brightens and prevents flat-tasting results.
- Final finish (garnish, glaze, or sauce) — Prevents one-dimensional taste and adds visual appeal.
Building the Batter So the Apples Stay Evenly Suspended
Whisk the dry ingredients first
Start with the flour, baking powder, cinnamon, nutmeg, and salt in one bowl. Whisking now spreads the leavener and spices evenly, so you don’t get one bite that tastes like cinnamon and another that tastes flat. If the baking powder isn’t evenly distributed, the bars can rise unevenly and look puffy in one corner while staying dense in another.
Mix the sugars into the warm butter
Combine the melted butter with both sugars until the mixture looks glossy and slightly thickened, then add the eggs and vanilla. The warmth helps the sugar dissolve a bit, which is what gives the top that shiny, crackly look after baking. If the butter is scorching hot, let it sit for a minute so you don’t scramble the eggs when they go in.
Fold, don’t beat, once the flour goes in
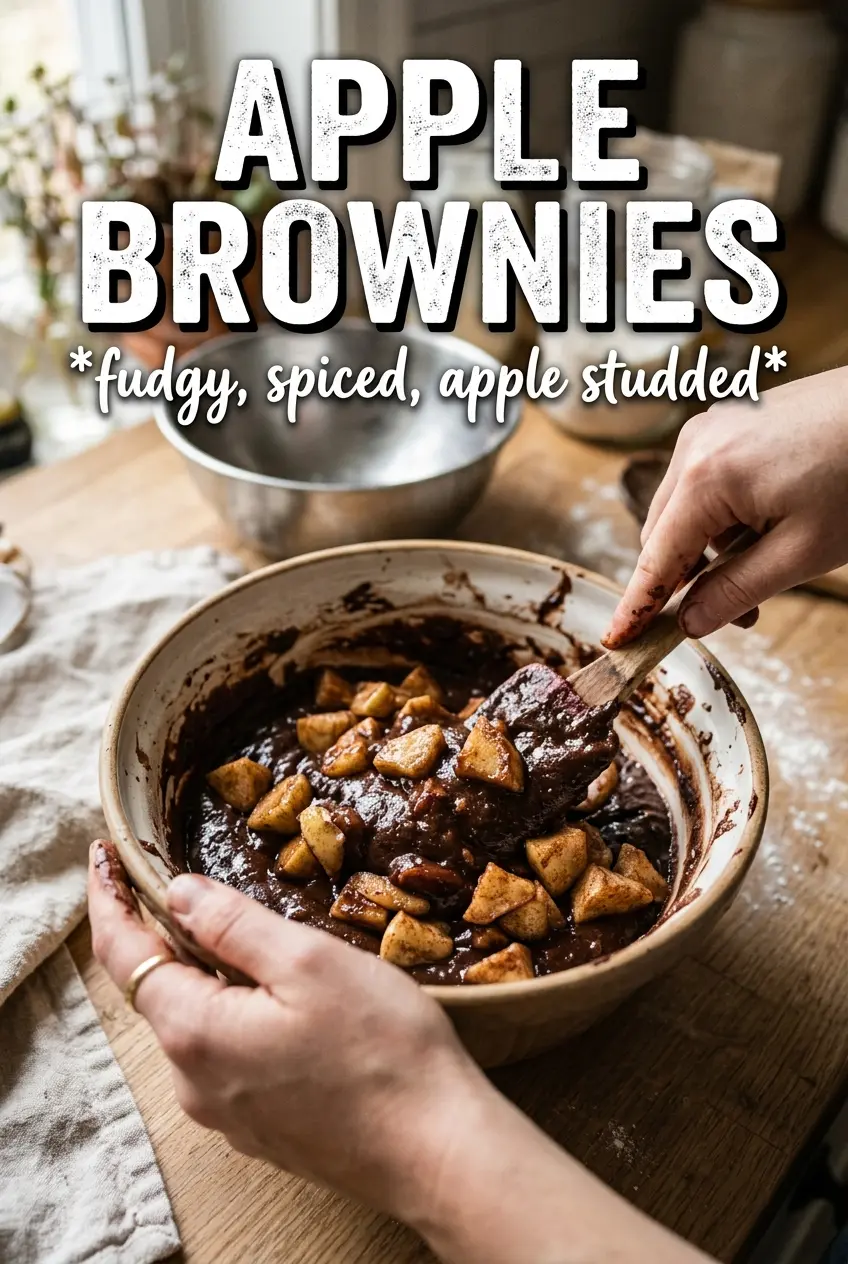
Add the dry mixture and stir just until no dry streaks remain, then fold in the diced apples and nuts. Overmixing at this point is what makes the bars tough instead of tender. The batter should look thick enough to spread with a spatula, not pour like cake batter.
Bake until the center still has a little give
Spread the batter into a greased 9×13 pan and bake at 350°F until a toothpick comes out with a few moist crumbs, usually 30 to 35 minutes. If the toothpick comes out completely clean, you’ve probably gone a minute or two too far and the bars will firm up more than you want once they cool. Let them cool in the pan before adding the caramel drizzle so the topping stays on the surface instead of soaking straight through.
Make Them With Pecans for a Toastier Finish
Pecans give the bars a rounder, butterier crunch that works well with the caramel drizzle. Walnuts taste a little more assertive and earthy, while pecans lean sweeter and softer. If you want the apples to stay the clear star, pecans are the better choice.
Skip the Nuts for a Smoother, More Uniform Crumb
Leaving out the nuts makes the texture softer and a little more brownie-like. The bars still hold together well, and the diced apples give enough interest on their own. This is the version I use when I want cleaner slices for a dessert tray.
Use Gluten-Free Flour One-for-One
A good 1:1 gluten-free baking blend works here because the bars don’t rely on a delicate rise. The texture will be a touch more tender and slightly less chewy, but the apples and caramel keep it satisfying. Let the bars cool fully before slicing so the crumb sets up properly.
Storage and Reheating
- Refrigerator: Store covered for up to 5 days. The bars get a little firmer when chilled, which actually helps the texture hold together well.
- Freezer: Freeze cut squares tightly wrapped for up to 2 months. Thaw at room temperature; the caramel drizzle can be added after thawing if you want it to look fresh.
- Reheating: Warm individual squares in the microwave for 10 to 15 seconds. Too much heat makes them dry out and can make the apples taste stringy instead of tender.
Answers to the Questions Worth Asking
Apple Brownies
Ingredients
Equipment
Method
- Preheat the oven to 350F and grease a 9x13 baking pan with a light coating for easy release.
- Whisk all-purpose flour, baking powder, cinnamon, nutmeg, and salt together until evenly combined.
- Whisk melted unsalted butter and granulated sugar with brown sugar until smooth, then whisk in eggs and vanilla until fully incorporated.
- Fold the flour mixture into the wet mixture until just combined to keep the brownies fudgy.
- Fold in diced apples and walnuts or pecans (if using) until distributed throughout with no dry flour pockets.
- Spread the batter evenly in the prepared pan and bake for 30-35 minutes, until a toothpick comes out with just a few moist crumbs.
- Cool the brownies in the pan before slicing to help them set for clean squares.
- Drizzle the caramel sauce over the top before cutting into squares so it settles on the warm surface.