Fudge brownie ice cream cake is the kind of dessert that disappears in slices before you’ve even finished setting the platter down. The brownies stay dense and chewy, the vanilla ice cream cuts through all that chocolate richness, and the hot fudge gives every layer that glossy, bakery-style finish people go straight for. It eats like a celebration cake, but the flavor is pure old-school ice cream shop comfort.
The trick is keeping the layers distinct. Brownies need to be fully cooled so they don’t melt the ice cream on contact, and the ice cream should be soft enough to spread without tearing, not so melted that it runs into the pan. Hot fudge works better than ganache here because it stays plush and a little sticky after freezing, which gives you those clean, dramatic layers when you slice it.
Below, I’ve included the small details that matter most: how to keep the ice cream layer even, what to do if your brownies came out too thin, and a few smart swaps if you want to change the flavor without losing the structure.
The brownies stayed chewy even after freezing, and the hot fudge made clean layers instead of turning hard. I let it sit out for 10 minutes before slicing and the whole cake came out beautifully.
Fudge Brownie Ice Cream Cake layers up best when you want a frozen dessert with clean slices and a thick hot fudge ribbon in every bite.
The Part That Keeps the Layers From Slipping
The structure of this cake depends on temperature, not just ingredients. If the brownies are even a little warm, the ice cream starts to slump, and once that happens you lose the clean layers that make this dessert worth building. The safest move is to bake the brownie rounds ahead of time and chill them completely before you assemble anything.
Another mistake is spreading ice cream that’s still too firm. Hard ice cream tears the brownie surface and leaves gaps, which look messy once the cake is sliced. Softened ice cream should spread like thick frosting: pliable, but not loose. That balance is what gives you a smooth middle layer instead of a broken one.
- Let the brownie rounds cool all the way on a rack before lining the pan.
- Soften the ice cream just until it spreads easily with an offset spatula.
- Use hot fudge that’s warm enough to drizzle, not hot enough to melt the ice cream layer.
- Press the top brownie layer on gently so the filling settles without squeezing out the edges.
What Each Ingredient Is Doing in the Cake
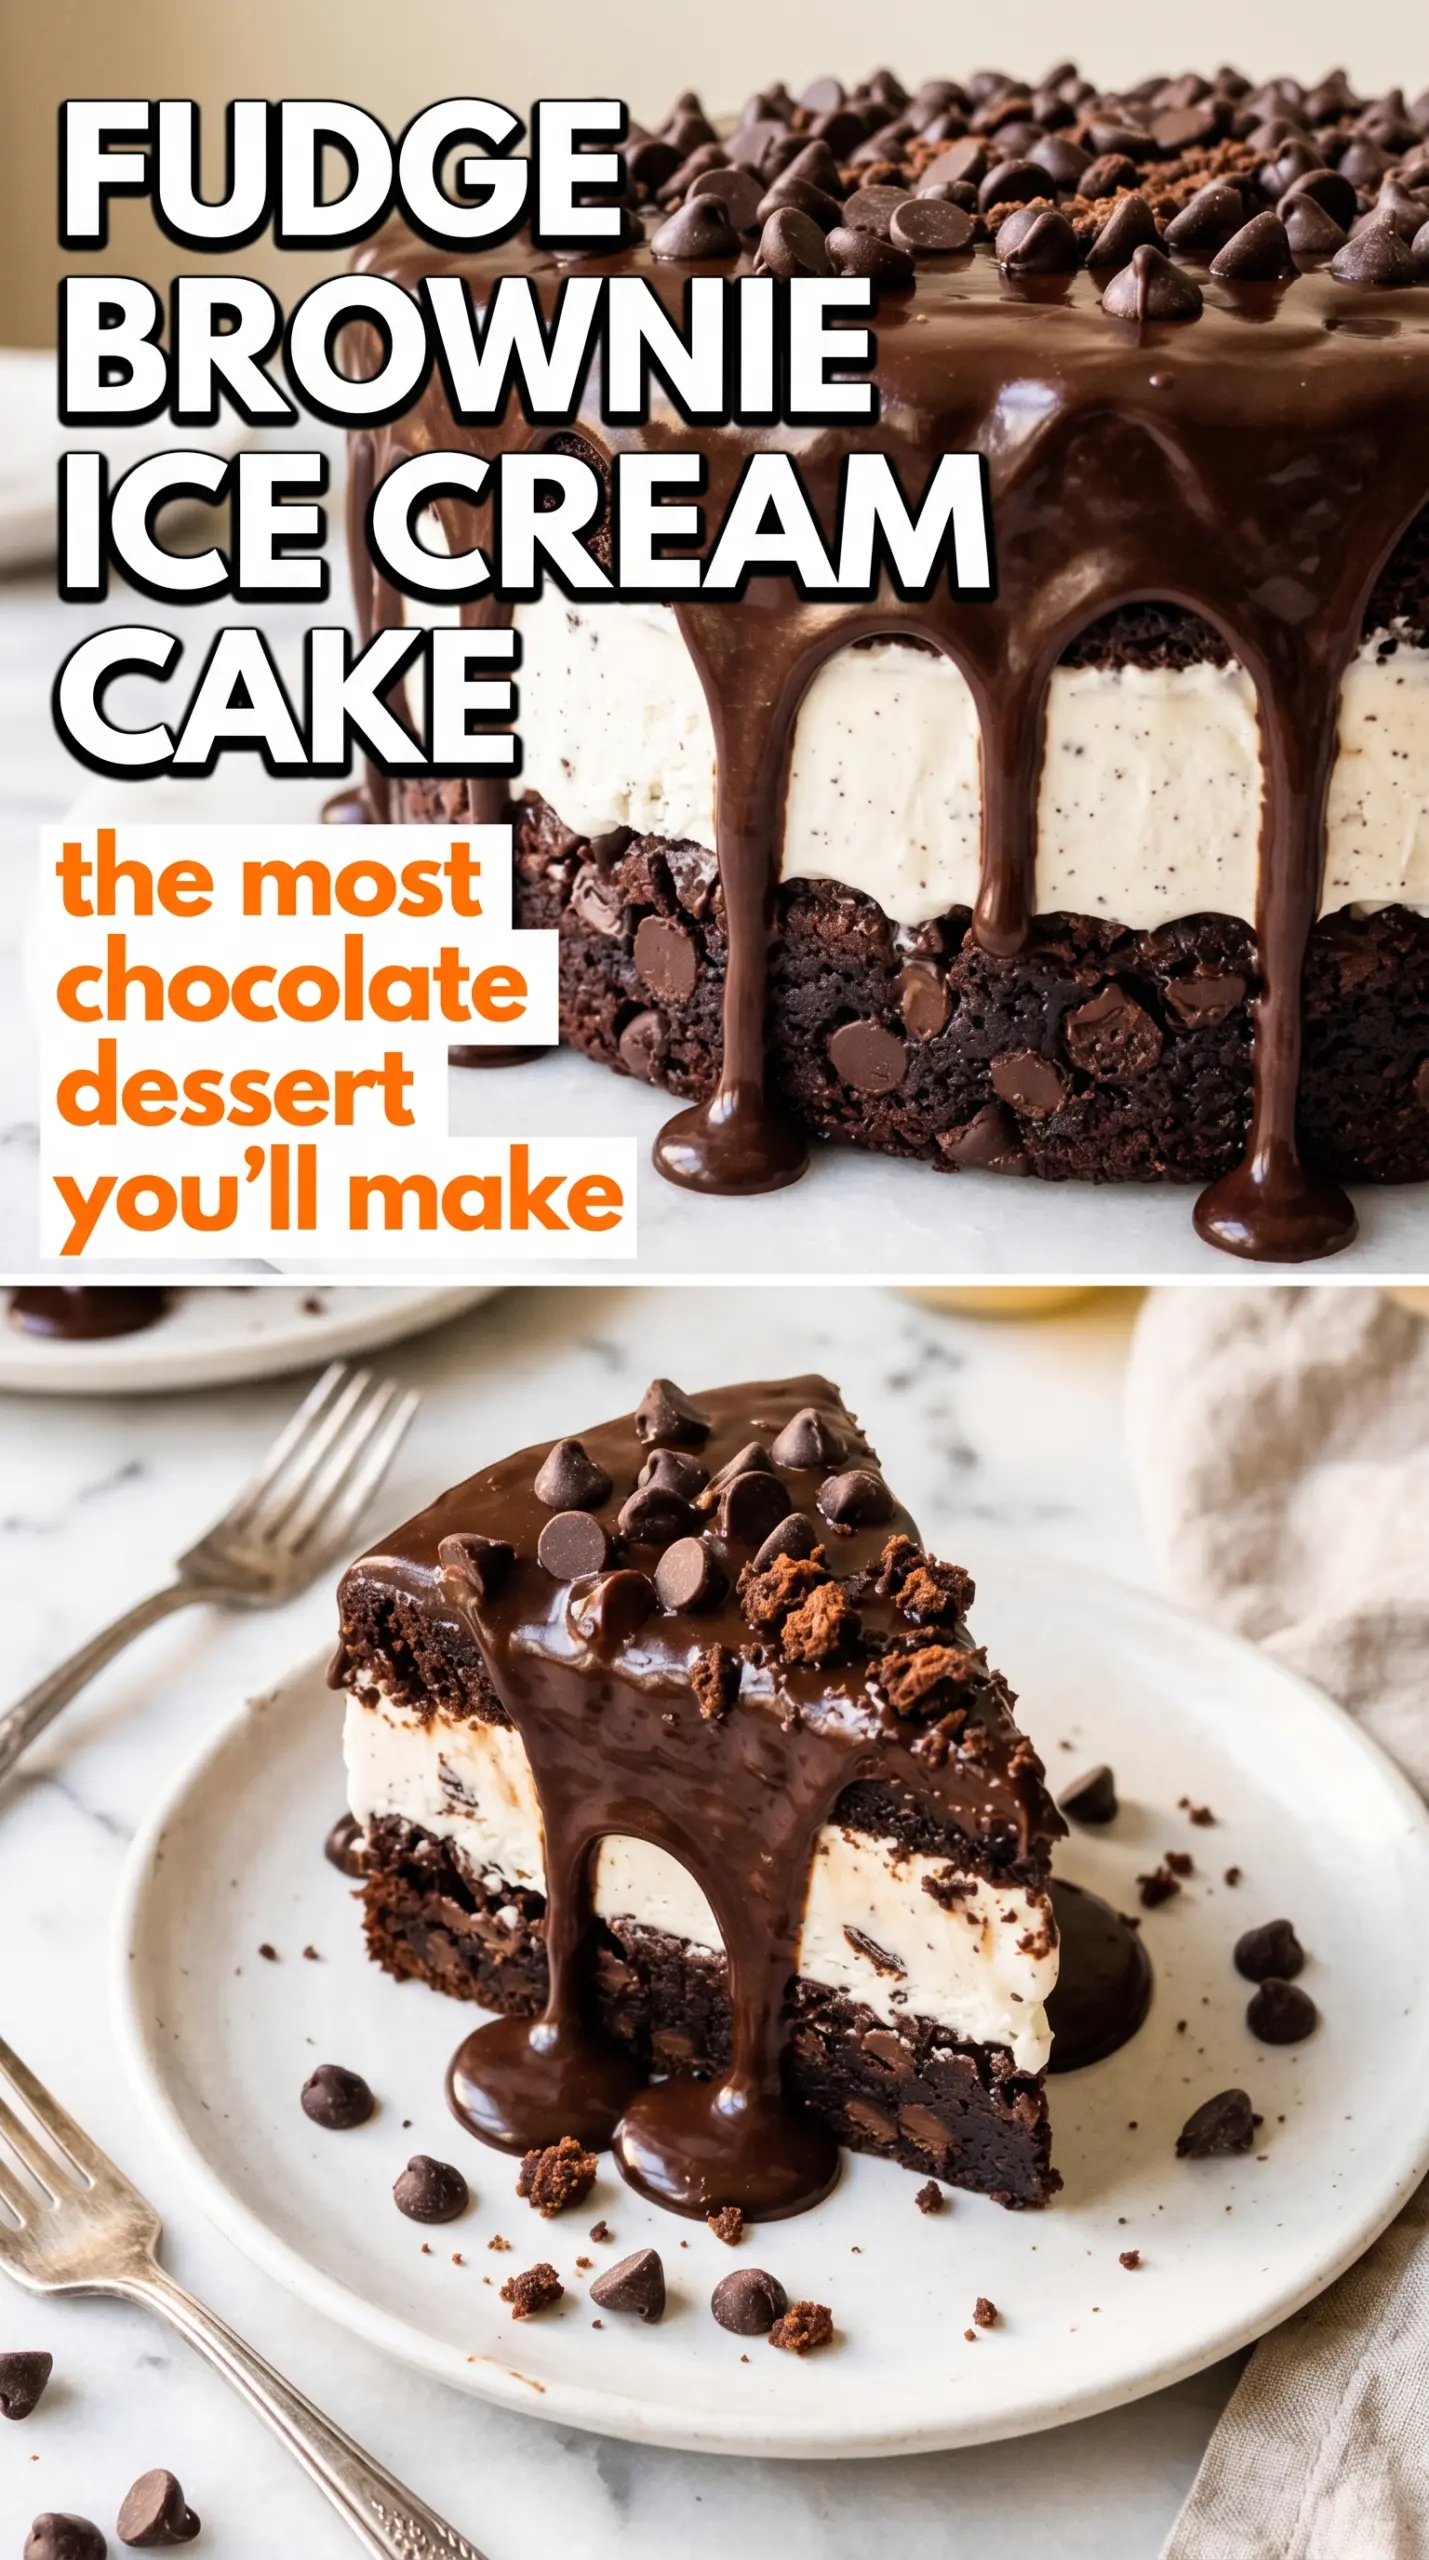
- Brownie mix or homemade brownies — These are the backbone of the dessert. A boxed mix works fine if you bake it for a fudgy texture, but homemade brownies give you more control over how dense and dark the layers taste. Either way, avoid cakey brownies; they freeze up dry and crumble when sliced.
- Vanilla ice cream — Plain vanilla gives the best contrast and keeps the cake from getting overly sweet. A good-quality ice cream with some fat in it will scoop and freeze more smoothly than a thin, icy one. If you swap in another flavor, pick something that can stand up to chocolate without disappearing, like coffee or toasted almond.
- Hot fudge sauce — This is what makes the middle taste indulgent instead of just cold and chocolatey. Use a thick sauce, not a thin syrup, so it stays in a visible layer after freezing. If you only have fudge topping that comes in a jar, warm it gently until it loosens but still holds body.
- Whipped cream — This goes on at the end for contrast and a lighter finish. Homemade whipped cream tastes best if you’re serving the cake right away, but stabilized whipped topping also works if you need the topping to hold for a longer stretch at room temperature.
- Chocolate shavings — These aren’t just for looks. They add a little crunch on top and reinforce the brownie-and-fudge theme without making the cake heavier.
Building the Cake So the Slices Hold Their Shape
Preparing the Brownie Layers
Bake the brownies in two 9-inch round pans and let them cool completely before you even think about assembling. If the layers are thick in the center, trim them flat so the cake stacks evenly and doesn’t tilt in the freezer. A level base matters here because once the ice cream is in the middle, there’s no easy way to correct a crooked layer later.
Setting the First Layer
Place one brownie round in a 9-inch springform pan. Drizzle half the hot fudge over the brownie and spread it out in a thin, even layer so every slice gets that middle stripe of chocolate. If the fudge is too hot, it will melt into the brownie instead of sitting on top, so warm it just enough to pour.
Spreading the Ice Cream
Use softened vanilla ice cream and spread it over the fudge in a thick, even layer. Work quickly and keep the spatula moving so the ice cream doesn’t start melting into soft puddles around the edges. If it tears the brownie underneath, let it sit for a minute and soften a touch more rather than forcing it.
Finishing the Stack and Freezing
Drizzle the remaining hot fudge over the ice cream, set the second brownie round on top, and press it down very gently. That light pressure helps the layers settle without pushing the filling out of the sides. Freeze the cake for at least 8 hours, and overnight is even better if you want the cleanest slices.
Make It Mint-Chocolate
Swap the vanilla ice cream for mint chocolate chip and add a few crushed chocolate cookies between the layers if you want a cooler, more candy-bar style cake. The mint cuts the richness, but it also makes the dessert taste a little brighter and more playful.
Gluten-Free Brownie Base
Use a gluten-free brownie mix or your favorite homemade gluten-free brownie recipe for the layers. The filling and topping already fit naturally, so the only thing that changes is the brownie texture; choose a recipe that bakes up fudgy, not dry and crumbly.
Dairy-Free Version
Use dairy-free ice cream, dairy-free whipped topping, and a plant-based hot fudge sauce. The result still slices nicely if the dairy-free ice cream is rich enough, but lighter versions can freeze harder and lose some creaminess, so pick one with a higher fat content.
Storage and Reheating
- Refrigerator: Not recommended. This cake softens fast and loses its structure in the fridge.
- Freezer: Freeze tightly wrapped for up to 1 week for the best texture. After that, the brownie edges can start to get dry and the ice cream picks up freezer flavor.
- Reheating: Don’t reheat it. Let slices sit at room temperature for 8 to 12 minutes before serving so the knife goes through cleanly. If you cut it straight from the freezer, the brownie layers can crack.
Answers to the Questions Worth Asking
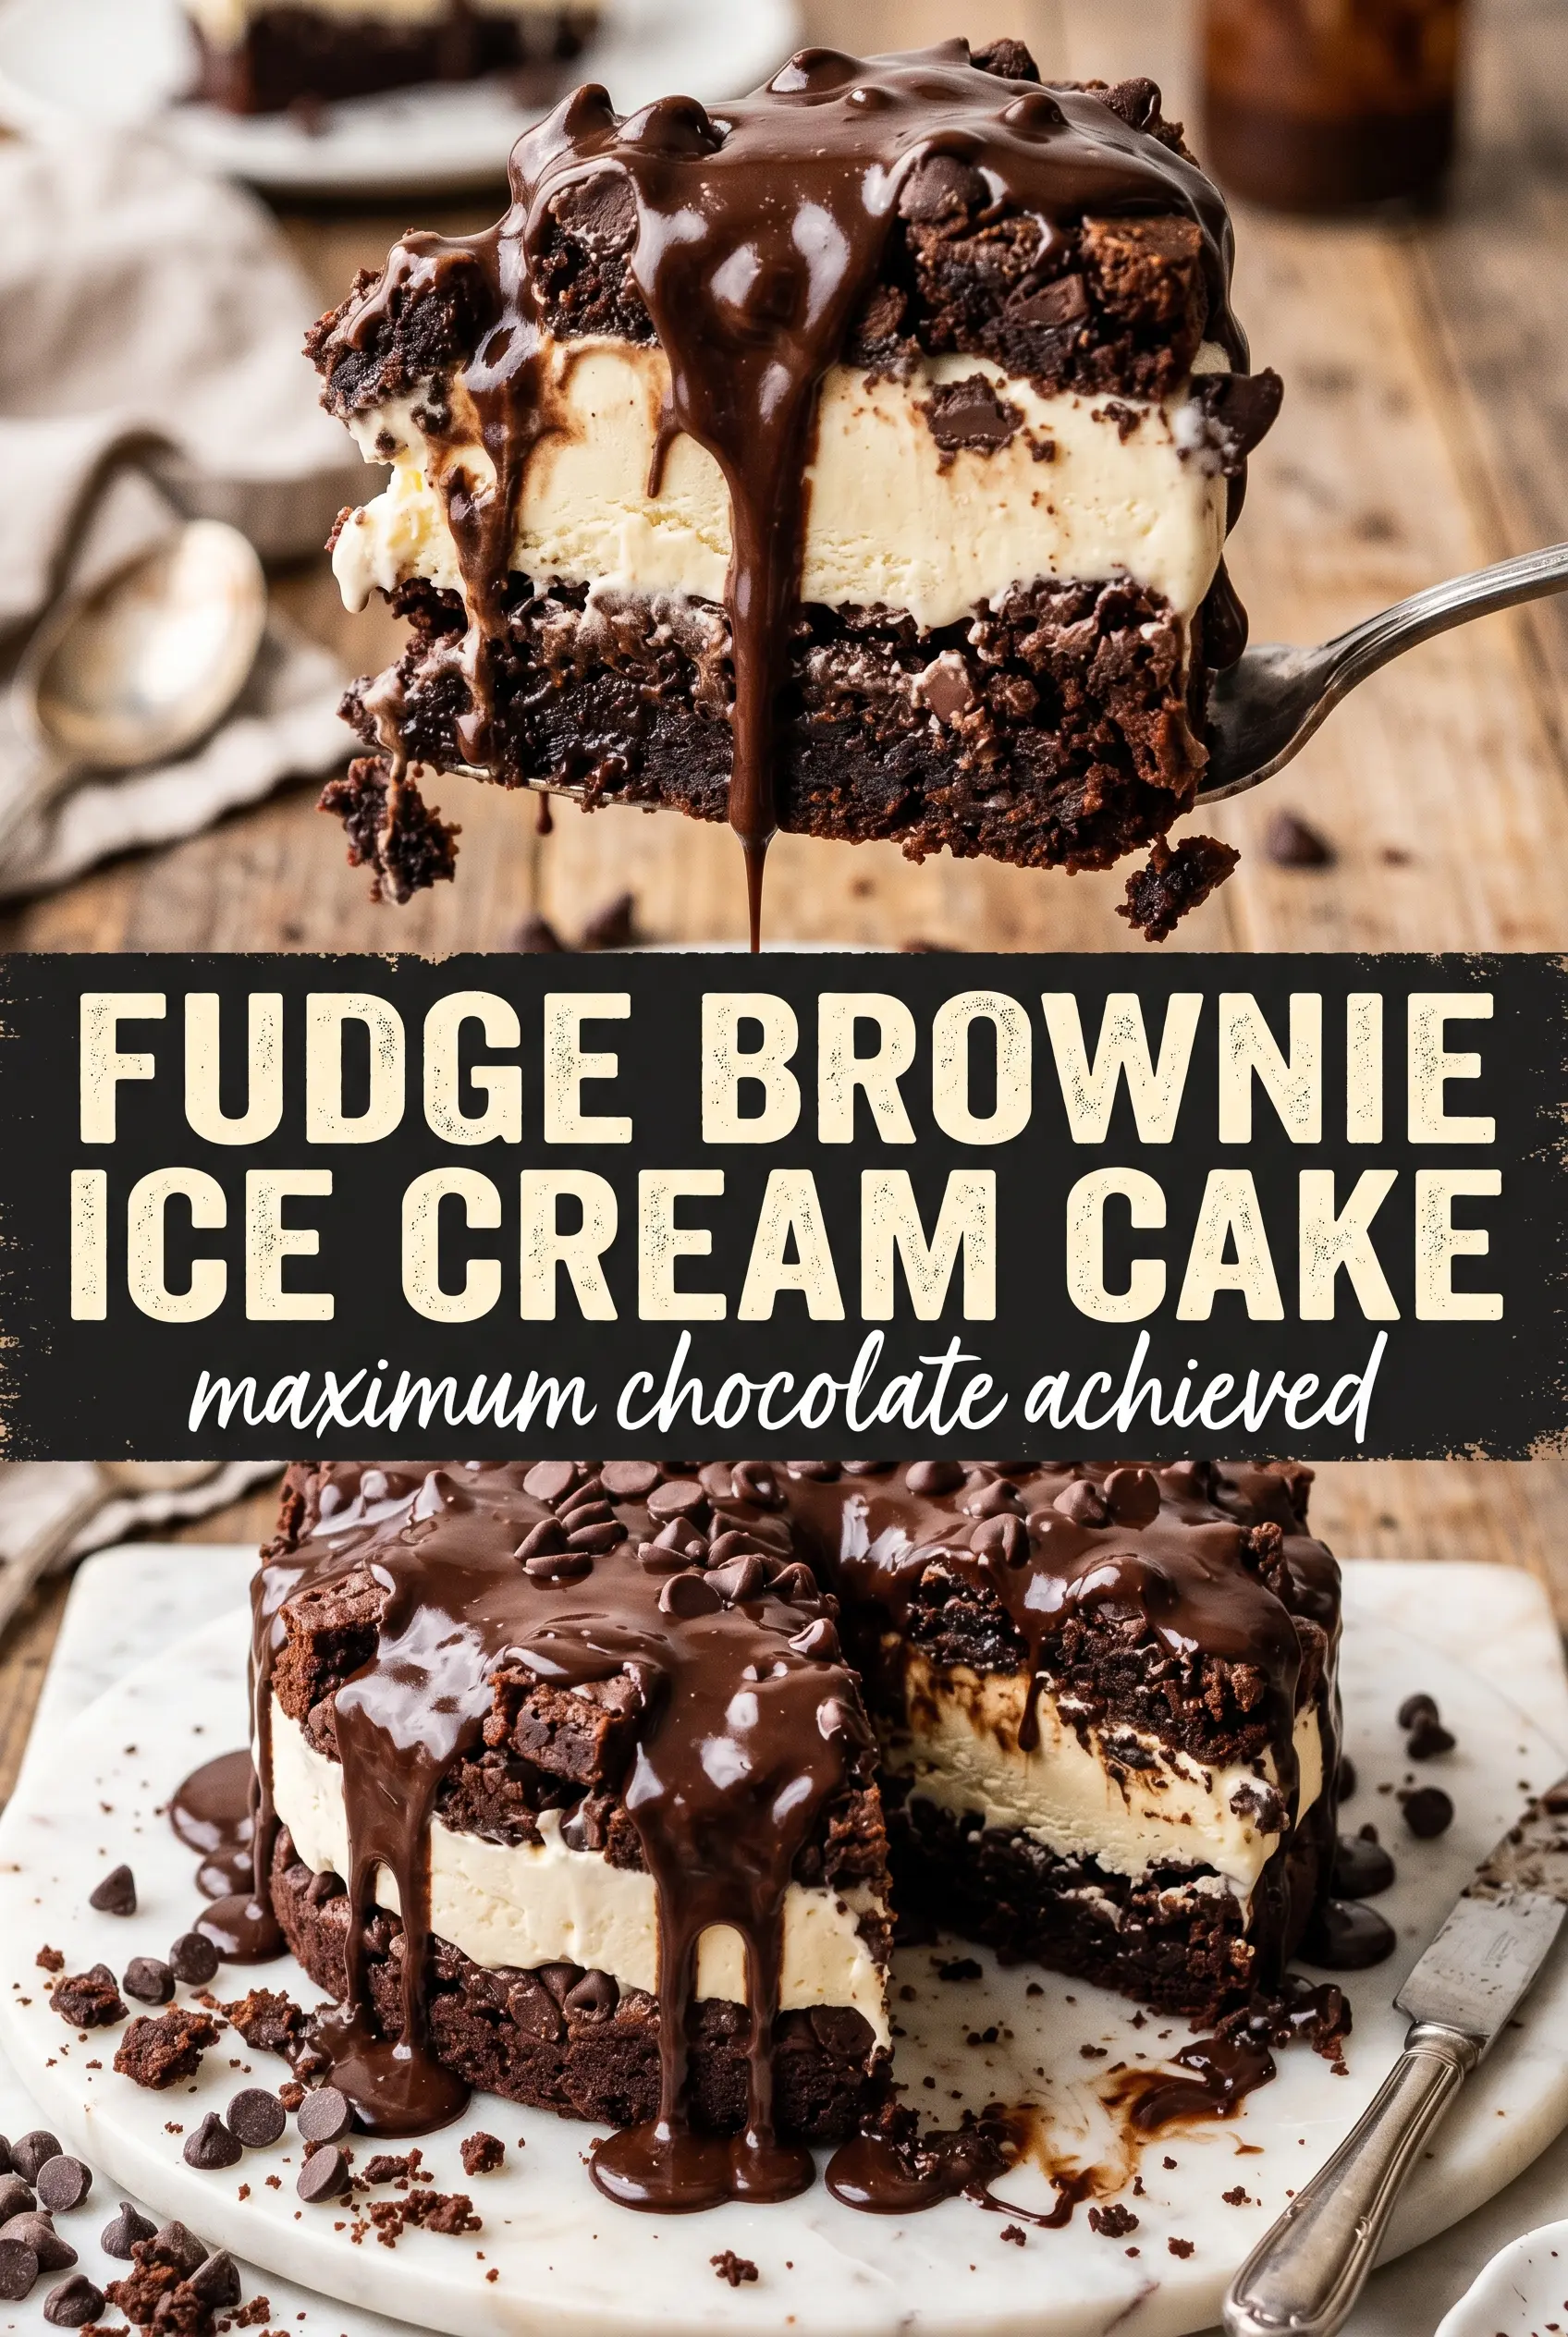
Fudge Brownie Ice Cream Cake
Ingredients
Equipment
Method
- Bake the brownie mix in two 9-inch round pans, following package directions, until set and a tester comes out with moist crumbs (30 minutes at the mix’s specified baking temperature). Cool completely so the layers don’t melt the ice cream.
- Place one cooled brownie round into a 9-inch springform pan (flat side up). Drizzle 1/2 cup hot fudge over the surface to form a glossy layer.
- Spread a thick, even layer of softened vanilla ice cream over the hot fudge (use firm, press-and-spread strokes). Keep it level so the next brownie round sandwiches evenly.
- Drizzle the remaining hot fudge over the ice cream layer (about 1/2 cup). Use gentle ribbons so you get a visible fudge ripple throughout.
- Place the second brownie round on top and press gently to create even contact. Avoid sliding the top layer to keep the fudge layers intact.
- Freeze the assembled cake for at least 8 hours or overnight (0°F / -18°C). It should feel firm all the way through when pressed with a fingertip through a glove.
- Top with whipped cream and chocolate shavings right before serving. Keep the cake cold so the topping holds its shape.